Borderlands 3 is a pretty long game when it comes to its story content. The best thing that 2K did is make the endgame content really good. True Vault Hunter Mode and Ultimate Vault Hunter Mode is back and has been upgraded by the use of the new mode. Mayhem Mode is what it is called and it can be reached only when you beat the main story.
There are SPOILERS in this article if you have not beaten Borderlands 3 so keep that in mind before reading this. Also, all the other endgame content is very good if you want to do something other than Mayhem Mode. Other things include Circle of Slaughter, Proving Grounds, Guardian Rank upgrades and more. Mayhem Mode just brings everything together in its own way.
Related: Check out this guide for Borderlands 3 on Amazon here.
What is Mayhem Mode?
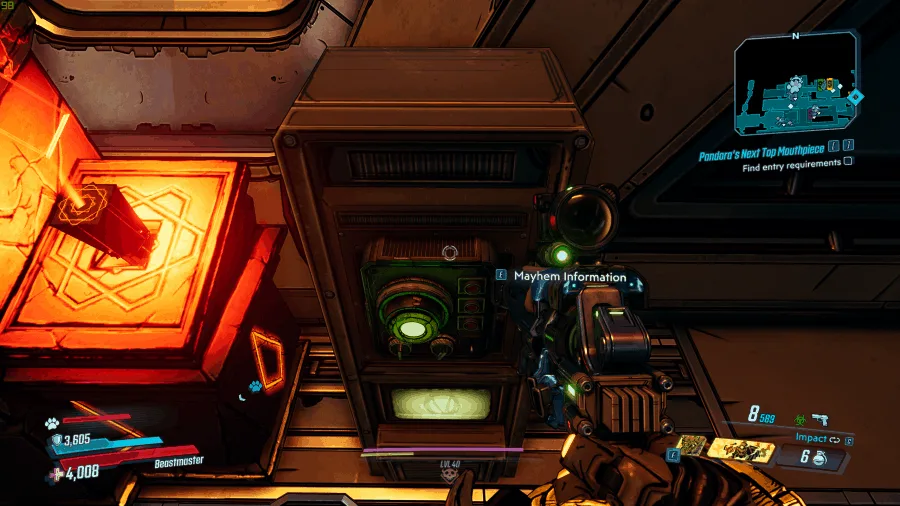
Mayhem Mode is a new mechanic put into Borderlands 3 and it basically makes any side mission that was a very low level and allows for it to be scaled to your own. There are a total of 3 Mayhem Modes that you can have and each of them gets progressively harder as you go on. Mayhem I is the first one you will use and it scales up your health, defense, experience, and loot drops in the Normal playthrough.
The second is called Mayhem Mode II and it is supposed to be used in your True Vault Hunter Mode playthrough. It also scales up all of your stats for longer survival time. The third is called Mayhem Mode III and this is the hardest mode that you can have on. The best time to use this mode is at the end of your Ultimate Vault Hunter Mode playthrough and that will obviously take a lot of time to get to.
Each mode scales up your stats and as you get higher, your stats go up even more. The whole point of the stat upgrade is because all the enemies you encounter in this mode will have higher defense, health, damage, and will be a lot harder than without the mode on. The reason you should have it on is that it gives you bonus cash, experience, and it makes finding better loot easier.
How do you activate it?
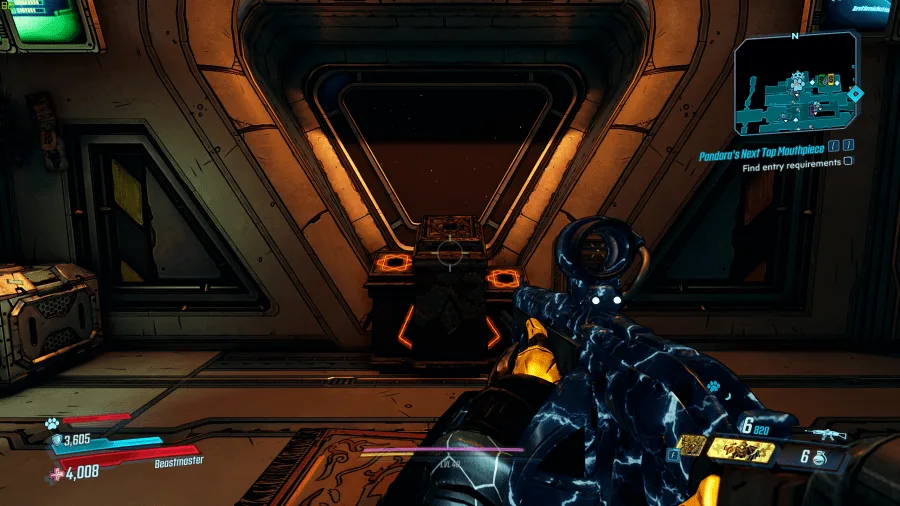
The way to activate Mayhem Mode is after you beat the main story of the game, you will be given the option to start any of the three Mayhem Modes. The place where you can start is when you first spawn onto Sanctuary, walk past Marcus Munitions and go up the stairs after the hallway. Once up, take a right and by the window in front of you will be the place to activate it. It is pretty self-explanatory when you get to it because the game tells you which one you are starting.
There are 3 slots that when you put the special peg into that you got from the last Vault, it will activate Mayhem Mode and give you a huge challenge and an easier way to level up. The best part about it is that you can switch it off and on whenever you want just in case it gets a little too hard for you at the moment, but you probably won’t have any trouble since you beat the story and all.
How many tiers of Mayhem Mode are there?
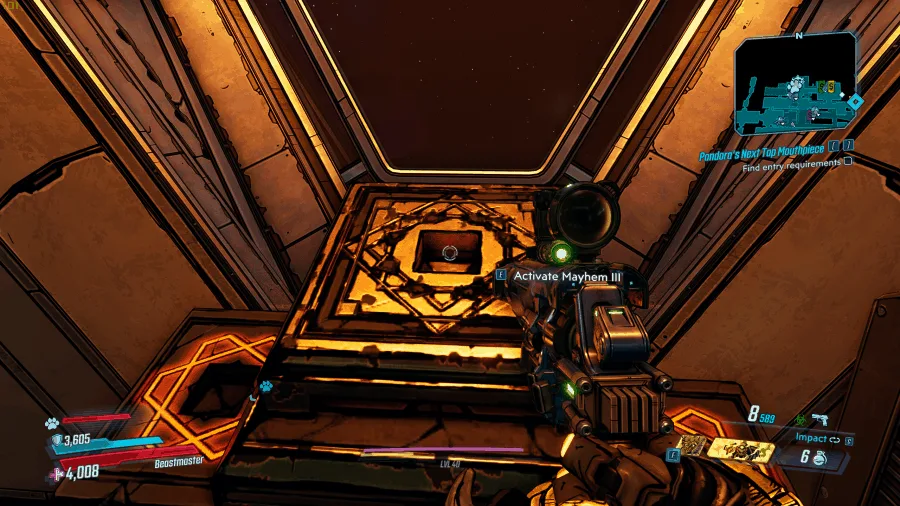
As I said before, there are 3 tiers to Mayhem Mode. Mayhem Mode I adds about 200% more loot from the original game. It also increases your health and damage by 25% but the enemies are a lot tougher so you will probably not see much of a difference. Mayhem Mode II adds about 500% more loot from the original game and increases your health and damage by 50% but the same as before, the enemies are a lot harder than normal as well.
Mayhem Mode III adds about 900% more loot from the original game and gives you a stat boost of about 75% and the enemies are really hard in this mode. Remember that each of the Modes that you play corresponds with the vault hunter modes that you unlock. and the modes can’t be unlocked until you get past the final mission of the main story. Don’t worry if you have not beaten the main story yet, just keep going and don’t give up.
What does it give you?
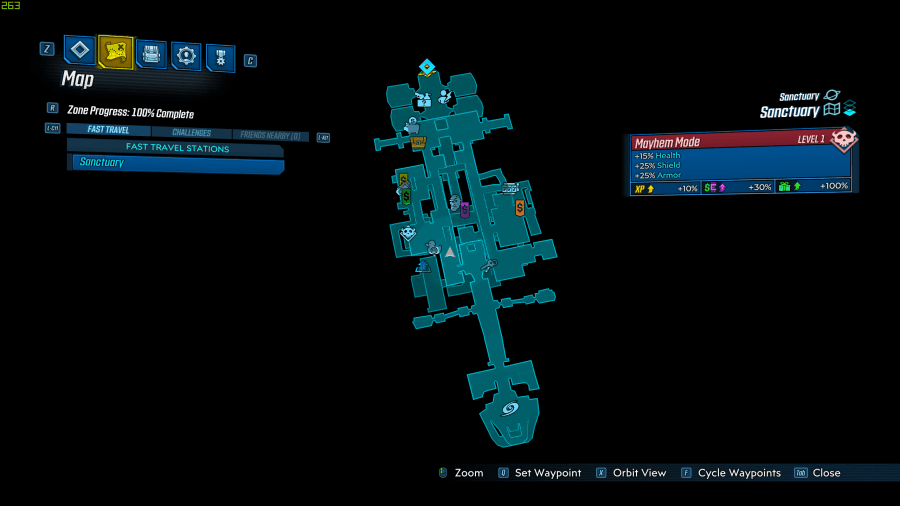
When playing this new mode, you get a lot rarer loot than the normal game gives you and the Legendary weapons and gear drop a lot more frequently the higher the mode you play. There are also a lot more Anointed Weapons that you can find and those are a pretty rare gear type to get. It does take you a while to actually get to Mayhem Mode 3, but it is definitely worth it in the end.
Is there a catch to activating it?
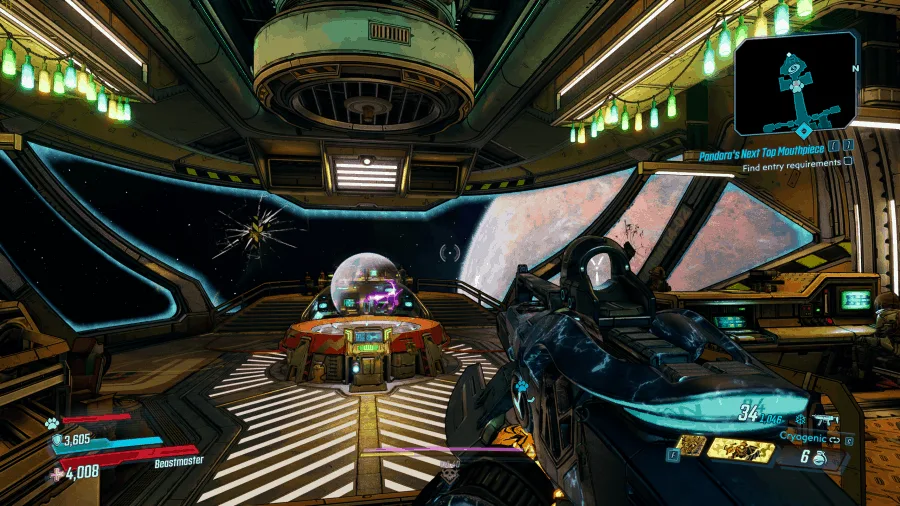
No, there is no catch at all to activating it. The worst thing you can do is to activate Mayhem Mode 3 on your first playthrough because of the massive boost in everything when you start it. Your guns basically won’t do any damage and you will die a lot, so it is best to stick with the specific Mayhem Mode for each of the Vault Hunter Modes. Activating it will allow for everything that Mayhem Mode has to offer to be buffed on your character.
What is the other endgame content?
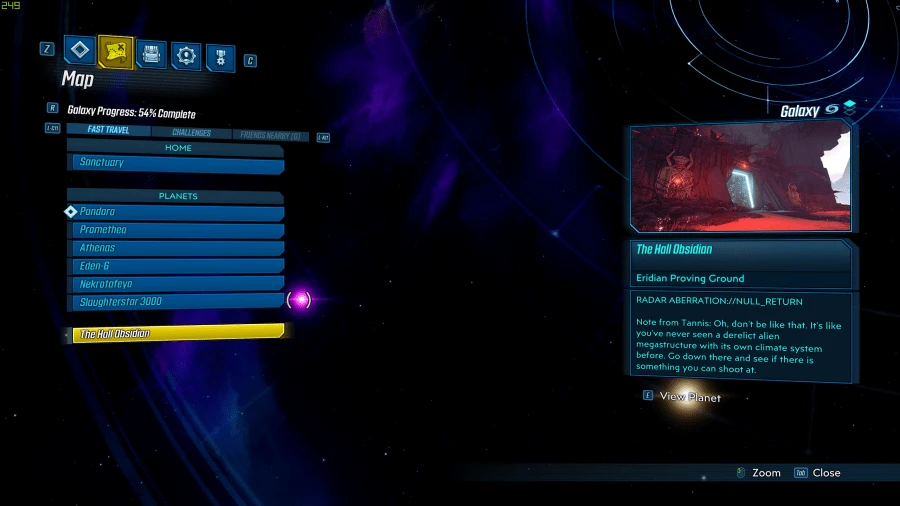
There are many more things you can do besides Mayhem Mode to keep you busy and each of them is very different. Keep in mind that all of this content can only be accessed after completing the main story.
Circle of Slaughter – There are 3 locations where you can fight a bunch of enemies in a wave-type system started by Mr. Torgue himself. The first Circle of Slaughter you can find is the “Cistern of Slaughter” in the middle of Meridian Metroplex. This is easy to overlook if you aren’t actively looking for it. Once inside that location, there’s an NPC with a quest marker you must talk to start the circle of slaughter, then take the elevator down.
Near the end of the game, the story takes you through an area called Konrad’s Hold. Near the end of the area, there’s the entrance to The Slaughter Shaft. Once inside, talk to the NPC there to begin the Circle of Slaughter. This is found on the last planet. It’s part of side quest “Slaughterstar 3000”, which only shows up when you get really close to its location.
By default it doesn’t show up on the map, you must go there yourself to see the quest marker. Accept the mission and it will have you return to Sanctuary. Do so and interact with the console in the command room. Then the mission will start for you and you can enjoy the round.
Proving Grounds – To activate the Proving Grounds, you’ll need to discover Eridian Writings scattered throughout the galaxy. These writings will point you towards coordinates on certain planets where you can begin missions that put you up against tougher threats but reward you with high-tier loot. It can only be accessed after the main story. Here are all the Proving Grounds you are able to do in Borderlands 3:
- Trial of Survival – Pandora, Devil’s Razor
- Trial of Cunning – Pandora, The Splinterlands
- Trial of Discipline – Promethea, Meridian Outskirts
- Trial of Instinct – Eden-6, Floodmoor Basin
- Trial of Fervor – Eden-6, Jakobs Estate
- Trial of Supremacy – Nekrotafeyo, Desolation’s Edge
Guardian Token Upgrades – These are a new level-up system that allows for you to level up your Guardian Level and put special Guardian Tokens into special upgrades that permanently stay on your character. As you level up, there are a host of things to unlock like skins for your guns and characters and even more special abilities.
Season Pass – The Season Pass starting at $29.99 USD will contain a bunch of Butt Stallion weapon skins and trinkets and 4 DLCs that will be released seasonally over the course of a year. Each DLC will add new planets, side missions, storylines, and much more. If you are a huge fan of the game, then this is definitely worth a buy.
Conclusion
In conclusion, Mayhem Mode is a good addition to the series because it brings something different to the table. Not only can you farm for that good loot in your first playthrough unlike all the other games, but you can also now level up a lot faster than normal because of all the extra experience given to you.
I am actually really happy for all the endgame content that was put into the game because even when you beat the main story, there is still tons more for you to do after. It is definitely not one of those games where you beat the story and then move on to another game, and that is what sets this game apart from the others.

