Red Dead Redemption 2 is all about the dream of living the outlaw life of the west but what good will it do if you are always broke and have to rely on petty crimes to make ends meet? Fortunately, Red Dead Redemption 2 is filled with all kinds of valuable things like gold bars that you can sell to get a good chunk of change.
If you are lucky enough to get a Gold Bar then you’re darn tootin’ be buying those expensive chaps you have your eyes on. So let us take luck out of the equation and tell you all the locations where you can find Gold Bars in Red Dead Redemption 2.
Gold Bars can be found in the following treasure hunts and locations in Red Dead Redemption 2:
- Landmark of Riches Treasure – 6 Gold Bars
- Strange Statues – 3 Gold Bars
- Limpany, Sheriff’s Office – 1 Gold Bar
- Train wreck at Cotorra Springs – 2 Gold Bars
- Rhodes hidden gold bar – 1 Gold Bar
- Jack Hall Gang treasure – 2 Gold Bars
- High Stakes treasure – 3 Gold Bars
- Poisonous Trail treasure – 4 Gold Bars
- Annesburg Sketched Map – 1 Gold Ingot
- Braithwaite Manor – 1 Gold Bar
- The Elemental Trail treasure – 1 Gold Bar
Landmark of Riches Treasure
The Landmark of Riches is a series of landmarks strewn all over the map which upon investigation will reveal a small treasure and the location of other landmarks. This treasure will be available from the start of Chapter 2.
There are a total of 5 landmarks to examine and search. Starting 4 landmarks will only give some minor treasures but the last landmark will reward a whopping 6 Gold Bars.
Related: How To Use Dead Eye In Red Dead Redemption 2
Landmark # 1
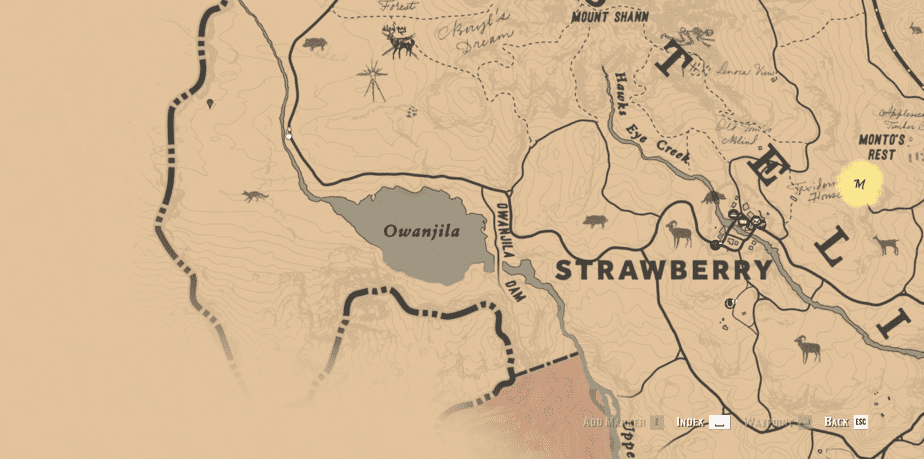
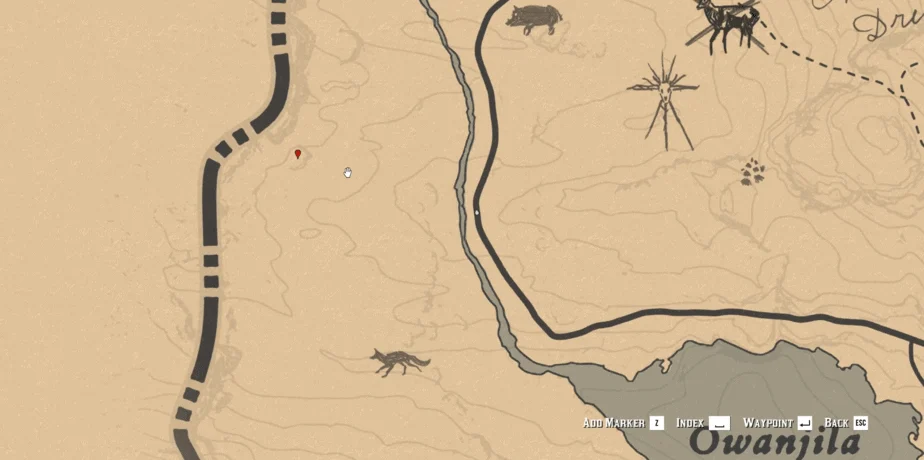
The first landmark is west of the town of Strawberry, just above Owanjila lake. The location is marked on the maps above.
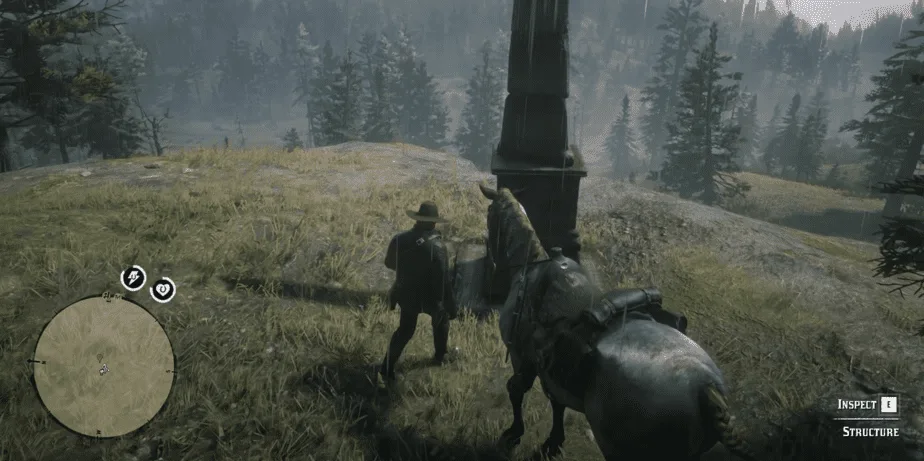
There will be a stone structure here which you can examine. Move around the structure and you will be prompted to “search”. Doing so will reward you with a picture of the next landmark.
Landmark # 2
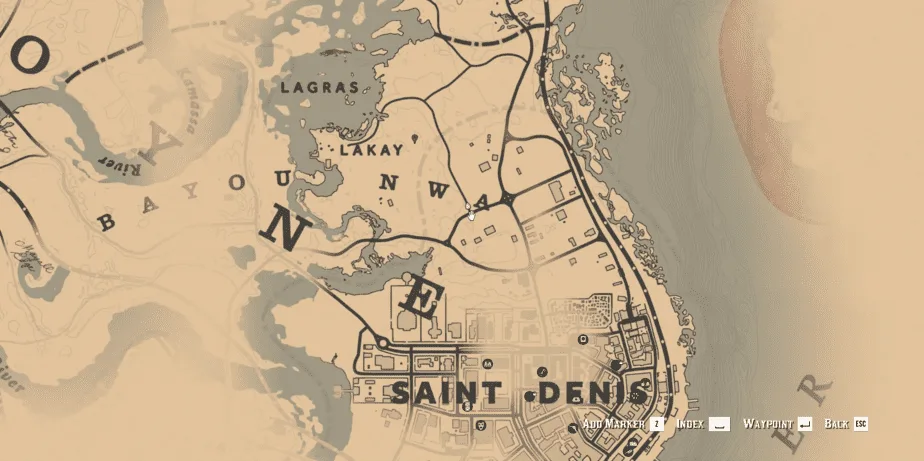
The 2nd landmark will be north of Saint Denis, near lake Lagras. The location is marked on the map above.
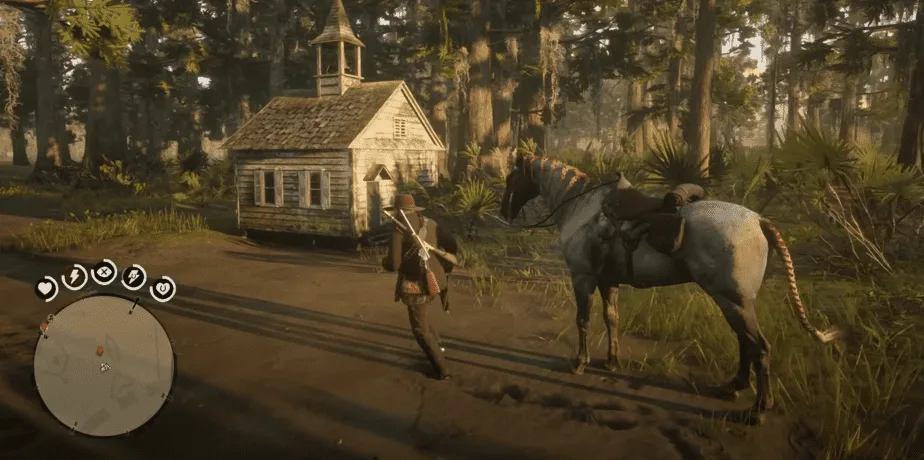
This is a very peculiar landmark. It is a tiny church that you can inspect and rattle your brain over as to who even uses this building.
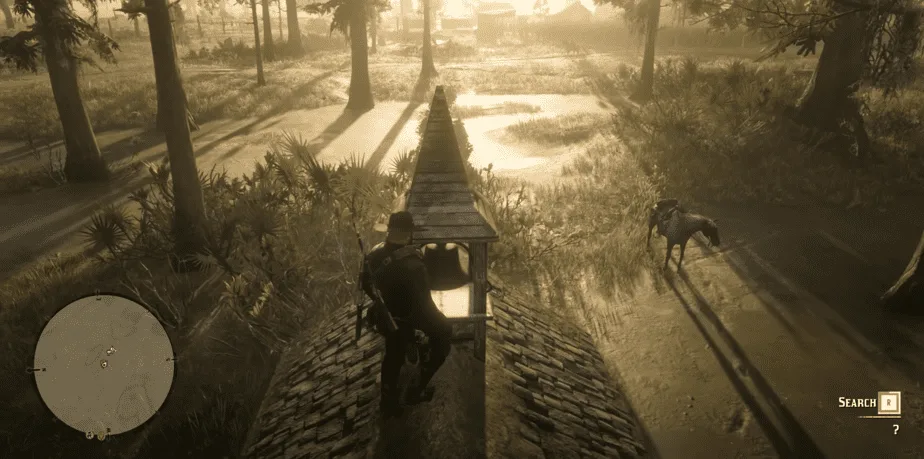
Climb the said church’s roof and search the backside of the bell on top. It will provide you with a picture of the next location you need to visit.
Landmark # 3
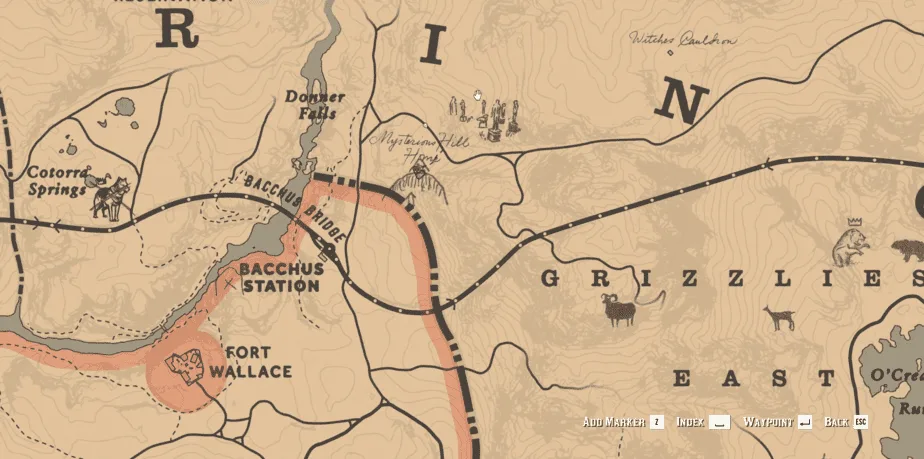
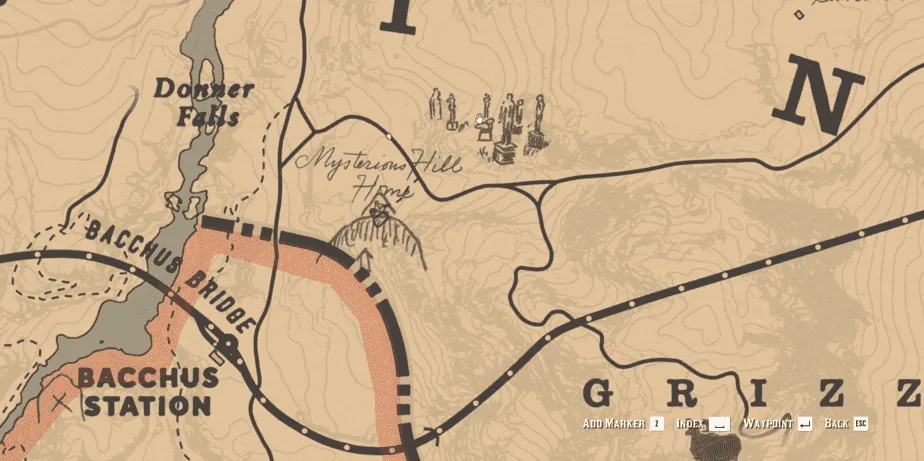
The next landmark is northeast of Fort Wallace, near Donner Falls. The location is marked on the map above.
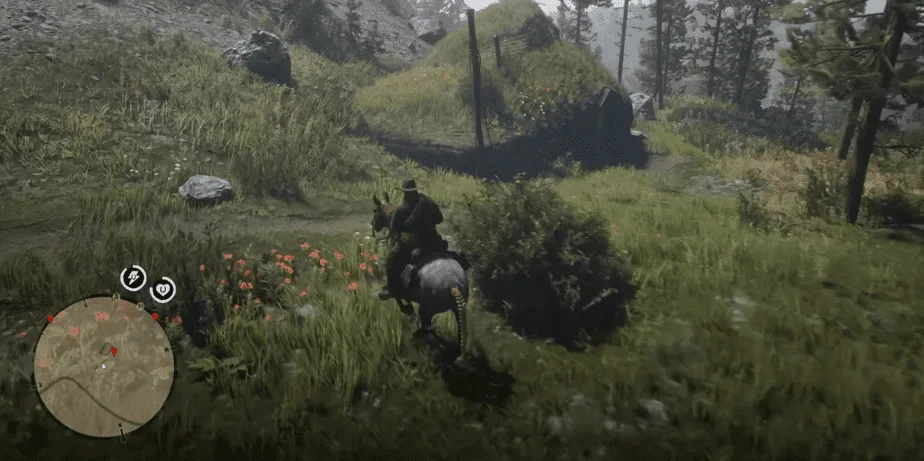
The landmark is dubbed Mysterious Hill Home and looks interestingly like a Hobbit’s dwelling from the Lord of the Rings series.
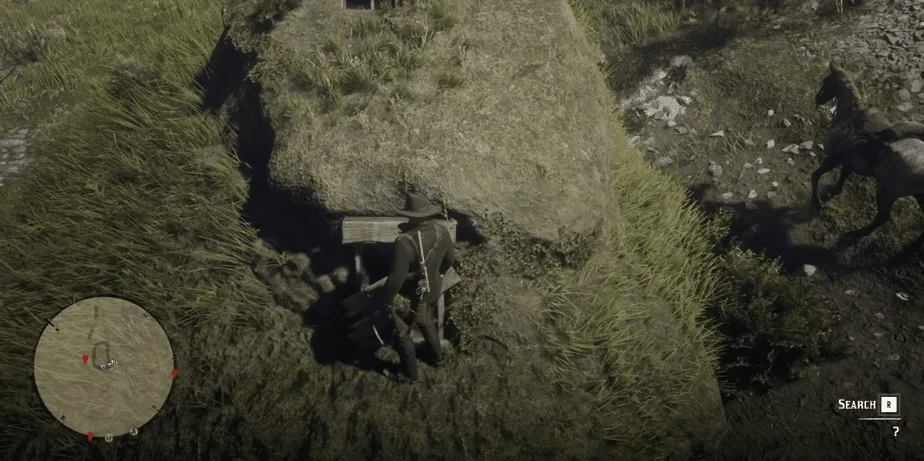
Move to the right side of this building and search the barred window on the roof to get the sketching of the next landmark.
Landmark # 4
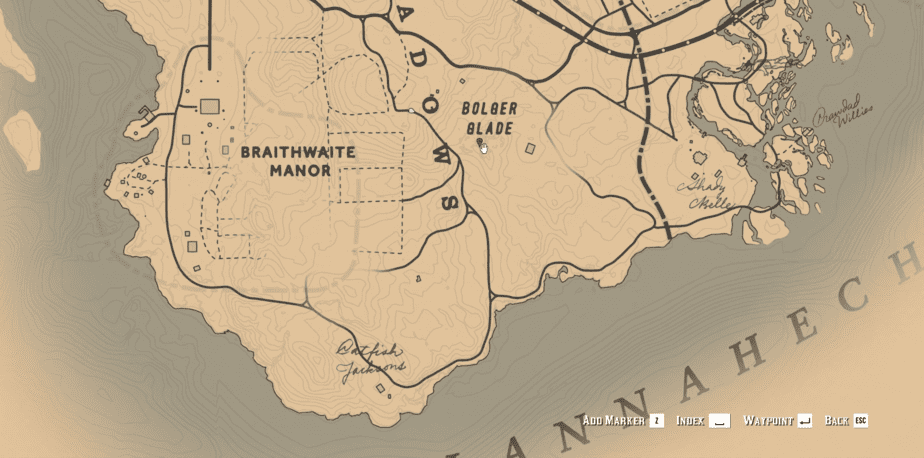
The 4th landmark is just east of Braithwaite Manor in the Bolger Glade. The location is marked on the map above.
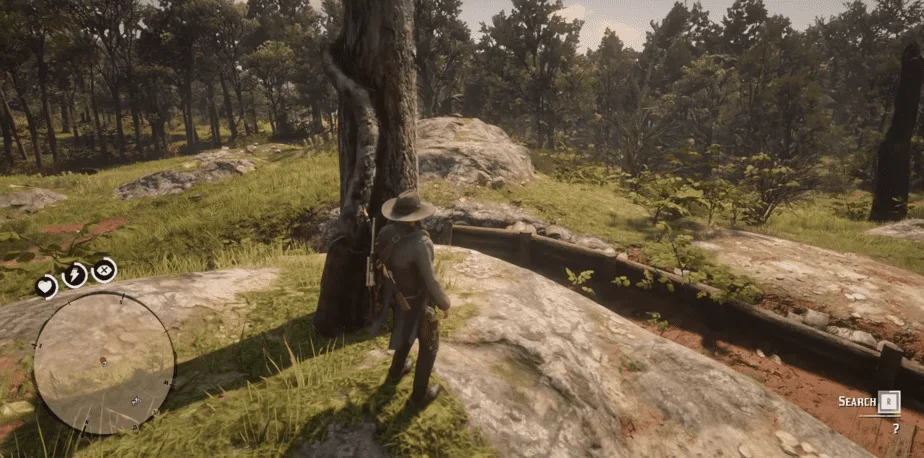
The area is the remnant of a civil war of sorts with trenches and rusted weaponry lying about. In the middle of this battlefield is a battered old tree which you can inspect. Search the tree and the location of the last landmark will be revealed.
Landmark # 5
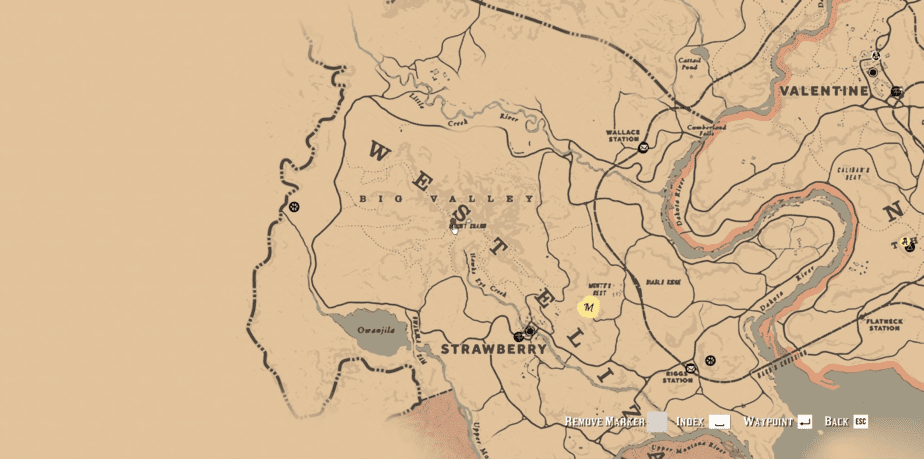
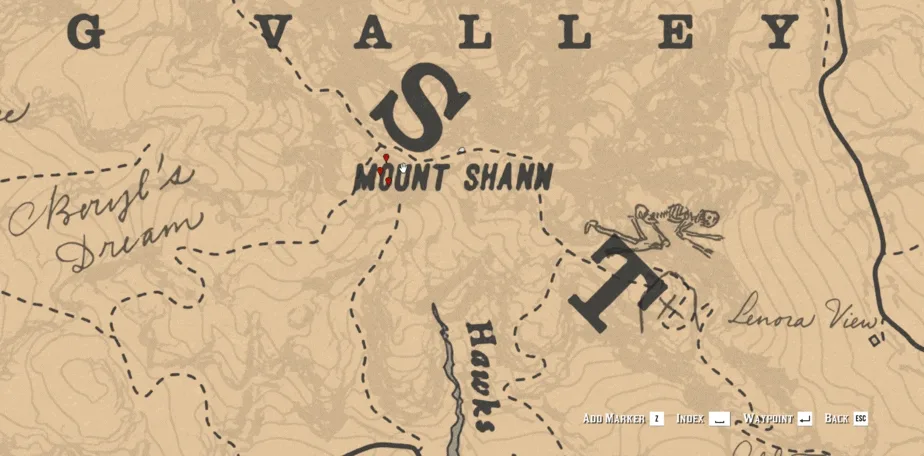
The fifth and last landmark will be on top of Mount Shann, north of Strawberry. The location is marked above.
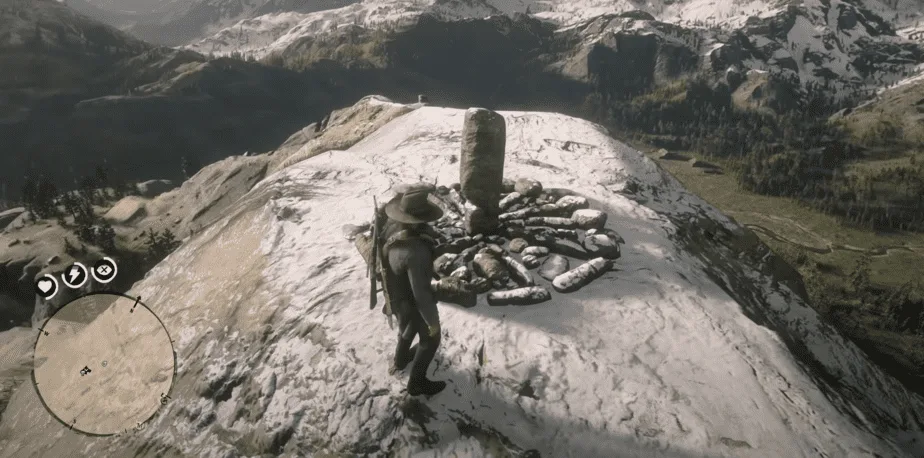
Take the mountainous track up to the peak and there you will find a small rock placement. This small rocky design is the landmark you have been waiting for the entire treasure hunt.
Look around the landmark and search the rock to get yourself 6 Gold Bars.
Related: How To Get Perfect Pelts In Red Dead Redemption 2
Strange Statues
The Strange Statues is a hidden puzzle that when solved will give you 3 Gold Bars.
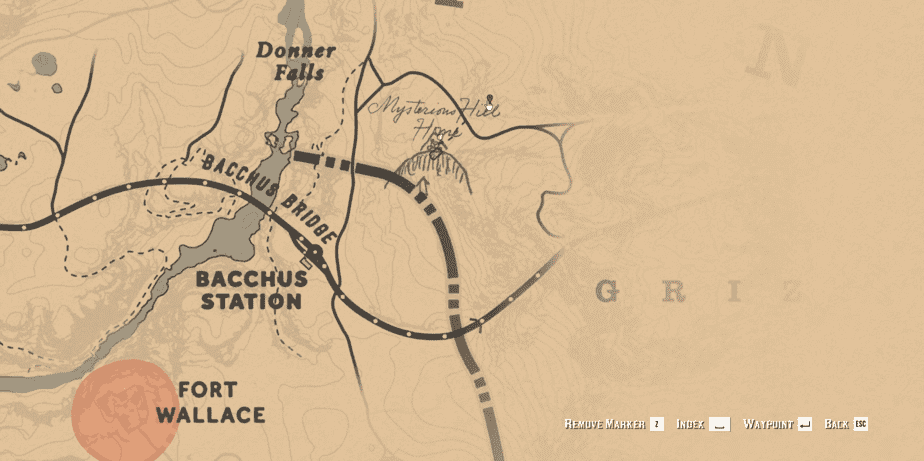
The Strange Statues are situated close to the Hobbit home we explored earlier, just north of it. The location is marked on the map.
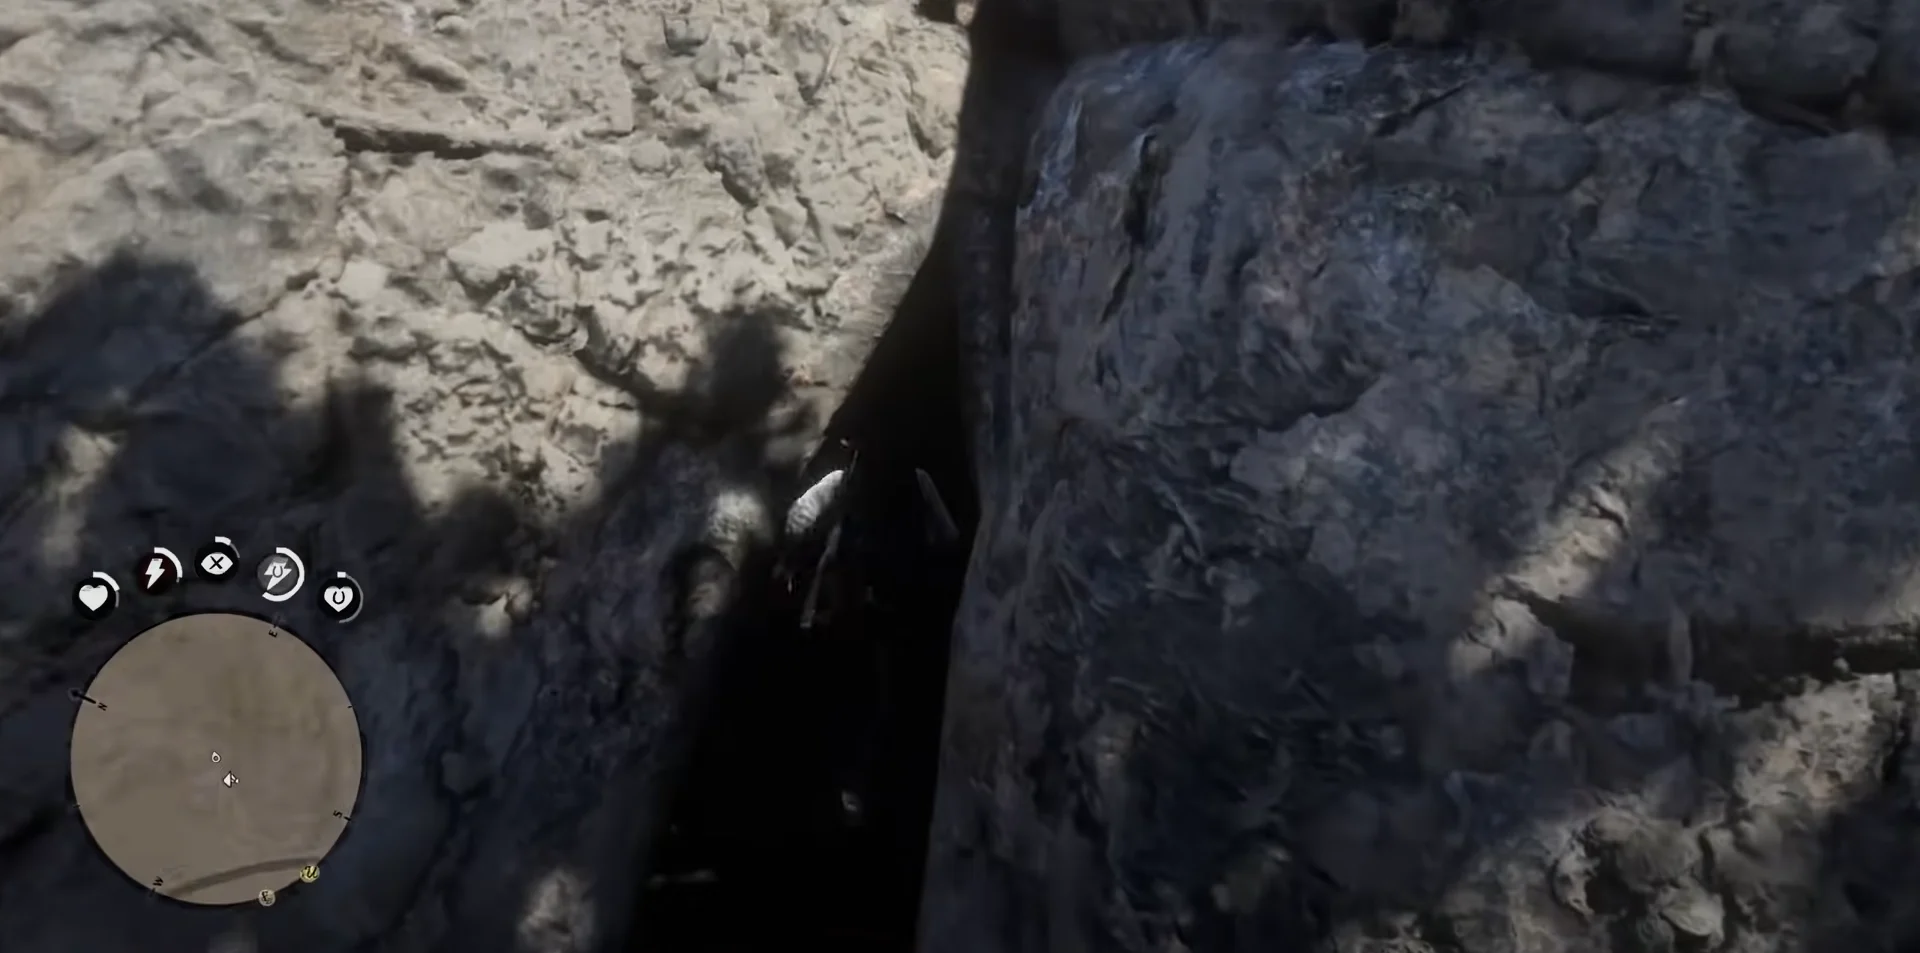
The Statues are underneath the hill marked above in a cave. You will have to find the entrance to it on the left side of the elevation (as seen above).
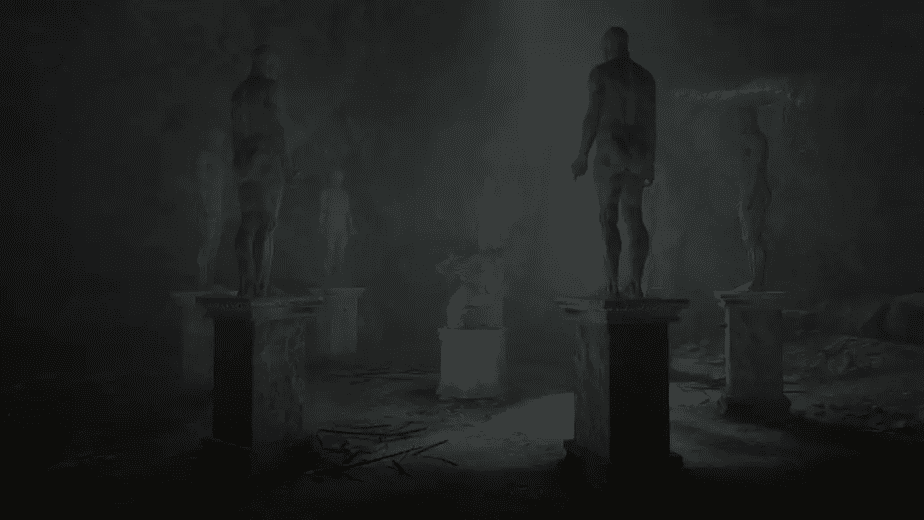
Keep walking straight inside the cave and soon you will enter a room with a bunch of Statues. Each statue will have a button under it which you can interact with.
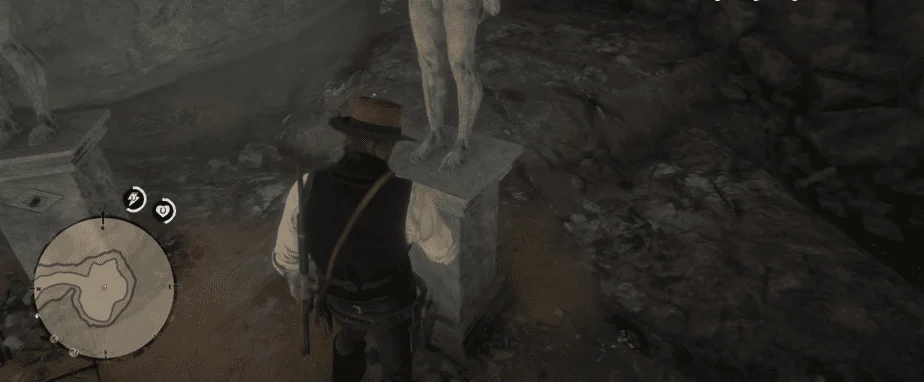
The solution to this puzzle is to press the button of all and only the Statues with the prime number of fingers showing i.e. 2,3,5,7. The fingers are easily visible so press them accordingly. The last statue will be missing an arm with three fingers which can be found on the ground in the corner of the room. Do not forget to press its button too.
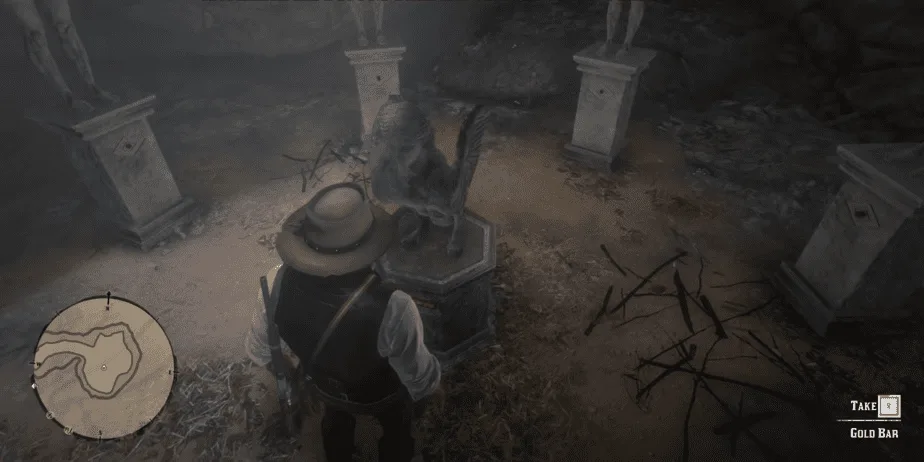
Once you have interacted with the right statues, the middle statue will open up and you can take 3 Gold Bars from it. If you have interacted with any wrong statue then simply walk behind the said statue and press the button behind it to reset it.
Limpany, Sheriff’s Office
This single Gold Bar is easy to find without jumping through many hoops and is available from the beginning of Chapter 2.
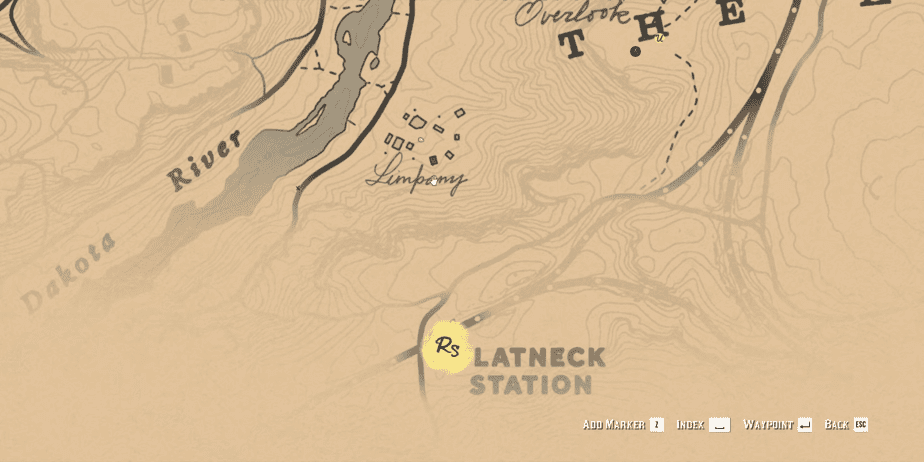
The town of Limpany is found south of Valentine, near Flatneck Station. The Location is marked above.
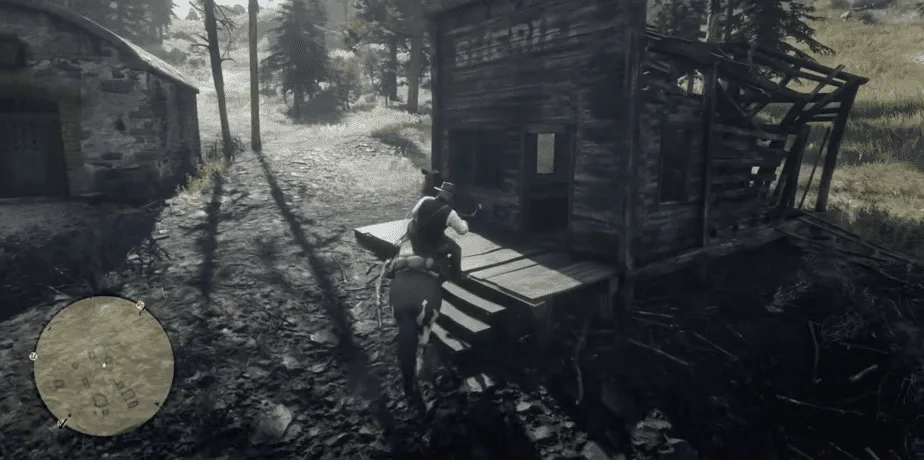
It is a small burned-up town with several tattered buildings. Go to the Sheriff’s Office as seen in the picture above.
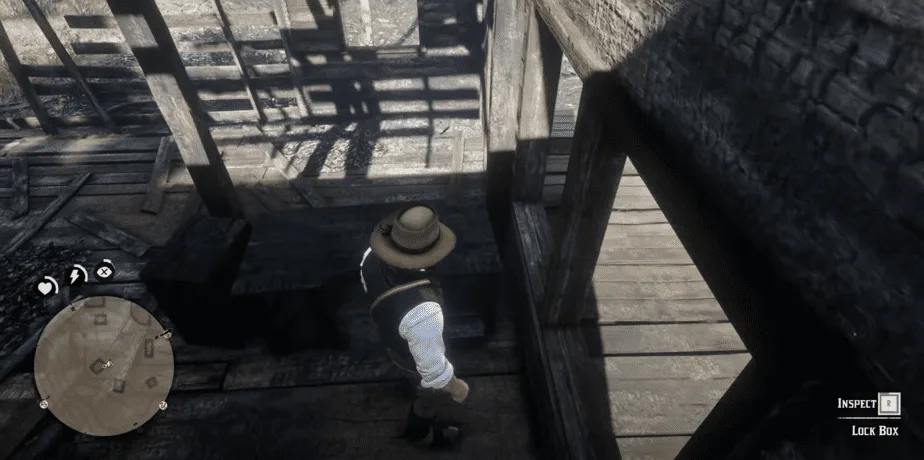
Walk behind the desk in the office and there you will find a lockbox underneath the table. Inspect the box to get your hands on a Gold Bar.
Related: What Makes Red Dead Redemption 2 A Masterpiece?
Train Wreck at Cotorra Springs
There is a train wreck near Cotorra Springs that is hiding 2 Gold Bars. It does require you to do a bit of platforming so be prepared for some jumping.
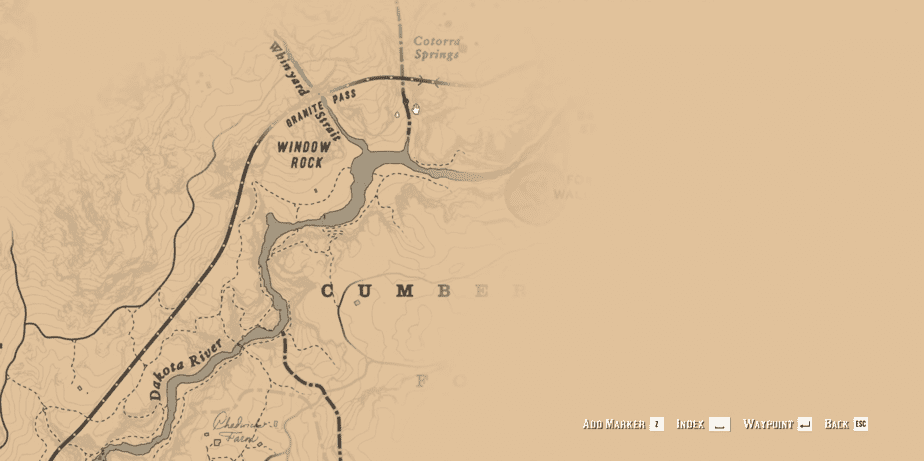
Just north of Valentine, near Cotorra Springs and Window Rock, there will be a train track bridge. Underneath this bridge, there will be a train wreck which you have to investigate. Use the river entrance to this site as coming from above can be quite treacherous.
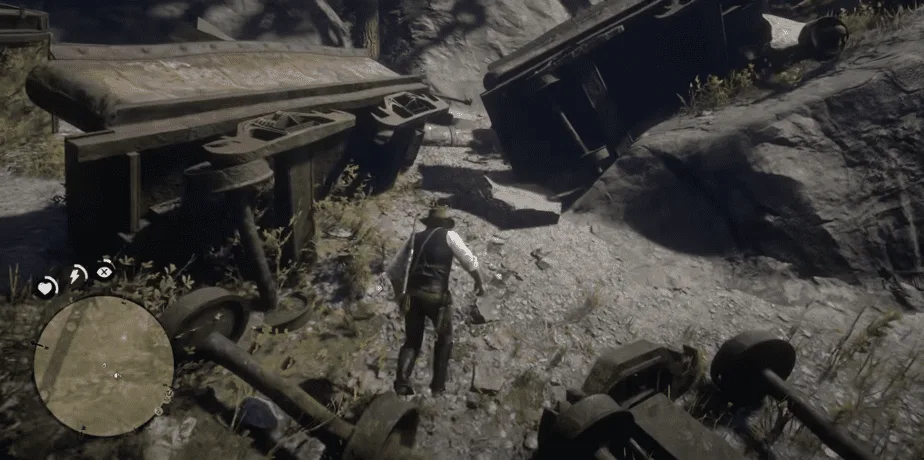
Firstly, you can loot the train car here to get some jewelry and cash. Then follow the path going up from between the turned coal cart (as seen above).
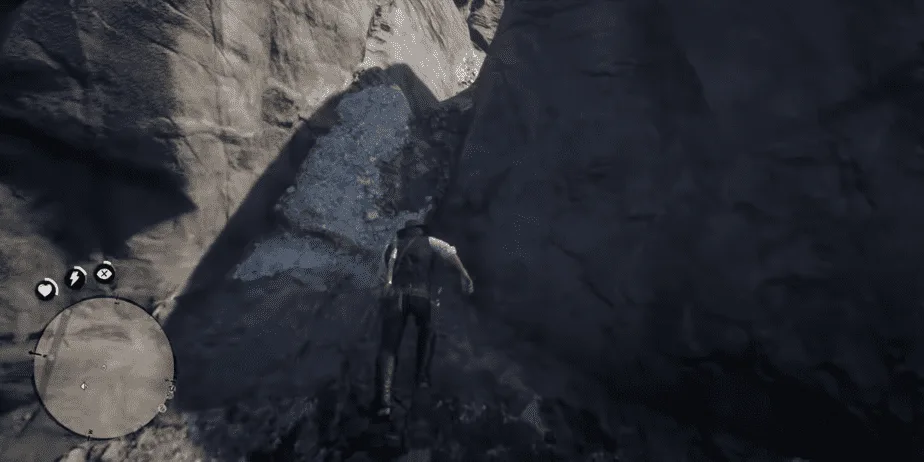
Keep following the path and eventually, you will see an opening in the cliff on your right (see the picture). Climb this opening by staying on the right side and keep pressing the jump button. Keep trying if you fail.
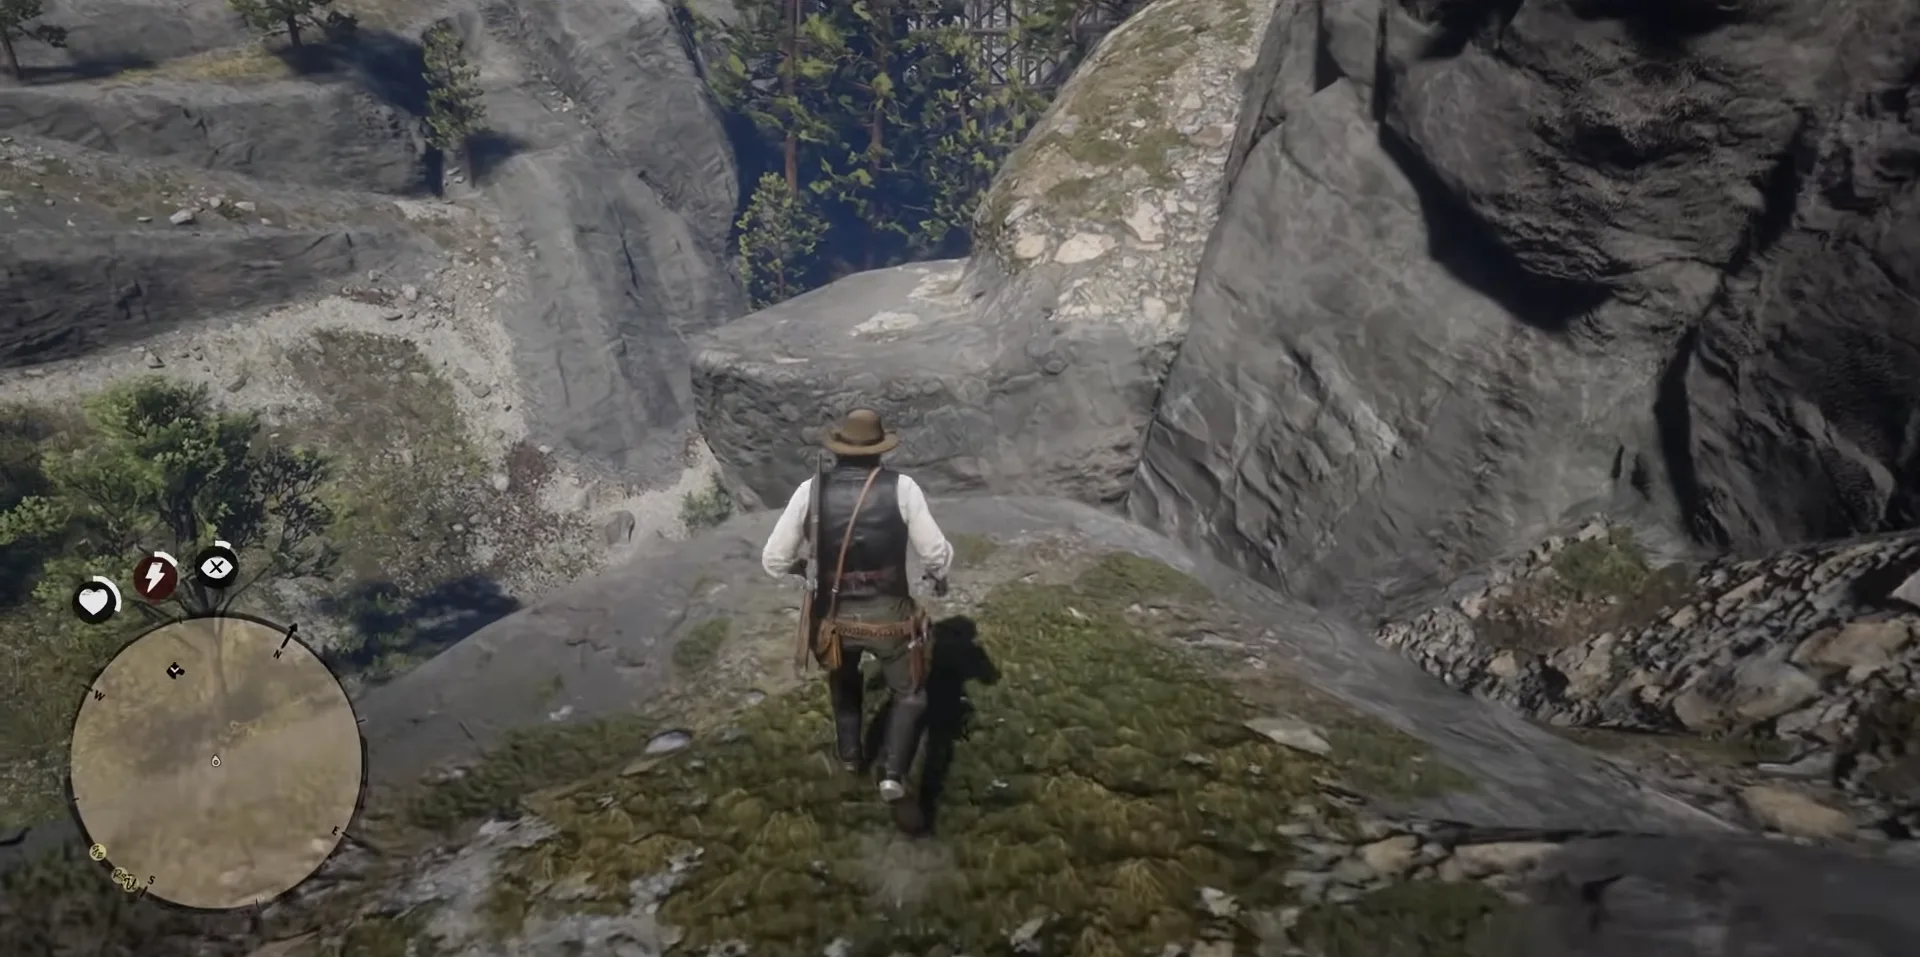
When you make it to the top then turn around and jump over the gap between. Be extra careful when timing your jump as it is farther away.
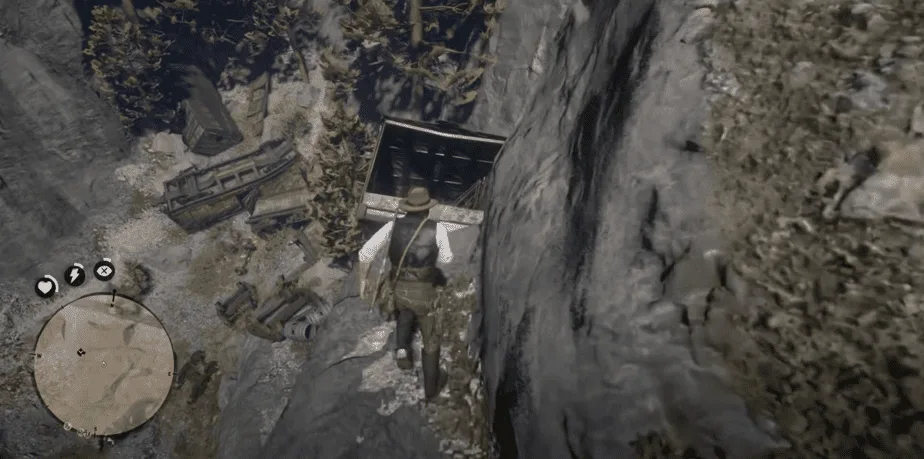
At the end of this ledge, there will be the opening of a train car. Jump inside it and make your way to the bottom of the car.
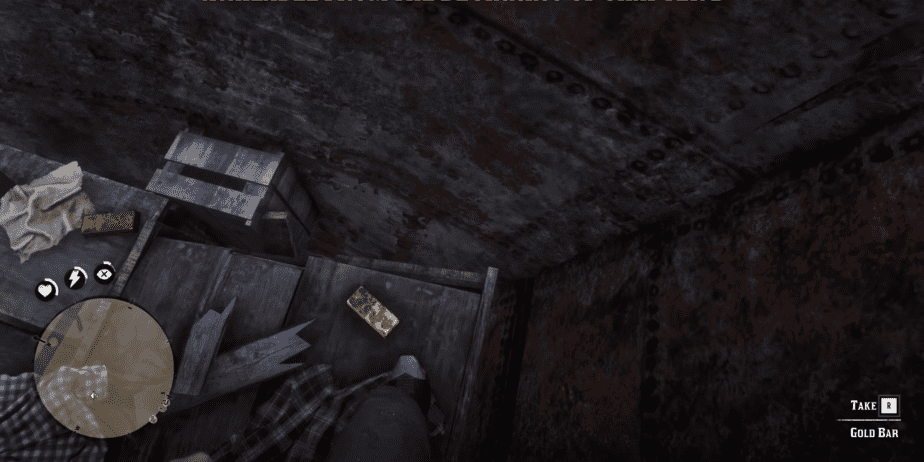
At the lowest level, you can find 2 Gold Bars lying on the ground.
Rhodes Hidden Gold Bar
This Gold Bar is not as straightforward to find as the rest. It depends on a Random encounter you come in contact with while roaming the world. It is available from the beginning of Chapter 2. You need to first save the Escaped Prisoners multiple times before the last encounter that rewards the Gold Bar becomes available.
Complete or find the initial Prisoner Escape encounters first and then follow the steps below. The Encounter is random hence we cannot pinpoint their exact locations.
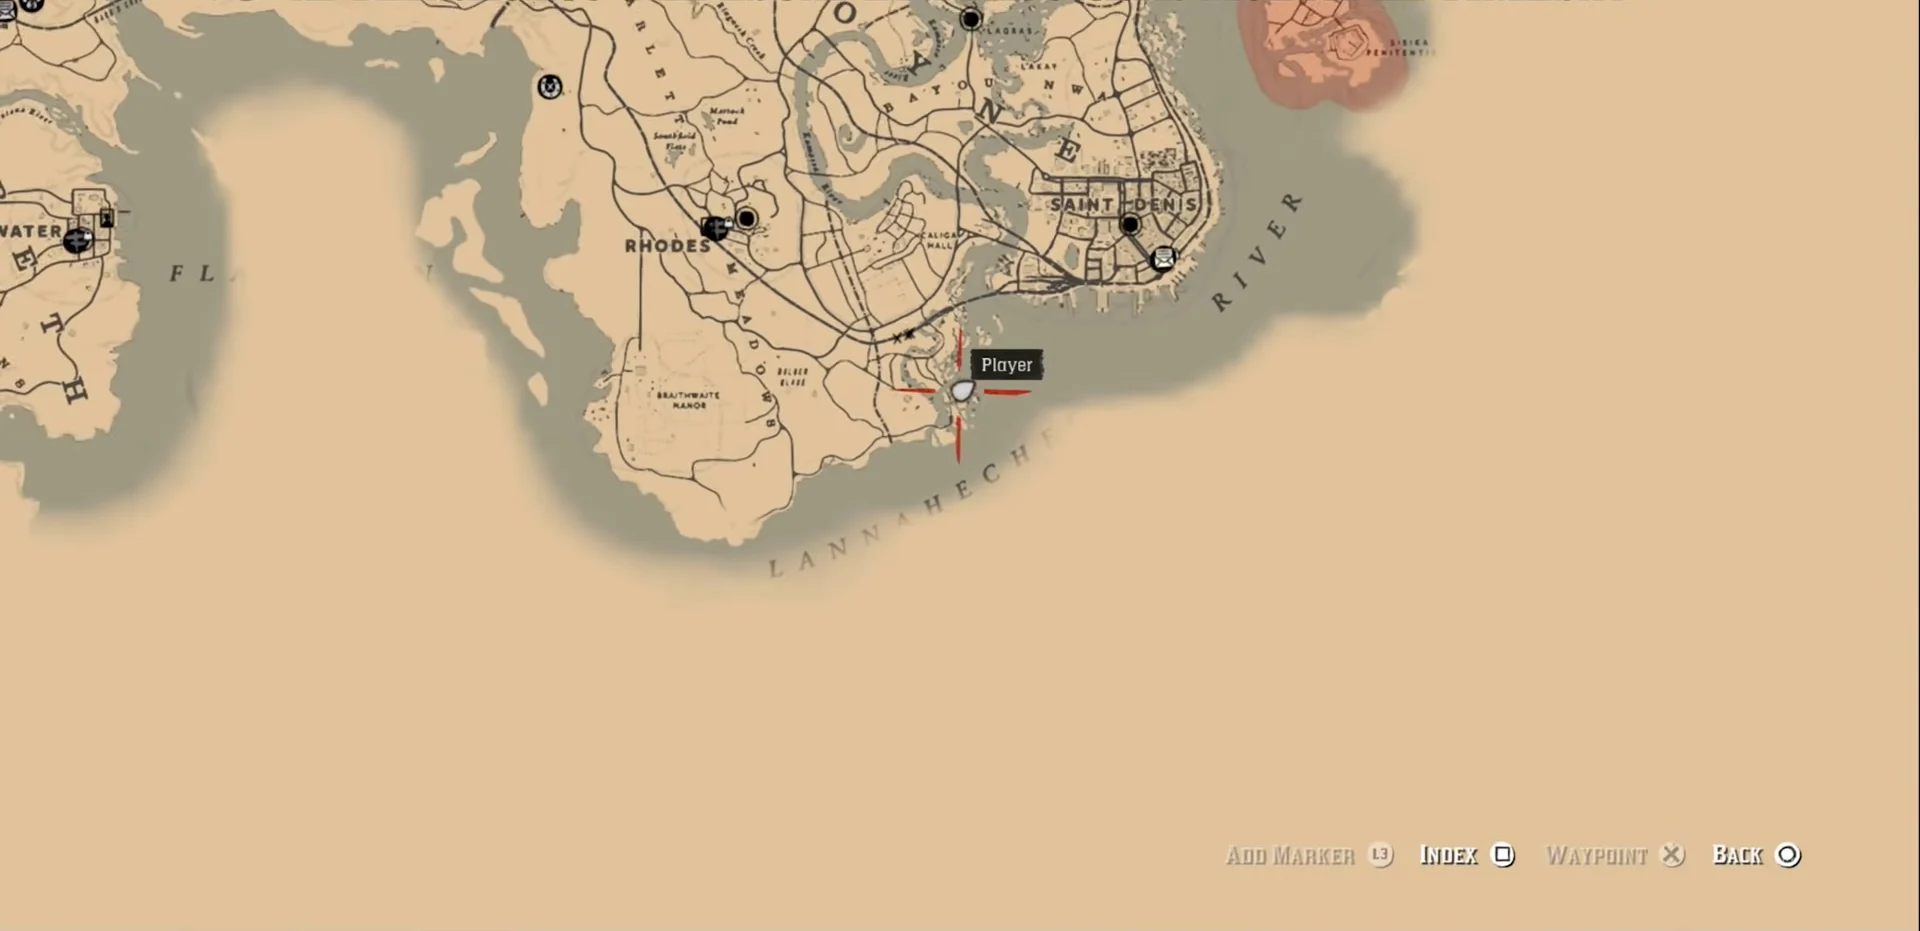
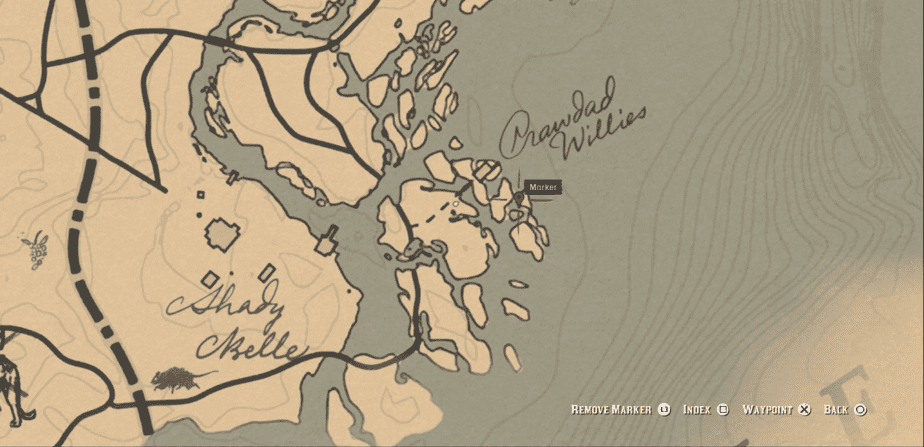
The last Escaped Prisoners encounter can be found at Crawdad Willies, southwest of Saint Denis or the extreme east of Braithwaite Manor. The location is marked on the map above.
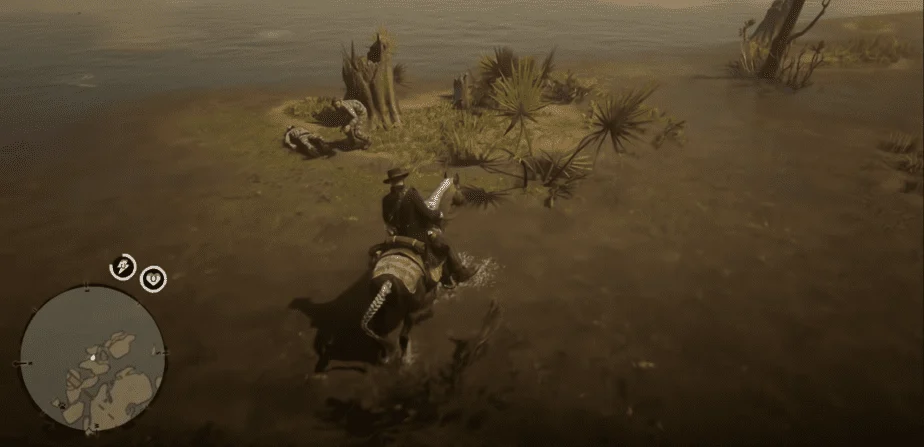
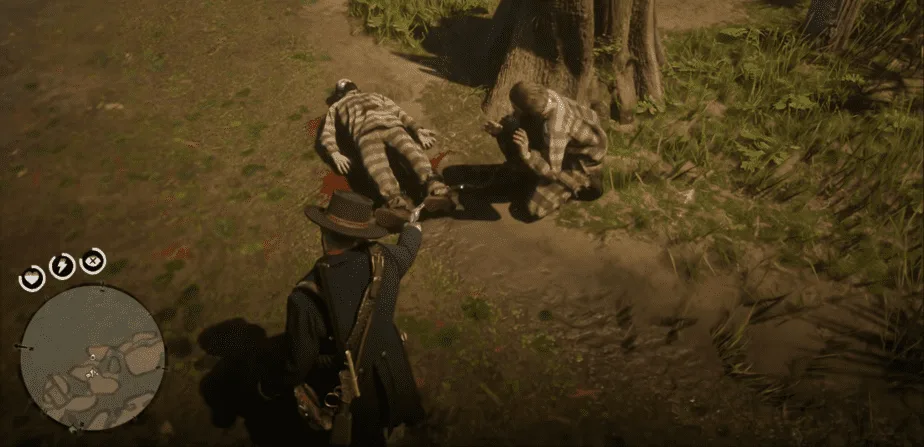
As you approach the prisoners, you will notice that one of them is dead while the other one is scared and stuck to the body with a leg chain. You just have to shoot the chain and release the poor guy from his misery.
For your generous act, he will reveal the location of a hidden stash near Rhodes.
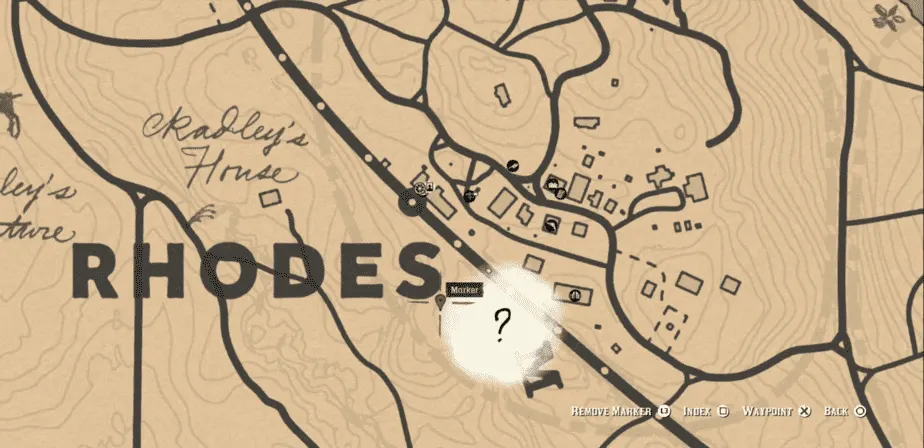
The location of the stash will be next to the town of Rhodes, southwest of the train tracks near a water tower. The location is marked on the map above.
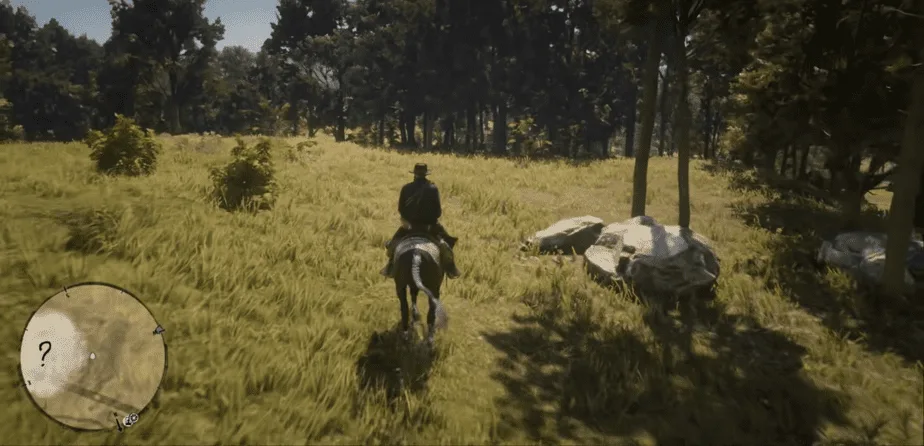
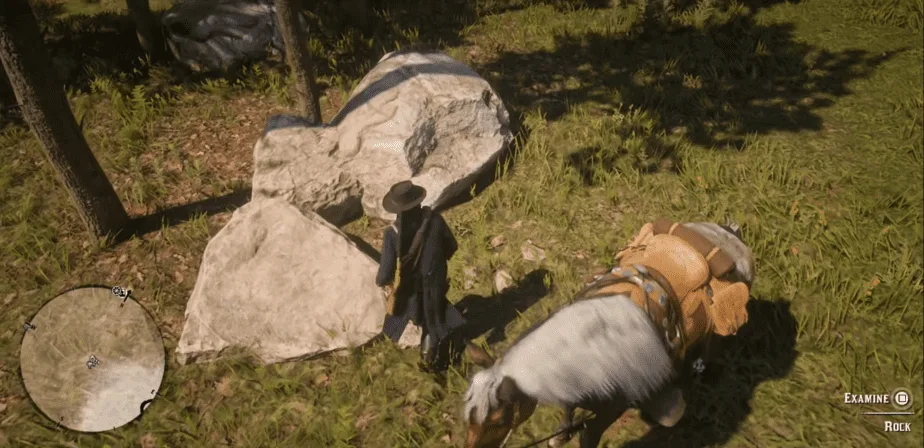
Reach the location and examine the rock (as seen in the picture above). You will find a Gold Bar under the rock.
Related: Red Dead Redemption 2 Ultimate Weapons Guide
Jack Hall Gang Treasure
The Jack Hall Gang Treasure hunt is a series of maps and locations that you will have to uncover to get 2 Gold Bars at the end. It is available from the start of Chapter 2. To begin this treasure hunt, you need to first find a stranger and buy the first map from him.
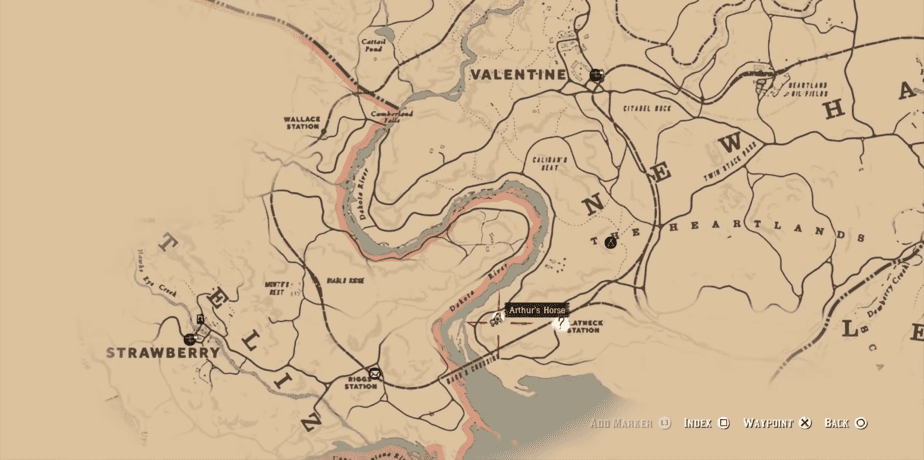
The Stranger will be situated south of Valentine, just west of the Flatneck Station. The location is marked on the map above.
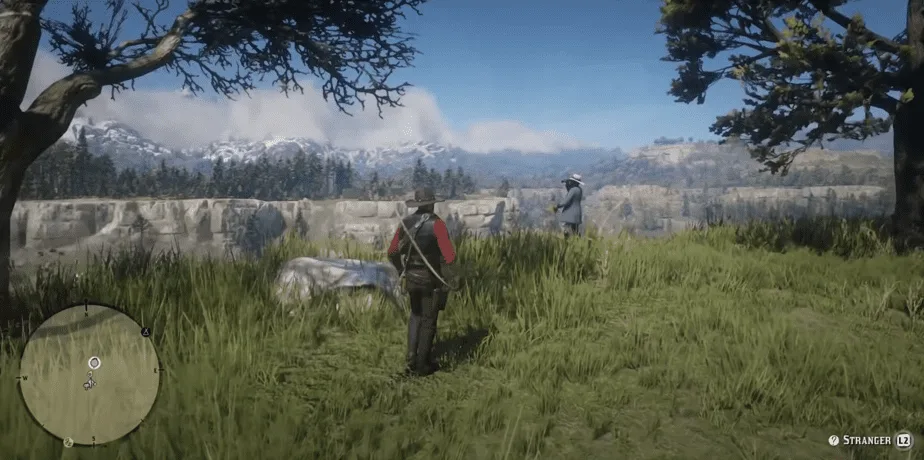
Locate the Stranger aka Maximo and talk to him. He will reveal that he has the map of the famous Jack Hall Gang and will sell it to you. Buy the first map from him and then begin your treasure-hunting adventure.
Jack Hall Gang Treasure # 1
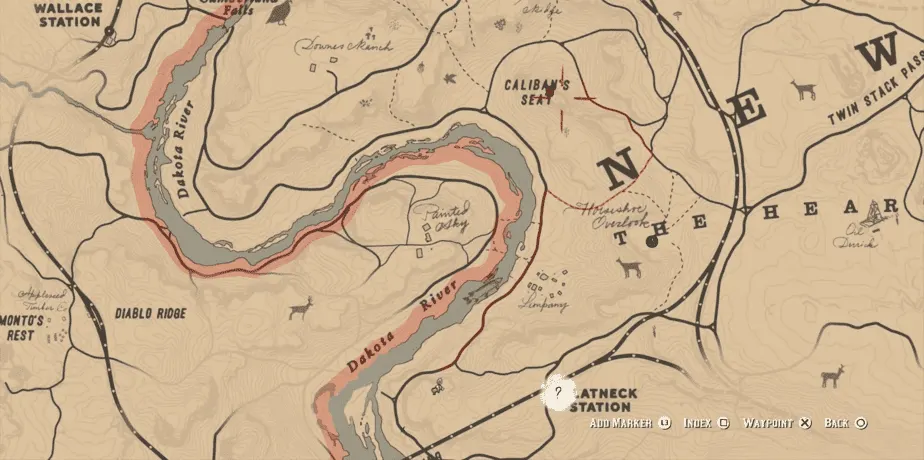
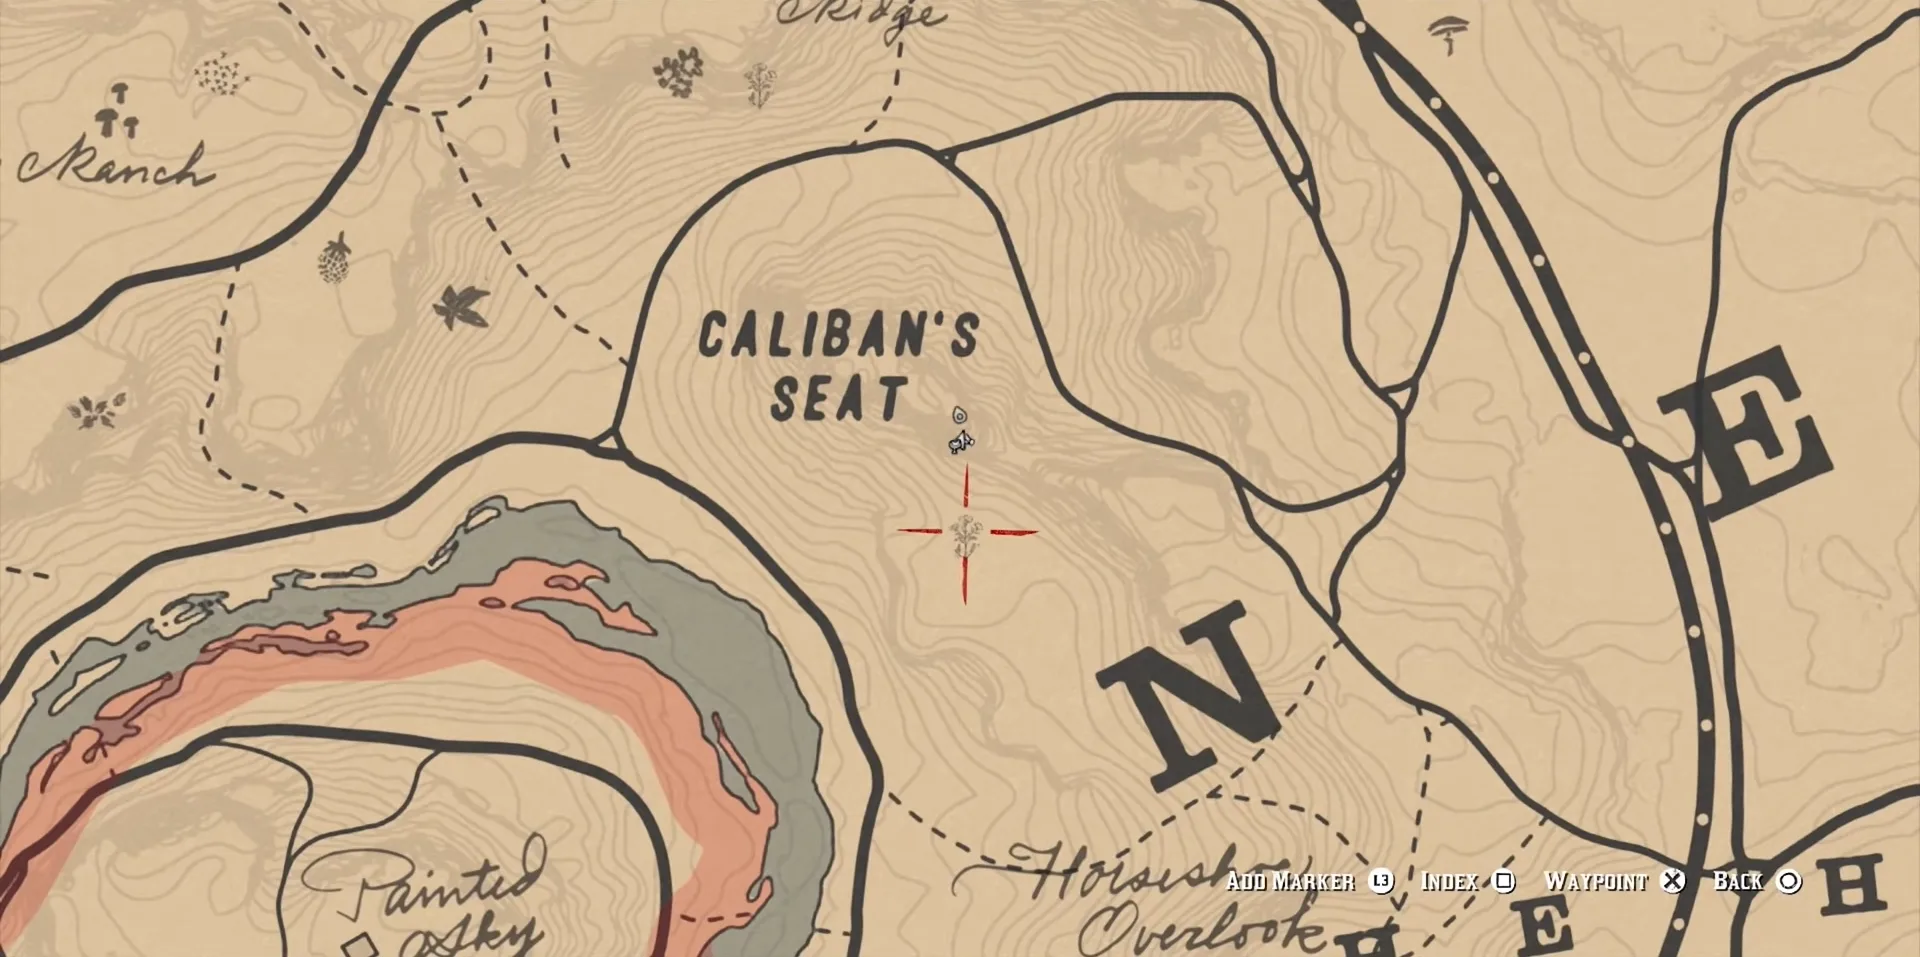
The first treasure can be found in Caliban’s Seat, north of the Stranger’s location. Consult the map above to see the exact location.
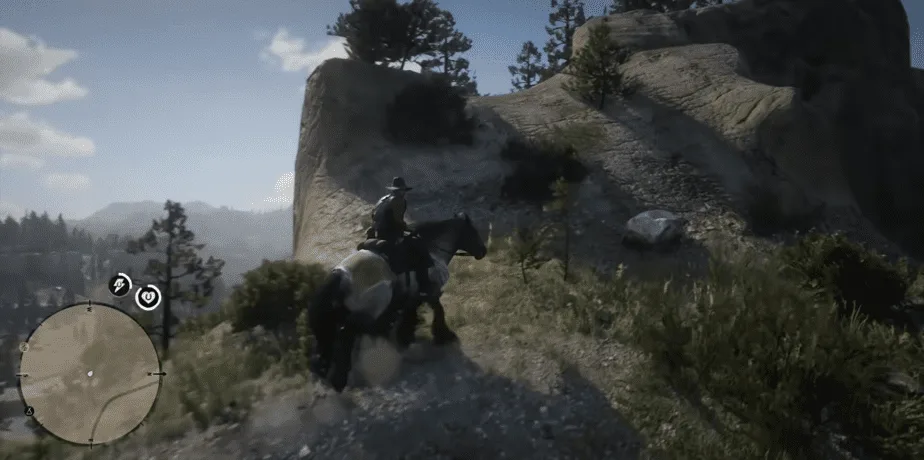
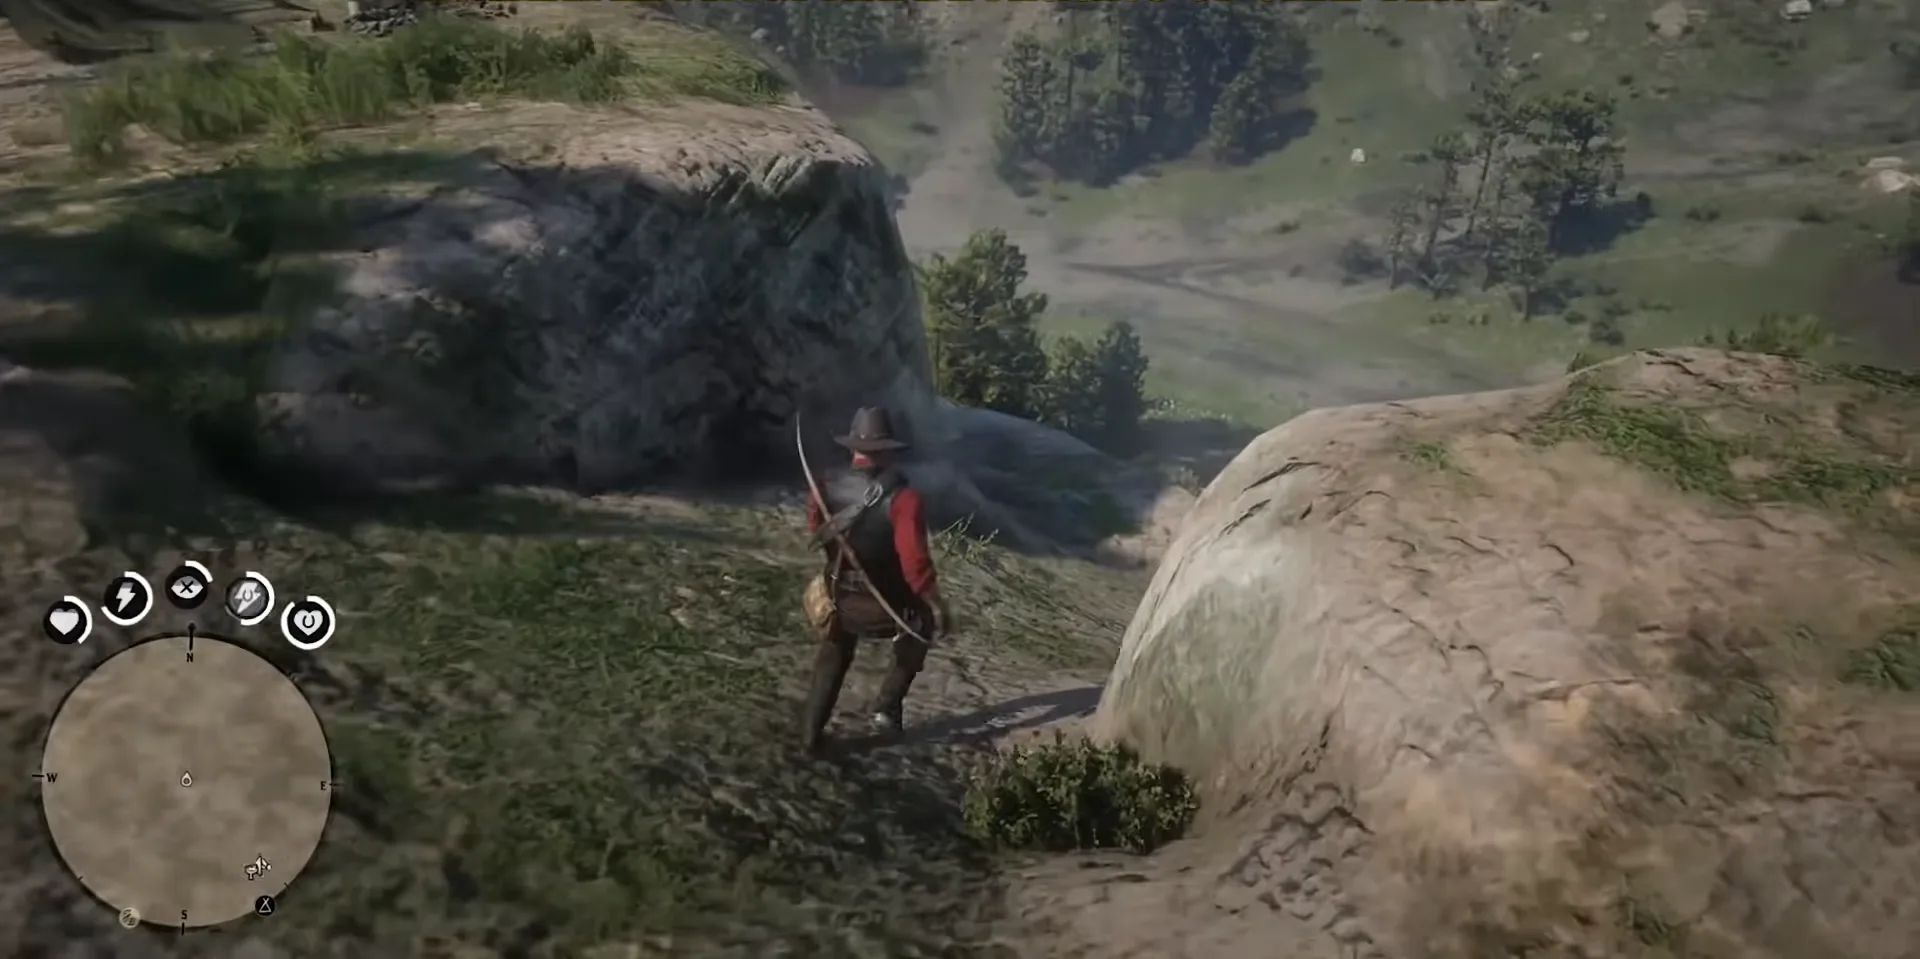
Go to the top of the hill and move straight ahead until you see a path going down (as seen in the picture above). Go down and take the left ledge and keep going straight.
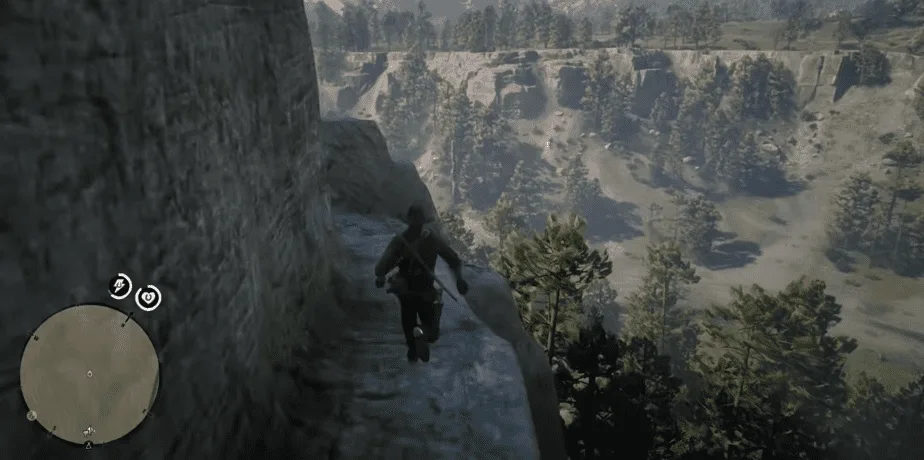
Keep moving forward while hugging the wall. Do mind the gap in between the path or else you will fall to your demise.
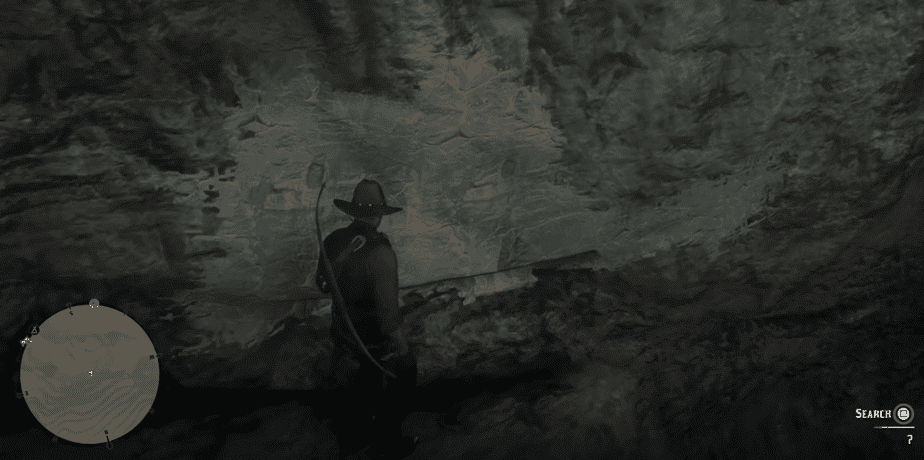
At the end of this path, you will come across a crack in the cliff. Search the crack and you will be given a Pearl Necklace and the second map of the treasure hunt.
Jack Hall Gang Treasure # 2
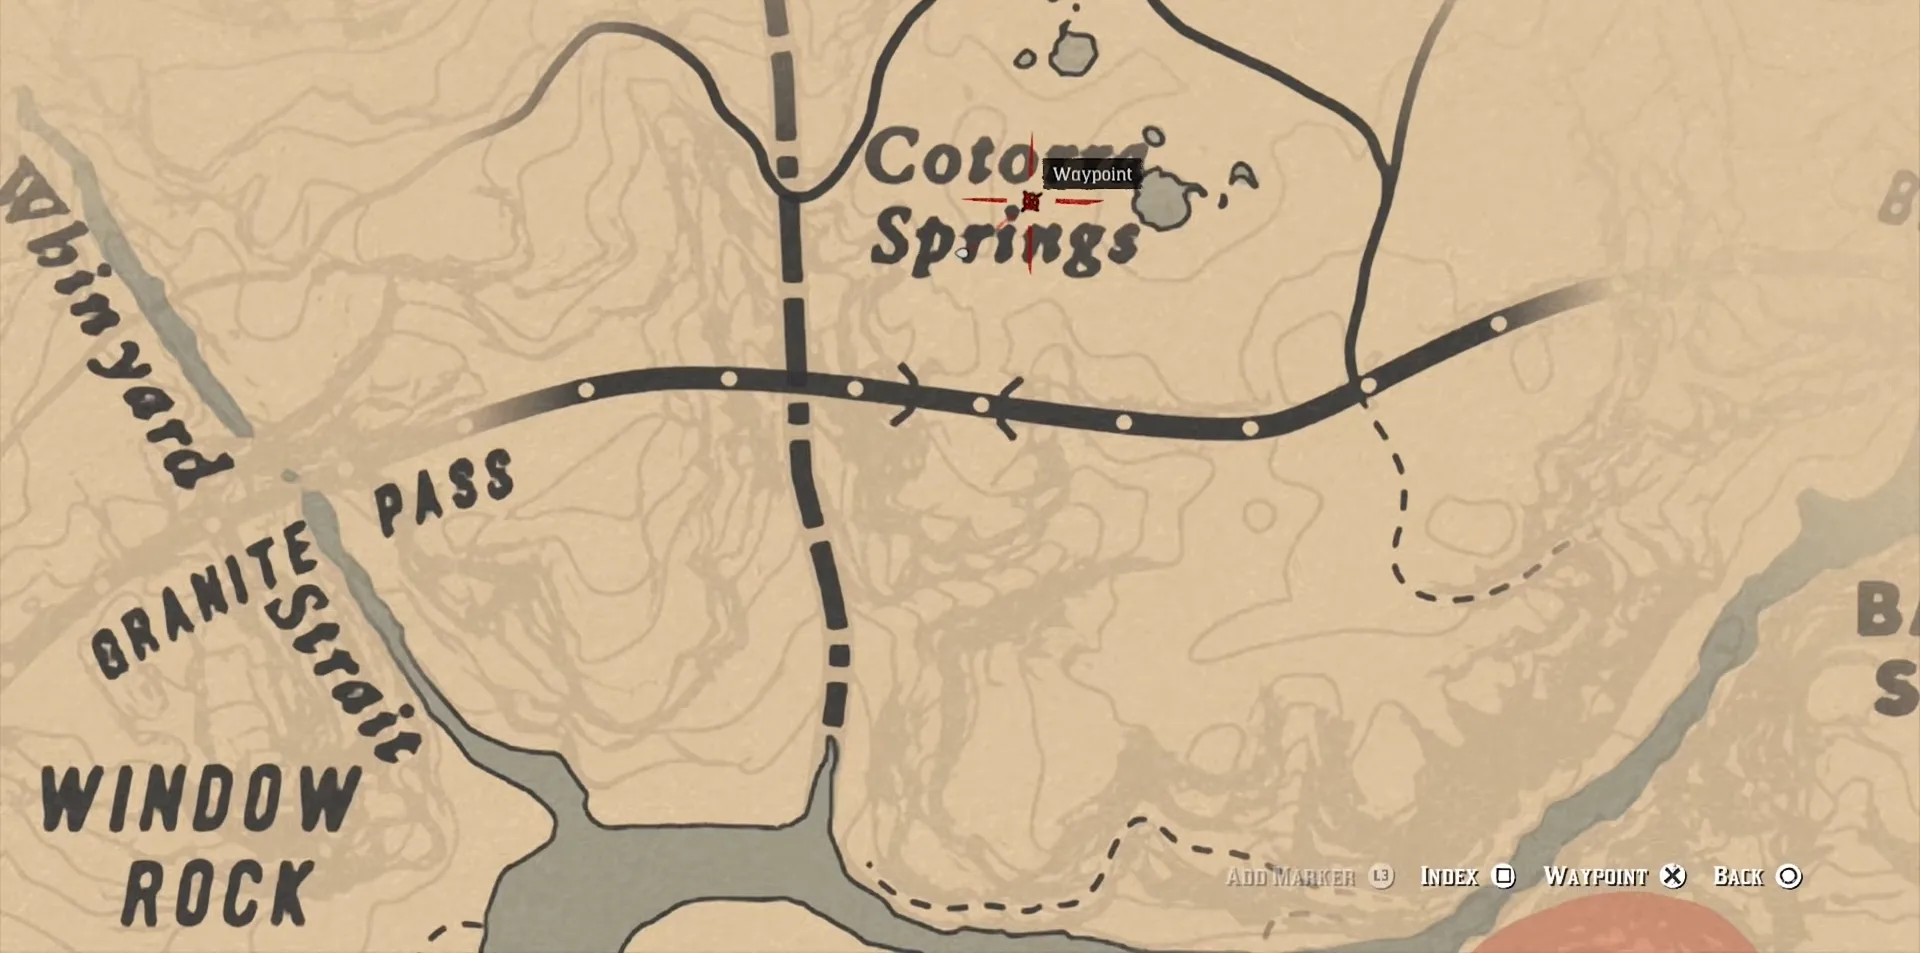
The second treasure’s location is at Cotorra Springs, east of Window Rock.
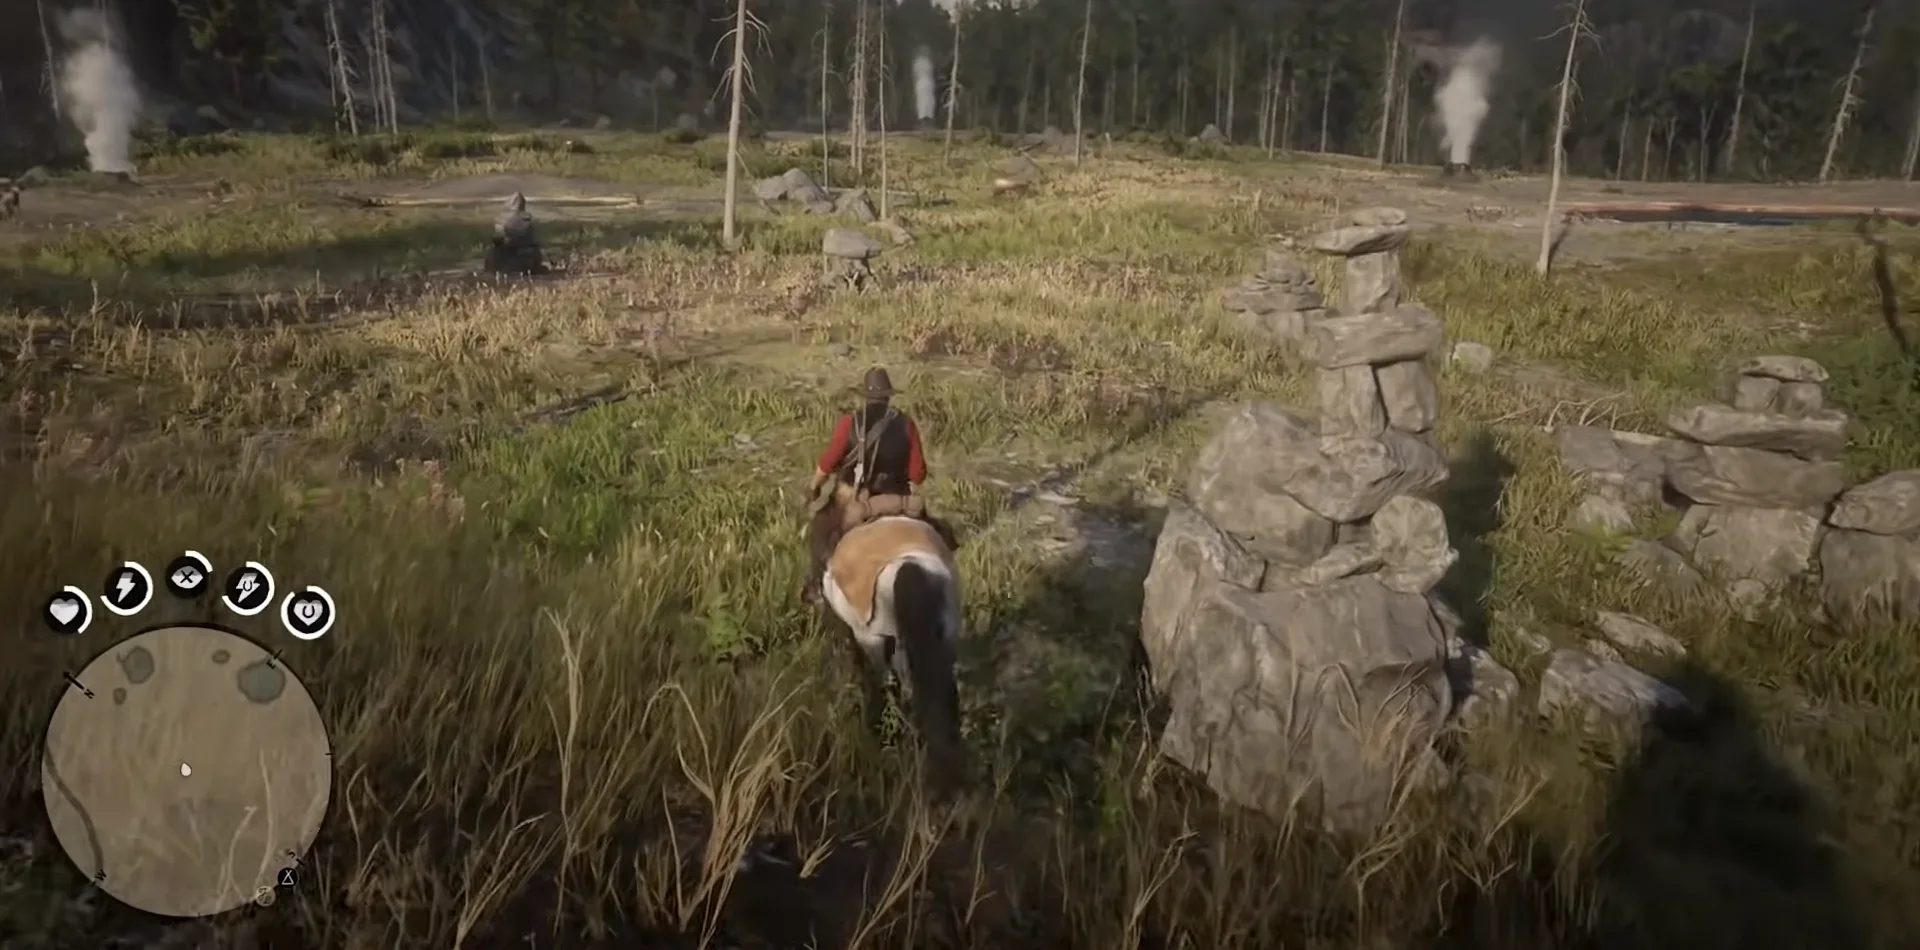
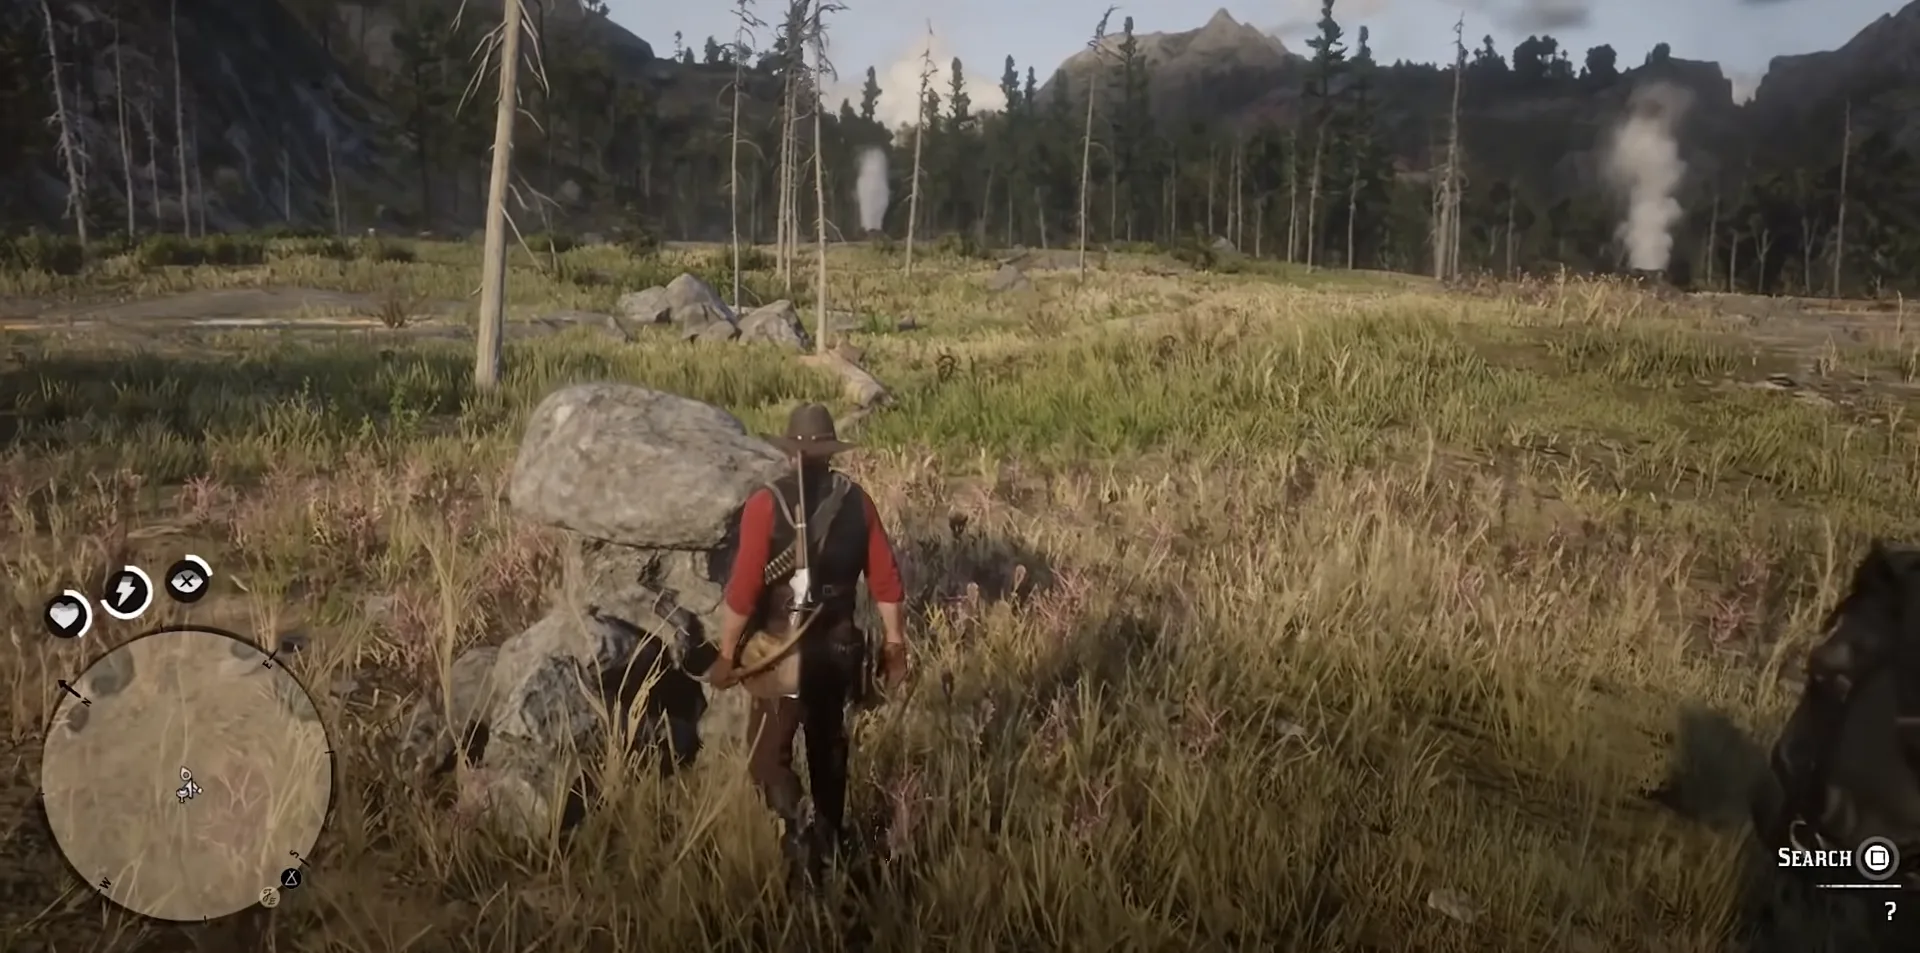
At this location, there will be a bunch of rock formations. Search the rock pointed out in the picture above and you will find 15 Dollars along with the thirst map. The hunt was supposed to be two maps according to the stranger, as exclaimed by Arthur, but we just have to continue to fill our gold greed.
Jack Hall Gang Treasure # 3
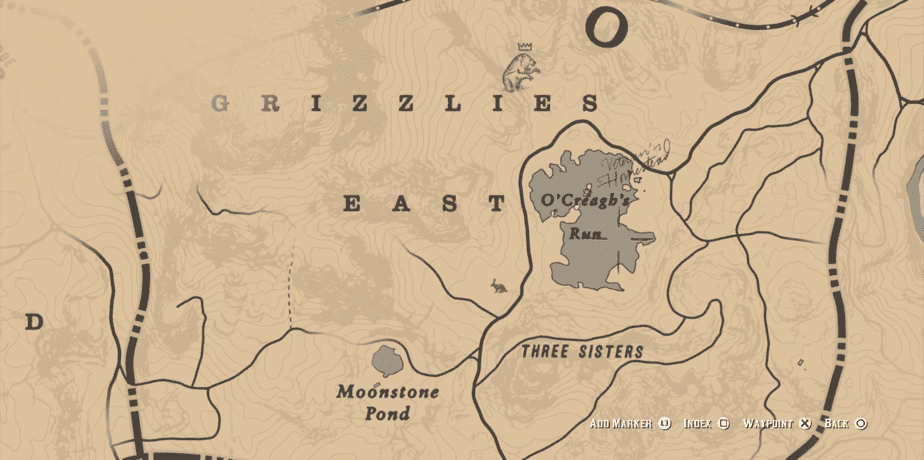
The third and final treasure lies in the O’Creagh’s Run lake, north of Emerald Ranch near the Three Sisters. The location is marked on the map above.
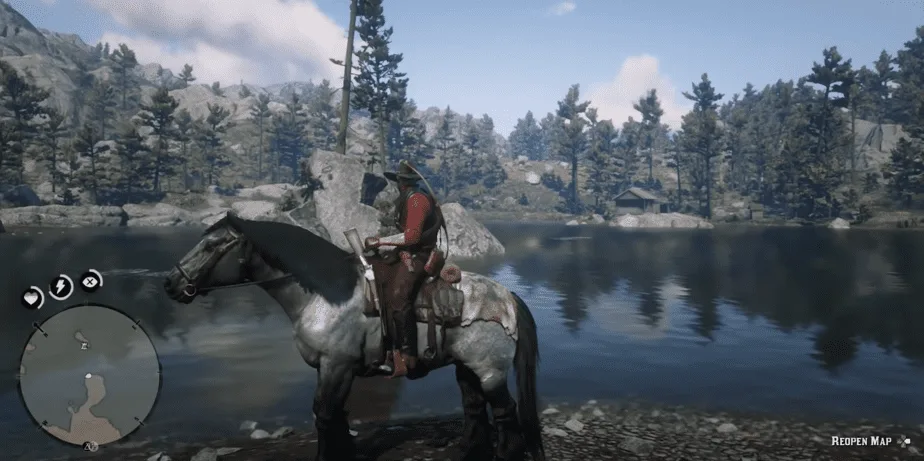
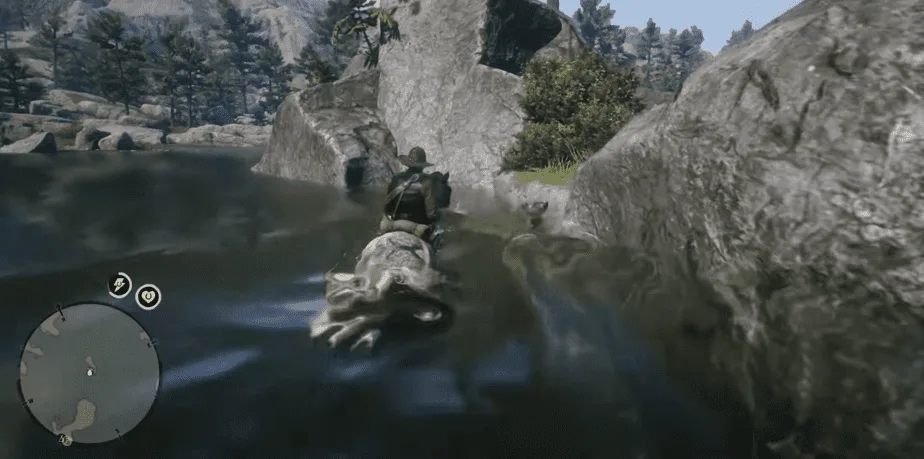
The island in the middle of the lake is where you have to go. Position yourself on the west side of the lake and swim towards the island. Make your way to the green patch on the west side of the island.
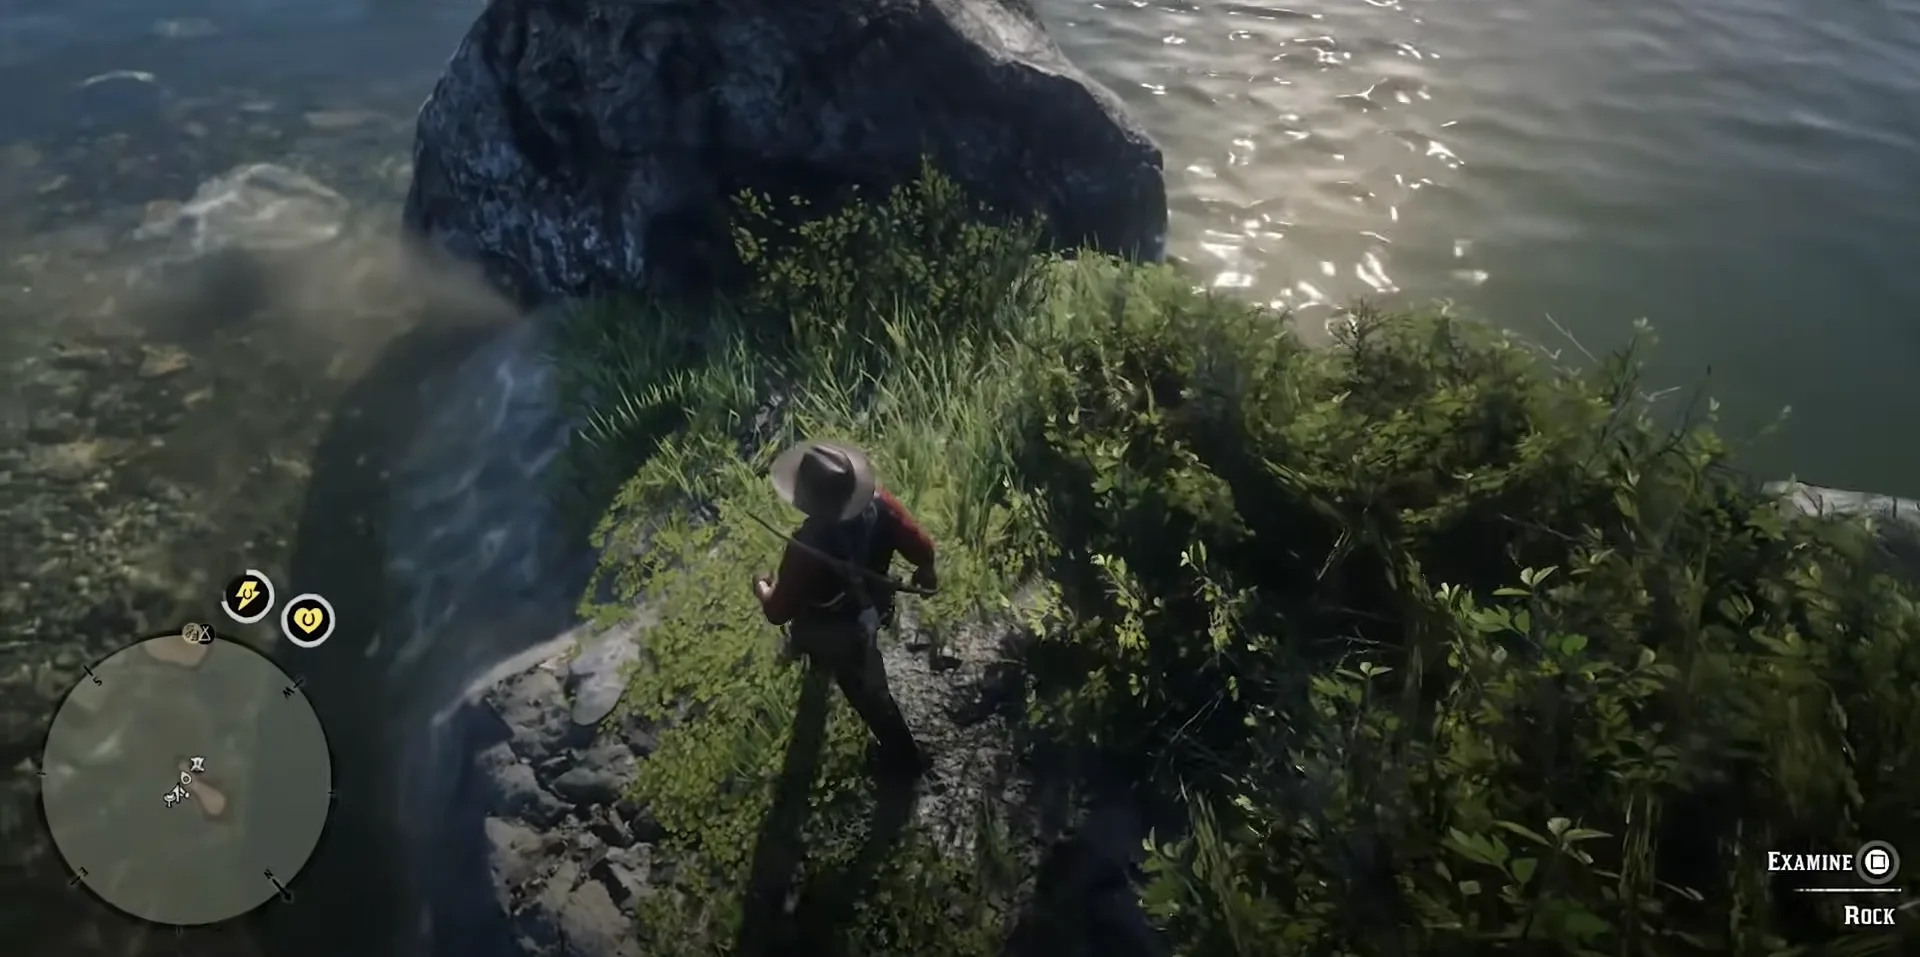
At the edge of the green patch, there will be a rock you can examine. Search it and get 2 shiny Gold Bars for all of your troubles.
Related: Red Dead Redemption 2 Does Honor Matter?
High Stakes Treasure
The High Stakes Treasure is another one of those treasure hunts that will take you all over the map and reward you with 3 Gold Bars at the end. This is also available from the start of Chapter 2.
As opposed to the previous hunt, this one doesn’t have a set starting point. You will have to encounter a stranger in the open world. His location will be random though.
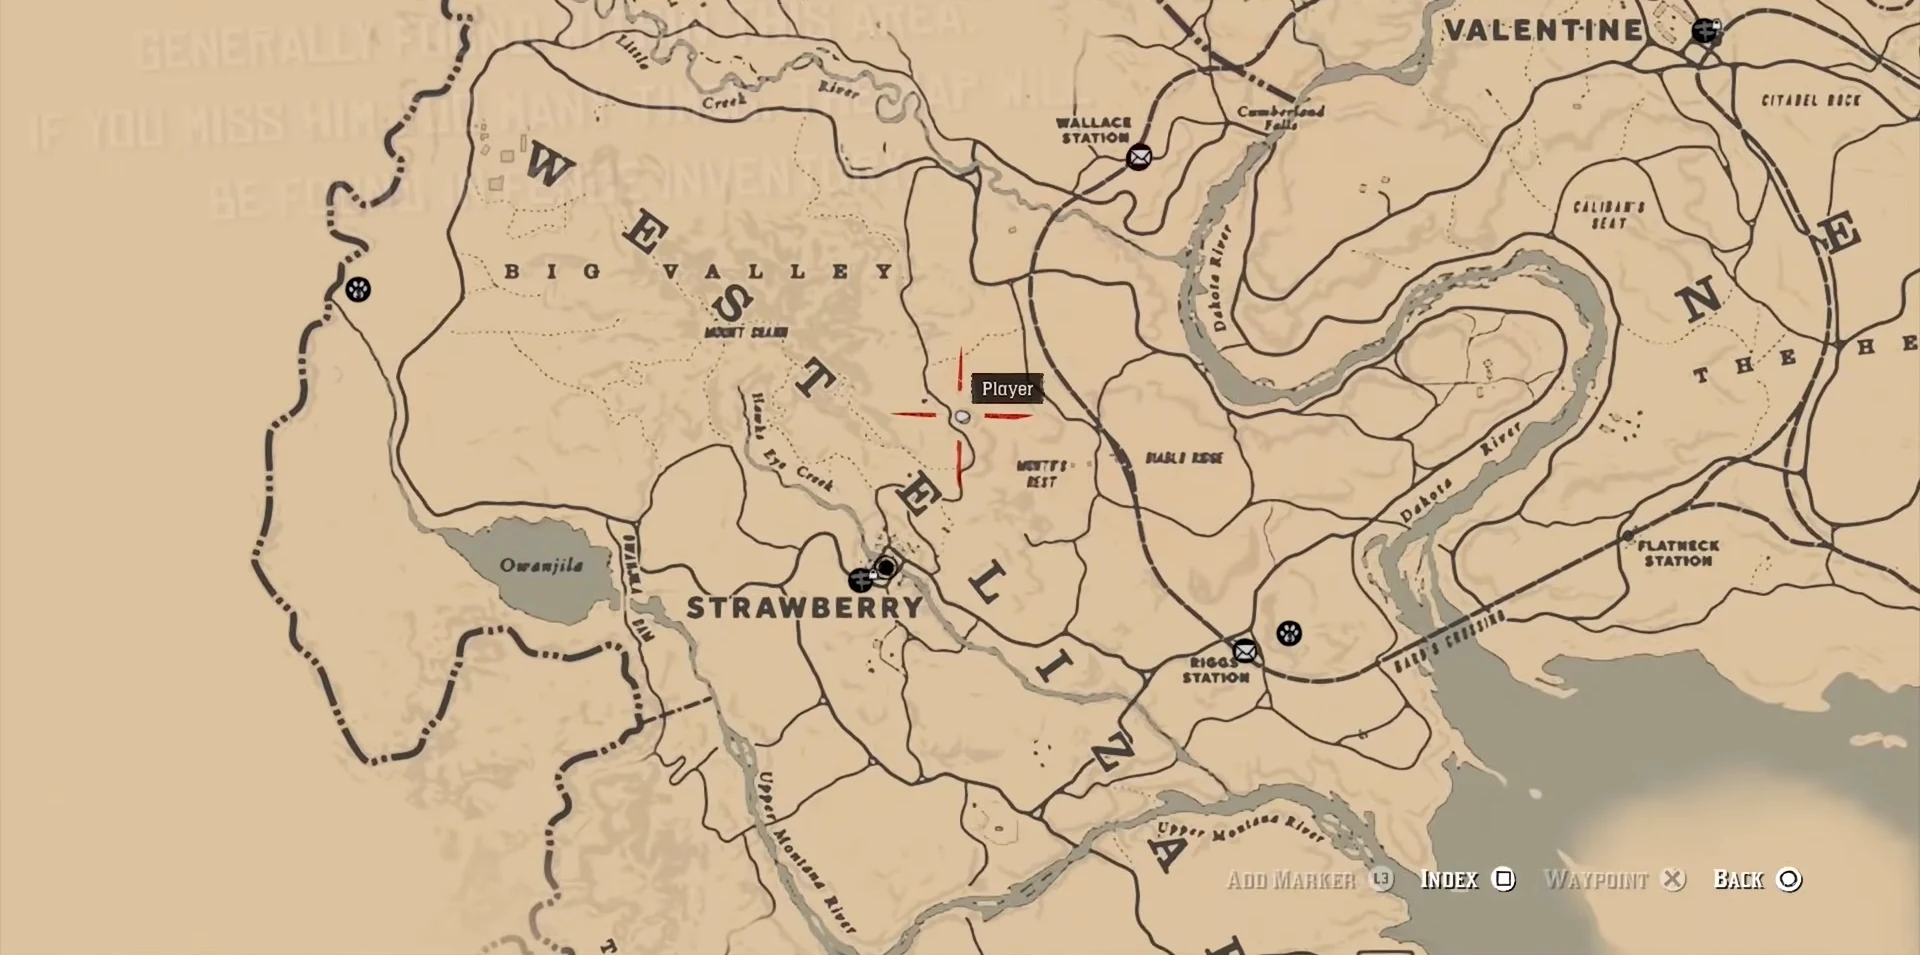
We found this guy north of Strawberry in the location marked above.
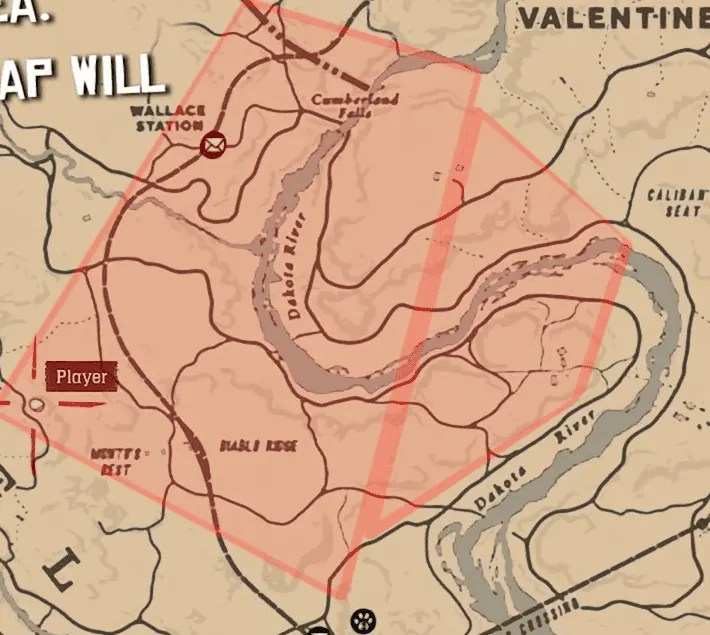
However, this guy can be found in the highlighted general area. If you happen to miss him too many times then his map can be bought from a Fence later on.
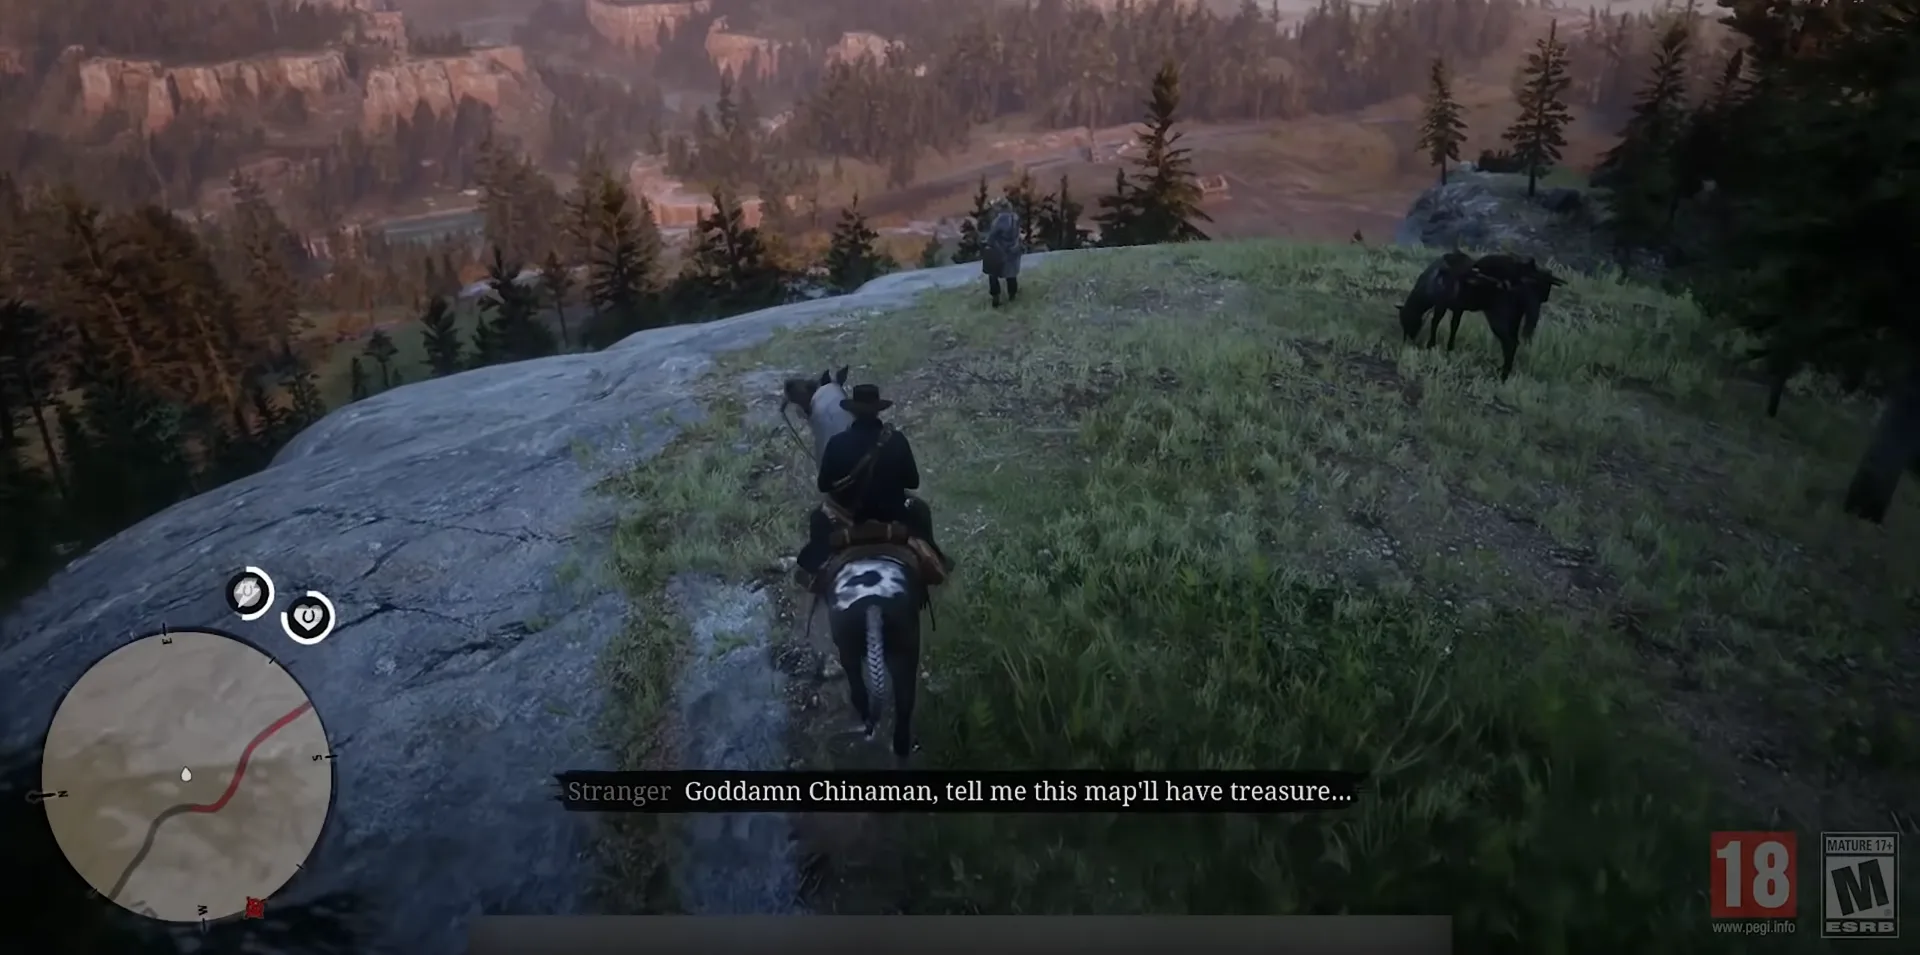
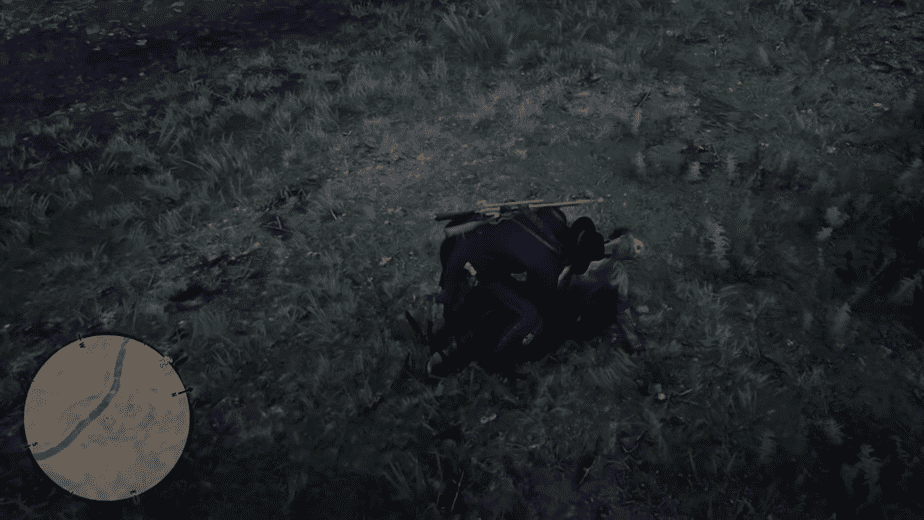
Once you have located the dude, he will be bickering to himself about the treasure map. If you come close to him he will panic and mount his horse to run away. You can either hogtie him or kill then loot his body to get the first treasure map.
High Stakes Treasure # 1
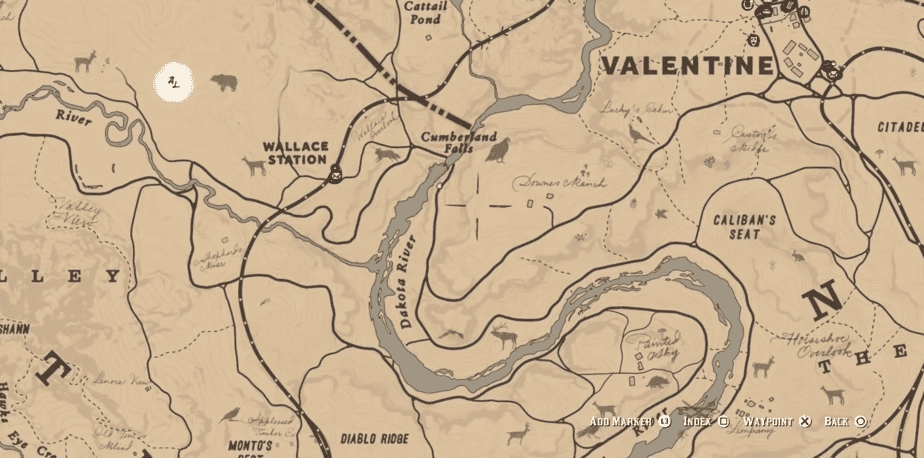
The first treasure will be located in Cumberland Falls, west of Valentine. Location on the map above.
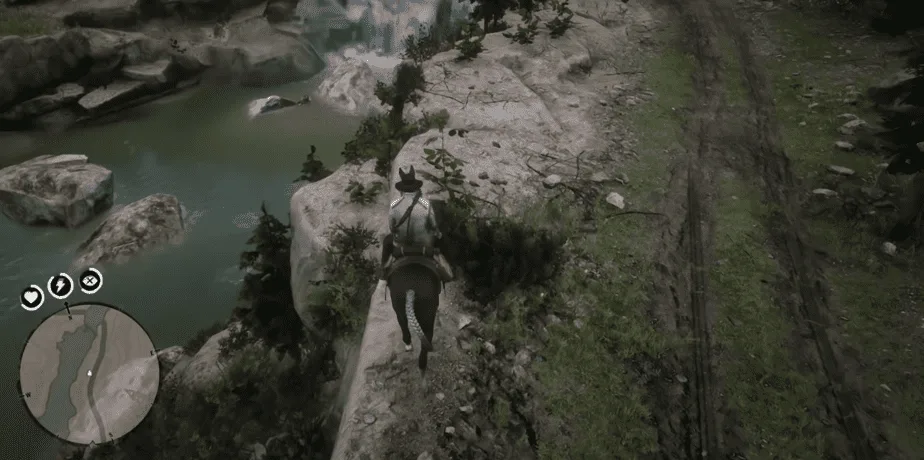
Following the path towards Cumberland Falls, there will be a ledge protruding from the drop below. Check the picture above to see the ledge.
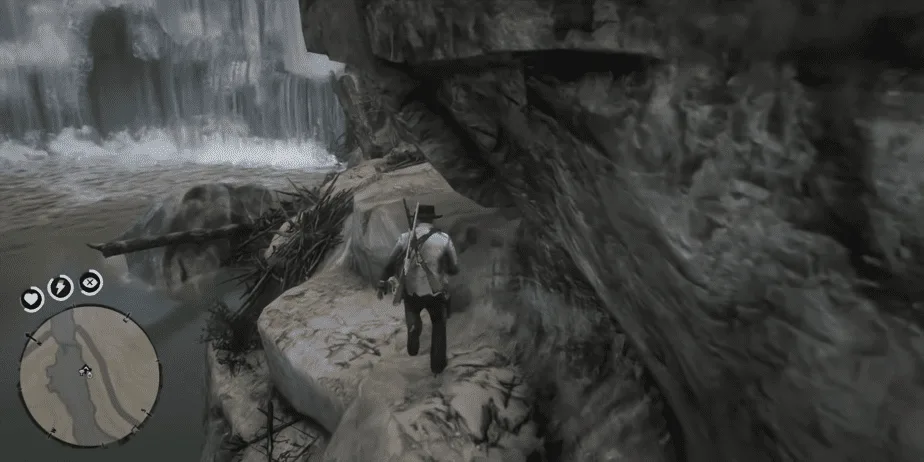
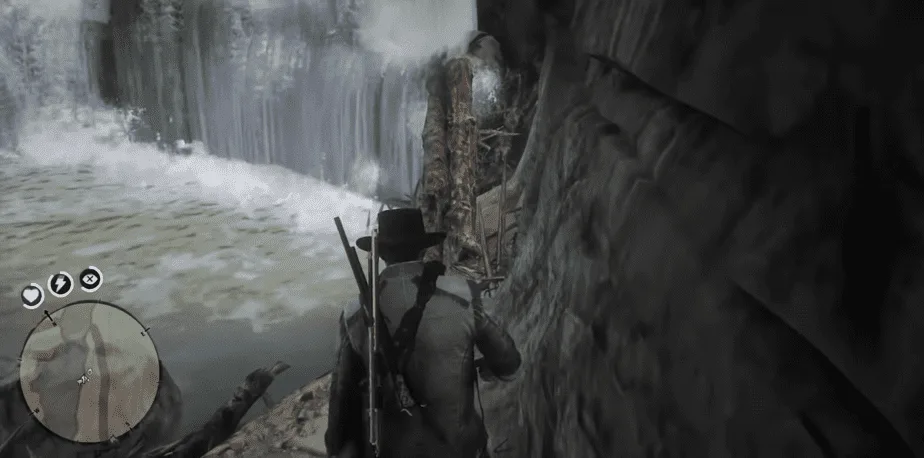
Descent from the ledge and stick to the path leading beside the river to the waterfall. Walk over the broken tree going to the waterfall and enter it then vault over to the platform above.
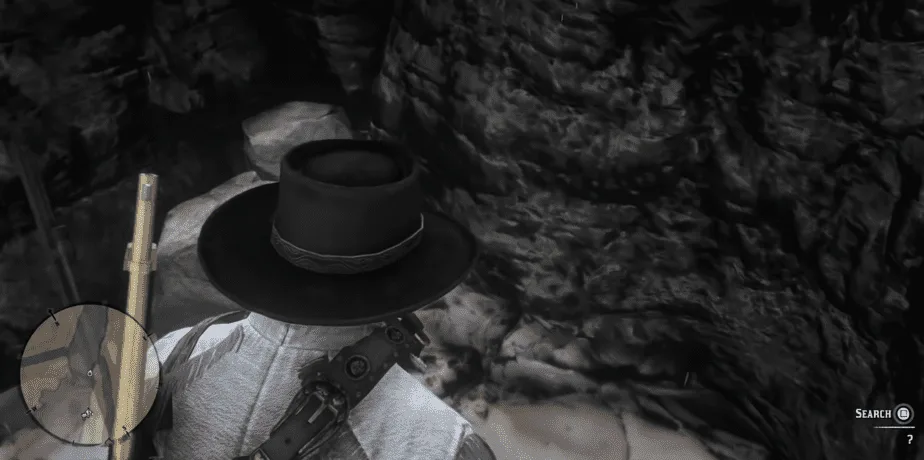
The opening slightly above the waterfall you entered will have the treasure you were searching for. Interact with the “?” and you will receive 5 bucks and the second map of the treasure hunt.
High Stakes Treasure # 2
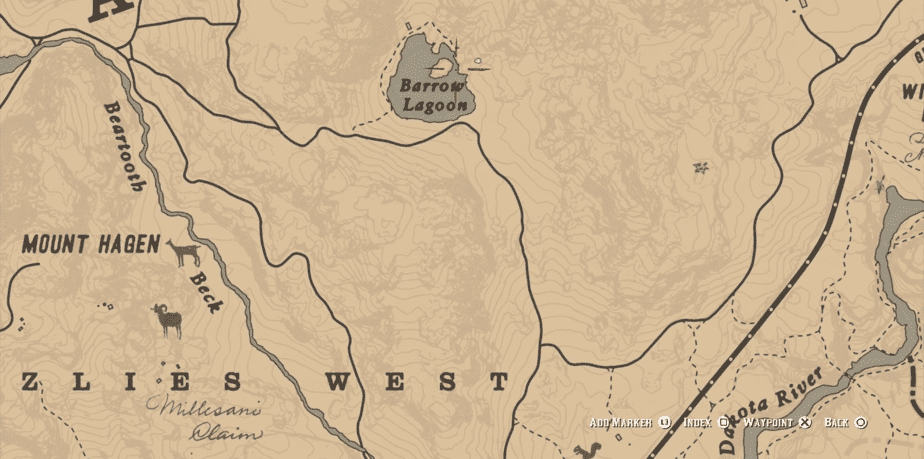
The second treasure in this series is located in the frozen lake of Barrow Lagoon, northwest of Valentine. The location is marked on the map above.
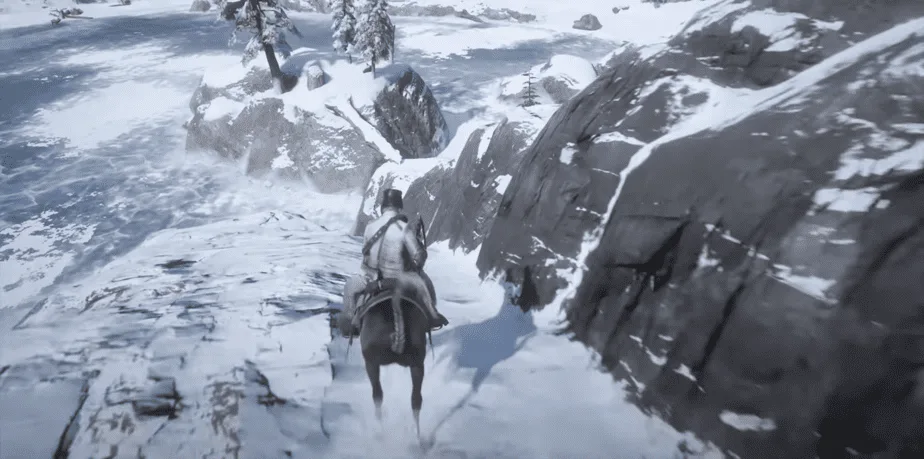
The frozen lake will have an island that will be connected to the mainland with a tree trunk bridge.
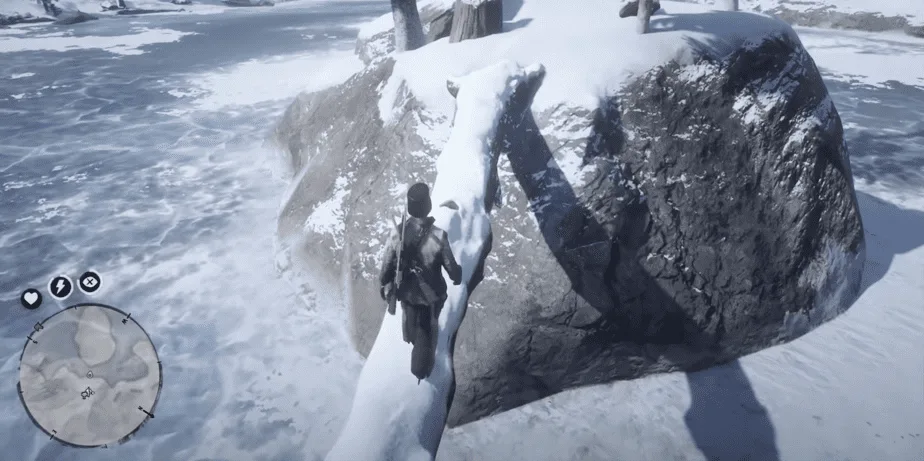
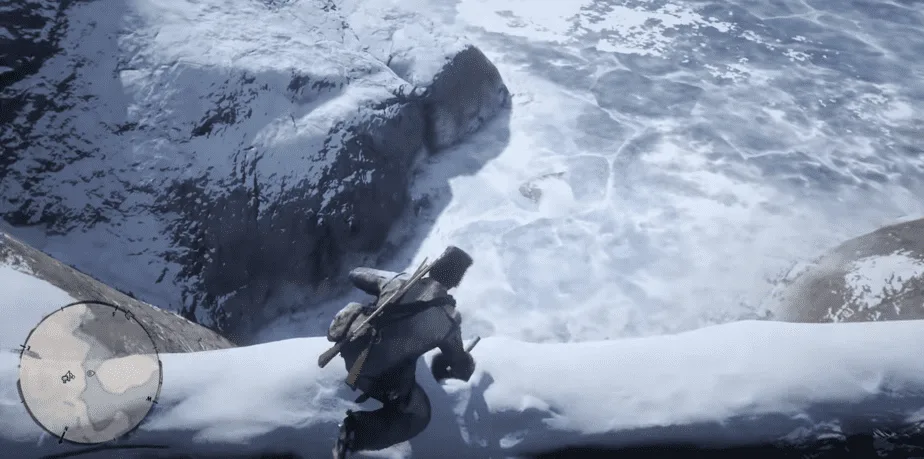
Find a way that allows you to access this tree bridge. Walk over the log and in the middle, there will be a hole in the tree that you can search. Doing so will reward you with 15 Dollars and the third map.
High Stakes Treasure # 3
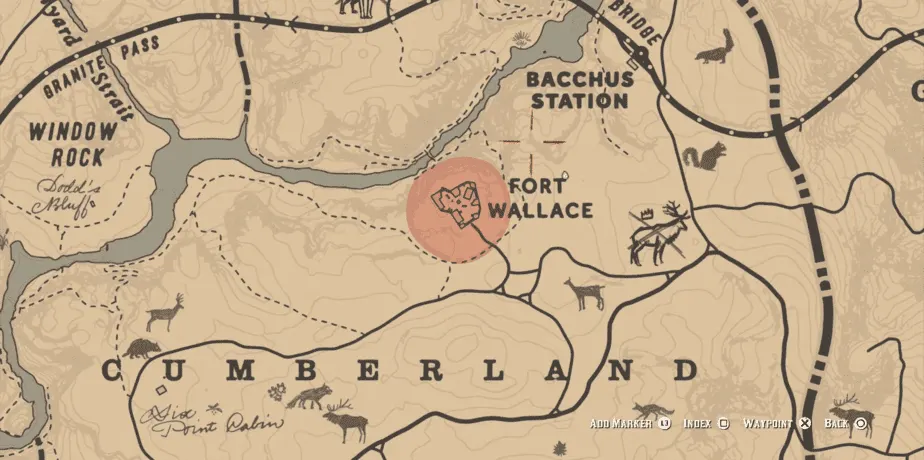
The third and final treasure location is right between Fort Wallace and Bacchus Station. The actual treasure does require a bit of a trek so get ready for some legwork.
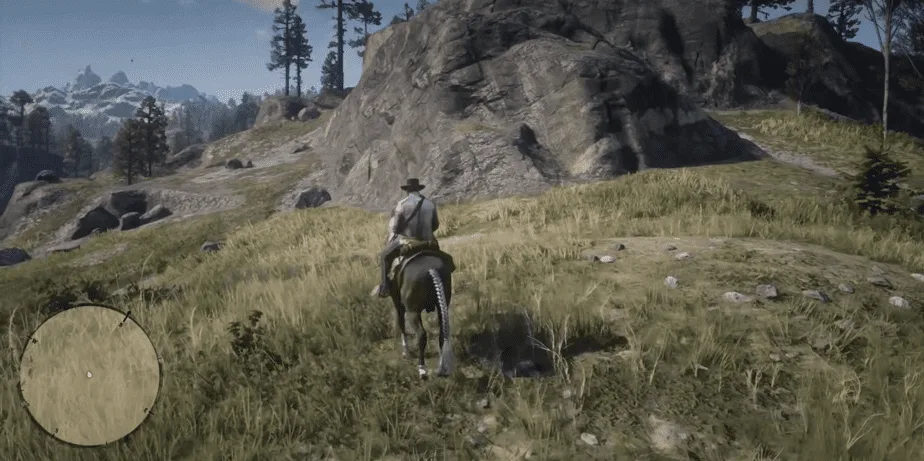
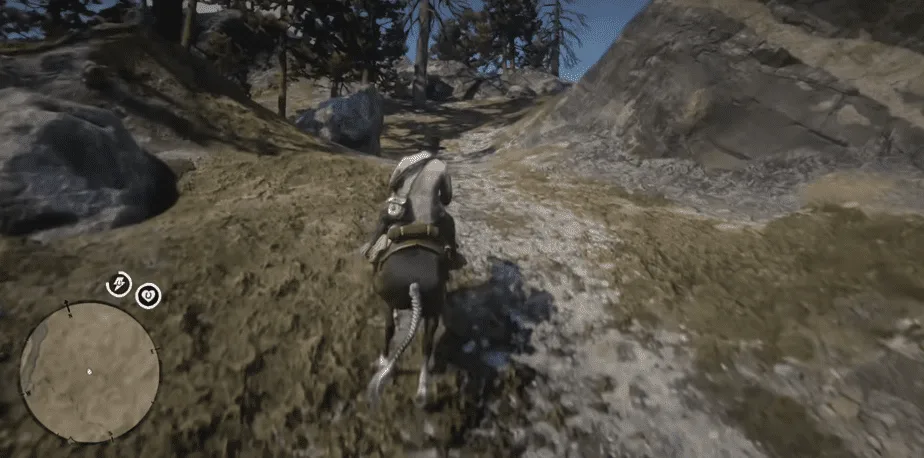
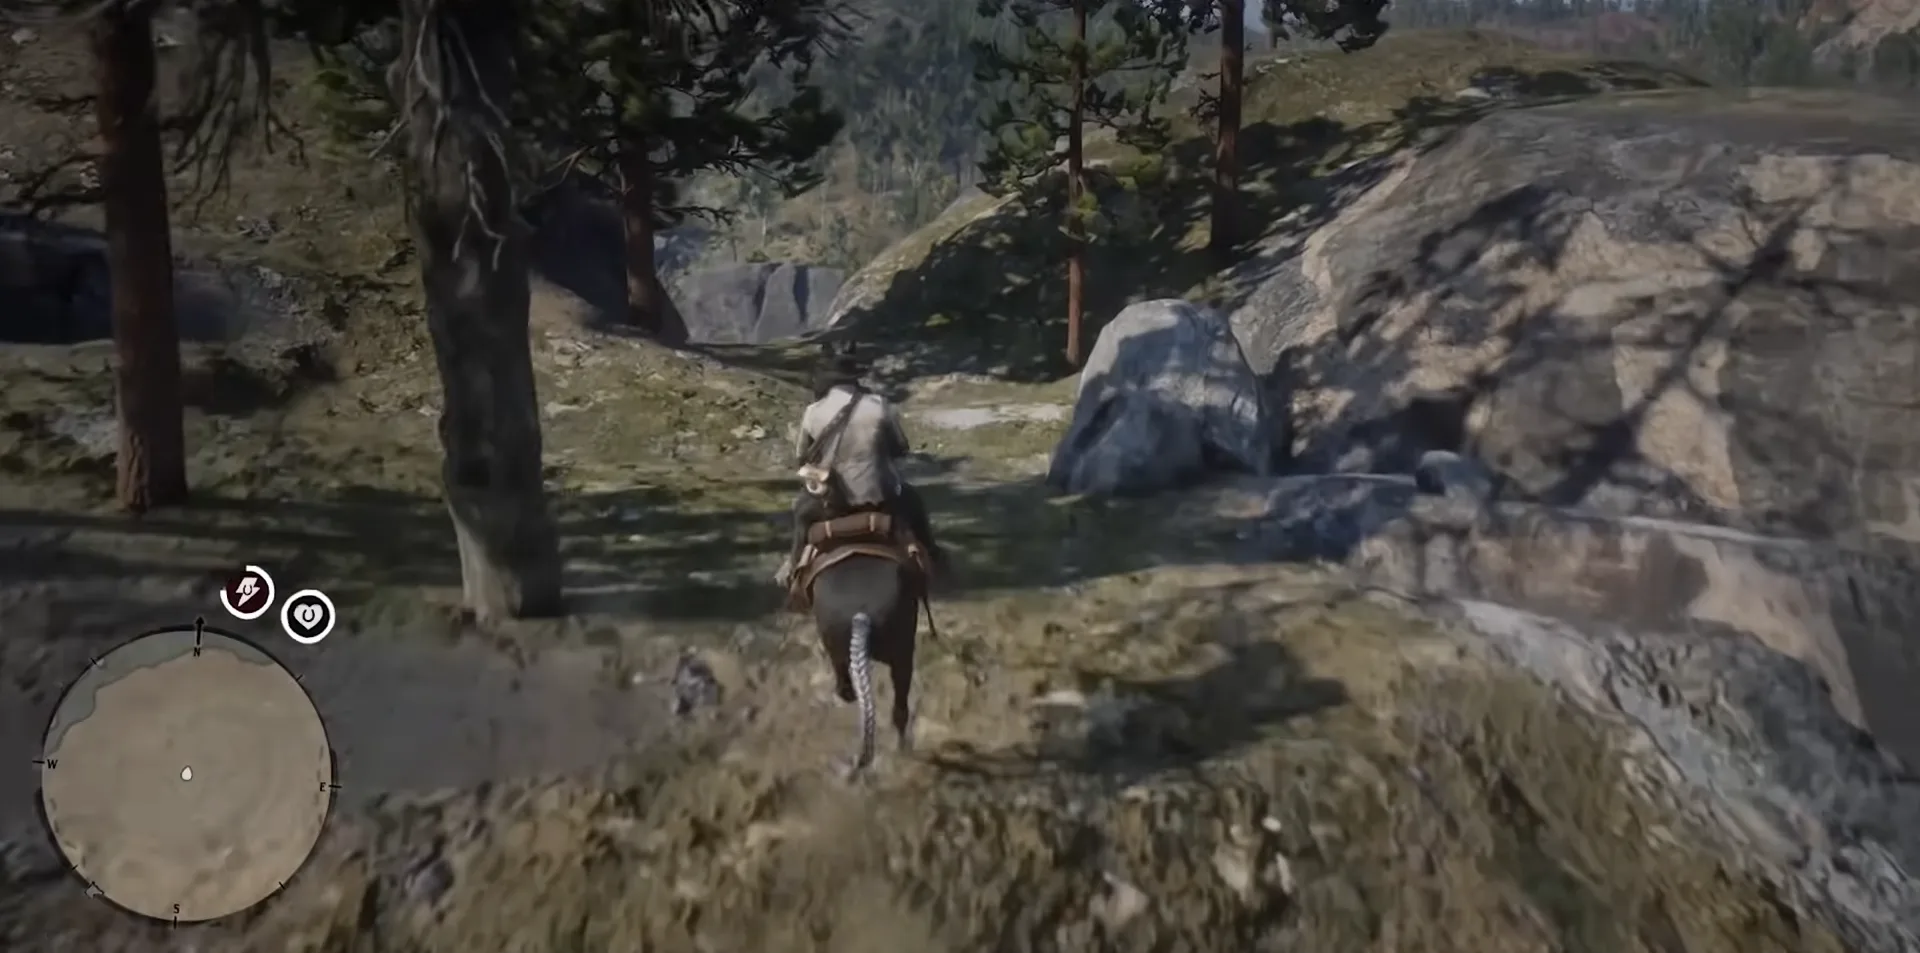
From the location marked on the map, take the left path which leads you to the top of the cliff. On top, take another left and you will be facing the edge of the cliff. Keep going forward and soon there will be a ledge pathway.
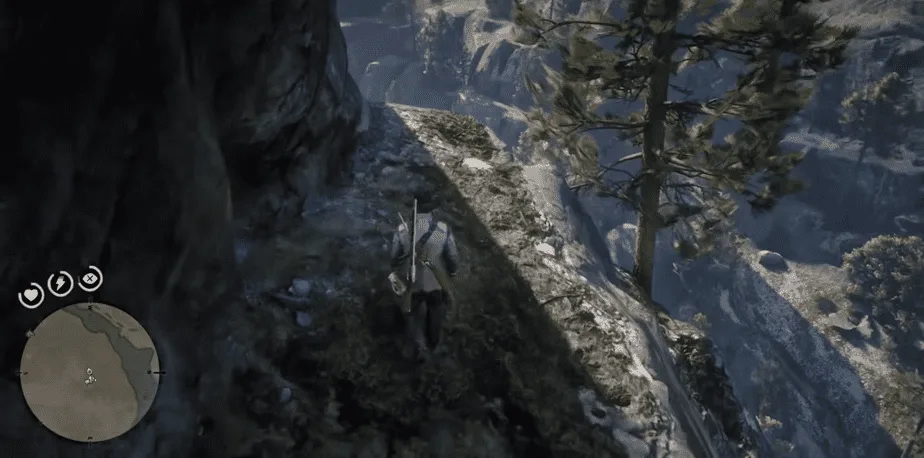
From the ledge, take the left path and hug the wall and continue walking.
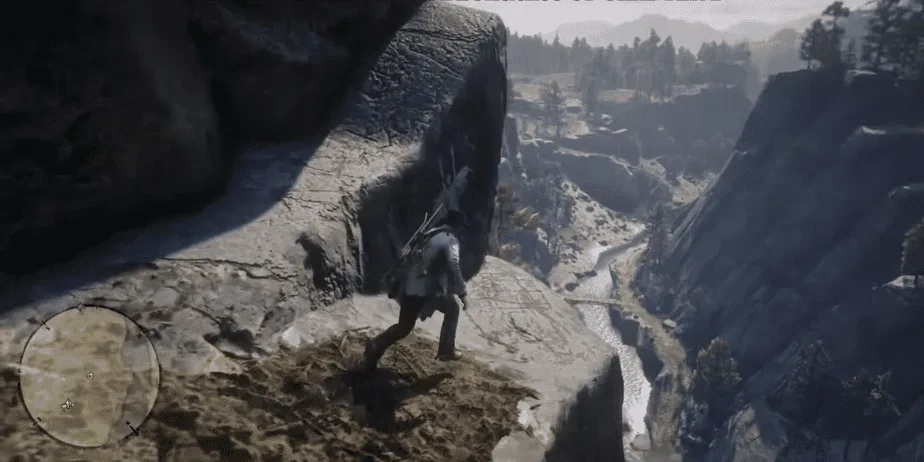
There will be a path going up right next to a Rock Carving. Take that path and be very mindful of your steps as the path will start to shrink.
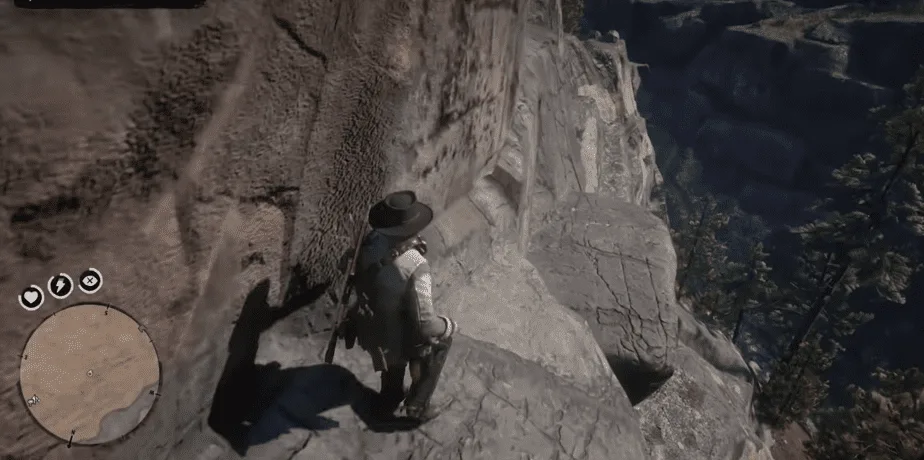
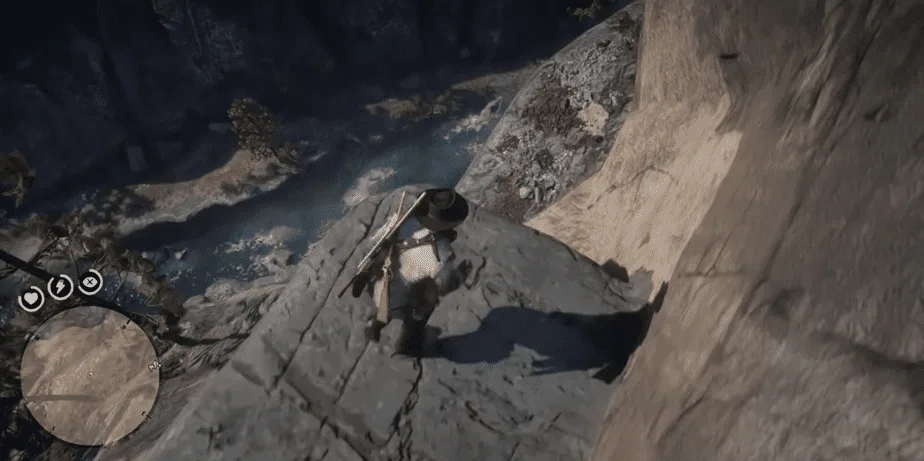
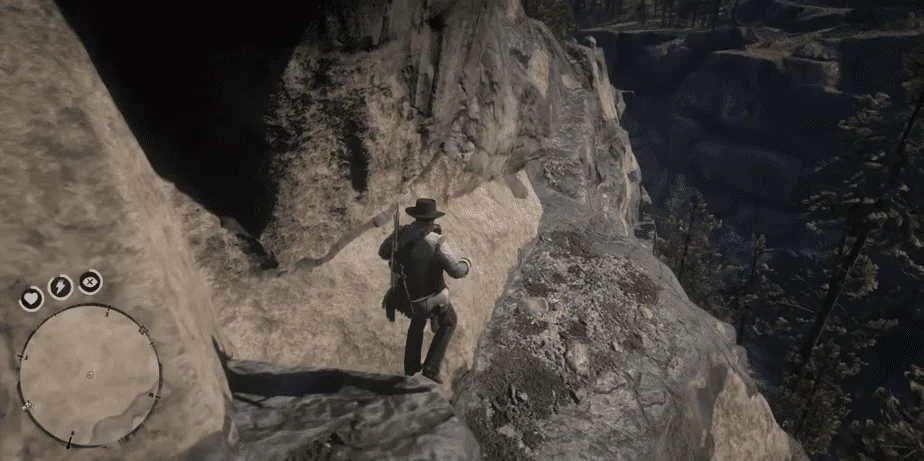
Next, there will be a sequence of drops at the end of this path. Drop to the platform below then turn around and drop to the next one and then turn around again to drop to the last one. Be very careful and position your falls precisely to not fall to your death.
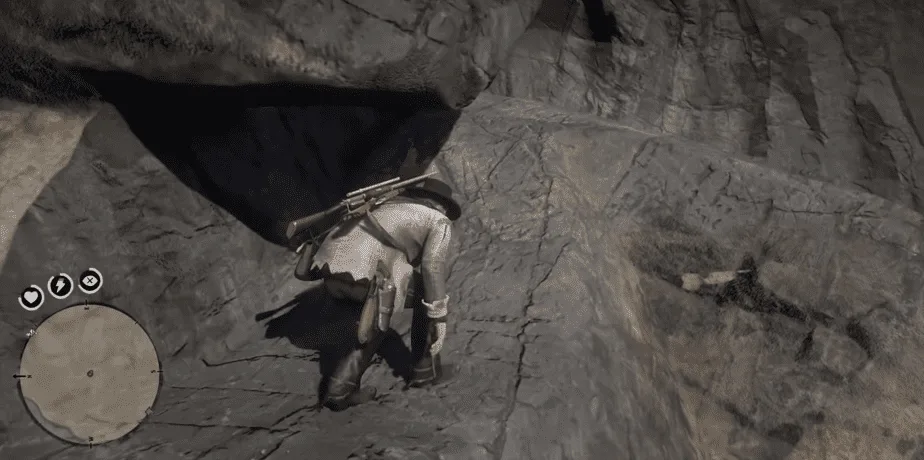
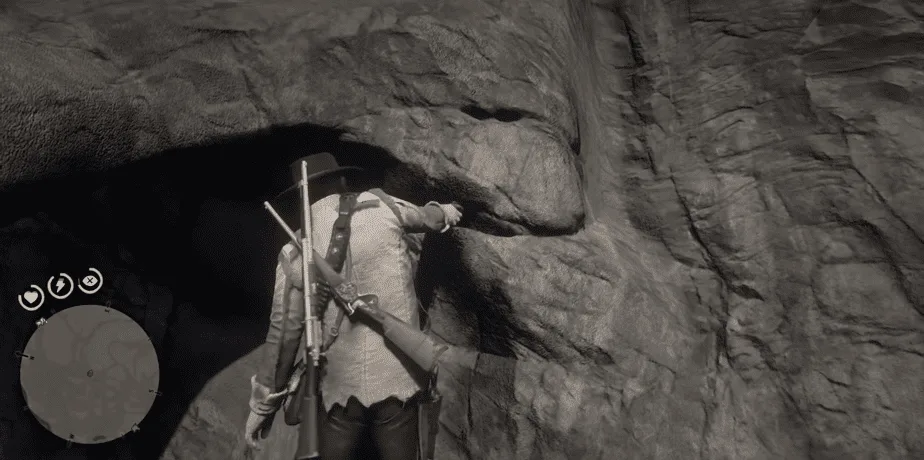
The last platform will have a path at the end that requires you to crouch and move forward. As soon as you leave this space, immediately search the crevice at the end to get 3 Gold Bars. A good haul for all that adventure.
Related: Why Am I Underweight In Red Dead Redemption 2?
Poisonous Trail Treasure
Get ready for another treasure hunt cowboy. The Poisonous Trail Treasure hunt is found close to where you start the game. It is available right at the beginning of Chapter 2. The reward is quite good though, 4 Gold Bars.
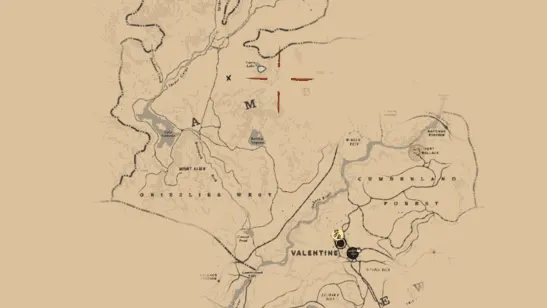
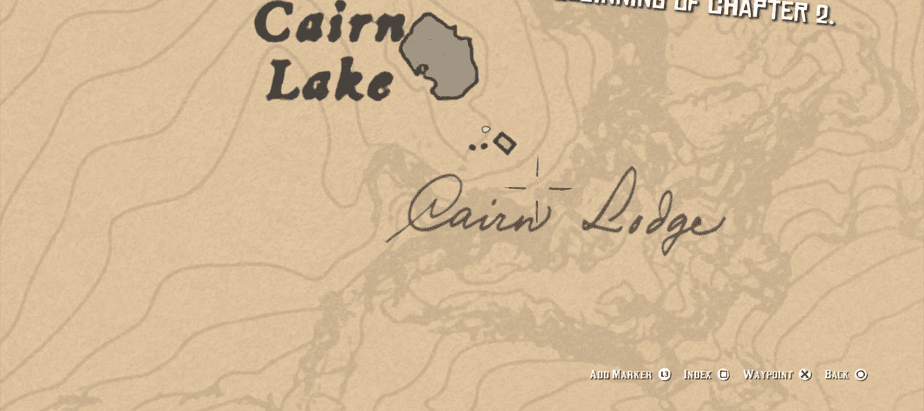
The first map of this trail is found in the Cairn Lodge on Cairn Lake, extremely north of Valentine. This is where you start the game. The location is marked on the map above.
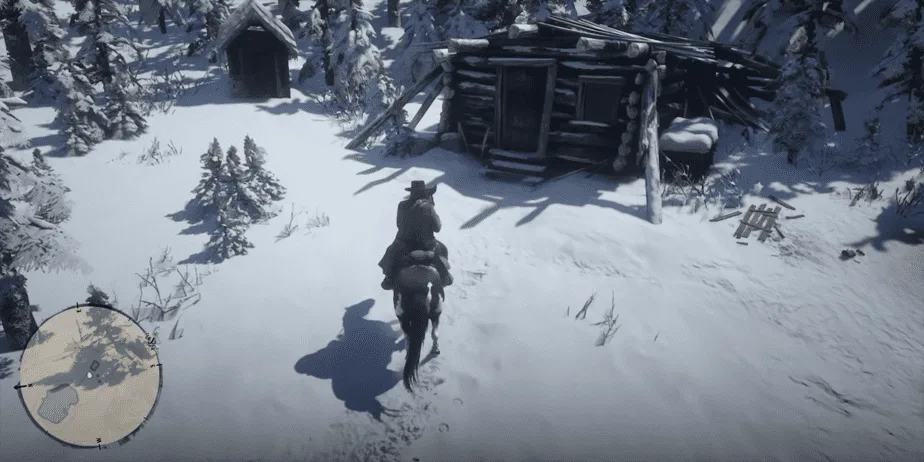
Visit the location and enter the run-down lodge here.
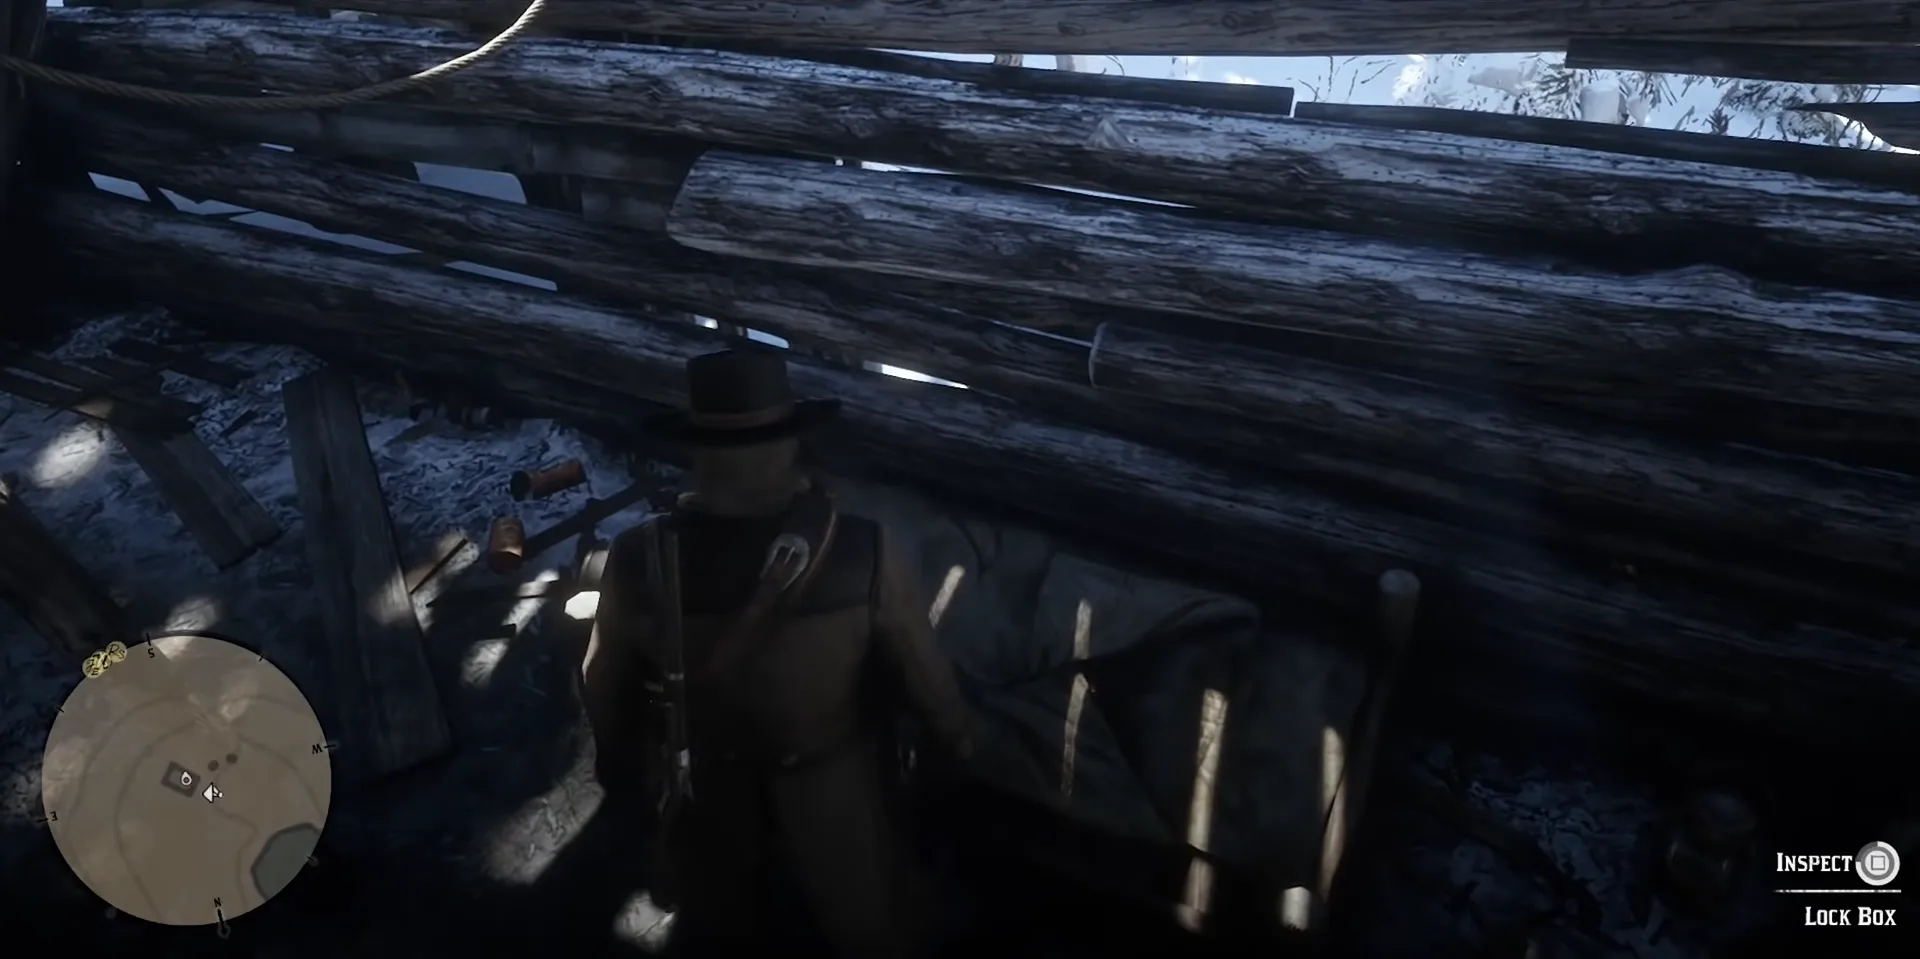
Inside, you will find a Lock Box. Inspect it to get the first map of the hunt.
Poisonous Trail Treasure # 1
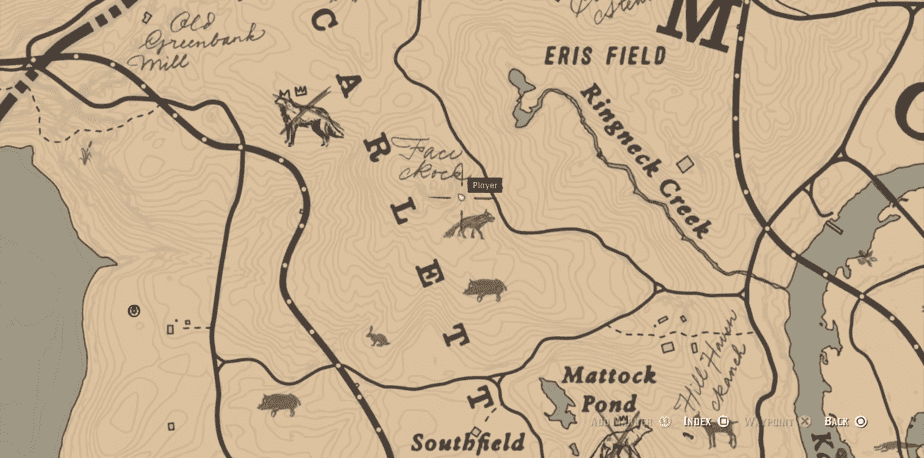
The first treasure is found near Face Rock, just north of the town of Rhodes. The location is marked on the map above.
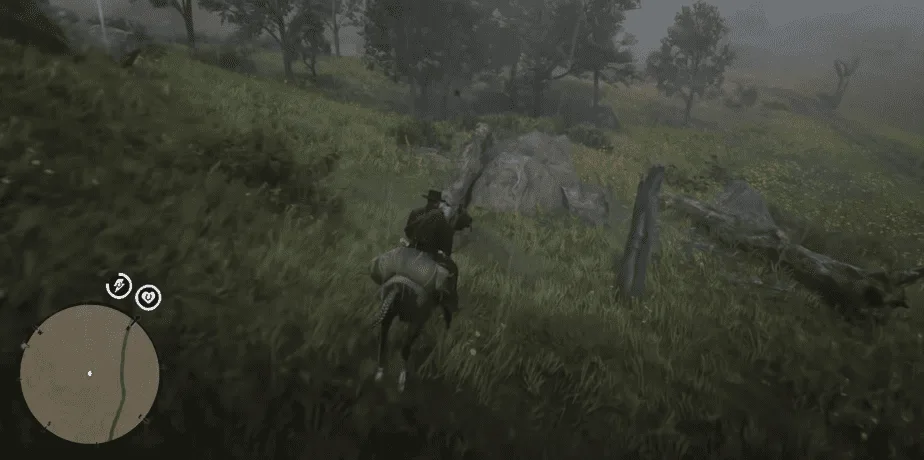
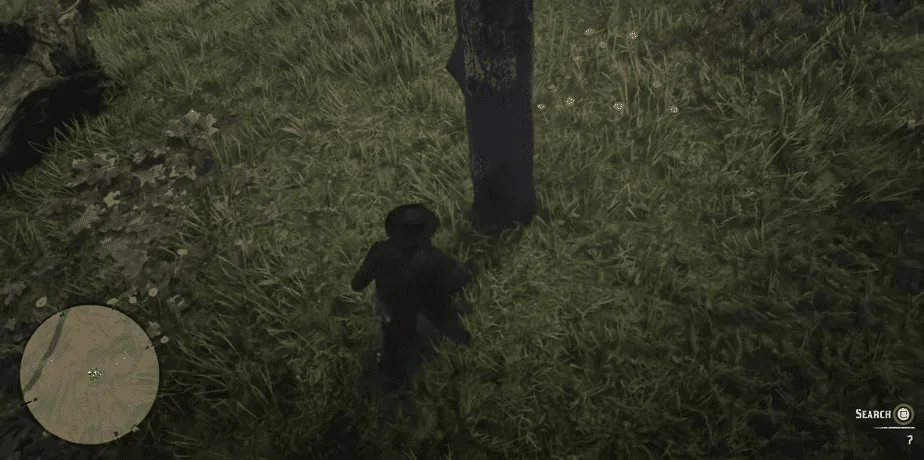
The point on the map will have an ordinary broken tree with some markings. Get close to it and search it to get 10 bucks and the second map.
Poisonous Trail Treasure # 2
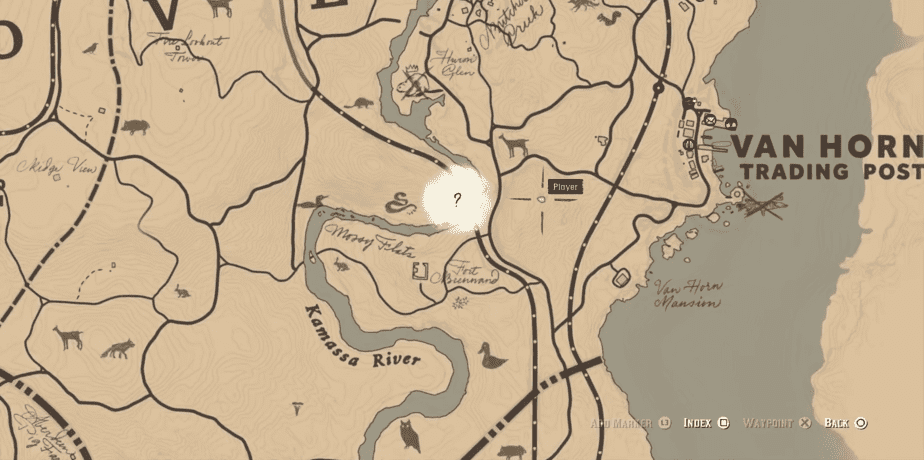
The second treasure is situated right next to the Van Horn Trading Post, just west of it. The location is marked on the map above.
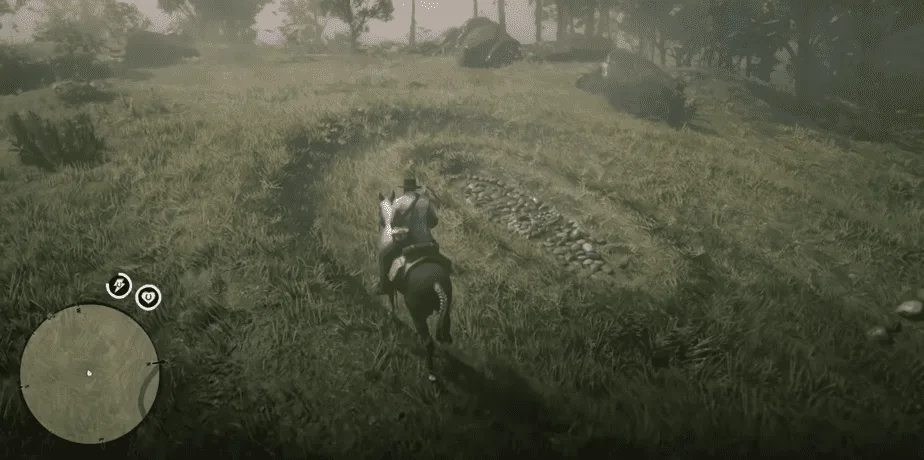
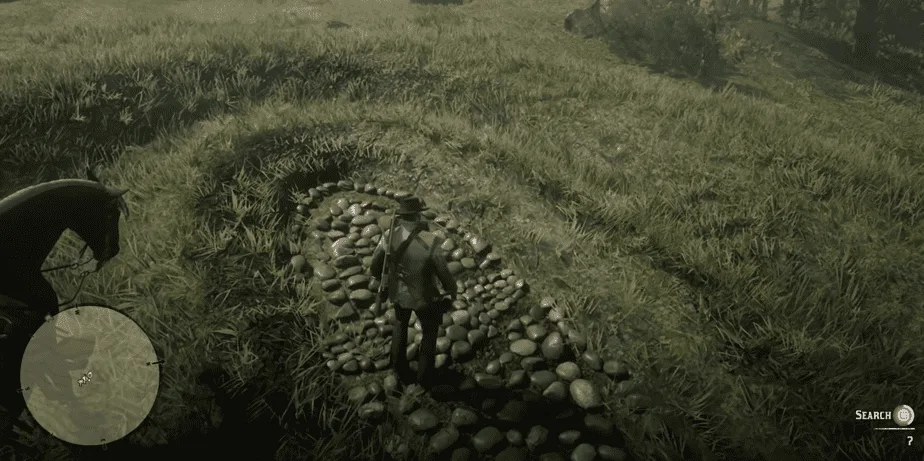
Here, the ground and rock formation seem like a giant eye. Search the middle of the rock formation and you will be given a Platinum Spring Bracelet and map number 3.
platinum spring bracelet and map 3
Poisonous Trail treasure # 3
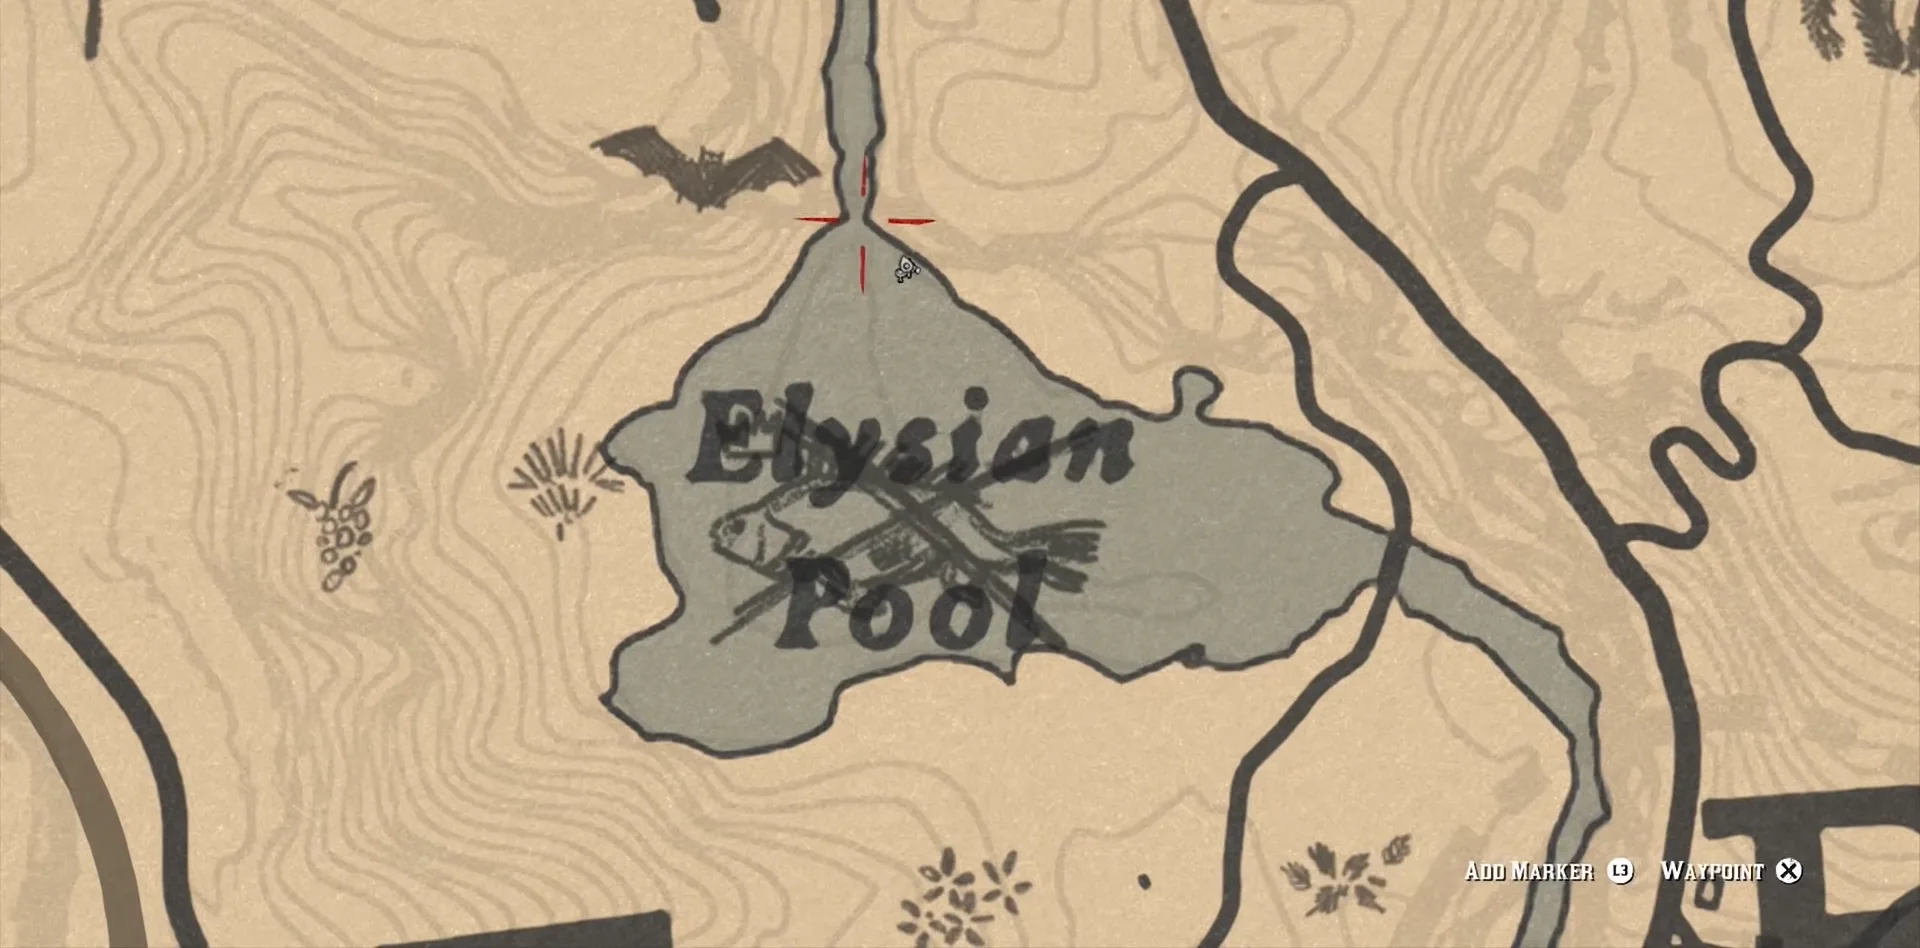
The third and final treasure location is behind the waterfall in the Elysian Pool. A lake close to the previous treasure’s location, northwest of the Van Horn Trading Post.
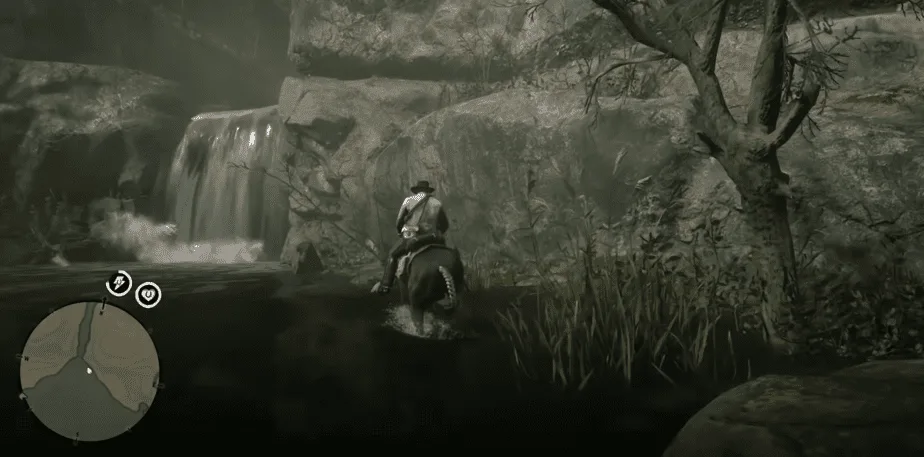
There is a cave system behind the waterfall which you have to navigate. It is extremely dark so we recommend that you bring a light source like a lantern. Simply walk through the waterfall and keep going straight until you reach the darkness of the actual cave.
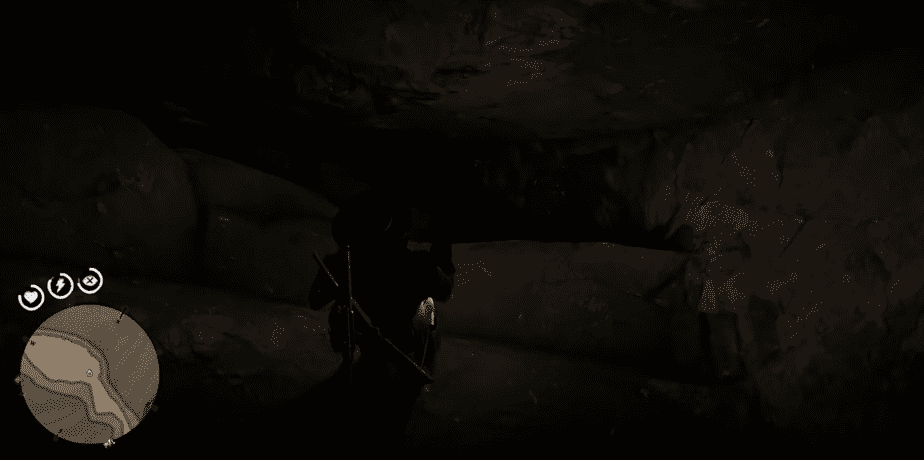
Soon you will come across a drop at the end of the cave. Carefully drop down to the platform below towards the bottom. When you reach the bottom, do not follow the path on your map, instead, turn around and look for a small opening in a wall nearby.
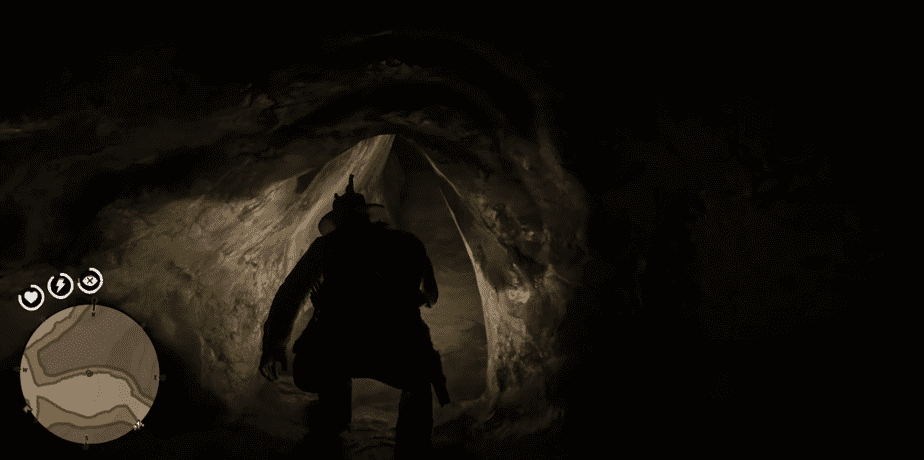
You can see the opening in the picture above. Crouch and make your way forward.
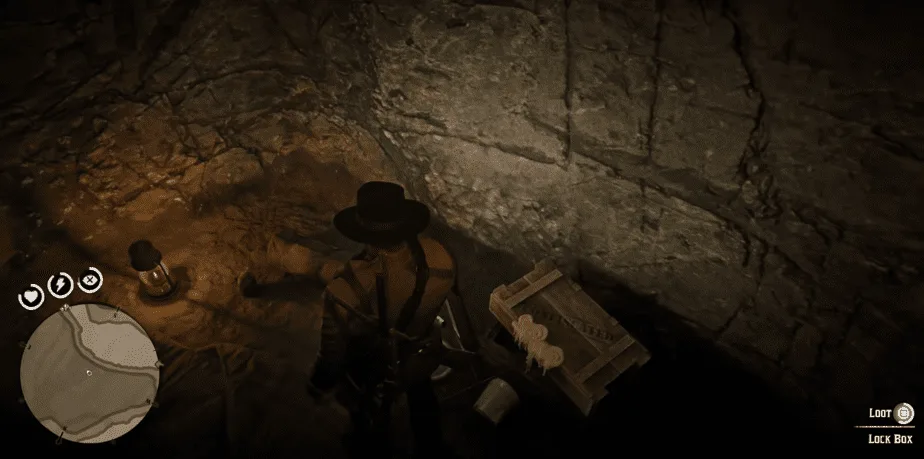
Right after you exit this small opening, take a right immediately to enter the room with a lockbox containing a large jewelry bag. Loot it and then follow the other cave pathway in the room.
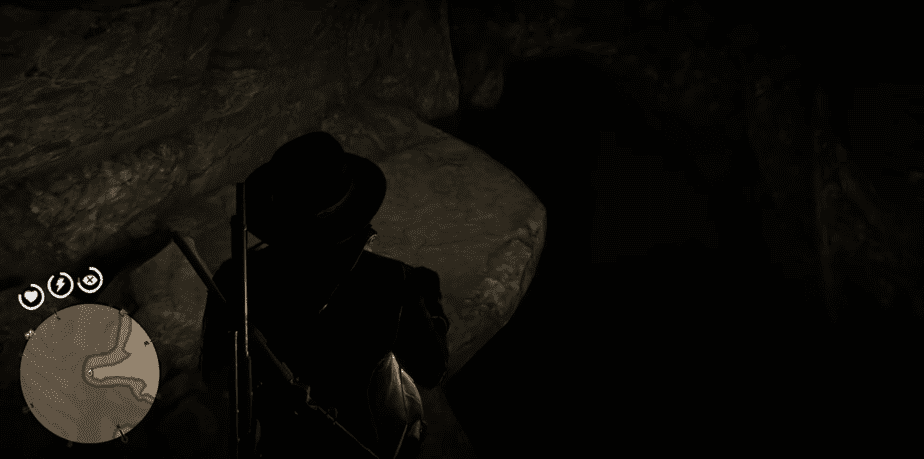
At the end of this path, there will another drop. Though it will hurt but drop down regardless. From here move ahead and after a slide and a puddle of water, you can jump over the platform at the dead end.
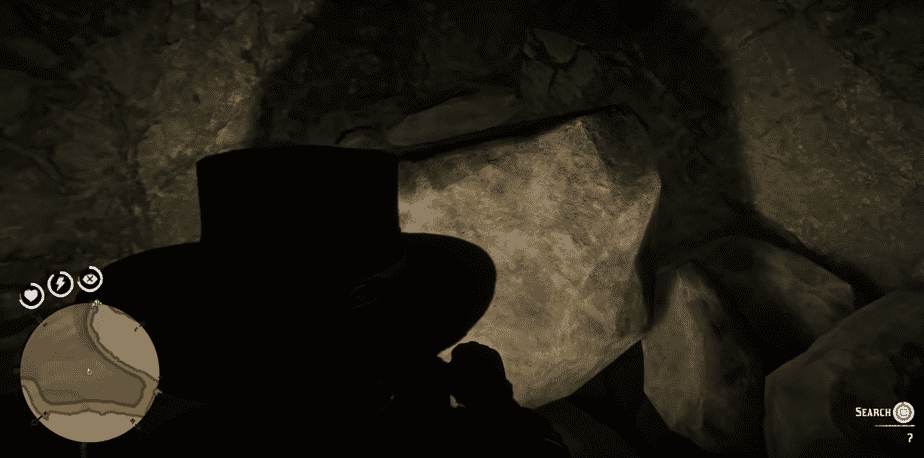
You can search this area to get your hands on 4 Gold Bars. Getting out of this cave is on you, we are here for the gold only.
Related: Is Red Dead Redemption 2 Worth It?
Annesburg Sketched Map
This is just a two-step treasure hunt so nothing to worry about. It too will be available from the start of Chapter 2. However, this treasure hunt will give a Gold Ingot which is just a crude form of a Gold Bar.
You need to first find the Sketched map to the treasure.
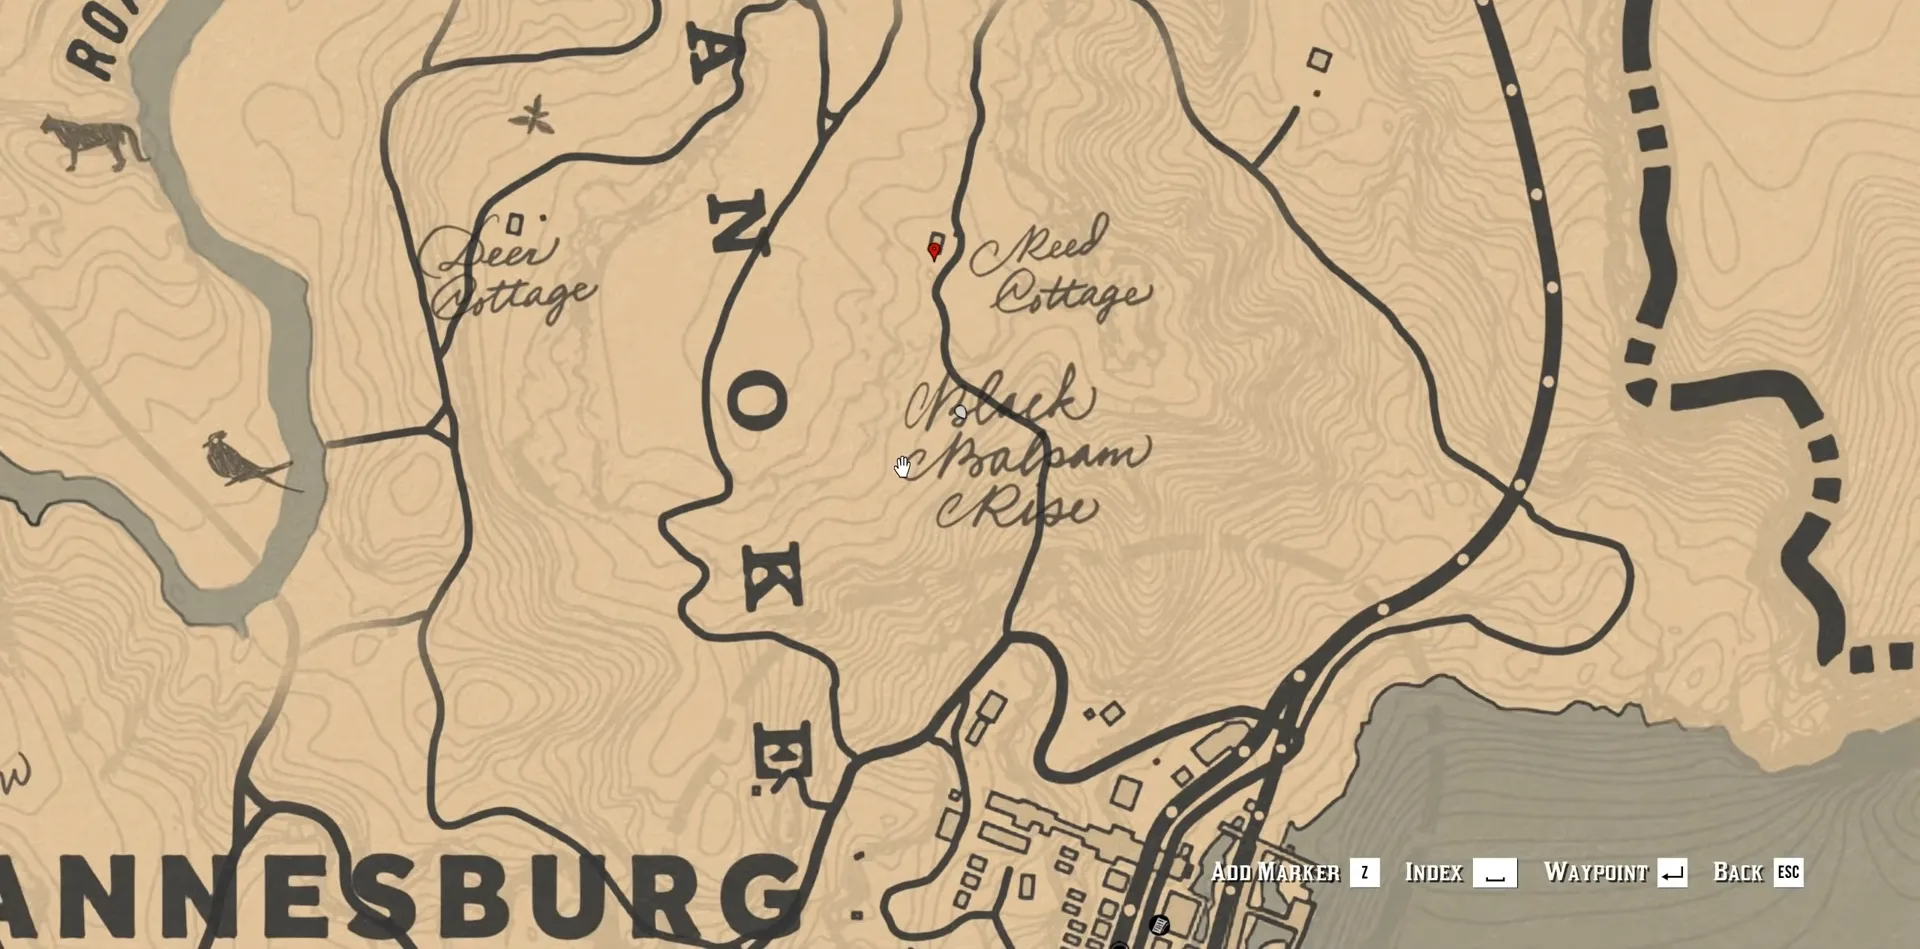
The Sketched Map can be found in Reed Cottage, just north of Annesburg. The location of this cottage is marked on the map above.
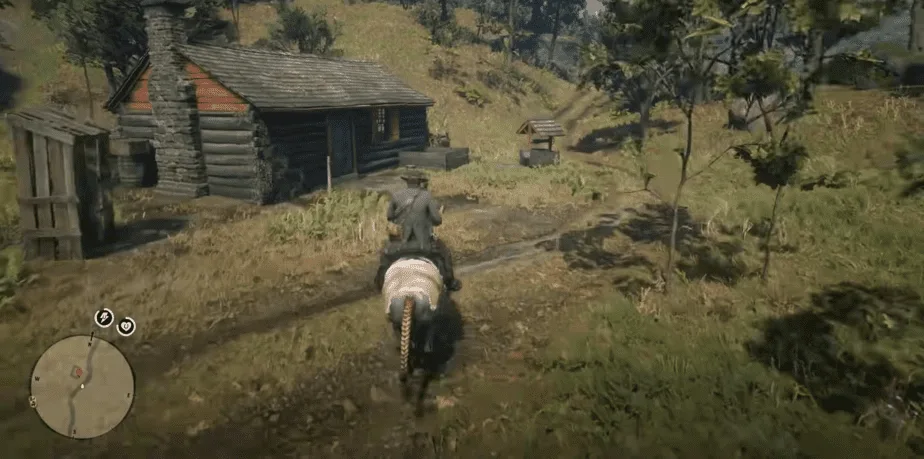
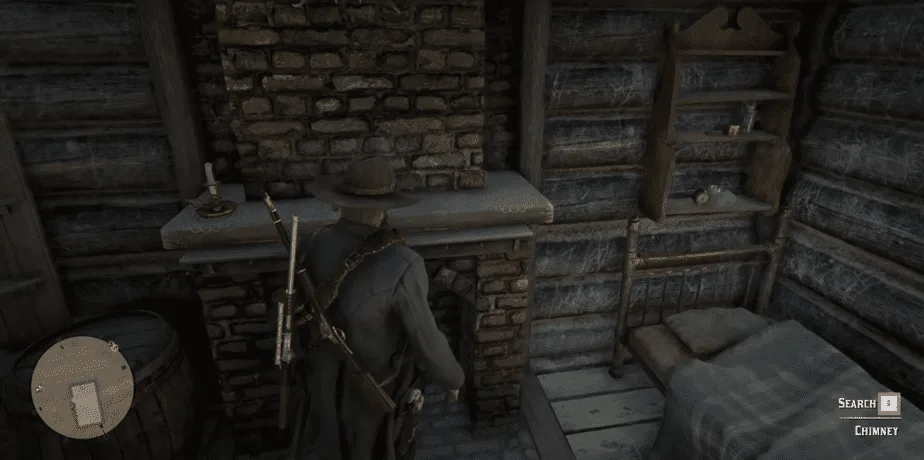
Enter the cottage, then search the chimney in the room to get your hands on the Sketched Map to the treasure.
Annesburg Sketched Map Treasure Location
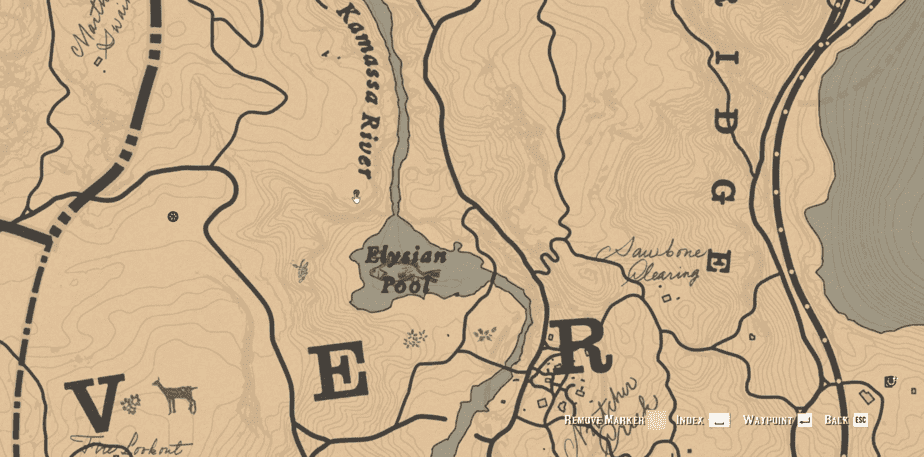
The actual treasure is found on top of a cliff looking over Elysian Pool, northwest of the Van Horn Trading Post. The location is marked on the map above.
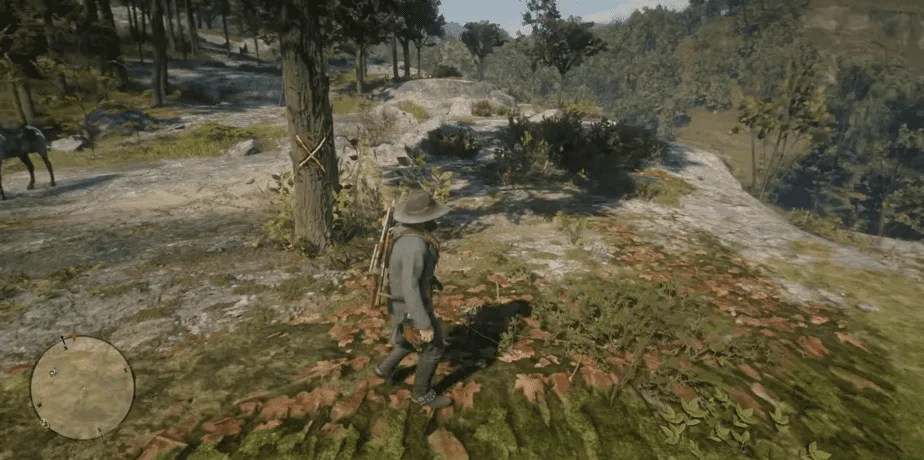
At this location, there will be a tree at the edge of the cliff that will help you spot the treasure. Move to the opposite side of the tree and look back and you will see an X on the tree. Align that X straight and it will point to a rock behind it.
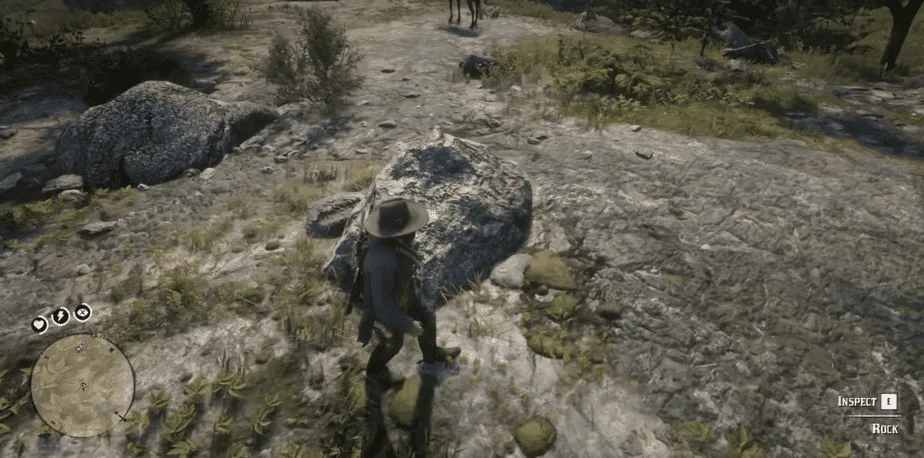
The rock this tree is pointing towards is the one seen in the picture above. Inspecting this unassuming rock will give you a Gold Ingot.
Braithwaite Manor Gold Bar
Spoiler Alert! This Gold Bar in Red Dead Redemption 2 can only be acquired after you have completed Chapter 3 (Chapter 4 onwards) and taken care of the fools at Braithwaite Manor.
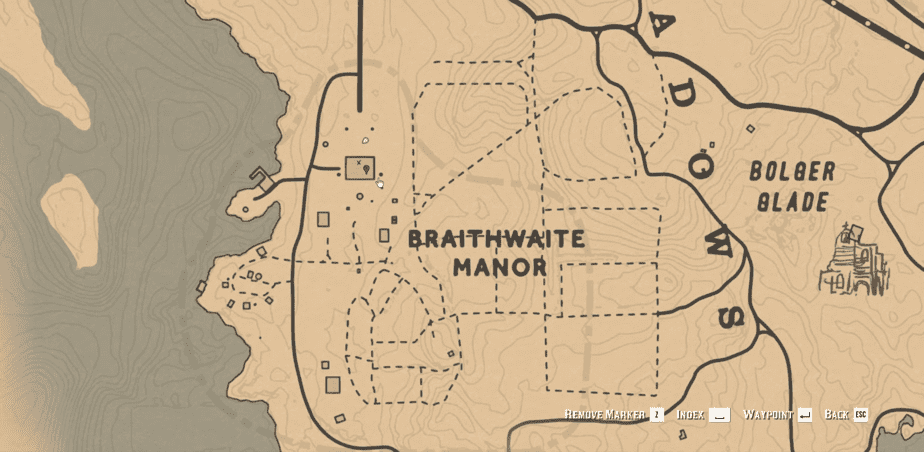
Visit the Braithwaite Manor after the said chapter. If you don’t know the location then it is south of Rhodes. The location is marked on the map above.
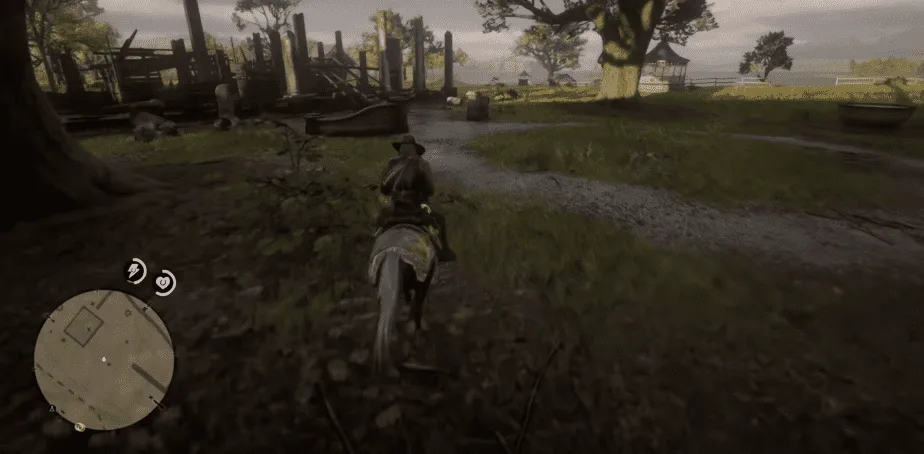
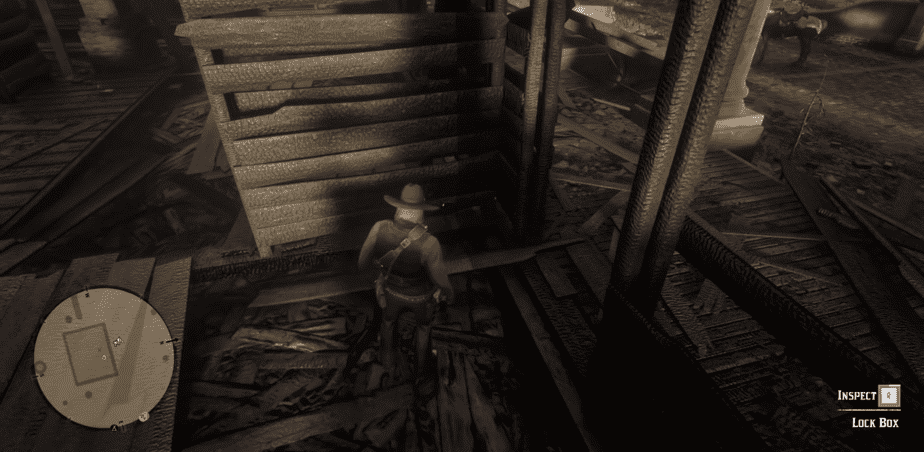
Make your way towards the decimated remains of this once lush family home that you and your friends ruined. Enter through the “main door”. You can loot the body at the entrance if you want for a valuable brooch. Take the left right from the entrance and enter the next room and immediately take another left.
Right next to the outside wall, there will be a lock box hidden underneath the house rubble. Inspect it to get 1 Gold Bar in Red Dead Redemption 2.
Related: Is Red Dead Online Good? What you need to Know
The Elemental Trail Treasure
The Elemental Trail Treasure hunt is only available after you are done with Arthur’s story i.e. after Chapter 6, from the beginning of the Epilogue. It is another series of maps in Red Dead Redemption 2 that will eventually lead you to a Gold Bar.
You have to find the first map to begin this treasure hunt.
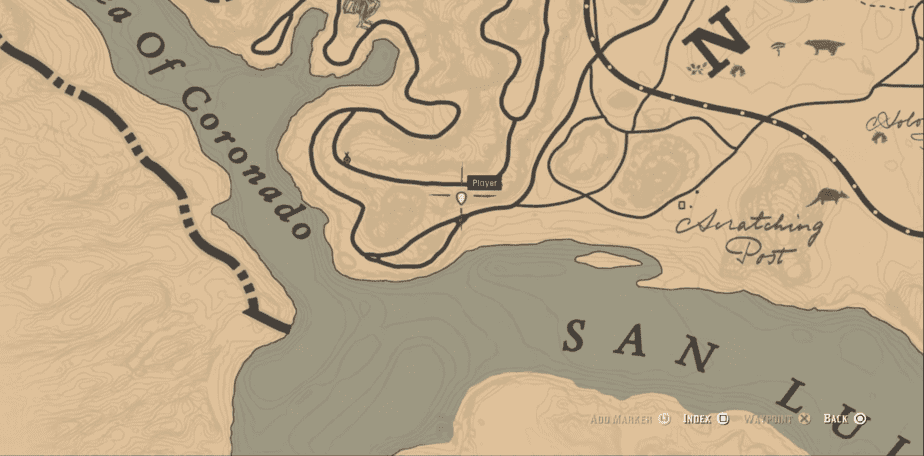
The first map is found on the westernmost edge of the map in New Austin. It is west of Tumbleweed and Armadillo, near the Sea of Coronado. The location is marked on the map above.
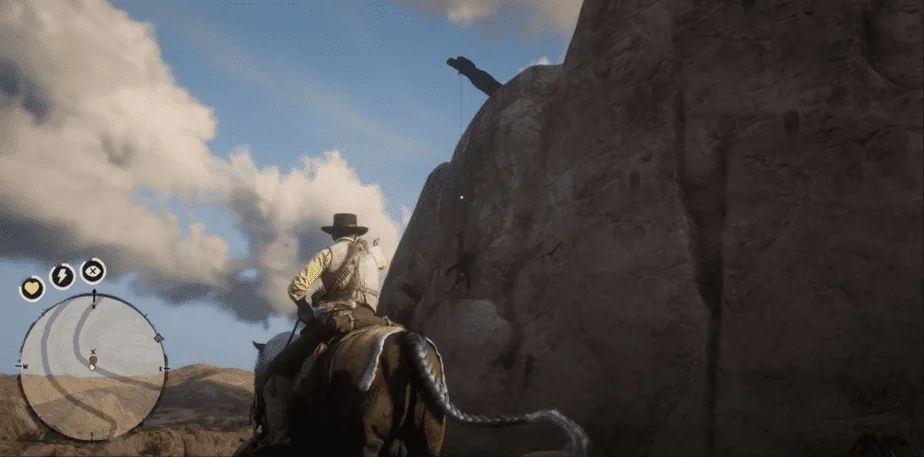
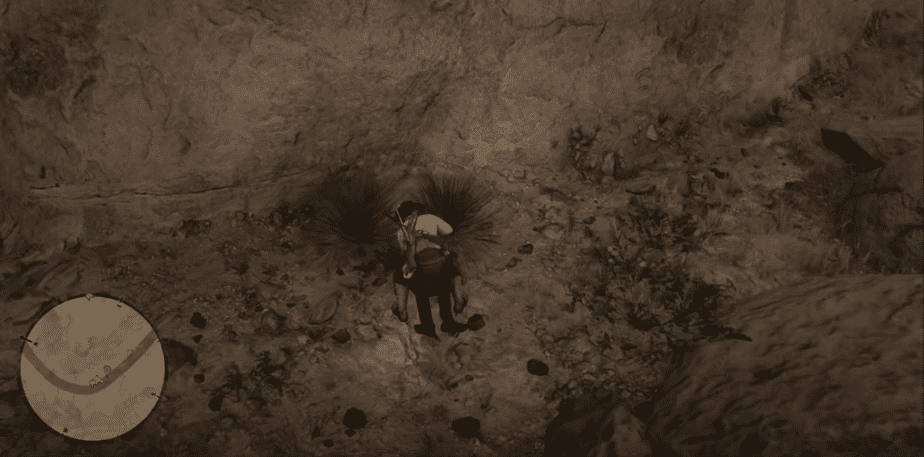
When you reach the location, there will be a dead body “x” sign on the map. The body will be hanging from a cliff and dangling by a rope. Shoot the rope and loot the body to get the first map of this treasure hunt.
The Elemental Trail Treasure # 1
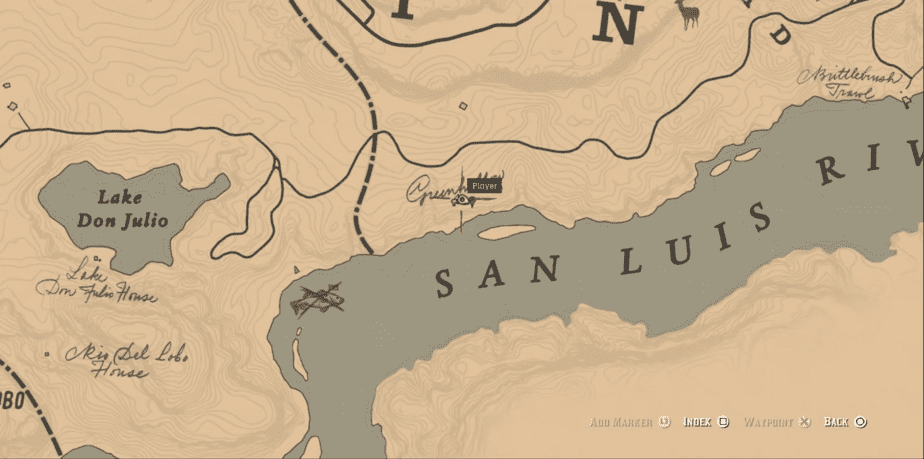
The first treasure is located in Greenhollow, southwest of Macfarlane’s Ranch near Lake Don Julio. The location is marked on the map above.
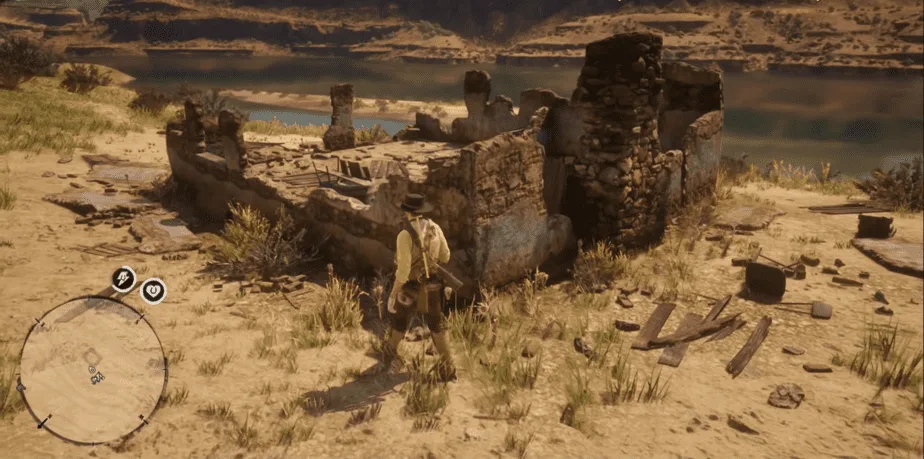
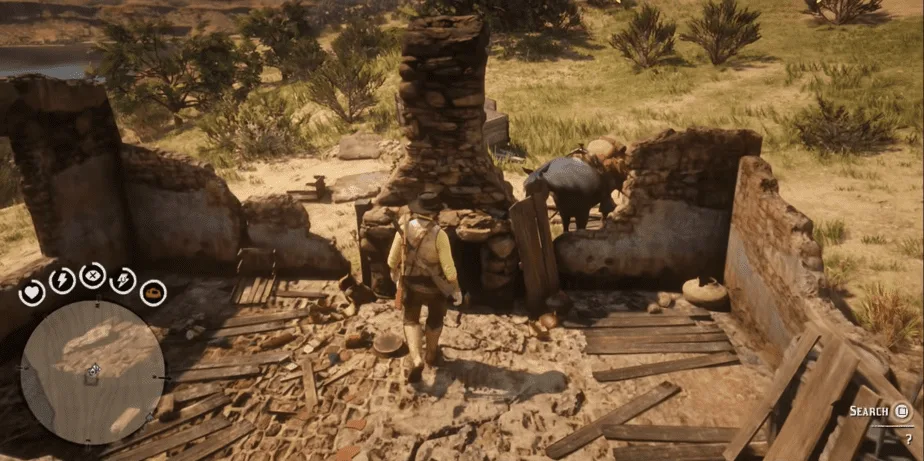
There will be a husk of a house here. Enter it and go straight towards the surviving fireplace and search it. This will give you a Horse Meal and map number 2.
The Elemental Trail Treasure # 2
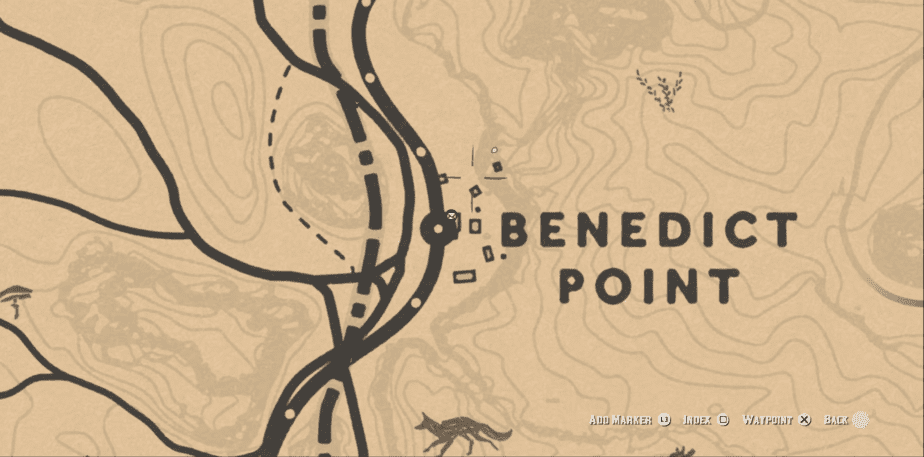
The next treasure is situated in Benedict Point, south of Tumbleweed. The location is marked on the map above.
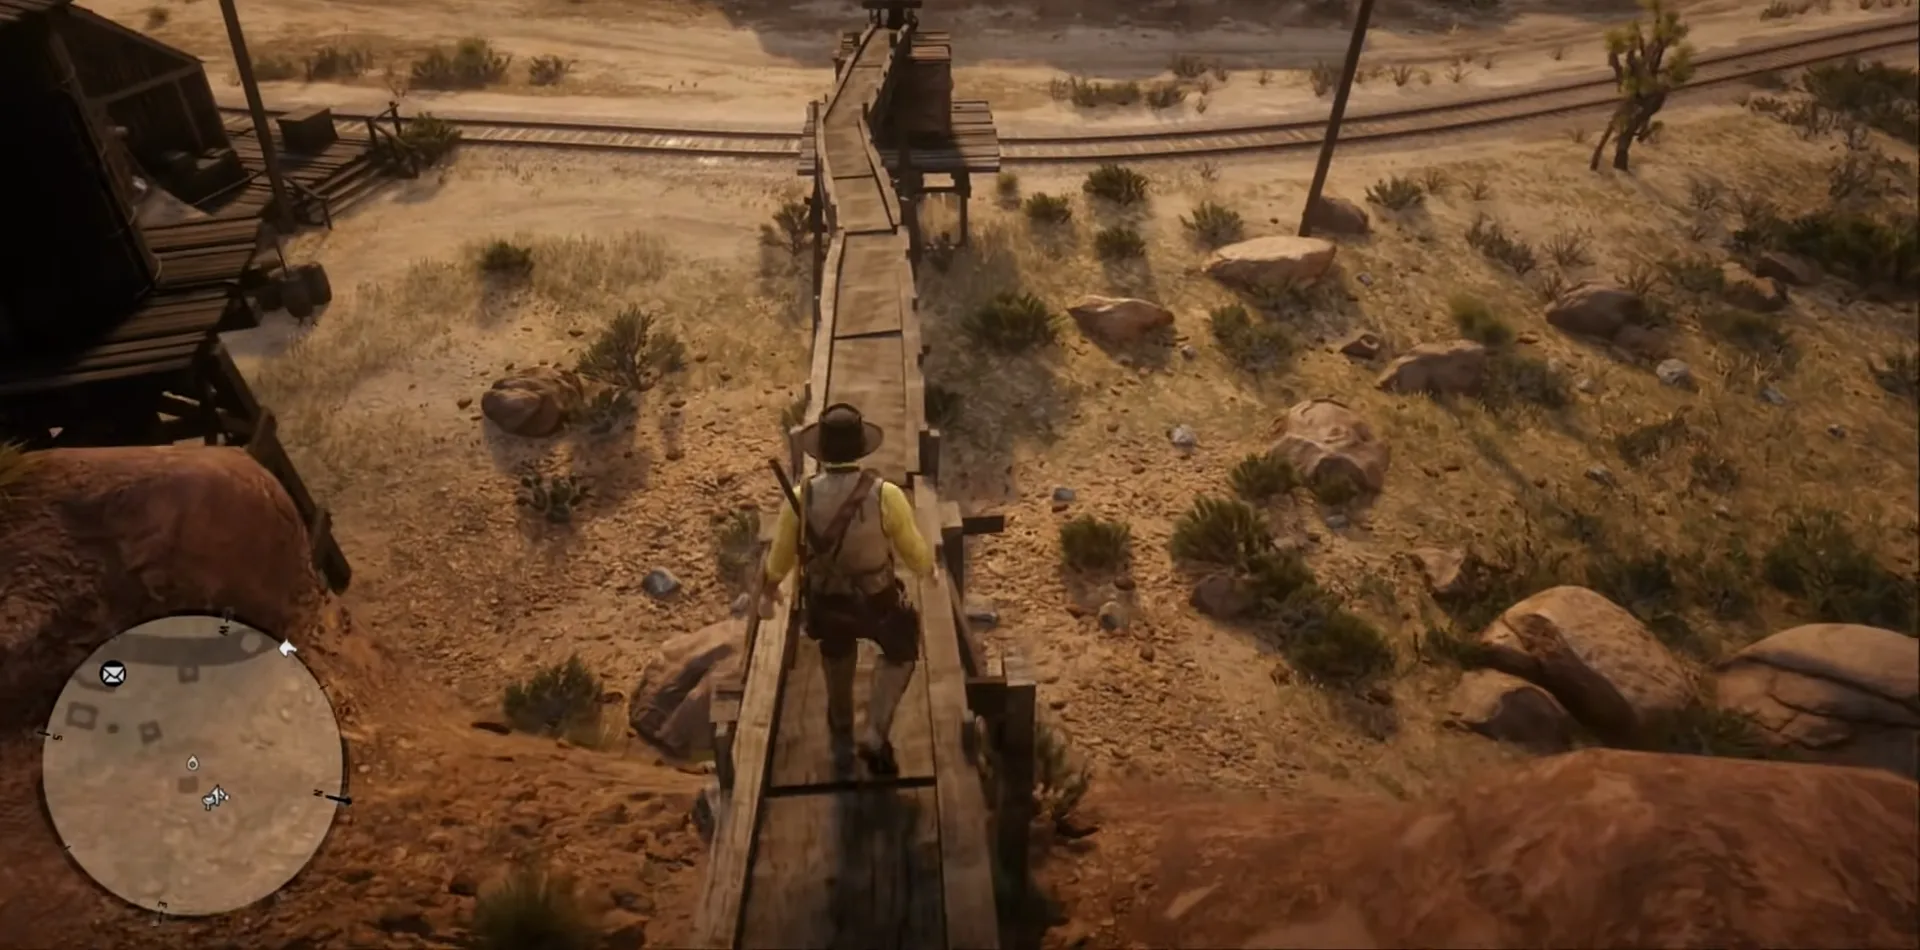
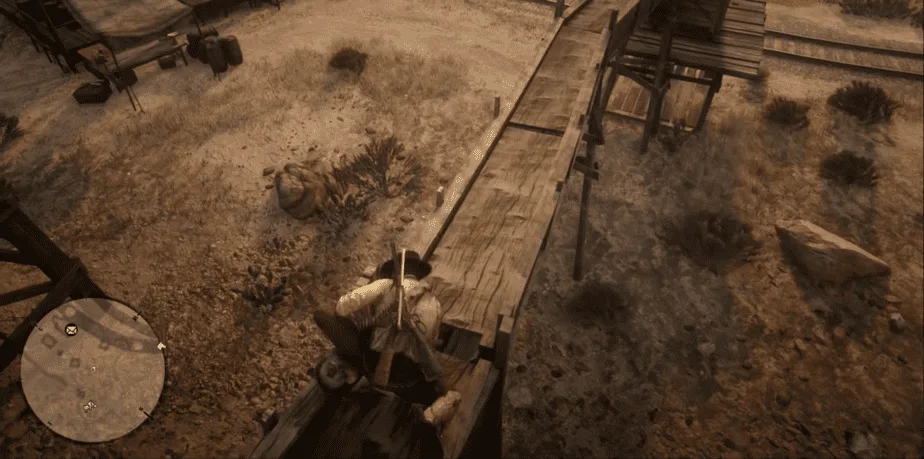
This location has a water supply system coming from the cliff behind it. Go up the cliff and start walking over the water aqueduct thing. In the middle of the thing you can search the gap to get a Horse Reviver and the final map.
The Elemental Trail Treasure # 3
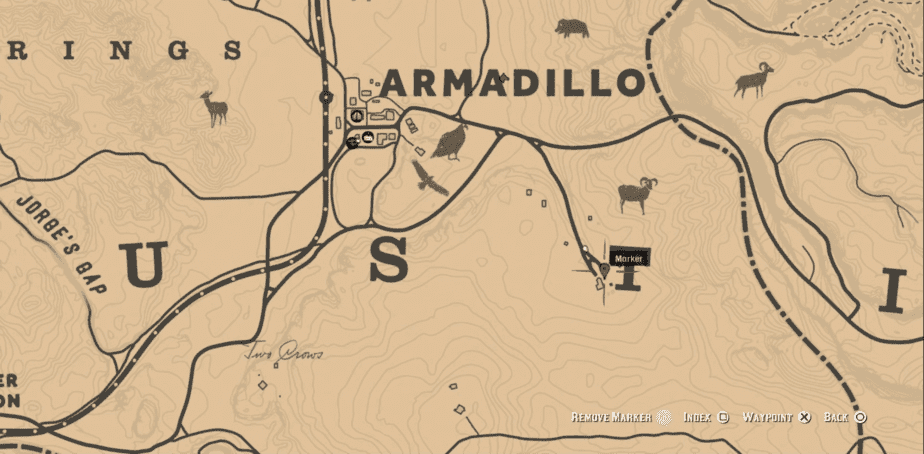
The final treasure is located in the cemetery/church area south of Armadillo. The location is marked on the map above.
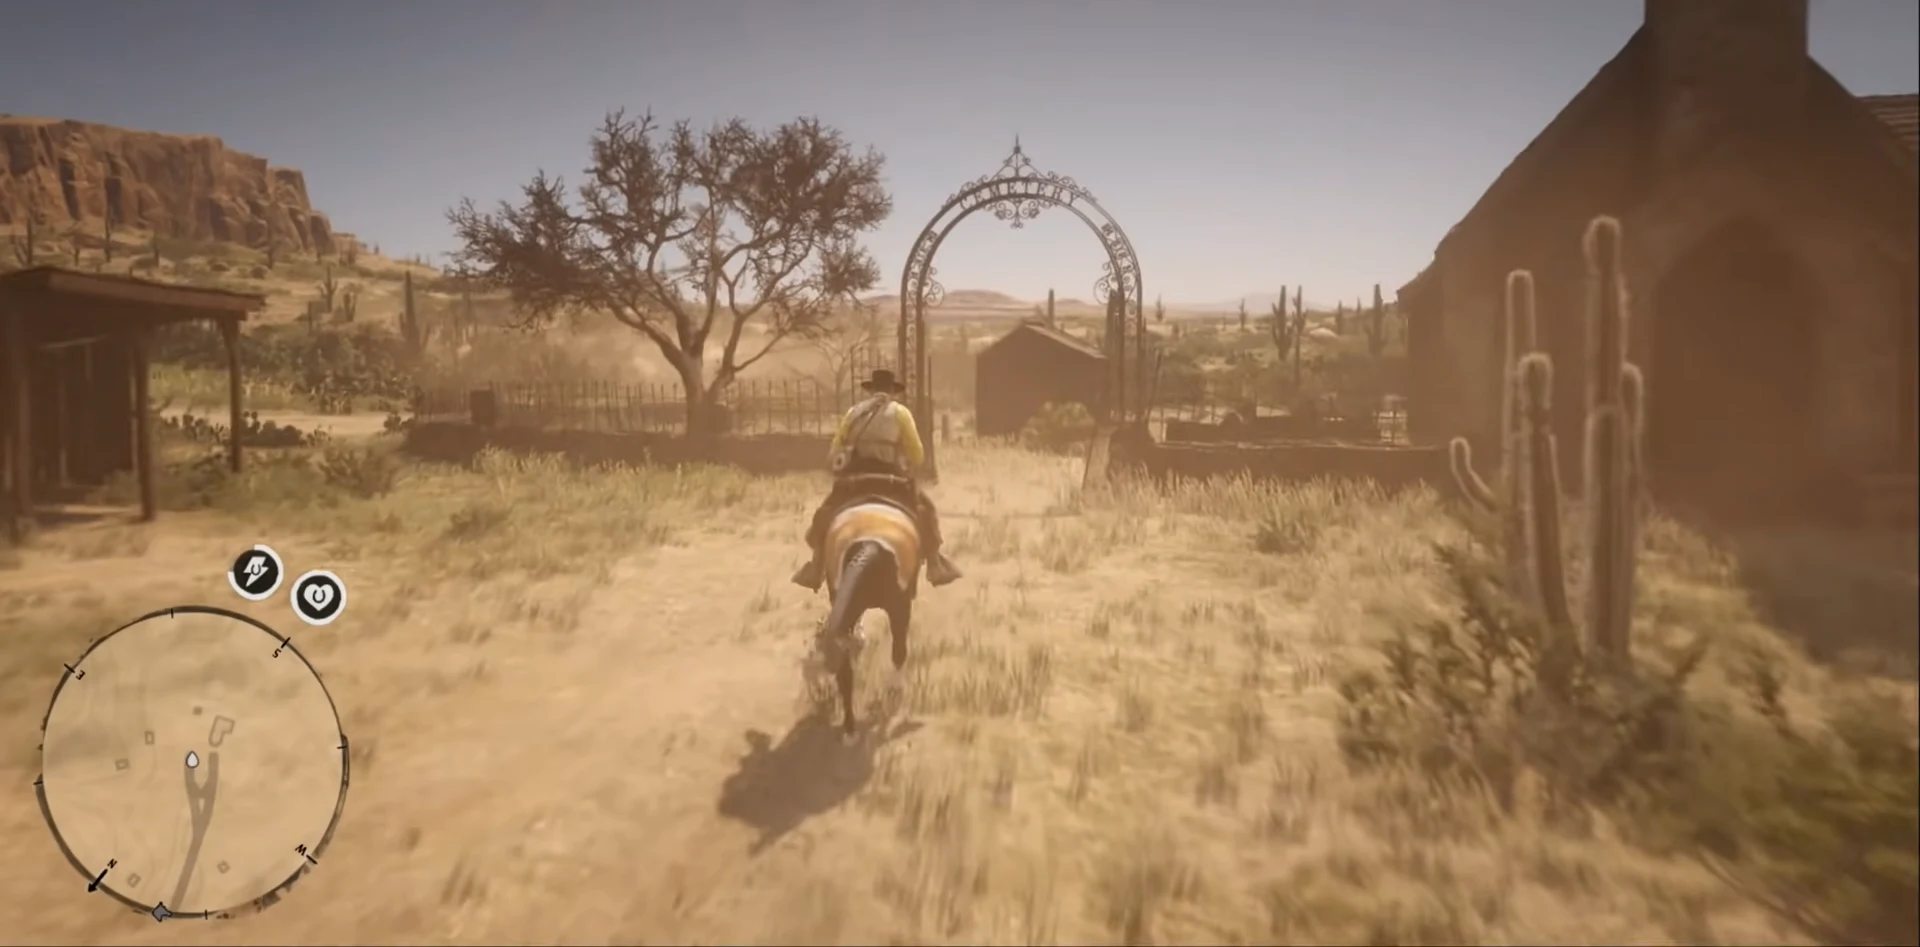
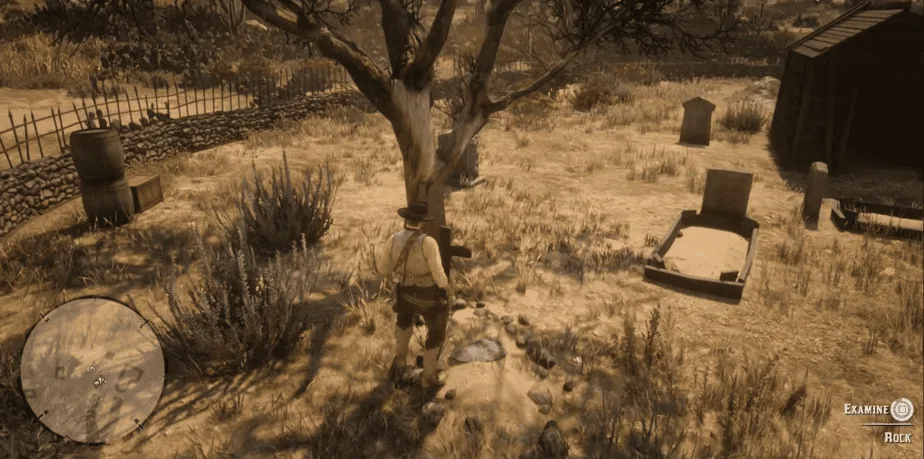
Go to the cemetery section of this church and walk to the tree on the left side. There will be a grave with a rock over it that you need to search. Doing so will reward you with a Trinket, a horse item, and a Gold Bar.
All these Gold Bars in Red Dead Redemption 2 will bring in $12,300. Sell them to the Fence near you and see the money pile up. Going through the trouble of getting all these darn Gold Bars does have a huge benefit. You can now easily buy tons of crazy chic clothing, the best horses, and bling up your weapons. Try to do some good though otherwise, all this money will surely get to your head.

