Yanlao is one of the major bosses in Nine Sols. The fight against Yanlao will truly make you understand what it feels like to be a stuffed toy in a claw machine. Literally. In the claw machine-esque arena, you are against a deadly claw control by Yanlao.
Every attack is brutal and can one-shot you. The best way to go about any battle is to learn about your opponent beforehand. To make the job easier for you, we have this guide that contains everything that you need to know about Yanlao in Nine Sols.
Pre Fight Preparations
Taking on Yanlao is by no means a piece of cake. You will have to put some effort into learning the attack patterns and fight mechanics but even before that, before you even start the battle, there are a couple of things you should have that will make your battle against Yanlao a lot easier.
Grab A Few Talisman
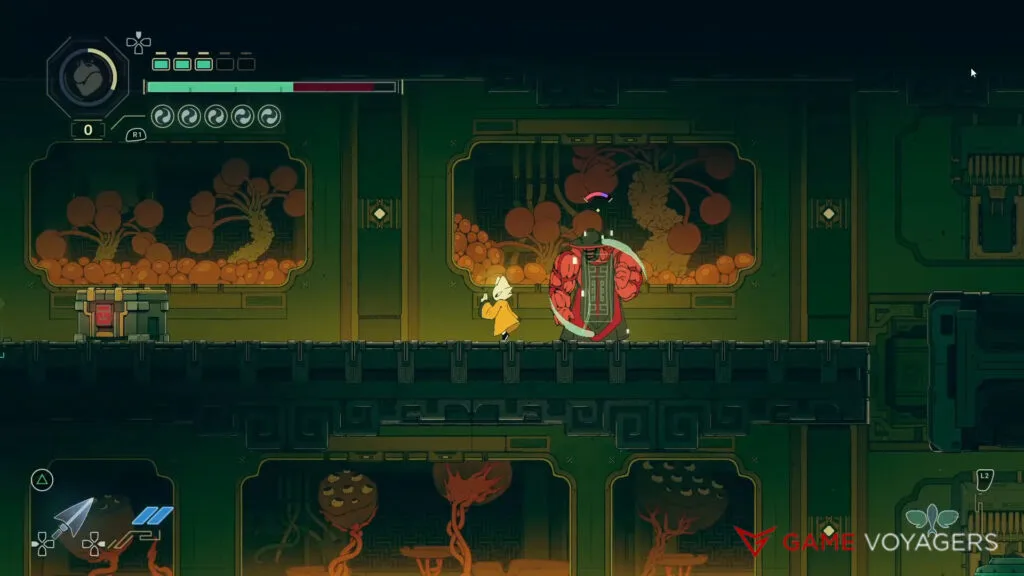
You will need to deal as much damage as possible and as quickly as possible. That’s where your talisman explosions will come into play. Almost every attack by Yanlo can be countered with a talisman explosion which is also the safest option.
Water Flow, Qi Blast, and Full Control are some good examples of what worked best in our situation. The point is to deal as much damage as fast as possible because the longer the fight drags on, the harder it will be for you to keep up with the attacks.
Upgrade Your Max HP
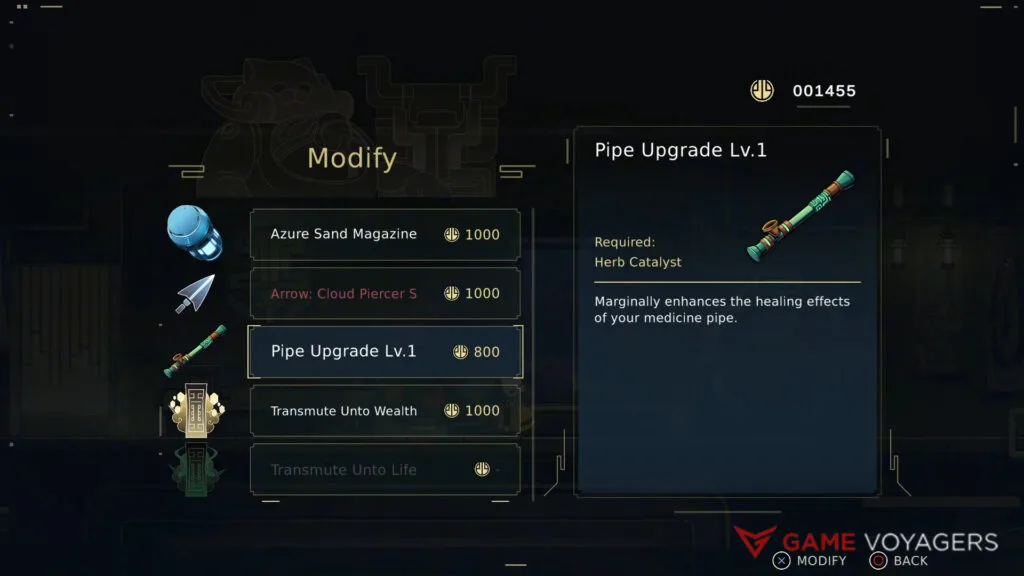
There will be two phases to the fight so you will need as much HP and heals as you can get your hands on because if you deplete the majority of it in the first phase, you will definitely not make it through the second phase.
The second phase is much more brutal than the first one so it’s best to play the first phase as safely as possible and retain ideally all of your HP and heals because you will need them in the second phase. You can upgrade your max HP with Shennong’s help.
We also recommend grabing a few jades that help with health recovery like Quick Dose Jade and Breather Jade. Both of these will help you greatly as one will decrease the time it takes of heal and the latter will convert damage dealt into health.
How to Defeat Yanlao in Nine Sols
Your battle against Yanlo is rather long so plan accordingly. It is important to read the enemy’s moves as each move is well-telegraphed. Once you get the hang of it and with the details below, you will be breezing through the fight.
Your fight is not technically against Yanlo but a mechanical claw, Sky Rending Claw, which he controls. The movements are quick and deadly, so it is best to formulate a plan of action or you can just take help from this guide. Here goes nothing.
Phase 1
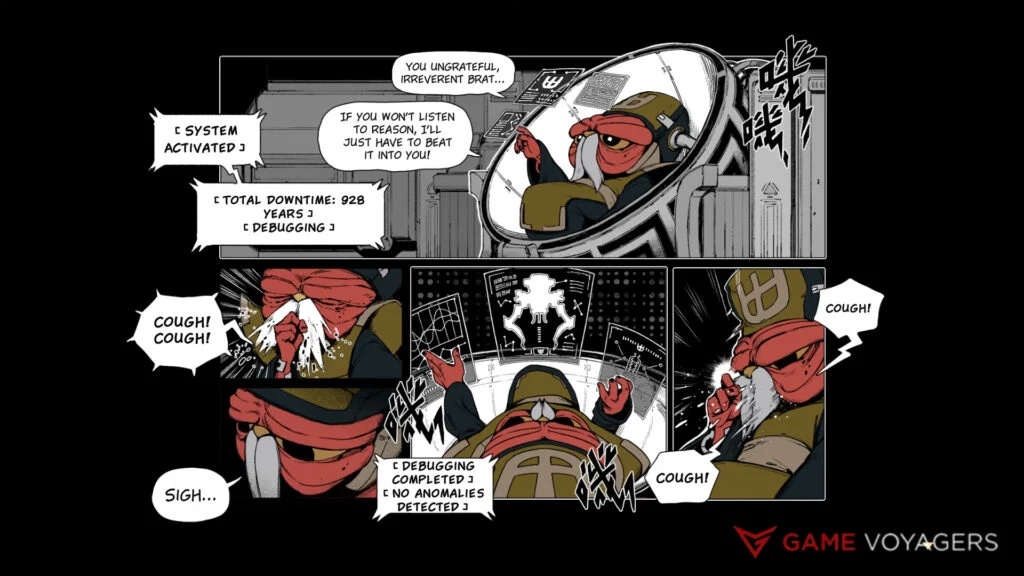
These are all of the attacks that Yanlo will use against you.
- Claw Tackle: The claw will close all of its legs, drop on the ground, and rapidly spin almost like a top. Something to know here is that, no matter where it starts, it will only stop once it hits the wall at the opposite end of where it started. While you can run away from it you will run out of space at one point and that’s when you can dash through the claw to the opposite end. If you dash too early, you will get hit and if you dash too late, you will get hit before your dash animation starts. You can also parry this attack if you get the timing right.
- Leap Claw Tackle: The attack is almost identical to the Claw Tackle with a slight twist. Before the claw starts spinning, it will take aim, jump again, and try to land on top of you. After that, it will start spinning. You can again use the dash to avoid it. As soon as the claw leaves the ground, you will dash forward to avoid getting crushed under it. The rest remains the same as the previous attack.
- Laser Grab: It is not just a claw that can grip you to death. It also has a laser that will burn you to a crisp. For this attack, the boss will rise in the air, and glow red as if it were going to shoot a laser but don’t get bamboozled by it. It isn’t going to fire a laser just yet. It will first dash directly downwards to try and grab you and once it successfully grabs you. It will burn you with a laser. You will die 100% if you are not at full health. The easiest way to avoid it is by simply dashing to either side as soon as you see the red flashing.
- Laser Dance: Several moving lasers will fire downwards from the top and each one will move from side to side in tandem. Find the gap between two laser beams and move slowly with them to avoid taking any damage.
- Turret Barrage: Boss will take out his current and several targets will start following you around the arena. As soon as any one of them gets a lock on you, they will fire. The walls around the arena will also be pushed forward and the space will close up a bit. The only way to avoid taking a missile to your face is to keep running around in random patterns. You can also run up the side wall and dash toward the claw while a target is following you. There is a chance that the missile will miss and hit the claw. It will fall down on the ground and you will get a chance to land some free hits.
The first phase is all about learning the attack patterns and countering them in whichever way you deem fit. You will see that every attack that the boss uses has a clear giveaway and once you learn those, countering these attacks will become easier. Use Talisman attacks as much as possible to deal the maximum amount of damage.
You will need to make a slow but steady progression. One thing to make sure here is that you don’t let Turret Barrage go to waste. Target the boss with its own attack and once it falls on the ground, if you are using an Azure Bow, shoot any many as you have before it gets back up. We recommend using half of your arrows in the first phase and keeping the other half for the second one.
Keep at it and you will deplete all of the boss’s health.
Phase 2
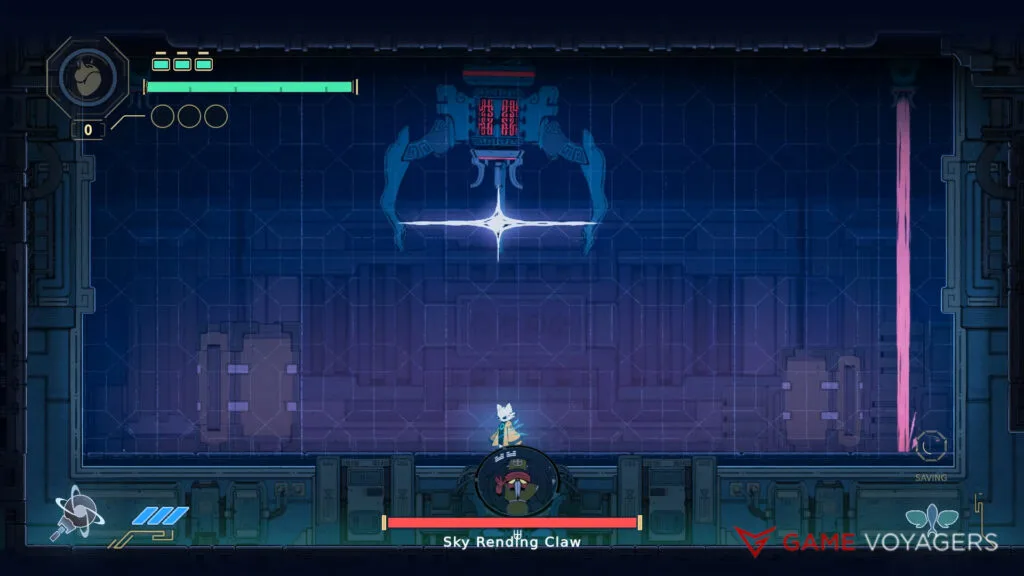
Phase two doesn’t start when the health depletes halfway but one starts when you have completely chipped away the full health bar. So technically, you have to fight the boss twice. Yanlo will use mostly the same attacks in the second phase with some added aggression and can also have two attacks as well.
Here are all of the attacks that you will see in the second phase.
- Laser Reinforcement: It is an upgraded version of the laser grab. Initially, as the claw is trying to grab you, there will be two lasers as well on each side of the arena. This time there will be a third one down the middle as well. The rest of it remains the same.
- Boosted Laser Dance: This is an advanced version of the laser dance where there will be more lasers moving from side to side with even less gap between each one.
Yanlao’s moveset largely remains the same in the second phase with the exception of a few attacks. So your strategy will also remain the same. However, you will see that there is a lot more aggression in the attacks so you will also have to move quickly.
Another tip is to heal when you can and not when you have to. Because you won’t get a lot of opportunities or downtime in the second phase it’s best to not get hit but if you do get hit, heal as soon as possible because the next attack might end the battle.
Other than that, keep the strategy the same as the first phase and you will eventually take down Yanlao.
Rewards For Defeating Yanlao
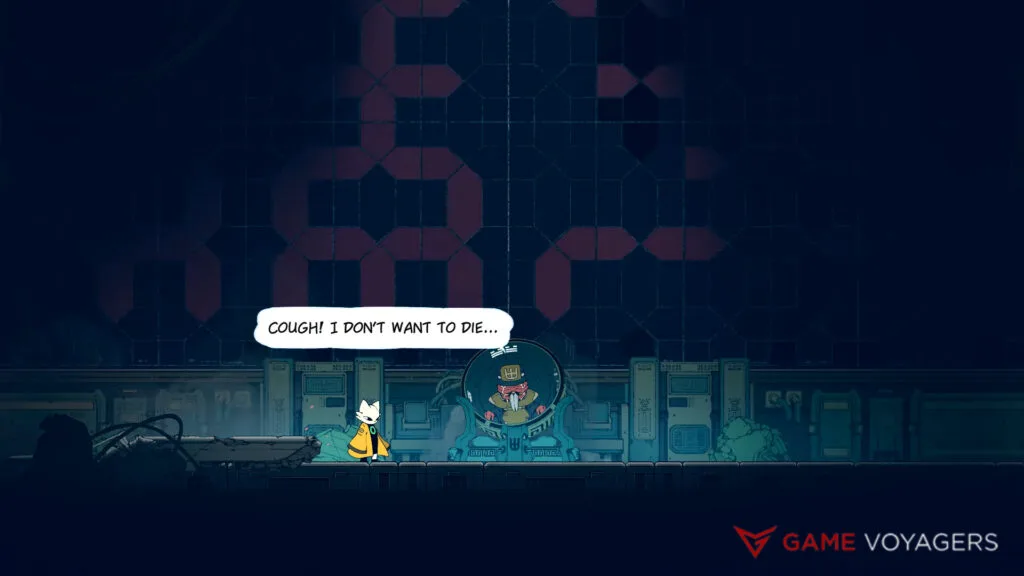
You are rewarded with the following items in return for taking down Yanloa in Nine Sols:
- Greater Tao Fruit
- You Should Respect Your Elders’ Achievement
- Sol Seal
This marks the end of the battle against Yanlao. With it, you are one step closer to avenging your friend and obtaining every Sol Seal there is.

