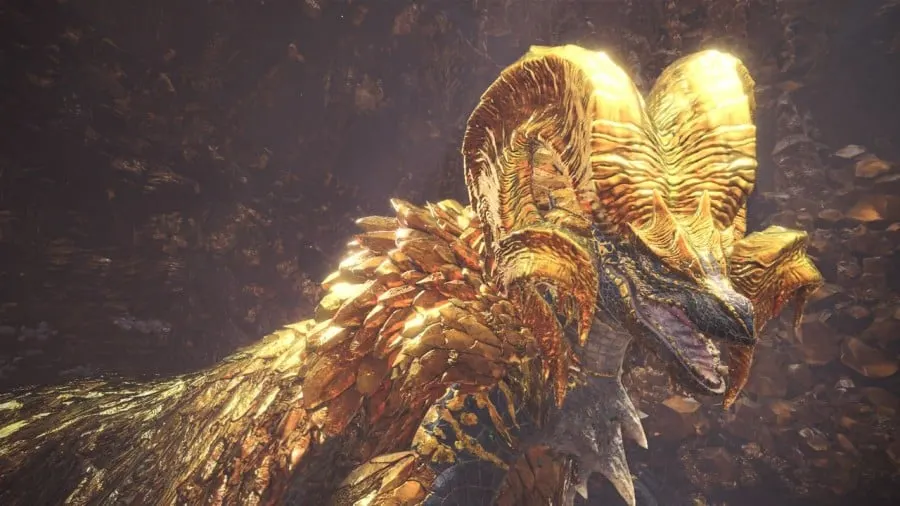
The Kjarr weapons are some of the more powerful endgame weapons in Monster Hunter: World, especially because they come in just about every weapon type and element combination possible. However, there’s a fair amount of randomization in obtaining them, which can be confusing for some players.
In this article, we’ll talk about how to get Kjarr weapons and the best ways to go about farming them.
Overview of Kjarr Weapon Sources

Kjarr weapons are primarily obtained as randomized rewards for hunting Kulve Taroth.
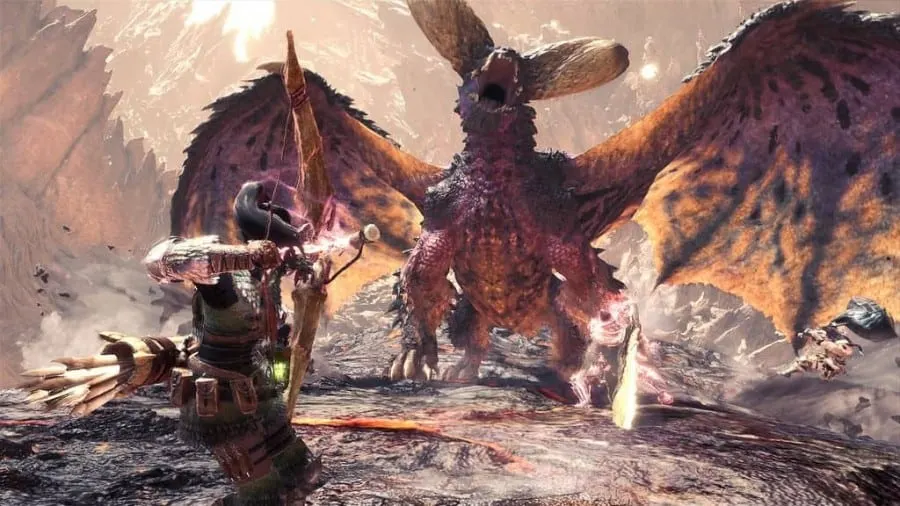
For those who aren’t familiar, the Kulve Taroth siege is a unique event quest that’s geared towards multiplayer. Here, players can team up with up to 16 hunters in fighting the Kulve Taroth, and rewards are shared based on contribution. We’ll go into more detail on the exact mechanics of the siege in the next section of this article.
Kjarr weapons are the highest rarity weapons that can be obtained from Kulve Taroth quests. They can be easily identified with the orange weapon icon and the naming scheme, which always starts with “Kjarr.” The lower rarity Kulve Taroth weapons are called “Gold” and “Taroth.”
The Iceborne expansion has also added a Master Rank version of the quest with slightly different mechanics. You can’t obtain weapons directly from this quest, but you can use the materials you obtain from it at the Elder Melder. Through Awakening Alchemy, you can sacrifice some materials and research points to obtain some Kulve Taroth weapons. You can also upgrade the weapons that you already have using this same feature, which makes them really useful for endgame players.
In summary, there are two main ways of obtaining Kjarr weapons: first, by finishing the Arch-Tempered Kulve Taroth Siege, and second, by using Awakening Alchemy at the Elder Melder, using items from the Master Rank Quest. There are pros and cons to either method, and we’ll go through the specifics of each one in the following sections.
Method 1: Arch-Tempered Kulve Taroth Siege

The Arch-Tempered Kulve Taroth can be fought in the 9* special quest, The Fury of El Dorado. This quest can be accessed at the Gathering Hub, in the Siege tab. Since this is a limited-time quest, be sure to make the most of it whenever it’s available!
Siege Mechanics
Throughout the siege, there will be two main things to keep track of: the Pursuit Level and the Reward Level.
The Pursuit Level boosts your damage output, so the higher it is, the easier it’ll be to break monster parts. You can easily increase Pursuit Level simply by picking up all the tracks that Kulve Taroth leaves behind.
The Reward Level determines the quality of your final rewards, so naturally it’s important to try to get it as high as you can. You can boost your Reward Level by breaking Kulve Taroth’s body parts, such as her horn plating, her tail, her arms, etc.
As mentioned earlier, Kulve Taroth siege is best played on multiplayer. She has a ton of HP, but all the participating hunters contribute, which makes it faster when you have up to the maximum of 16 players. The overall HP carries over per quest, so even if you fail the first time, you can continue trying! Pursuit Level is also shared among all the players, so every action makes it a little easier for everyone else.
However, Reward Level is not shared, so you can’t just hang back and let the others do all the work. You’ll have to break a lot of parts yourself if you want good rewards!
Preparing for the Hunt
Here, we’ll talk about some useful skills and equipment for this quest.
Partbreaker is a very good skill to have, because Kulve Taroth has so many breakable parts, and it’s an important mechanic for increasing your Reward Level. Other than that, you can bring the usual offensive skills, such as Attack Up, Weakness Exploit, Critical Eye, etc.
In terms of equipment, it’s best to use weapons with high burst damage, like a hammer or greatsword. The time limits mean it’s important to maximize your damage output, especially whenever Kulve Taroth is knocked down. Because of her changing elemental weaknesses and resistances, it’s probably best to just bring a high raw damage weapon without an element.
You can also bring Large Barrel Bombs to deal a lot of damage in wide areas. If you decide to do this, you can bring a lot of materials for crafting bombs, and the Bombardier skill also helps to boost your damage.
Finally, if you’re worried about your survival, don’t forget to bring armor with high Fire Resistance, and it’s helpful to bring Health Boost skills as well. The Fireproof Mantle can also help a lot, especially in her last phases, when she uses a lot of fire attacks.
Fighting Kulve Taroth
The actual fight has four phases, with changing environments and attack patterns. Here, we’ll give some general tips.
One of the most important things to remember is that, when Kulve Taroth’s gold armor becomes red and molten, the parts also become much easier to break. This is the best time to aim for them and try to rack up those Reward Levels!
There are also a lot of things in the environment that you can use. In the first phase, there are a lot of cannons around the map, and there are rockfalls that you can trigger with your slinger to knock Kulve Taroth down. In the third phase, there are also a lot of lava eruptions that do constant damage and more lava rockfalls that you can trigger for big damage.
Finally, remember that the main goal is to break her horns. This means you have to use all means to hit those parts: jump off ledges when you can, clutch claw to her face and wallbang, mount and knock her down, etc.
As with many things, though, the best teacher is experience. Don’t be afraid to try the quests out for yourself, and soon enough you’ll be beating one Kulve Taroth after another!
Method 2: Master Rank and Awakening Alchemy

Master Rank Quest Mechanics
The Master Rank Kulve Taroth Quest can be found in the Event Quest list, known as The Eternal Gold Rush. This is also a limited-time quest, so be sure to keep an eye out!
Unlike the regular Siege, there are no Pursuit and Reward Levels, and progress does not carry over if you fail. This means that you must survive and defeat Kulve Taroth within the time limit, or you will waste your resources and obtain very little rewards.
Besides the 50-minute overall time limit, there also seem to be time limits for each phase. This means that, if you’re not able to deal enough damage within each phase, Kulve Taroth will still be able to escape, and the quest will fail. Ultimately, this means that the quest is very fast-paced, and you need to be well-equipped and skilled enough to keep the damage output going.
Outside of these changes, the usual strategies mentioned earlier still apply. Partbreaker remains very useful, the Fireproof Mantle still helps a lot with her fire attacks, and you can still use the various environmental hazards.
This quest can be faster to clear than the usual Siege quest, especially if you already know what you’re doing, but it will be a real test of your skills!
About Alchemy
Once you’ve beaten the Kulve Taroth and obtained her materials, you can now go to the Elder Melder and use these items to obtain more weapons.
There are two types of Awakening Alchemy that you can perform to get Kulve Taroth weapons: you can either do Kulve Alchemy or Kjarr Alchemy. Basically, Kjarr Alchemy costs more Research Points, but it also gives higher rarity weapons in general. It’ll depend on how many Points you have, but if you have a lot to spare, it’s best to just maximize your chances and keep using Kjarr Alchemy.
Besides Research Points and Kulve Taroth parts, you also need one Large Elder Dragon Bone every time you meld, so be sure to keep an eye on your stock.
Pros and Cons of Each Method
Here, we’ve summed up the pros and cons of the two main methods of farming:
| Pros | Cons | |
Method 1: Arch-Tempered Kulve Taroth | Relatively easy to clear with a partyProgress carries over per quest, so even if you fail you can get rewards eventually | Much higher HP, so farming speed depends on how good your party is; might take a while |
Method 2: Master Rank and Awakening Alchemy | Master Rank quest has lower HP and must be cleared in 50 minutes, so each run is fasterDoable solo, HP scales with number of participants | Progress does not carry over, so failing means you get very little rewardsCosts a lot of Research Points |
Overall, it’ll be a tradeoff between the ease of farming in the Arch-Tempered siege versus the potentially faster Master Rank quest, but which also has a high chance of failing. If you can arrange a good hunting party with your friends, Arch-Tempered siege would be very good; if you’re confident in your solo skills, you can try the Master Rank quest instead.
In the end, it’s best to try out either one and see which works best for you.
Hopefully this guide has helped you figure out the different ways of farming Kjarr weapons. That’s all for today. As always, happy hunting!

