Stone is arguably the most important resource in the game. Not only it allows you to create tools to interact with the game via tools such as hammer, hoe, sharpening stone, ax, etc., but also with building structures such as campfires, furnaces, forges, hearths, smelters, arches, pillars, walls and many more. Moreover, it adds a cosmetic feel to your environment through paving roads, soil fertilization.
The early game progression to stone farming is a bit tricky. You need to complete some quests to get the necessary items. Primarily, you want to get the antler pickaxe, which will allow you to mine stone. To get to that, you need to complete the following things:
- Upgrade workbench to level two.
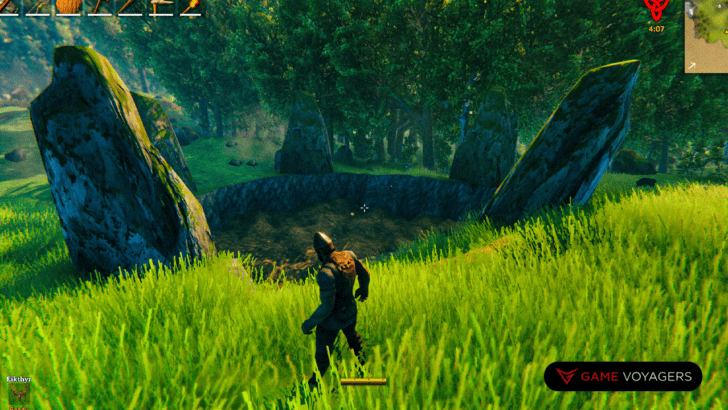
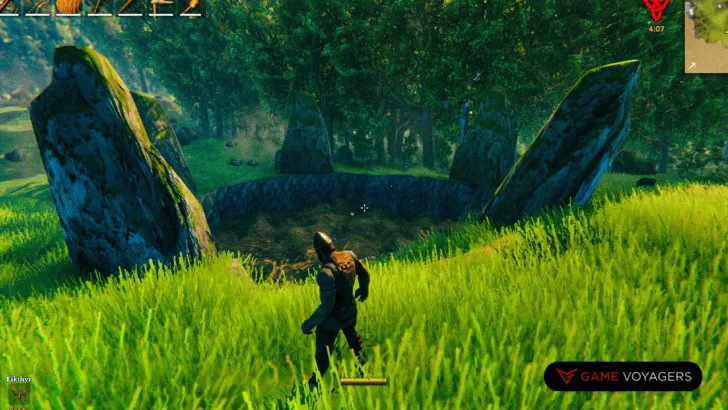
- You need to defeat Eikthyr, the first boss of the game, to get the hard antler.
Doing both these tasks will allow players to craft the antler pickaxe, which requires ten pieces of wood and the hard antler.
Usage
Stone is necessary for every single bread and butter run of the game. Every single run of Valheim requires a substantial amount of stone to get the necessary items to progress to the late game smoothly. Here are some of the bare necessities that you would require in a normal run.
Crafting


Hammer: This will allow us to construct objects such as fires, workbench, buildings, and furniture.
Hoe: It can be used to elevate or level the ground. It can also be used to apply paved roads and the panthen ground decorations to an area, visually creating a walking path for players.
Sharpening Stone: usually found in chests in fuling villages, it helps in making the grinding wheel. It is also the only item that is craftable in the stonecutter.
Ax: The basic item for tree-felling. It is effective on softer woods, such as beech, fir, and pine trees. It cannot cut birch and oak trees.
Blast furnace: The Blast furnace is used to process certain raw materials into Metal using coal as fuel. Materials that can currently be smelted are black metal scrap flat metal ore.
Campfire: One of the more utility-based tools, it helps in the early game to keep enemies away from you while you are camping or looking to make a foundation for staying. However, brutes and shamans will attack you regardless. It requires wood as fuel, but it protects you from cold and keeps your character comfortable.
Charcoal Kiln: It is a structure that creates coal. It allows you to speed up your farming speed, providing you with more powerful tools such as bronze, iron, etc.
Forge: It is an essential item that allows you to create and repair items. To craft and repair, it requires shelter and a roof, and repairing requires no excess materials.
Hearth: An upgraded version of the campfire allows you to create a more strong and more durable flame. With 1/20 fuel, a Hearth will last for 1 hour and 23 minutes. At maximum capacity, a Hearth should burn for 27 hours and 47 minutes.
Smelter: The smelter is used to process certain raw materials into Metal using coal as fuel. Materials that can currently be smelted are copper ore, tin ore, silver ore, scrap iron.
The Stonecutter: It is used for building stone structures and crafting items. To build stone floors and walls, you need to place a stonecutter near a Workbench.
Structures
There are multiple types of stone structures. Some of these include:
Arches: Buildable structure that can be generated or created.
Pile: Heaps of stone found around the world serve as collecting sites of stone stacks.
Pillar: Large structure containing high deposits of stone, hard to farm alone.
How to Harvest Stones
This can also be done in two ways. Players can destroy chunks of stones scattered throughout the massive world.
They can depend on RNG to get pieces of stone after defeating Grey Dwarf creatures, which don’t spawn until the player has defeated Eikthyr, the first boss.You can start your harvesting in the Black Forest biome after killing the first boss.
This will allow the player to progress onwards to better tools and equipment. Going from stone to bronze and onwards to iron. Hitting the ground with your pickaxe destroys, and eventually, there will be a threshold on how much you can dig deep. Afterward, the ground will become undestroyable.
You can also pick up stones as they appear, in the form of dark rocks lying on the ground, which can be picked up. This will pop it off the ground, and it will be collected once you are in close range. This is also viable as you can run around and grab stones very cheaply.
Another nice way is to farm stone golems. In the mountain’s biome, you can bait and evade the stone golem can destroy the terrain and other rock formations, which allows you to farm faster.
If you’re looking to find an unlimited supply of stone, just keep digging straight now till you hit bedrock. Once you can’t dig further, that’s an indication you’re at the bedrock. Even though it’s the end, keep on digging. You’ll still sprout up a few more stuns. Do make sure that you create a small base with a roof so you’re getting that extra Rested and Sheltered bonus.
Infinite Farm


There is a way to create an infinite farm currently that will allow you to get unlimited wood along with the stone. It is not a unique method, and there are multiple variations of that.
First, you must do the hard part of finding a great spawner in the world. Mostly present in the Black Forest biome, sometimes you’ll find one, two, or maybe a handful coupled together. Since finding these are very hard, it is recommended that you mark them on the map, so you don’t have to run in circles in case you need to reuse them again. It is also recommended that you get some good equipment, such as armor and a strong weapon. This is because the spawner will regularly spawn grey dwarfs that will aggro towards you and try to kill you. Also, you should be stockpiling on some food as you will need some sort of way to sustain your trips.
Moreover, you can make a secondary base nearby the spawner. Here, you can set up a second shop for your supplies and have a portal that leads to your main base. This also benefits you so that you can avoid the nighttime when the threat of enemies is higher, and it would be risky to have a lot of farms, just to lose it to an unexpected encounter.
Initiation
To make this work, we need to make some preparations so that the spawner does not spawn any more enemies. For that, we require good armor and weapons to fight off the waves of enemies. Next, you need a hammer, an ax, a hoe, and a pickaxe that we will use to clear the area of obstacles such as trees, etc.
First, start by putting down 3 two by twos on all sides of the spawner. This can be done by putting outwards to one side and align the rest around it. After successfully doing this, no grey dwarfs will be able to spawn. Try distancing yourself from the spawner. If no dwarfs spawn, you have done this right. Now cut open a corner of the wooden floor you made and start digging downwards, which will be 16 in total. You’ll see that you have reached the end when you can’t dig down anymore. Now, you must carve out the bottom side like that of the upper spawner structure so that there is a cavity beneath the structure. Moreover, do care as to not completely mine the bottom section. Now, you will have a pit in the spawner, and your character should have good stats in stamina to climb out of the pit or make a ladder or section to easily get out of the pit. Now keep hitting the center of the spawner from the pit until a nice thin pillar is here.
Structuring
Next, you want to make a ramp so that you can easily get your supplies in and out of the pit. Just take a side of the pit, and start hitting straight and away from the pit. You will notice that it will take you slightly upwards and will create a sort of elevation to get up and down.
After we are done with that, we can now place the hearths next to the pillar. You should do it in a way so that you have the maximum number of hearths next to the pillar using as little space as possible. With proper placement, you can easily put four hearths without colliding with one another.
A cheap alternative to this is to use campfires. However, they are not as effective as hearths which are more durable and burn more effectively. Additionally, you need only four hearths, while in the case of campfires, you will need three-fold more. If for some reason, you have not progressed to that part of the game, you can use a campfire.
Another thing you should be wary of is when grey dwarfs take damage, they will have a probability of jumping out of the hearths, one-two dwarfs won’t be such a nuisance, but if left unchecked for a long while, you can have a huge problem on your hands, causing you to do this all over again. What you can do to counter that is to place little lip-like blocks at the edges so it will direct them back to the hearth and will cause them to die. You can do this with either wood or stone, but since you are already in dire need of stone, it would be cost-effective to use wood.
Now, with the hearths placed, you can cut out the wooden pieces you placed at the start and allow the grey dwarfs to spawn. This will create a scenario where they will fall into the hearths and die from burning.
Now, with the hearths placed, you can light up the hearths but do it carefully so you don’t fall in the process. Next, cut out the wooden pieces you placed at the start and allow the grey dwarfs to spawn. This will create a scenario where they will fall into the hearths and die from burning.
There will come a scenario where the creatures will start attacking the structure, so it is advisory to upgrade the lip blocks to stone whenever you get the opportunity.
Results


If you leave this for a while (AFK), you will get a ton of drops and valuables. One thing to mind is that being AFK for longer intervals will cause the structure to weaken. Therefore, repairs must be made in intervals, after every 15 minutes.
A good solution would be to make two to three of such farms but be mindful that they are close to each other. That way, you can maximize your profit and make upgrades much more quickly.
AFK Area
This is extremely important, as this will not work unless you do this properly. You must have a make-shift base of some sort close to the farm. This is because the dwarfs will not spawn unless you in the vicinity of the area. Hence, you should create a house close to the farm, which will allow you to go to AFK without any risk of safety. This will allow your character to be comfortable. Moreover, you can create a portal that leads to your main house for shipping supplies extremely fast.
Pile Farming
A bit raw approach to farming, Valheim is filled with stone pillars in multiple biomes. Suppose you have the resources and time. You can attempt to farm these pillars. This takes a relatively long time, and you need good tools to farm this completely. The key strategy is that you must farm the base of the pillar only. This will cause the entire pillar to collapse, and all the stone stacks will drop. This is a good way to get a ton of stone but is not very reliable, as there may not be many chances to get pillars. Moreover, it is recommended that you do this sort of farming only in multiplayer. This is because the total yield of stones you get is more than you can carry by yourself, so it is a good idea that you have a party of 2 or 3 people for this.
Location Farming
There are a few places on the map that incentivize a high number of resources. One of these is the mountains biome. It is very high in terms of rock deposits which makes these regions the best place for farming. However, the cold climate makes it hard to traverse to this area. It is advised that you have some sort of warm clothing and enough wood to survive the cold climate. The meadows biome is more environmentally friendly. It drops about 4 stacks of 50 rocks. However, it is dangerous at night time, as there is no area for maneuverability and if you are surrounded, you are done, unless you have something to defend yourself.
An alternative is the plains biome. Tall rocks, specifically, destroy the bases of these rocks, and the rest will crumble. Like above, it is advised that you do this with a few mates to get the best out of the trip.
World Bug


It is not certain for how long this will remain in the game. But there is a way to glitch the game into thinking that items from one world can traverse to the other one as well. What you must do, is build a bunch of storage boxes at your base and stand your character next to the boxes. Log out of that world and into a new one. Fill your inventory with stone that you can gather from that world, log off and log in to your immediate world, and depo all your stuff into the storage. It doesn’t matter if you’re over-encumbered. Once you’re back and log into the main world, you will still be left with the chests you built back in step one. Keep on doing this again and again until the area you’re in is low in supplies. Once that happens, just make a new world.
World Farming
Valheim is filled with any sort of monstrosities to fight against. However, great difficulty brings greater rewards. Specifically the Grey dwarfs that yield a lot of stone upon killing. The drop rates are as follows:
Enemy Enemy Lv. Qty. Drop Rate
Greydwarf 1 1 100%
Greydwarf 2 2 100%
Greydwarf 3 4 100%
Greydwarf Brute 1 2 100%
Greydwarf Brute 2 4 100%
Greydwarf Brute 3 8 100%
Stone Golem 1 5-9 100%
Stone Golem 2 10-18 100%
Stone Golem 3 20-36 100%
The Console
Now bear with us, it might seem cheesy, but it is the best way to get stone without breaking a sweat. All you must do is go to the console, turn on cheat codes by typing devcommands in the console, and use the spawn Stone command to create the item.
This method probably works in your world but mostly not in multiplayer as it leads to people griefing each other online.