You are near the end of your journey; you went off the beaten path and witnessed a large, fiendish orangutan destroying armies all by itself. This is the Demon of Hatred in Sekiro Shadows Die Twice. The demonic side of the Sculptor has finally broken out. It is incumbent upon you to put the poor soul of your accursed friend to rest.
Your honorable decision comes at a hefty price since this boss is one of the hardest in the game. Worry not, dear wolf, for we are here to put this monkey out of commission with our expert guide. *Whispers* There is a smelly cheese here too!
Fighting Demon of Hatred in Sekiro
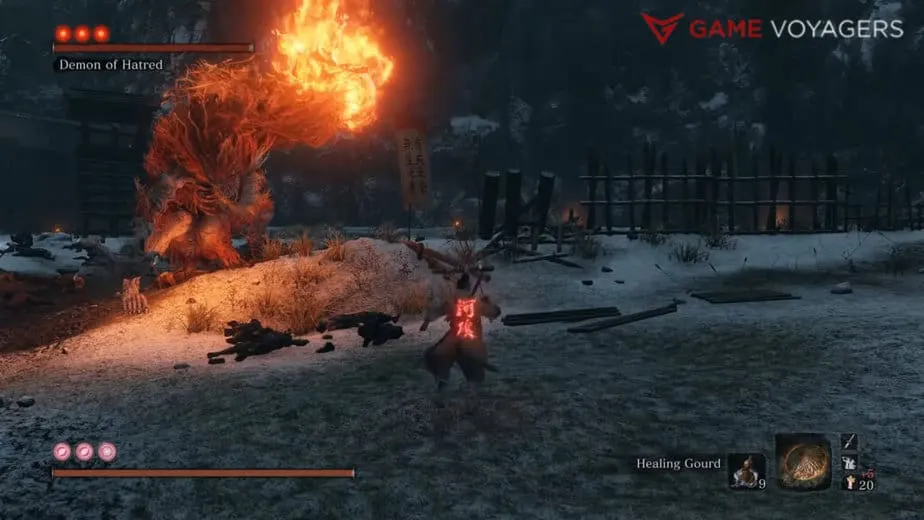
The Demon of Hatred made me see the second-most death screen out of any boss in the game, second to Isshin, the Sword Saint. It is like FromSoft picked up a boss from Dark Souls and plopped it in Sekiro. This boss is very different from the rest of the bosses in the game both in terms of fighting style and design.
This giant orange-burning orangutan is very agile for his size, hits like a truck, have all kinds of melee and ranged attacks, three damn phases/health bars, deals fire damage, and has very few attacks that can be deflected. I can go on and on about how challenging this freak is.
Luckily, he doesn’t recover posture so you can slowly whittle away at it. However, you need to approach this boss fight like a giant soulslike boss. Staying close to his legs and properly reacting to each attack is the way to go.
Here are some tips and tricks that can aid you in this battle:
- Suzaku’s Lotus Umbrella is a godsend during this fight. It will help fend off almost all the boss’s fire and physical attacks.
- The Malcontent upgrade of the Finger Whistle prosthetic tool has a special effect on the boss. Upon use, it will stun him for a few seconds allowing you to deal some free hits. It only works 3 times, then becomes useless. Use it in the third phase.
- Ako’s Sugar is a staple for dealing extra posture damage.
- Use the Ceremonial Tanto to get extra Spirit Emblems if you want to continually use prosthetic tools.
- Buffing yourself with Divine Confetti will let you damage the boss per hit more.
- Empowered Mortal Draw can finish the last phase in a few uses if used properly.
Boss Strategy
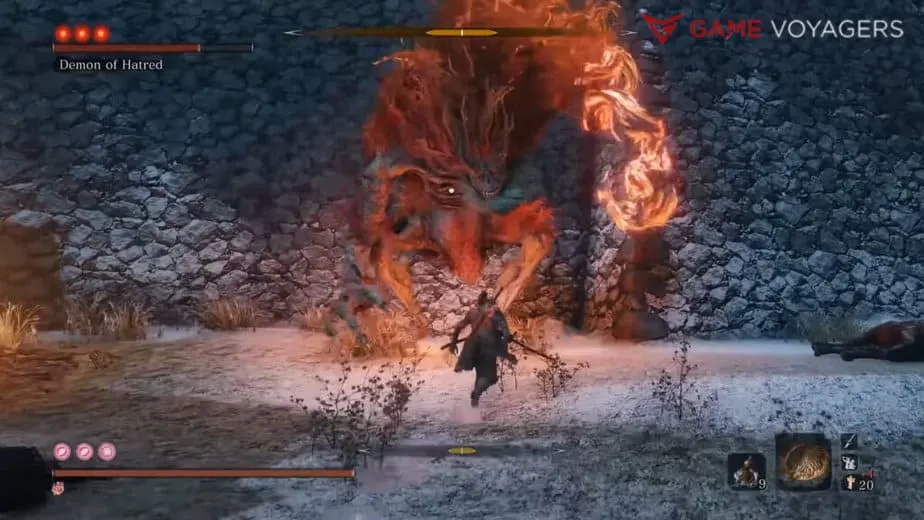
For Demon of Hatred, you must be up close and personal with this boss. Like any other giant soulslike boss, the area under his legs or behind him is the right place to be. He doesn’t block/deflect any attacks. You will be hurting his health and posture bar directly. It is all about reacting to his attacks.
Before engaging the boss, you should buff yourself with Ako’s Sugar or Yashariku’s Sugar, next coat your weapon with Divine Confetti, then use the Ceremonial Tanto to add more Spirit Emblem for spamming Empowered Mortal Draw (Don’t forget to equip it) later in the third phase. Slot in Suzaku’s Lotus Umbrella for his fire attacks and Malcontent whistle for the third phase.
Now run to the boss, make sure to dodge his leaping attack, then position yourself either underneath him or behind him. Go crazy with your attack and don’t stop. Stick between the legs and parry if he tries to stomp you.
When he goes for the Charge attack, jump to the side, quickly run up to him, and continue attacking him as before. Always go for his legs or his butt and keep at it. If he attacks you with his regular arm, parry it and move in.
Whenever he goes for the Leaping Slam explosion, turtle up behind the Suzaku’s Lotus Umbrella till the ensuing explosion dissipates. Perform the living force attack to deal a good chunk of damage afterward.
Keep up the pressure, and soon, the first phase will be over.
The same strategy applies to the second phase, however, after the charge attack he will throw out a whip slam that sends out a line of fire toward you. You can use the grappling point over his head while performing this attack and propel yourself to the boss all the while ignoring the line of fire. Buff up again with Divine Confetti and your preferred Sugar.
Stick to the same butt-hurting tactic and reach to his attacks and this phase will be over soon.
As soon as the third phase begins, buff up quickly, and once he is done with Triple Whip Swing attack, fire the Malcontent whistle to stun the boss. Use this time to charge up Empowered Mortal Draw and let it lose its double slashes. This will deal a ton of damage to the boss.
When he snaps out of his stun, fire Malcontent again and repeat the Empowered Mortal Draw double hit. Do it the third time and only a small sliver of his posture will remain. Continue to attack him like before and soon he will go down.
Deathblow this monkey out of his misery!
Phase 1 & 2 Moveset
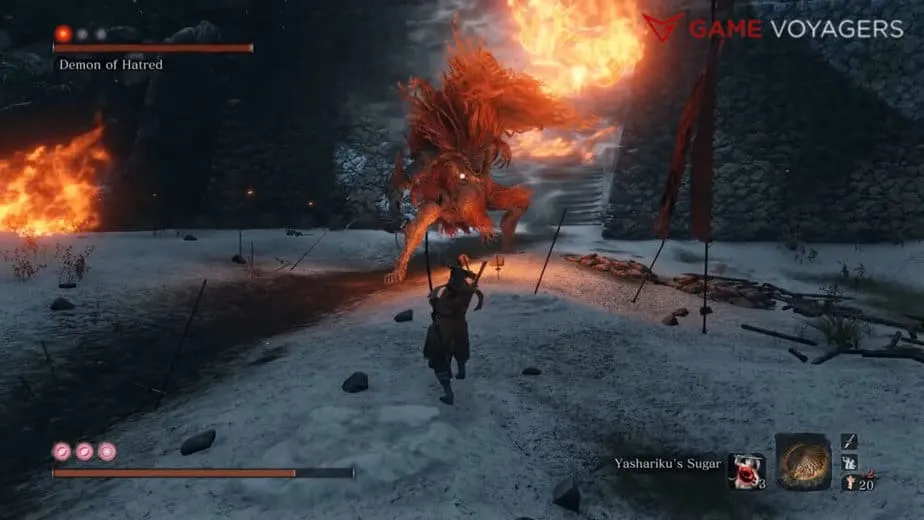
Demon of Hatred has the same attacks in the second phase as his first phase only with the addition of one new attack. Here are all the attacks he employs in the first phase of the fight and how you should react to them:
- Charge: Starts running in a straight line while dragging his hand on the ground. Trigger perilous attack Kanji. Adds the Whip Slam in later phases.
- Reaction: Jump right before the Kanji disappears to bypass the attack. Run immediately toward the boss to stop him from initiating any ranged attack. For the subsequent Whip Slam, start running diagonally to the left.
- Whip Slam: Right after Charge, he raises his whip hand, stretches it out, and slams it down in front. In the second phase, this attack causes an explosion on impact sending out a line of fire towards the other end of the arena.
- Reaction: Run to the left side and jump just before the hand lands. You can also turtle up behind Suzaku’s Lotus Umbrella to negate the fire line.
- Fire Throw: Whips his hand horizontally, throwing fireballs on the ground in a wide arc at medium range. Can perform this attack twice in a row.
- Reaction: Pull out the Umbrella to subdue the attack. Or stay back out of range of the fireballs. You can deflect these fireballs but it is too dangerous.
- Homing Fireballs: Begins to circle his hands, summoning fireballs that slowly track you.
- Reaction: Keep running in a circle around the boss till the attack stops. Or bring out the Umbrella.
- Dual Stomp: When standing underneath him, he tries to squish you under his legs. Will stomp with both legs one after the other.
- Reaction: Dodge away before it lands or better yet to deflect it.
- Delayed Stomp: Raises his right foot and holds it in the air for some time only to slam it on the ground.
- Reaction: Deflect as the foot lands.
- Melee Combo: Performs a swipe with his whip hand then a stomp followed by a couple of more swings.
- Reaction: Bring up the Umbrella to tank the entire combo.
- Headbutt: Slams his head if you are standing right in front of him.
- Reaction: Deflect or dodge to the sides.
- Leaping Slam: He will crouch then jump straight in the air and land in the same spot. The attack is followed by a massive fire explosion.
- Reaction: When he jumps, hold the Suzaku’s Lotus Umbrella up and wait for him to land. Keep up the umbrella until the explosion completely fades away. If you have the Living Force upgrade, perform the follow-up attack once the explosion is done.
Phase 3 Moveset
Again, his attack pattern stays the same however in the third phase he gets a couple of unique attacks:
- Triple Whip Swings: Swings his whip arm thrice in a circle.
- Reaction: Jump over the first swing, stand still for the second, and jump again for the third.
- Double Charge: Same as the Charge attack, adding another charge after the first one.
- Reaction: Jump to the sides when he is near you while charging.
- Fire Circle: Erects a wall of fire, effectively shortening the fighting arena. Lingers for a few seconds then dissipates.
- Reaction: Fight within the circle at all costs. You’ll receive insane tick damage if you stand in the fire.
How to Cheese Demon of Hatred in Sekiro Shadows Die Twice
There is a nasty cheese that ends up killing Demon of Hatred without you having to lift even a finger. You must follow these steps (refer to the pictures) to trigger this:
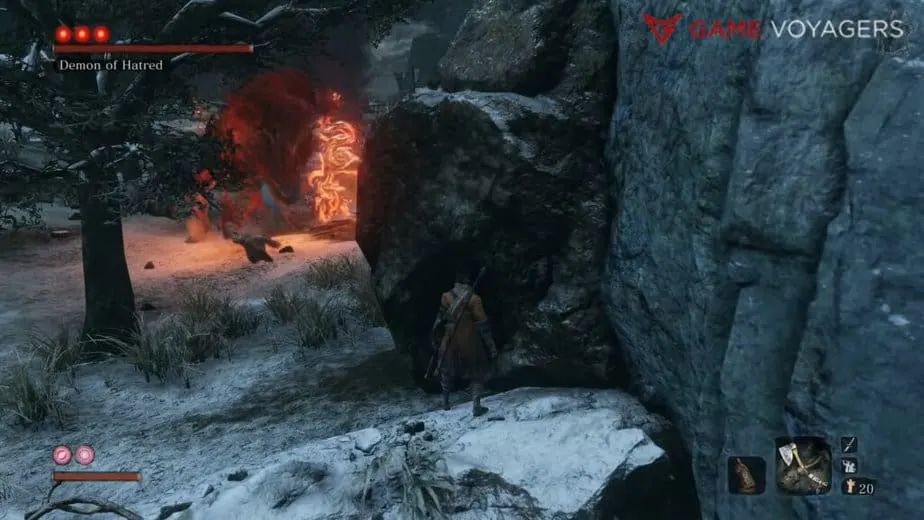
- When you enter the arena, immediately run to the left side cliff and wait at the edge. Preferably behind the leftmost corner wall. Wait for the boss to reach your location.
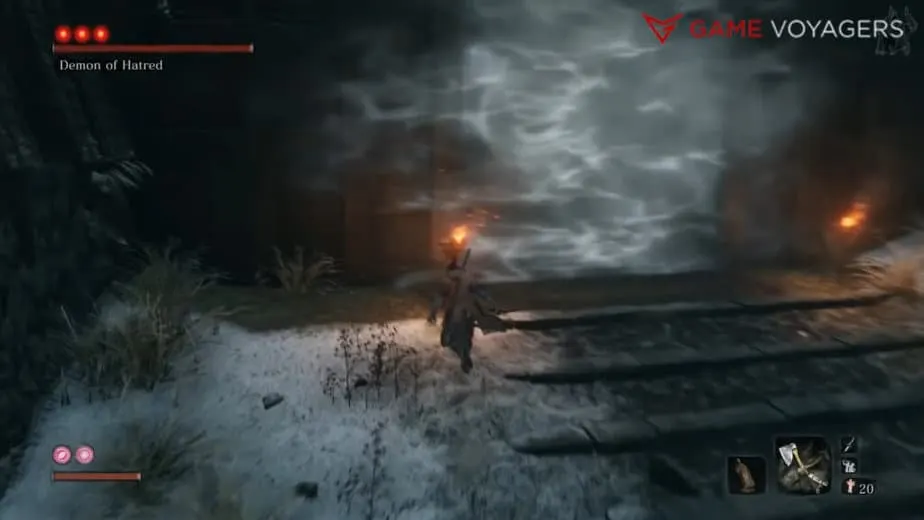
- Run away as soon as he reaches you, towards the gate at the other end. Stick to the left wall and hopefully, the boss will get stuck behind a tree in the cliff area. If he doesn’t run back to the cliff and back to the gate to try and trap him again.
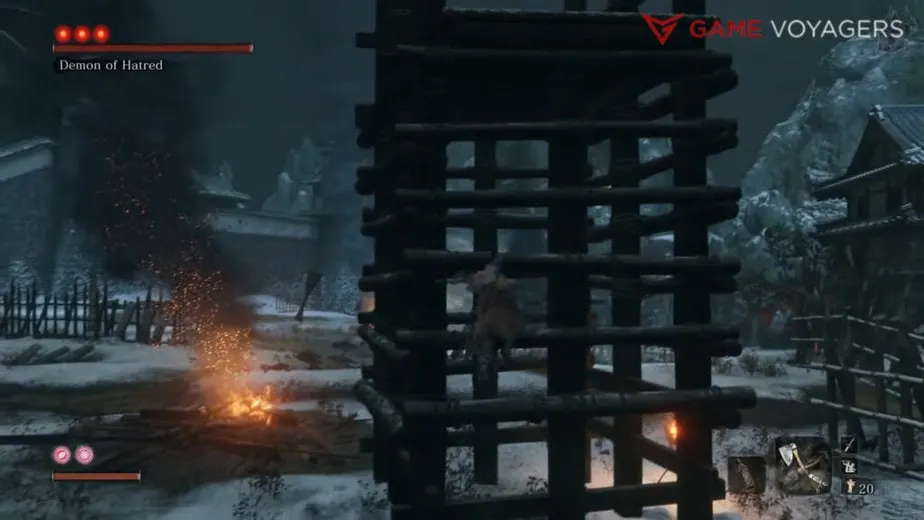
- Once he is trapped, look for the watchtower near this gate. Run behind it and while holding the grab ledge button double jump up the watchtower. The left side of the tower will work better. You’ll grab the standing area first, then jump over the tower’s roof.
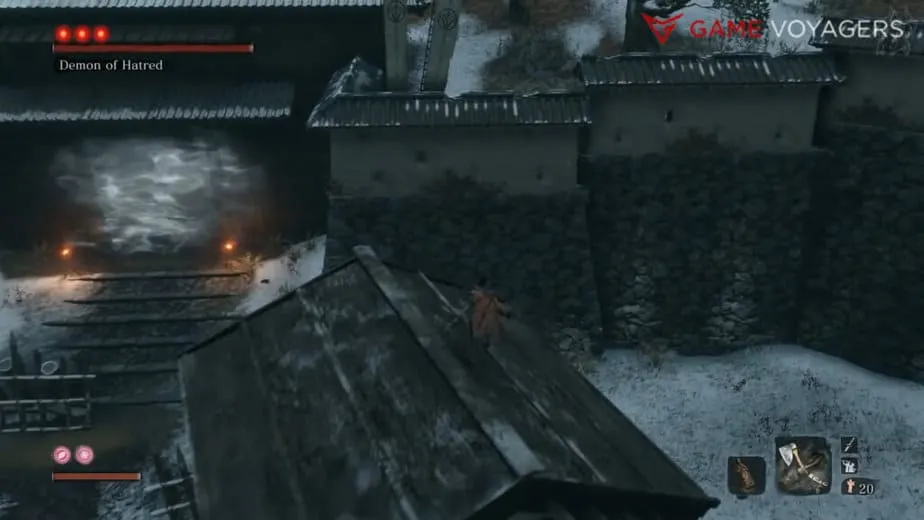
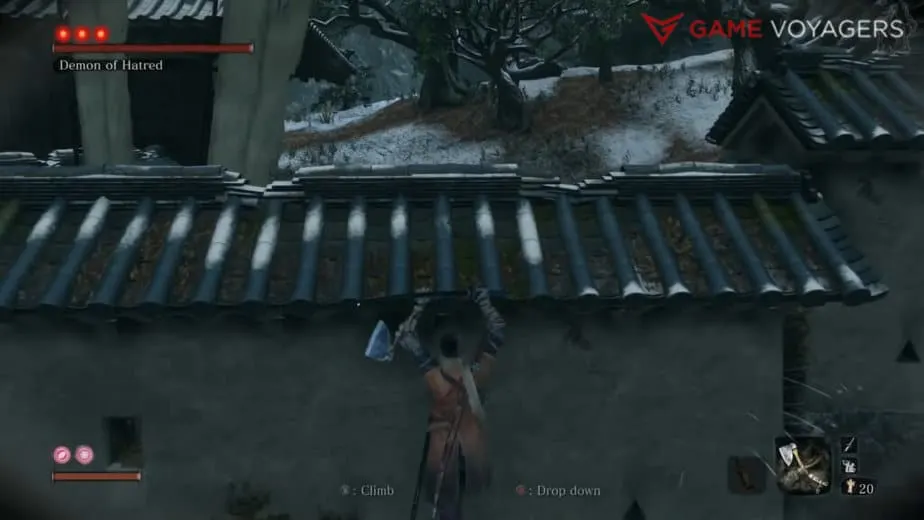
- From the roof, look for the wall that connects to the gate, refer picture. Run straight ahead jump from the edge of the roof and try to grab the wall’s upper ledge. If you grab the ledge climb up and move towards the gate’s roof. If you fail your wall ledge grab, go back up the watchtower and try again. This might take some tires to pull off.
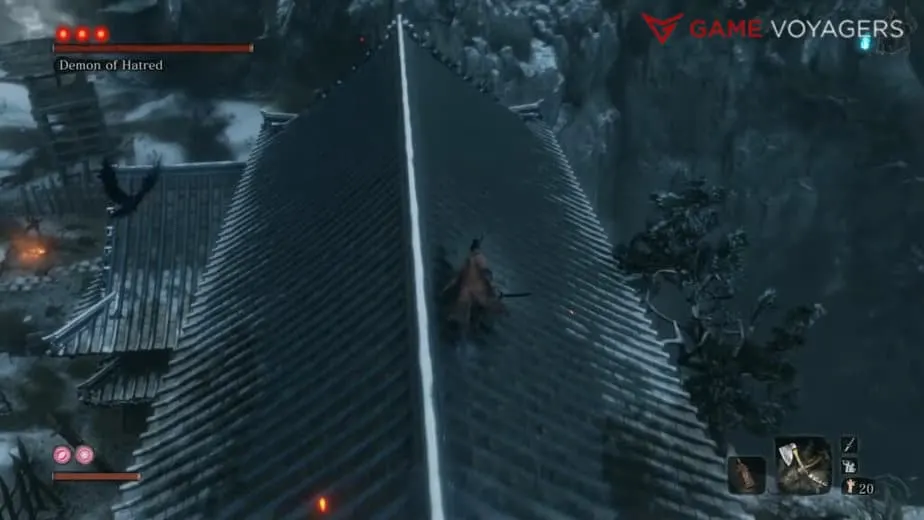
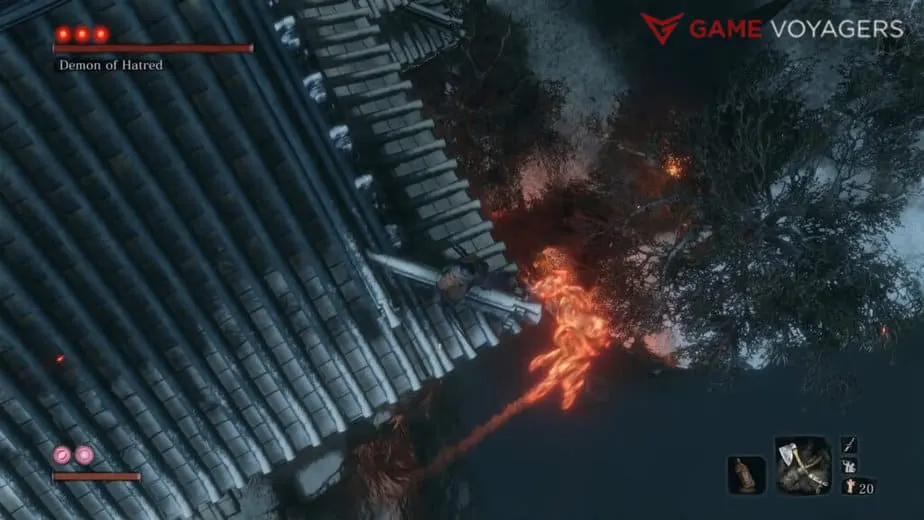
- On the roof, go to the cliff corner where the boss is stuck. Stand still at the very edge of the roof. The boss will try to hit you but can’t reach you so stay planted.
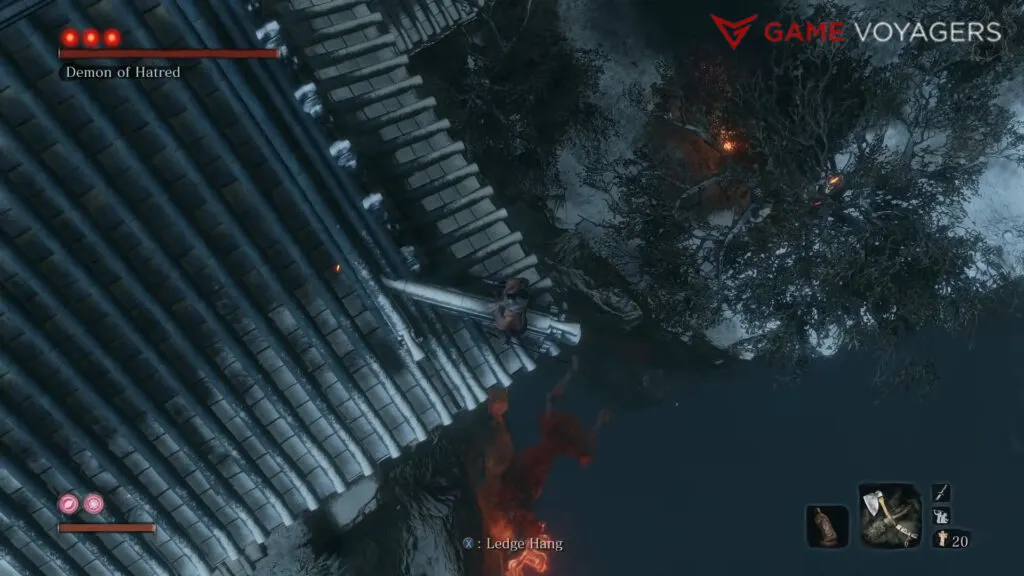
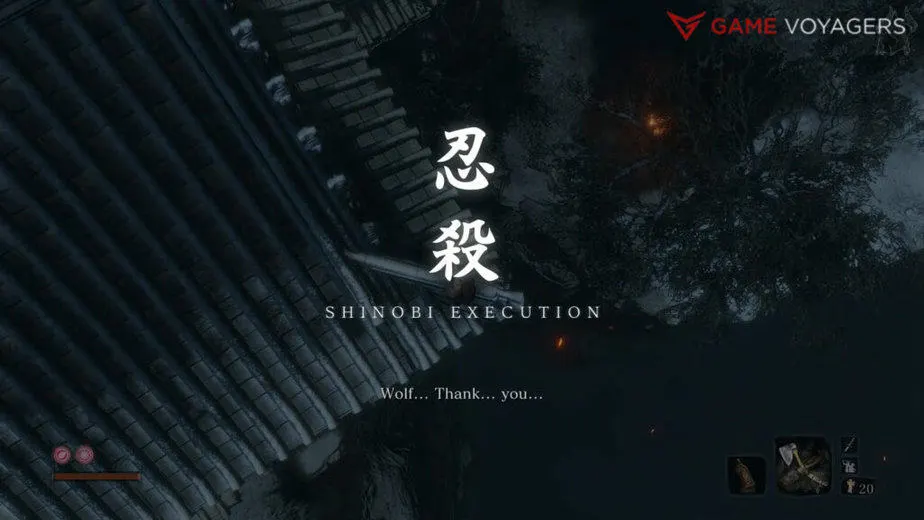
- Soon the boss will slowly inch towards the drop and fall to his death. That’s it, no fighting is needed.
Rewards of Defeating Demon of Hatred
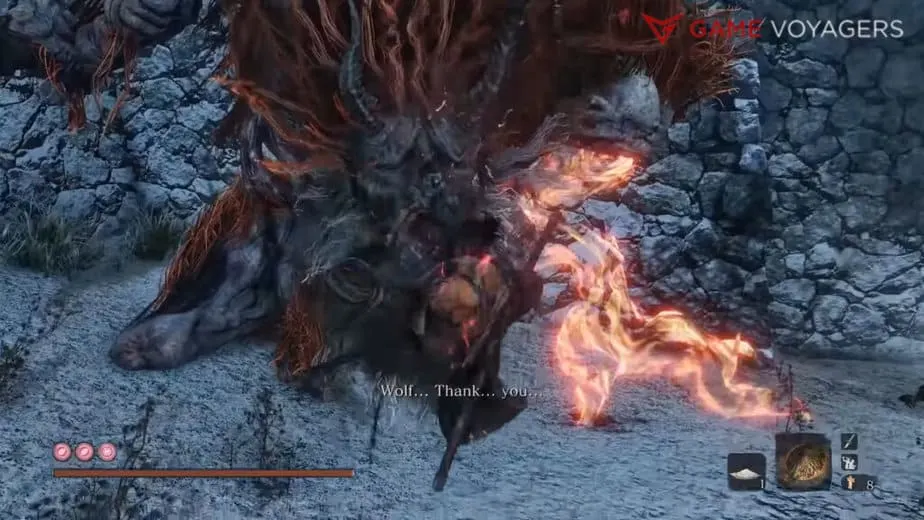
These are all the things you get for taking out Demon of Hatred in Sekiro Shadows Die Twice:
- Memory: Hatred Demon
- 2 Lapis Lazuli
- 15,000 XP

