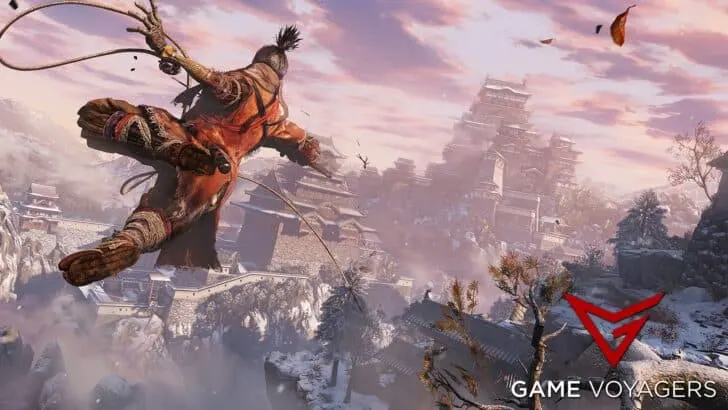
Now that you have decided to stay loyal to your Father, you’ll have to face the good guys and uphold your sensei’s wishes. As soon as you select the “Iron Code” choice in Sekiro, Emma and Isshin Ashina will step up to take out your treacherous butt in Sekiro Shadows Die Twice.
Both these bosses are hiding quite a punch behind their delicate exteriors and you must be prepared to see your decision to the very end. This is not an easy fight but it will be much easier by the end of this guide. Read carefully to truly embrace the Shura inside you.
Fighting Isshin Ashina
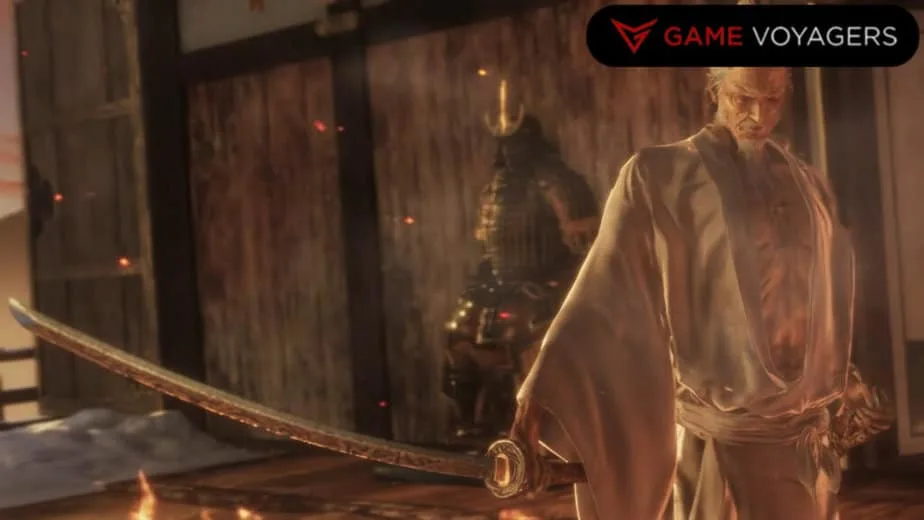
Before we delve into the actual boss, you must know that this boss fight only occurs when you choose the “Iron Code” option given by the Owl. Choosing so will lock you into the Shura or Bad ending of the game. This boss fight will commence right after the cutscene is over and is the final boss of this ending.
As for the fight, it has three phases. At the start, you will face Emma, the Gentle Blade. She is a normal duelist but has a few tricks up her sleeve that set her apart from the rest of the lot. Once she is defeated, you’ll immediately be thrust into a fight with Isshin Ashina. If you die to Isshin Ashina, you’ll have to defeat Emma again so keep that in mind.
The second phase is you against Isshin Ashina. He has two phases or health bars of his own. The first phase is him using his mastery over the swords and combat arts coupled with exceptional dodging skills to make your attacks miss every time. You must be quite methodical when dealing with him since any misstep will cost you your life.
The third and final phase sees him adding lethal fire attacks to his regular attacks. He sends forth an arena-wide fire burst from the entire ground which is hard to dodge for the uninitiated. He has two other fire-based attacks; one where he sends out a fan-shaped ground fire projectile of sorts and the other that ends with a wide fire swipe.
Here are some tips and tricks that can aid you in this battle:
- Ako’s Sugar is a must if you want to quickly fill the bosses’ posture meter.
- The Ichimonji: Double Combat Art will annihilate Emma. More on this later.
- Shinobi Firecrackers in quick succession will stop almost all of Isshin’s attacks.
- Whirlwind Slash plays really well at trickling down Isshin’s HP.
- Suzaku’s Lotus Umbrella is great at mitigating Isshin’s fire attacks.
- Quick Slot Dousing Powder to remove any Burn effects.
- Mortal Draw is another great technique for Isshin’s fight. Handy for a cheese strategy.
Emma, the Gentle Blade – Phase 1
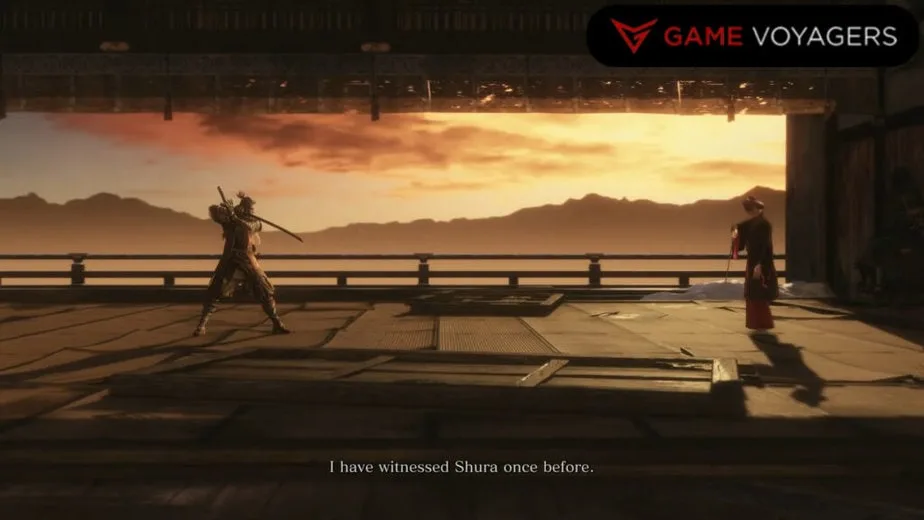
You’ll first come face-to-face with Emma before moving on to Isshin. She is quite skilled with her blade however there is a single trick that will trivialize the whole fight i.e. using Ichimonji: Double combat art, so equip it before the fight.
Do not initiate the fight and let her come to you at the beginning. Allow her to attack you once and dodge to the 11 o’clock side followed by a full barrage of Double Ichimonji that is R1+L1 then R1 again.
Resume your defensive stance and let her attack you only to dodge to the same side ending with the Double Ichimonji from behind. She will receive a ton of posture damage each time you successfully land this attack.
If she goes for a forward swipe to thrust, dodge in the same direction twice. As soon as the ending thrust misses you, unleash the Ichimonji pummeling.
For all the normal single attacks you just have to dodge to the upper left once and activate Ichimonji. For all double attacks just dodge twice and then Ichimonji away.
Before you know it, her posture bar will be filled and you’ll stab her neck to remove the first roadblock to becoming Shura.
Moveset
Listed below are all the moves Emma, the Gentle Blade will use against you and how you should react to them:
- Forward Swipe to Thrust: Pushes herself forward with a sword swipe and follows it up with a perilous thrust attack. She can use the thrust attack independently as well.
- Reaction: Deflect when her sword is pulled back and get ready to dodge into the thrust for a Mikiri Counter. Attack afterward.
- Grab: Spins both her hands in a circle and thrusts herself forward to perform a grab attack. Perilous Attack.
- Reaction: Move back as she circles her hands and jumps backward to bypass the grab.
- Perilous Swipe: A straight downward pointed swipe after rearing her sword to her opposite side. It is a perilous attack and is usually after a combo.
- Reaction: When the sword rears up, jump towards her/over the attack to deal a bit of posture damage.
- Ashina Cross: Sheathes her sword, followed by lighting fast vertical and horizontal swipes.
- Reaction: Dodge or move behind her as soon as she sheathes her sword. Attack her from behind once the attack is over.
- 4 Hit Combo: A series of slashes with the last one coming out after a bit of delay.
- Reaction: Tap the block button in this rhythm: Tap, Tap, Tap, pause one second, Tap.
Isshin Ashina – Phase 2
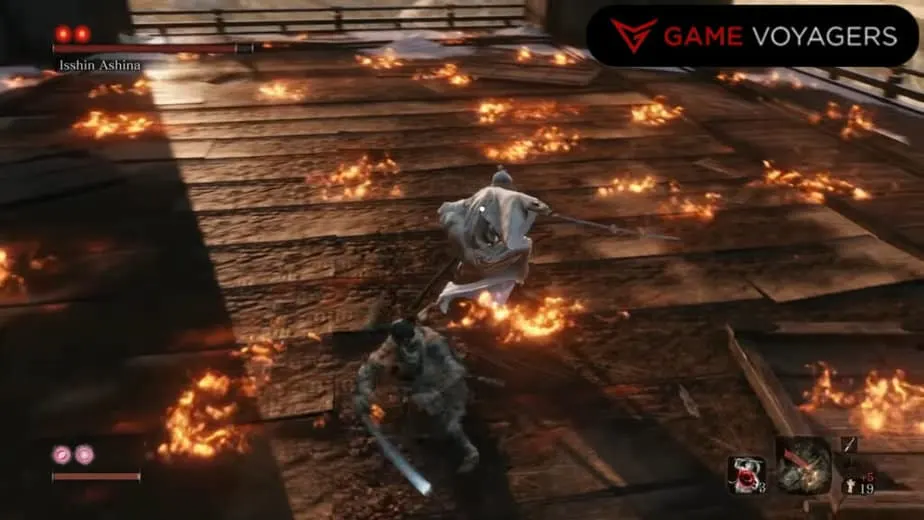
There is a similar trick to the Isshin Ashina fight as was with Emma. For this one, you need to quickly pause the game and equip the Whirlwind Slash Combat Art. Also, equip the Shinobi Firecracker for the next phase. You can also consume Ako’s Sugar for boosted damage to posture.
Let him charge at you first then begin charging up your R1 attack. He will deflect the attack while you dodge through him and behind him. As soon as you are behind him, perform the Whirlwind Slash to chip away his health.
You have to keep repeating this series to attack for the first phase. Charge up the R1 attack, let him side-counter it, you dodge to the same 11 o’clock direction while he attacks followed by a Whirlwind Slash. Keep it up and soon this phase will be over.
For any of the Kanji or perilous attacks, you should dodge twice, once behind him and then another to stick to his backside and then perform the combat art.
If his back is against the border, back off, reposition yourself, and lure him to the middle. He will again charge at you so repeat the first step and then begin the same process mentioned before.
If done right, his health will give in before his posture meter so finish the fight thusly.
Moveset
Listed below are all the moves Isshin Ashina will use against you in his first phase and how you should react to them:
- Punch to Thrust: Performs a monk punch to push you back followed by a perilous sword thrust attack.
- Reaction: Block the punch and dodge into the thrust to counter with a Mikiri. Attack afterward.
- Sidestep to Thrust: Takes a few steps to the side and immediately performs a thrust attack.
- Reaction: Let him walk then get ready to dodge into the thrust for a Mikiri counter.
- Double Slash to Swipe: Two standard slashes ending with a downward swipe.
- Reaction: Deflect the slashes and when the Kanji appears over your head, jump towards Isshin to deal posture damage.
- Uppercut to Swipe: Sheathes his sword only to perform a swift uppercut ending with a sword swipe.
- Reaction: Dodge to the upper left side when he sheathes his sword and once the sipe is over, perform a combat art of your own.
- Grab: Steps towards you and gracefully sheathes his sword while circling his hand attempting to grab you.
- Reaction: As soon as he circles his hands and the Kanji appears over your head, start jumping backward.
- Side Counter to Swipe: Whenever you attack him in his normal stance, he will always counter it by moving his body to the side. He always follows it up with a swipe attack.
- Reaction: If he counters the attacks, get ready to deflect the swipe. It is not a perilous attack.
Isshin Ashina – Phase 3
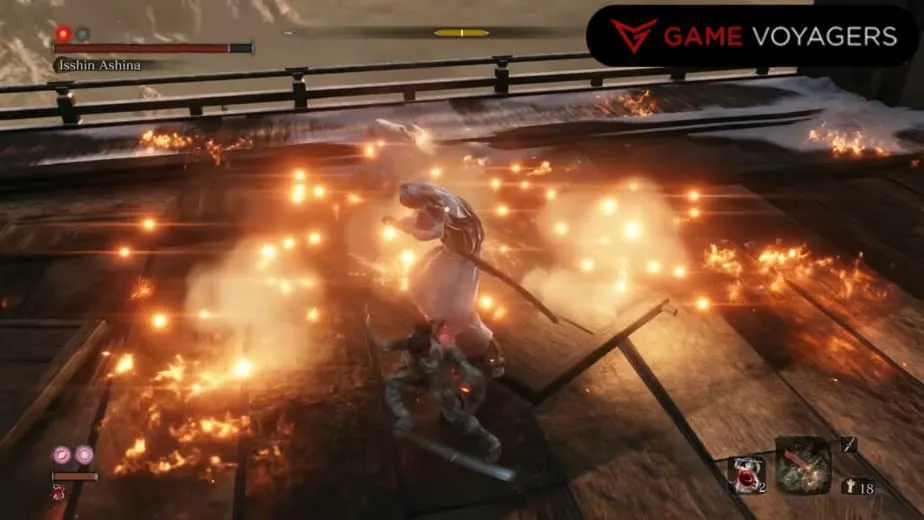
For the final phase, quickly slot in Mortal Draw Combat Art and the Shinobi Firecracker to make this fire-heavy phase much more straightforward. Or you can keep using Whirlwind Slash in this phase too. Ako’s Sugar is always recommended.
It is extremely easy to stop his fire attacks with the firecrackers. As soon as he is about to perform a fire attack (check the list below to identify them), you just activate the firecrackers and the boss will be stunned in place for you to attack.
For attacks, you can either trigger the firecrackers and perform the Whirlwind slash then release the firecrackers followed by another Whirlwind attack for the entirety of the the fight.
The boss won’t have any window to attack with precise use of these attacks and his health will slowly dwindle. You might run out of Spirit Emblems so best to use the Ceremonial Tanto to get some extra for this phase.
On the other hand, the Mortal Draw will finish this fight in just 3 to 4 uses. For this tactic, when the phase change occurs and he is going for the Fire AOE attack, quickly release the firecrackers and go on to unleash the dual-Mortal Draw i.e. R1+L1 and R1 again. A full Mortal Draw takes away a huge chunk of the boss’s HP.
After that, throw out another firecracker followed by Mortal Draw. Landing three successful Mortal Draws would be enough to fill his posture meter, but if he still manages to come out of it, then you might need to reposition yourself and look for another opening to land a Mortal Draw. Most of his fire attacks leave has longer recovery, the perfect time to move in with and finish the job.
I know this whole fight can be boiled to a one-trick wonder!
Moveset
Most of his attacks are the same as before. Only a few fire-based attacks are added to his repertoire. Listed below are all the unique moves Isshin Ashina in his second phase and how you should react to them:
- Fire AOE to One Mind Combat Art: Stands in place, rearing up his sword, then quickly sheathes it coupled with patches in the arena, bursting out pillars of fire. He then follows it up with the One Mind Combat Art where he performs a quick uppercut followed by a sheathed “thousand” slashes ending with a sword swipe.
- Reaction: Areas where fire isn’t already present are safe spots so stand there once the attack erupts or you can jump at the right moment which is pretty dangerous.
Next, get ready to tap block like crazy. More often than not you’ll deflect all of the subsequent attacks. You can also hold the Suzaku Lotus Umbrella during this point to negate the full attack provided you are standing in a safe spot.
- Reaction: Areas where fire isn’t already present are safe spots so stand there once the attack erupts or you can jump at the right moment which is pretty dangerous.
- Ichimonji to Fire Swipe: A devastating overhead sword Ichimonji slam followed by a sword swipe that sends out an extended fire trail.
- Reaction: Dodge to the upper left and get behind him to deal damage.
- Fire Uppercut: Drags the sword into the ground and sends out a cone-shaped ground fire trail.
- Reaction: Back off once his sword is charging into the ground and jumps to the side as he sends out the fire trail.
- Foot Stomp to Fire Swipe: Stomps his foot in front and performs a wide extended fire-infused sword swipe.
- Reaction: Dodge to the upper left when his foot stomp occurs and lay some damage in from behind.
How to Cheese Isshin Ashina in Sekrio
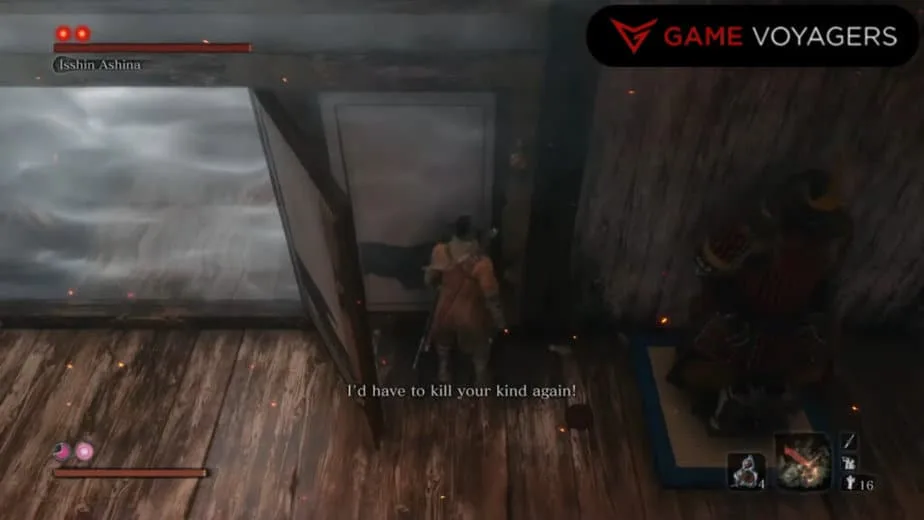
To cheese Isshin Ashina, all you need is the Mortal Blade and the perfect placement.
When the battle begins, immediately run to the opposite wall and behind the open door (as seen in the picture above). Wait for him to finish his speech and start jumping on the wall.
Let him come to you while you keep jumping. He will keep attacking you so time your jumps right. If done right, he will get stuck behind the door.
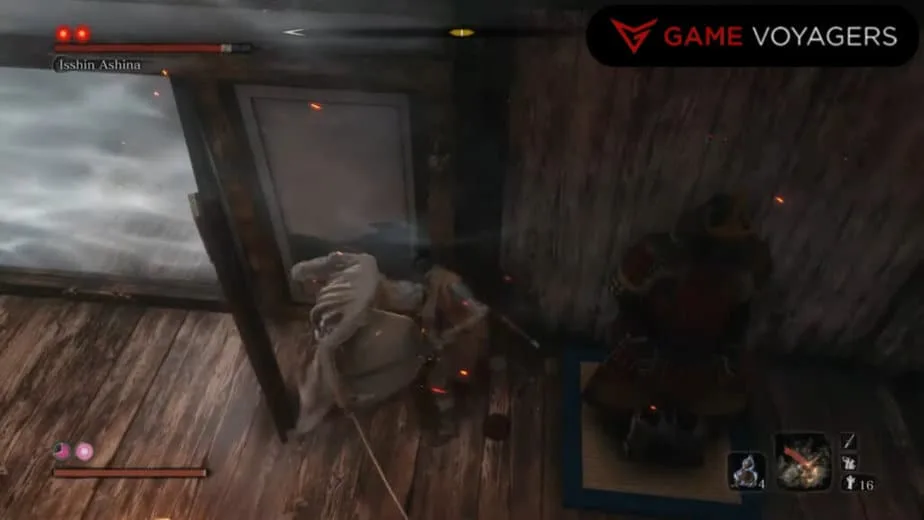
Now just stand next to him with the analog stick pushing towards him and attack the wall in front. Again, refer to the picture above for the exact positioning. Your sword slashes will clip through the wall and land on him directly.
If done right, the boss will be stun-locked and you’ll whittle away his health. Try to keep him in the same corner after the first death blow.
Do not stop spamming the R1 attack even after the second phase begins to keep him stun-locked. Only when he tries to go for his fire attacks, use Mortal Draw to cancel it and deal massive damage.
Keep up the same spamming R1 at the wall tactic as before and Mortal Draw for fire-based attacks and the boss will soon shrivel up like the old man that he is.
Rewards for Defeating Isshin Ashina
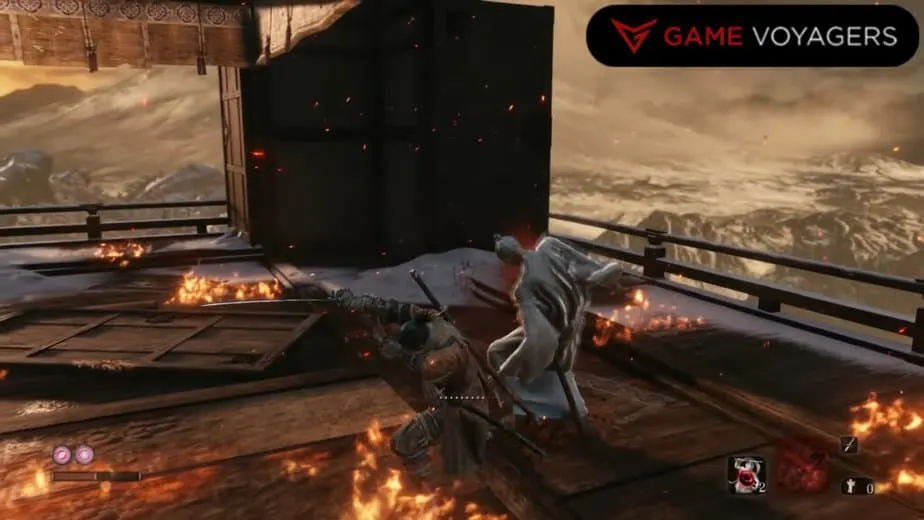
These are all the things you get for taking out Isshin Ashina in Sekiro Shadows Die Twice:
- Memory: Isshin Ashina
- One Mind Combat Art
- 10,000 XP
- Shura or Bad Ending

