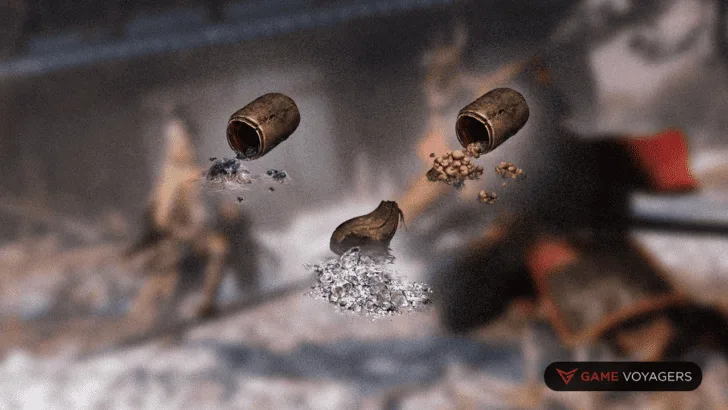
Sekiro: Shadows Die Twice is a very complicated game when it comes to the upgrade system. There is soo many things to get like experience and Sen, which help in upgrading your Skills and Prosthetics. The most fun thing to do is to get all the upgrades for your Prosthetic and get all the skills so you can basically use whatever you want. You can also experiment with different playstyles with the different upgrades you get and you can last a lot longer with the better upgrades as well. There are SPOILERS in this article so if you want to play through the game blind, then click away now. Here are all the upgrades and how to get each one:
Check out this awesome guide for Sekiro: Shadows Die Twice on Amazon here, it is a very helpful guide.
Upgrade Material Locations
Upgrade Materials are the main thing that you need to have to get all the upgrades for your Prosthetics. Once you have all the Prosthetics, you unlock the starter upgrade for each of them. As you can see, some are not cheap so it will probably take some grinding to get all the materials. I have placed the amount of every material that you need to get all the upgrades and it will take about 37,000 Sen to buy the upgrades as well so make sure you are buying money pouches to save for all the upgrades. Here are all the Upgrade Materials, how many you need, and where to find them:
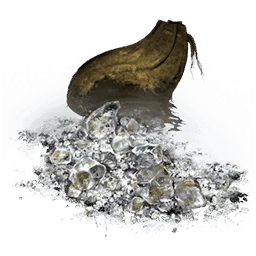
*Adamantite Scrap – You will need a total of 28 Adamantite Scrap to complete all the Prosthetic upgrades. It can be found in Ashina Castle, Ashina Depths, Mibu Village, and Fountainhead Palace as a rare drop from basically any enemy you encounter or on the ground. If you want to get more of an item, just pop a Mibu Possession Baloon for better loot drops from enemies.
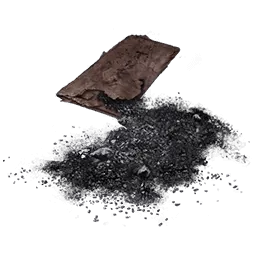
*Black Gunpowder – You will need a total of 20 Black Gunpowder to complete all the Prosthetic upgrades. It can be found in Ashina Outskirts, Ashina Castle, Sunken Valley, Ashina Depths, and Abandoned Dungeon as a rare drop from basically any enemy you encounter or on the ground. If you want to get more of an item, just pop a Mibu Possession Baloon for better loot drops from enemies.
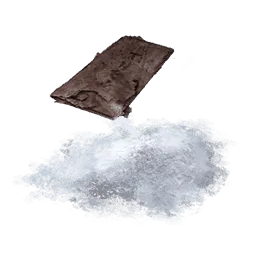
*Fulminated Mercury – You will need a total of 20 Fulminated Mercury to complete all the Prosthetic upgrades. It can be found in Ashina Outskirts, Ashina Castle, Ashina Depths, Hirata Estate, and Bodhisattva Valley as a rare drop from basically any enemy you encounter or on the ground. If you want to get more of an item, just pop a Mibu Possession Baloon for better loot drops from enemies.
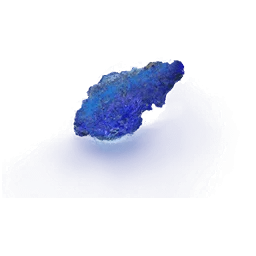
*Lapis Lazuli – You will need a total of 10 Lapis Lazuli to complete all the Prosthetic upgrades. It can be found on a Shichimen Warrior at Fountainhead Palace, on the Demon of Hatred, in The Fountainhead Noble’s shop, and after the Great Carp quest. It is the rarest material in the game and to get all of this material you need for the upgrades you must play at least 2 playthroughs.
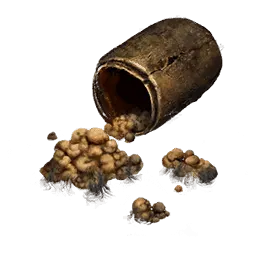
*Lump of Fat Wax – You will need a total of 33 Lump of Fat Wax to complete all the Prosthetic upgrades. It can be found in Senpou Temple, Gun Fort, Fountainhead Palace, Mibu Village, and Ashina Depths as a rare drop from basically any enemy you encounter or on the ground. If you want to get more of an item, just pop a Mibu Possession Baloon for better loot drops from enemies.
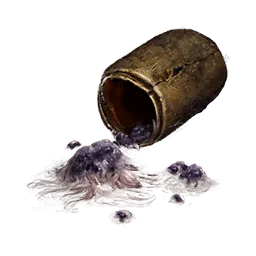
*Lump of Grave Wax – You will need a total of 20 Lump of Grave Wax to complete all the Prosthetic upgrades. It can be found in Ashina Depths, Fountainhead Palace, and Ashina Outskirts as a rare drop from basically any enemy you encounter or on the ground. If you want to get more of an item, just pop a Mibu Possession Baloon for better loot drops from enemies.
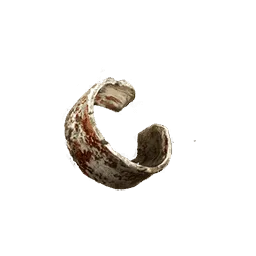
*Malcontent’s Ring – You will need a total of 1 Malcontent’s Ring to complete all the Prosthetic upgrades. It can be found in Ashina Depths and it is dropped by the Shichimen Warrior that spawns in the Guardian Ape’s Burrow after severing the immortality of the Headless Ape. You will have needed to defeat the Guardian Ape first before defeating the Headless Ape.
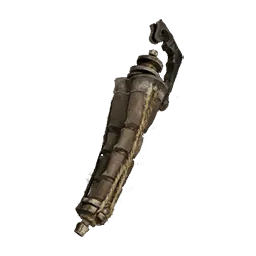
*Mechanical Barrel – You will need a total of 1 Mechanical Barrel to complete all the Prosthetic upgrades. It can be found in Ashina Outskirts after the defeat of Gyoubu Oniwa. Once he is dead, he will drop the item and you are now able to upgrade your Prosthetic. All you have to do is give it to the Sculptor in the Dilapidated Temple.
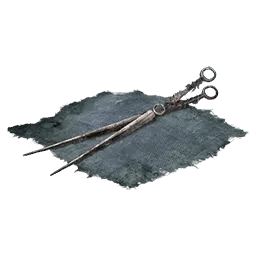
*Phantom Kunai – You will need a total of 1 Phantom Kunai to complete all the Prosthetic upgrades. It can be found in Anayama the Peddler’s shop for 3,000 Sen. In case that you killed Anayama the Phantom, Kunai is sold for 4,500 Sen at the Offering Box in the Dilapidated Temple after killing the Divine Dragon.
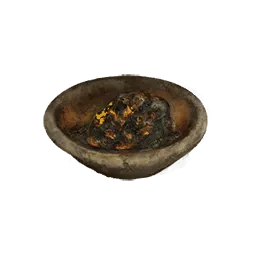
*Pine Resin Ember – You will need a total of 1 Pine Resin Ember to complete all the Prosthetic upgrades. It can be found in the Ashina Depths in the Mibu Village. Travel to the Water Mill idol and turn around to face the village and lake. Once facing the lake, jump in and swim toward the left side where the dock is located – you can grapple up here. Once grappled up, go straight ahead and down into the ravine. The Pine Resin Ember will be located on the house at the end of the ravine.
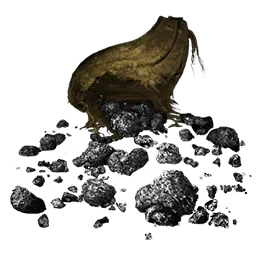
*Scrap Iron – You will need a total of 86 Scrap Iron to complete all the Prosthetic upgrades. It can be found in Ashina Outskirts, Ashina Castle, Sunken Valley Passage, and Senpou Temple as a rare drop from basically any enemy you encounter or on the ground. If you want to get more of an item, just pop a Mibu Possession Baloon for better loot drops from enemies.
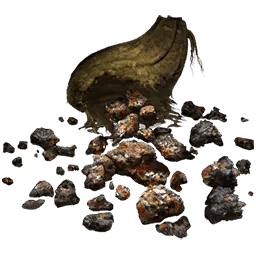
*Scrap Magnetite – You will need a total of 63 Scrap Magnetite to complete all the Prosthetic upgrades. It can be found in the Shugendo merchant’s shop, Abandoned Dungeon, Ashina Reservoir, Ashina Castle, Sunken Valley, Ashina Depths, and Fountainhead Palace as a rare drop from basically any enemy you encounter or on the ground. If you want to get more of an item, just pop a Mibu Possession Baloon for better loot drops from enemies.
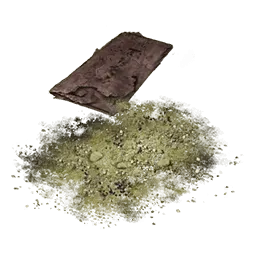
*Yellow Gunpowder – You will need a total of 27 Yellow Gunpowder to complete all the Prosthetic upgrades. It can be found in Sunken Valley, Ashina Depths, Senpou Temple, and Fountainhead Palace as a rare drop from basically any enemy you encounter or on the ground. If you want to get more of an item, just pop a Mibu Possession Baloon for better loot drops from enemies.
Loaded Shuriken
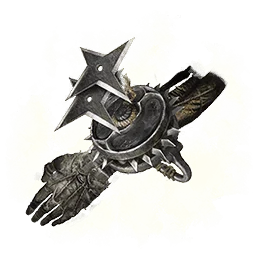
“A Shuriken Wheel Prosthetic Tool, fitted to the Shinobi Prosthetic. Costs Spirit Emblems to use. Pull a shuriken loaded into the wheel and launch it at a target in a single, flowing motion. The swiftly thrown shuriken damages enemy Vitality and Posture, particularly against those with a tendency to take to the air.“
Press the Prosthetic button to fire a Shuriken, which deals with a small amount of damage. For later upgrades, hold the Prosthetics button to charge the shuriken up for multiple hits, dealing slightly more damage and posture. This is the most used Prosthetic tool, at least for me. Useful for keeping an enemy’s Posture up.
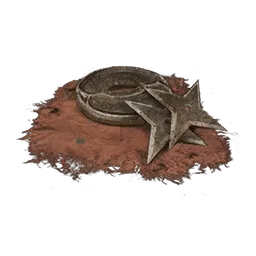
Shuriken Wheel – Shuriken Wheel can be found at the Outskirts Wall – Gate Path Idol. This can be looted from a corpse that you’ll find through a hole of a building that is near the Idol.
| *Spinning Shuriken | 3x Scrap Iron | 200 Sen |
| *Gouging Top | 3x Scrap Magnetite | 600 Sen |
| *Phantom Kunai | 1x Phantom Kunai 3x Lump of Fat Wax 6x Scrap Iron 3x Scrap Magnetite | 1,000 Sen |
| *Sen Throw | 2x Adamantite Scrap 4x Scrap Magnetite 4x Scrap Iron | 2,000 Sen |
| *Lazulite Shuriken | 2x Lapis Lazuli 6x Scrap Magnetite 6x Lump of Fat Wax 6x Lump of Grave Wax 5x Adamantite Scrap | 3,000 Sen |
Flame Vent
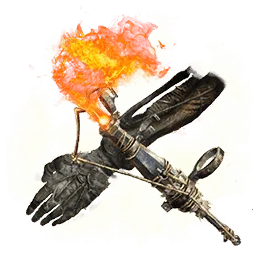
“A Prosthetic Tool made from a loaded Flame Barrel. Costs Spirit Emblems to use. Deals fire damage to enemies via a short-range blast of fire while also inflicting Burn status. It is difficult to control the rage of those with ‘Red Eyes’ through the power of man alone. They do, however, fear the flame above all else. This tool has the power to make them tremble.“
Release a burst of flame in front of you, dealing fire damage and building up the “burn” status effect on any enemies hit. Besides being useful against the Chained Ogre mini-boss, this prosthetic tool is also extremely effective against enemies with flammable straw/chaff overcoats, requiring only one use of the tool to inflict the burn effect. These enemies include cannoneers and certain samurai with the aforementioned overcoats.
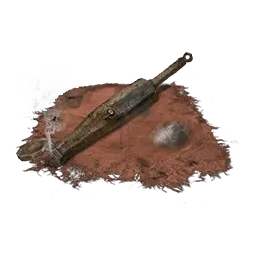
Flame Barrel – Flame Barrel can be found at the Estate Path Idol, Hirata Estate. From the Estate Path Idol, head Northeast to eventually find a campfire that is surrounded by enemies. The Flame Barrel will be inside the fire.
| *Spring-load Flame Vent | 3x Scrap Iron 3x Black Gunpowder | 400 Sen |
| *Okinaga’s Flame Vent | 1x Pine Resin Ember 2x Scrap Magnetite 6x Black Gunpowder 4x Yellow Gunpowder | 1,000 Sen |
| *Lazulite Sacred Flame | 4x Lump of Grave Wax 3x Lapis Lazuli 7x Lump of Fat Wax 7x Yellow Gunpowder 4x Fulminated Mercury | 3,000 Sen |
Loaded Axe
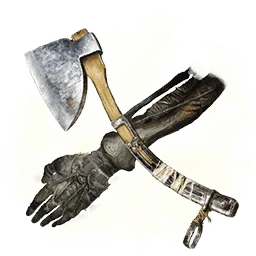
“A Prosthetic Tool loaded with a heavy Shinobi Axe. Costs Spirit Emblems to use. The strength of the Loaded Axe lies in its heft. One strike can easily turn a wooden shield into splinters or shred an enemy’s posture.“
Press the Prosthetics tool button to wind up a heavy overhead slam attack that will shatter a foe’s shield. Pressing the Sword Attack button after the final slam will follow up with a second slam using both sword and Axe that does extra Vitality and Posture damage. After performing Whirling, you may also simply opt to replace the follow-up slam with a Fang and Blade by pressing the Sword Attack button after the spin move, which may be useful if you don’t have time to chain the resulting slam into a Fang and Blade.
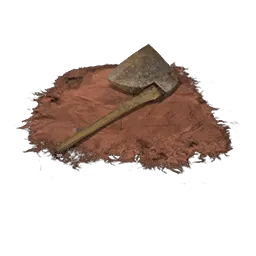
Shinobi Axe of the Monkey – Shinobi Axe of the Monkey can be found at Hirata Estate. From the path after acquiring the Flame Barrel, you’ll come across a dying man who will tell you about an ax. You’ll find a courtyard where two guards are talking and you can eavesdrop and listen on their conversation about their next plan of burning a temple – kill the two guards, and open the small garden house where the guards were standing to find the material.
| *Spring-load Axe | 5x Scrap Iron | 400 Sen |
| *Sparking Axe | 2x Adamantite Scrap 2x Yellow Gunpowder 4x Scrap Iron 4x Black Gunpowder | 1,000 Sen |
| *Lazulite Axe | 3x Lapis Lazuli 5x Adamantite Scrap 3x Lump of Grave Wax 3x Fulminated Mercury | 3,000 Sen |
Shinobi Firecracker
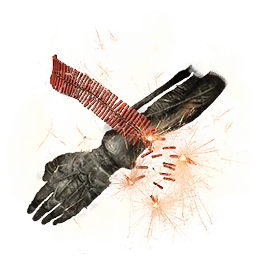
“A Prosthetic Tool fitted with Robert’s firecrackers. Costs Spirit Emblems. Unleashes an explosive flash that briefly blinds foes and inflicts Posture damage on beast-type enemies. Has a wide, frontward field of effect that can impact multiple foes at once. Suitable for temporarily immobilizing enemies and particularly good for scaring beasts.“
Use to deploy Shinobi Firecrackers that stun enemies, make them vulnerable to any kind of attack. Particularly useful against animals and beasts, many of which have specific animations when frightened by the firecracker that leaves them highly vulnerable. Can use defensively to create breathing room to heal or apply buffs in combat against aggressive enemies. If used repeatedly against certain enemies, it will become less effective as the fight goes on. After one use on such enemies, you need to wait a significant amount before you will be able to stagger them again.
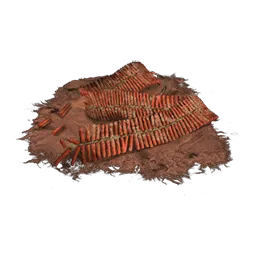
Robert’s Firecrackers – Robert’s Firecrackers are sold by the Crow’s Bed Memorial Mob. He is located high up on the cliffs between the Outskirts Wall – Gate Path and Outskirts Wall – Stairway Idols, requiring several grappling hooks jumps to reach. The cliff is near the old lady NPC.
| *Spring-load Firecracker | 2x Scrap Iron 1x Black Gunpowder | 200 Sen |
| *Long Spark | 2x Yellow Gunpowder 3x Black Gunpowder | 500 Sen |
| *Purple Fume Spark | 5x Lump of Fat Wax 2x Adamantite Scrap 2x Fulminated Mercury | 1,500 Sen |
Loaded Spear
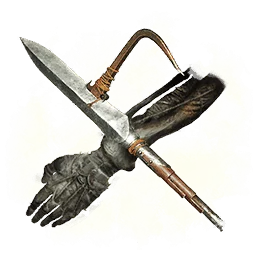
“A Prosthetic Tool loaded with Gyoubu’s Broken Horn. Costs Spirit Emblems to use. Unleash far-reaching thrust attacks. Lighter enemies struck by the spear may be dragged towards the wielder. Those of large build will at times force themselves into poorly-fitting armor. Such armor could be torn clean off; coined by Gyoubu as Armor Stripping.“
Press the Prosthetic Tool button to perform a thrust attack with the spear, piercing forward with an unblockable attack. Repressing the button pulls the spear back, tearing armor off larger enemies and drawing lighter enemies towards you. The spear can be used during the second phase of the Guardian Ape fight to pull the Immortal Centipede out from inside the ape, dealing with significant Vitality and Posture damage.
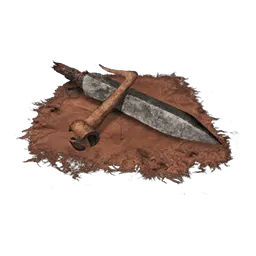
Gyoubu’s Broken Horn – Located in a treasure box in Ashina Reservoir, but you must acquire the Gatehouse Key to get inside. If you have progressed through the story to the point where the Gatehouse is inaccessible, it can be purchased for 2800 sen at the offering box near the Dilapidated Temple.
| *Loaded Spear Thrust Type | 5x Scrap Iron | 400 Sen |
| *Loaded Spear Cleave Type | 4x Scrap Iron 3x Scrap Magnetite | 600 Sen |
| *Spiral Spear | 4x Scrap Magnetite 10x Scrap Iron | 1,000 Sen |
| *Leaping Flame | 1x Fulminated Mercury 2x Adamantite Scrap 8x Scrap Iron 4x Yellow Gunpowder | 1,500 Sen |
Mist Raven
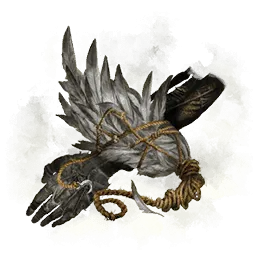
“A Prosthetic Tool loaded with the feather of a Mist Raven. Costs Spirit Emblems to use. When attacked in the assumed stance, disappear like the mist and move away. Once you think you’ve caught one, all that will remain is feathers. That is the mark of a true Mist Raven.”
When attacked in the Mist stance, instantly move in the direction chosen by the player. This gives you a teleport of sorts through enemies, granting some invulnerability. Keep in mind that this tool does not work against grab attacks. It is also a really useful tool for getting away from a very hard enemy and sometimes bosses. If you are running low on healing items, make sure you take advantage of it because it could save your life in the fight.
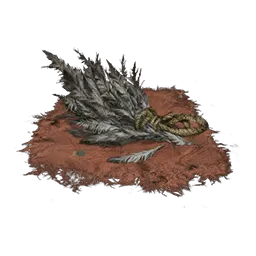
Mist Raven’s Feathers –It is located in Hirata Estate, near the Bamboo Thicket Slope Idol. You’ll find the Mist Raven’s Feathers inside a hidden temple. To access it, go up from the idol, grapple left and drop into a body of water. Swim past the bridge and then grapple to a branch. You’ll pick up an item and can look right to slash through bamboo. Wall-jump up to the next clearing and you’ll face an enemy that is defending the location.
| *Aged Feather Mist Raven | 2x Scrap Magnetite 1x Lump of Fat Wax 2x Black Gunpowder | 500 Sen |
| *Great Feather Mist Raven | 4x Lump of Fat Wax 4x Yellow Gunpowder 3x Lump of Grave Wax 3x Fulminated Mercury | 1,500 Sen |
Loaded Umbrella
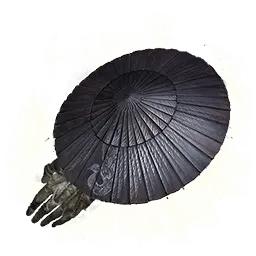
“A Prosthetic Tool created by fitting an indestructible Iron-ribbed Umbrella to the Arm. Costs Spirit Emblems to use. When spread open, it will protect against attacks from all directions. Hold it out while moving to protect from light attacks. But this is an umbrella after all. It won’t protect you from low attacks such as sweep attacks.”
Spread the Loaded Umbrella to guard against attacks in all directions. You can also move with the fan deployed, and it will continue to block lighter attacks as you move. Your posture bar will not decrease until you close the Umbrella. With the Projected Force skill unlocked, the Umbrella can also be used offensively. Pressing the attack button while the Umbrella is open will activate a cross slash attack. Sword Saint Isshin is very weak to the Umbrella in his 3rd and 4th phases.
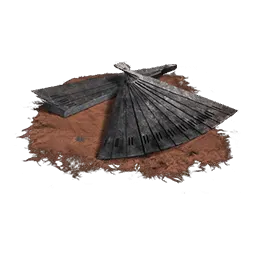
Iron Fortress – The Iron Fortress tool is sold by the merchant Blackhat Badger for 1600 Sen. He is located inside a building near the Old Grave Idol in Ashina Castle. After you revisit Ashina castle for the second time and kill the boss, if you have not purchased the tool beforehand it will be on the ground where the merchant originally was.
| *Loaded Umbrella – Magnet | 3x Scrap Magnetite 4x Scrap Iron | 500 Sen |
| *Phoenix’s Lilac Umbrella | 6x Scrap Iron 4x Lump of Fat Wax 4x Scrap Magnetite | 1,000 Sen |
| *Suzaku’s Lotus Umbrella | 2x Adamantite Scrap 2x Fulminated Mercury 6x Scrap Magnetite 6x Yellow Gunpowder | 1,500 Sen |
Sabimaru
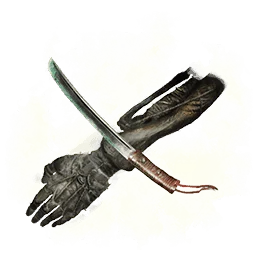
“A Prosthetic Tool made with the blade Sabimaru, allowing for a quick series of attacks together with the sword. The blue, poisonous rust on Sabimaru’s blade applies “Poison” status abnormality. Wielded in wars of old, the blade’s blue rust was used to drive off inhuman Okami warrior women. Even now, it is likely to be effective against their descendants.“
Perform a Flurry of attacks with both the sword and Sabimaru. Sabimarus attacks inflict the “Poison” Status abnormality. It is extremely effective against the gun-wielding enemies, Shirahagi and Shirafuji, and also against the Okami Warriors in Fountainhead Palace. Be mindful that while it’s sprit emblem cost is 1, this only applies to every single two-hit combo. Using the full 6-hit combo would cost you a total of 3 sprit emblems.
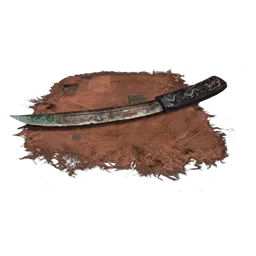
Sabimaru – Sabimaru can be found at Ashina Castle. Go to Upper Tower – Antechamber Idol and find this room patrolled by 1 old woman and 2 blue Samurai. There are two holes in the center of the room. Dropping down the hole will introduce you to 1 Blue Samurai and 3 goons. This area allows you to open the main gate of the castle and allows you to get the Sabimaru.
| *Improved Sabimaru | 4x Scrap Iron 4x Scrap Magnetite | 600 Sen |
| *Piercing Sabimaru | 8x Scrap Iron 4x Scrap Magnetite 4x Adamantite Scrap | 1,500 Sen |
| *Lazulite Sabimaru | 2x Lapis Lazuli 4x Adamantite Scrap 4x Fulminated Mercury 8x Scrap Magnetite 12x Scrap Iron | 3,000 Sen |
Divine Abduction
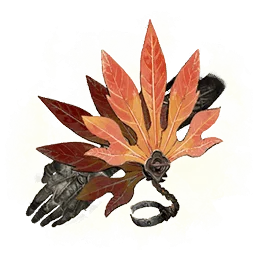
“A Prosthetic Tool loaded with a large fan. Costs Spirit Emblems to use. Gathers and releases a gust of wind, forcing enemies caught by the vortex to turn around. It is a mild sort of being spirited away that can be returned from quite quickly. However, it’s said that one can only return from being spirited away once, and if taken again, there is no coming back.“
Use the fan of leaves to wrap yourself in whirling, glowing winds. It is especially useful against the Senpou Monks on Mt. Kongo because it instantly kills them when you use this tool on them. If you can group them up into a massive group, use the fan on them and you can take out tons of them in a short amount of time. Just make sure you get up high before doing so or else you will get hit.
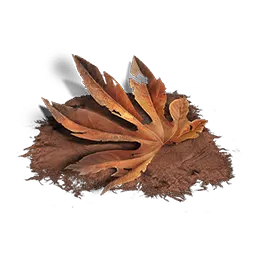
Large Fan – After defeating the Long-Arm Centipede Giraffe in the Sunken Valley, approach the Buddha statue in the middle of the room where you can acquire the upgrade material.
| *Double Divine Abduction | 3x Scrap Iron 2x Black Gunpowder | 400 Sen |
| *Golden Vortex | 8x Scrap Iron 4x Lump of Fat Wax 2x Adamantite Scrap 2x Lump of Grave Wax | 1,500 Sen |
Finger Whistle
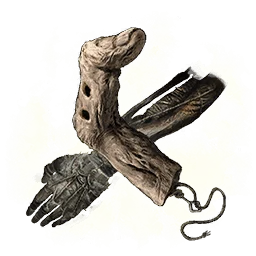
“A Prosthetic Tool created by fitting a slender finger to the prosthetic. Costs Spirit Emblems to use. Its sound will grab an enemy’s attention and draw them to the whistle’s location. By locking on to a target, only the targeted enemy will hear the whistle. The sound of the finger whistle enrages beasts, making them unable to distinguish friend from foe.“
When used on Monkeys, Wolves, and Dogs, it will cause them to attack anyone in sight. It can be used to distract normal enemies in the same way as a Ceramic Shard. The final upgrade to the Finger Whistle, Malcontent, can be used to great effect on Headless, stunning the corrupted soul long enough to dispel the restricting mist surrounding it. Beware, however, that on the third stun Headless will violently slam it’s sword down, and the stun will no longer be effective. You can also use the upgraded whistle on the Demon of Hatred to basically take down 1 health bar if you wish to.
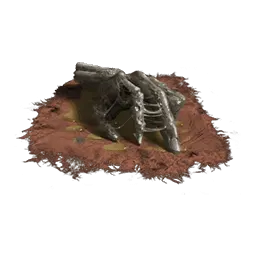
Slender Finger – The only Slender Finger in the game is dropped by the Guardian Ape boss upon defeat. You receive it once you take out both phases of the Guardian Ape, even the Headless version.
| *Mountain Echo | 2x Lump of Fat Wax 3x Scrap Magnetite | 600 Sen |
| *Malcontent | 4x Scrap Magnetite 4x Lump of Fat Wax 2x Adamantite Scrap 1x Malcontent’s Ring 2x Lump of Grave Wax | 1,500 Sen |
Conclusion
In conclusion, Sekiro: Shadows DIe Twice is a massive game that you have to put a lot of time into if you want to get everything in the game. To get 100% achievements, you are going to have to play the game at least 4 times on the same Save File. The achievements are not easy, but if you know what you are doing, then you will not have that bad of a time. The first playthrough is always the longest but once you understand how everything works, then there will be no issue. Have fun and make sure you don’t rage. Be patient, and you will have a better time in the end.

