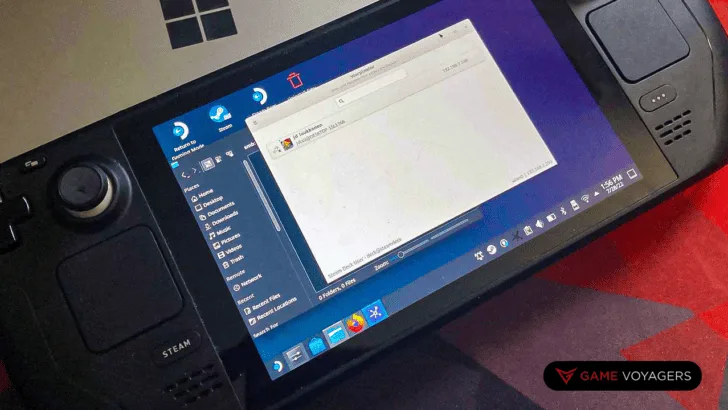
Steam Deck came out recently, but it has been on a roller coaster ride since its release. The gaming community has been extreme in defending the new console; there are either good or bad reviews.
However, Valve has issued various notices that they are working on improving the Steam Deck, and the developers have addressed many issues in both the performance and overall UI of the console. Since the Steam Deck is made in Linux, you won’t be able to transfer files to it from a PC commonly.
To transfer ROMs to the Steam Deck from a PC, you will have to use a USB Drive or setup wireless transfers using SyncThing
More details on the working of these methods are given further in this article. Please make sure to follow each step to avoid any errors.
Transferring ROMs To The Steam Deck
You can transfer files and ROMs to the Steam Deck using the following two methods.
Using A USB Drive/MicroSD Card
Typically, the data transfer devices work great, but you will need to make sure they are formatted in NTFS, and since Linux works in a different format, you might run into occasional problems.
The best way to counter this is by using a USB Drive and plugging it into a USB-C port hub to connect it to your Steam Deck and then simply copying the files.
In the case of using an SD Card, you might have to use a separate SD Card for Steam Deck and data transfers. You should format the one used for data transfers in a Windows-recognizable format such as NTFS or FAT32 so that the PC can pick it up.
Wireless Transfers Using SyncThing (Recommended)
If the method mentioned above does not work for you, you can use SyncThing to transfer ROMs and Files to your Steam Deck wirelessly. This is one of the best and safest ways to transfer files between Linux and Windows.
Here’s how you can use SyncThing to transfer ROMs to the Steam Deck.
Setup and Open SyncThing On Your PC
Go to the SyncThing website and download the .exe file on your PC. Once it has finished downloading, install it by double-clicking on it.
Setup SyncThing On Your Steam Deck
Start your Steam Deck and switch to Desktop Mode. Now, open the Discover Store and download the SyncThing app from there.
Open SyncThing On Your Steam Deck
Next, open the SyncThing GTK on your Steam Deck by searching for it and once it is open, click on the gear icon and select Show ID.
Now, copy the code to your PC.
Add Remote Device On PC
Now, you will have to open the SyncThing app on your PC and click on Add Remote Device on the bottom right of your screen. Once done, paste the copied code in the Device ID bar and click Save.
Add The PC On SteamDeck
Now, open the SyncThing on your Steam Deck, and you will see a request to Add your PC. Click on Add.
Check the Share Folders option as indicated in the screenshot below. Click Next.
Now, you will have to click Share on the PC.
Now, open the folder path and share the file you want to share in the shared folder.
Use The Files On Your Steam Deck
The Sync folder on your Steam Deck will contain all the files you share from the PC, including ROMs, Files, etc.
Conclusion
The second method is recommended because it is straightforward to set up and can help you transfer files to your Steam Deck effortlessly. However, you may have to buy a USB-C dongle hub to manually transfer ROMs and files to your Steam Deck, which might be a hassle.
So, there you have it; the most accessible guide to transferring ROMs and Files to a Steam Deck.

