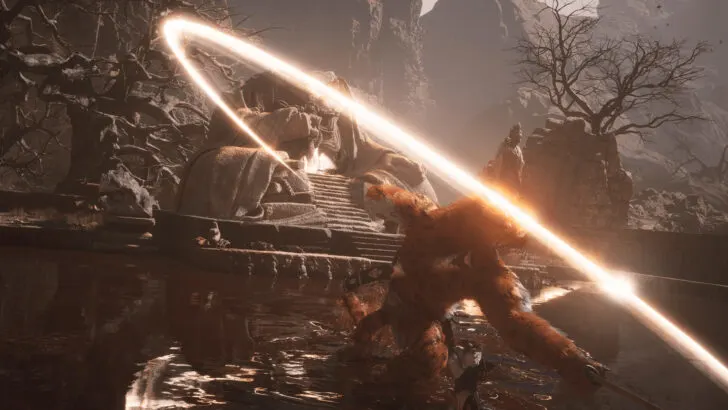
A whole side quest is concealed behind an ordinary-looking item, the Old Rattle Drum, that you stumble upon in Black Myth Wukong Chapter 2. There are no indications whatsoever on how to begin this quest. The only thing to tickle your curiosity when you obtain the drum is its Legendary rarity and it being categorized as a Key Item in your inventory.
All these signs point to something significant hiding behind something so mundane. The Destined One is destined to solve this mystery. That’s a recurring thing in all of the side content in this game. And let me tell you beforehand: You will be pleased with the outcomes.
Step 1: Acquiring the Old Rattle Drum
First things first, if you haven’t already gotten your hands on the Old Rattle-Drum, follow these steps:
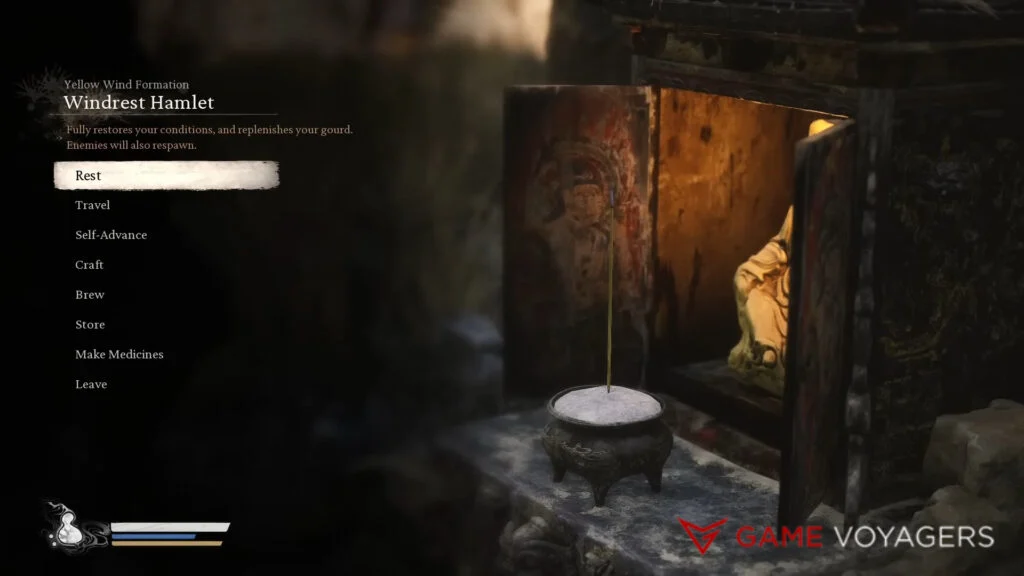
- We start from Chapter 2: Yellow Wind Ridge – Yellow Wind Formation – Windrest Hamlet Keeper’s Shrine. This is not a secret location; you’ll unlock this shrine naturally as you progress through the chapter.
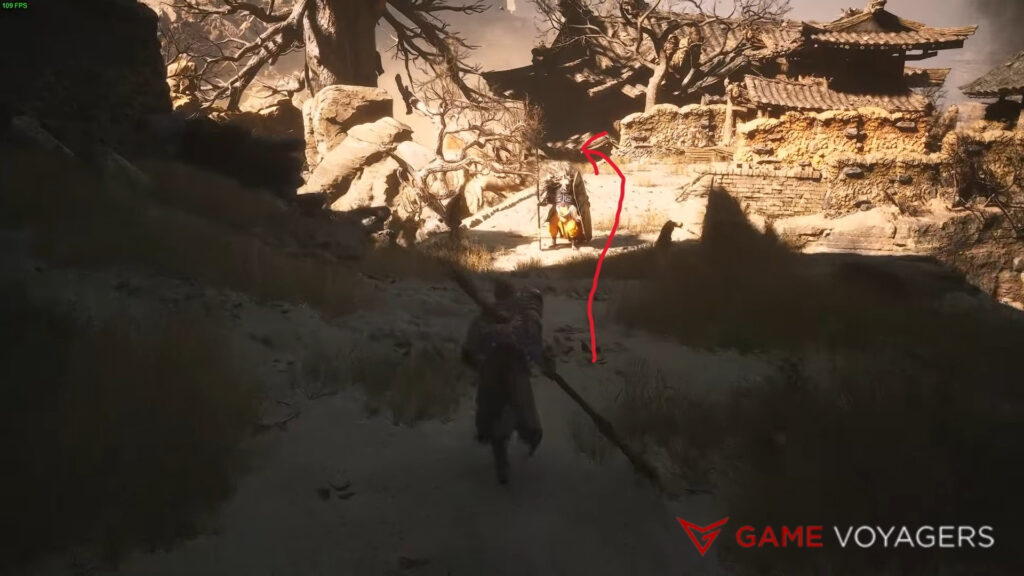
- Turn left from the shrine and go over the bridge. A giant shield enemy is patrolling the bridge, so do with him as you please. After crossing the bridge, immediately turn left and towards the downward slope.
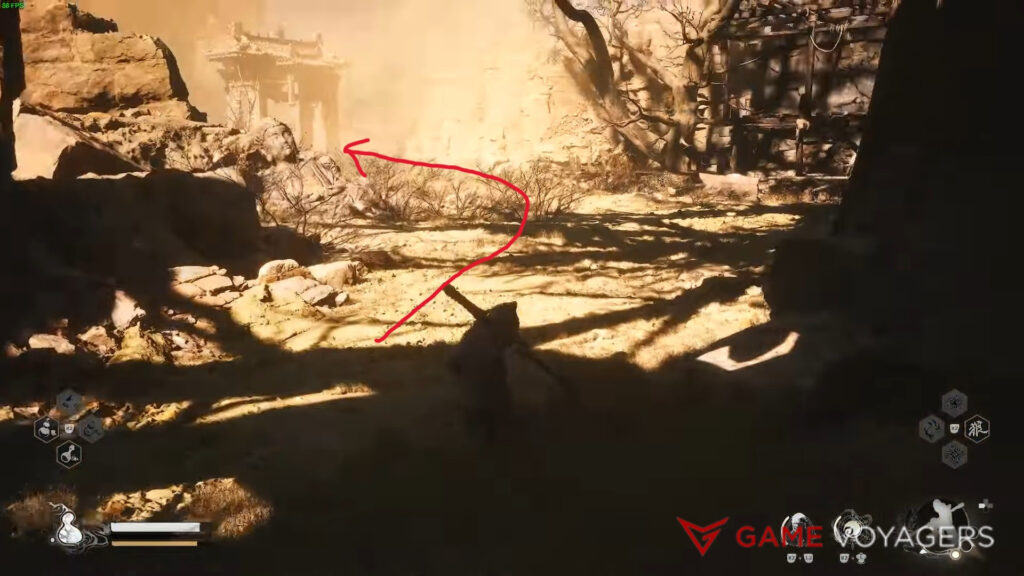
- Follow the slope until you see a wooden structure on the right and an archway with a heavy dust storm on the left. Go to the archway, and there will be another bridge here.
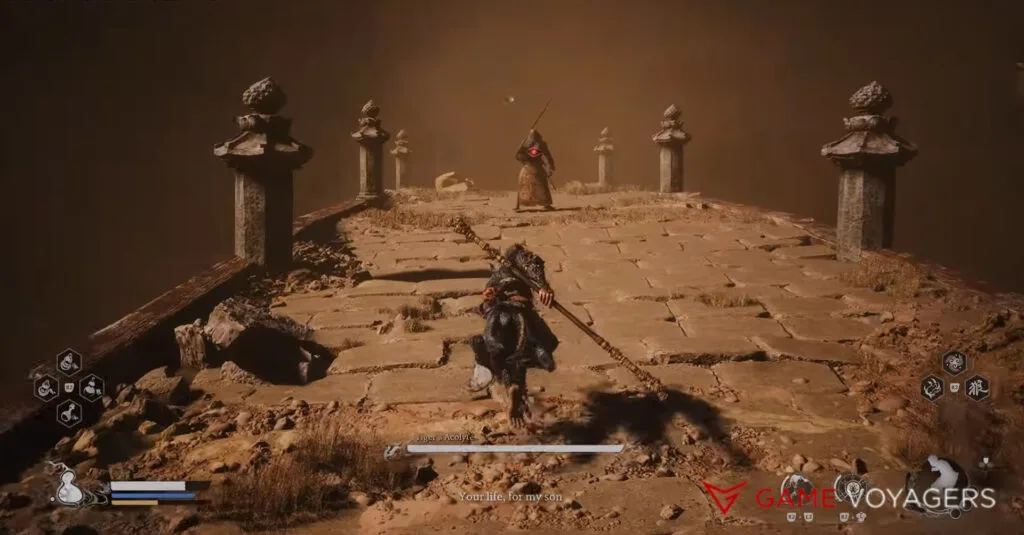
- A boss, Tiger Acolyte, blocks the bridge. You must face him.
The Tiger’s Acolyte usually kicks off the fight by leaping into the air, sword raised, aiming to impale you when it lands. Dodge away in time, instantly cast Immobilize (the more you upgraded this skill, the better its effects), and go to town on him with all the heavy strikes you could muster.
That initial attack is his only attack that you must be careful of. Afterward, it’s just a string of predictable sword combos that are easy to dodge and counter. I would advise to gang up on him with A Pluck of Many spell and pressurize the hell out of him.
Before you know it, Tiger Acolyte’s surprisingly low HP will whittle away. Taking him out will net you:
- 777 Will
- 2 Yarn
- 2 Silk
- Blood of the Iron Bull
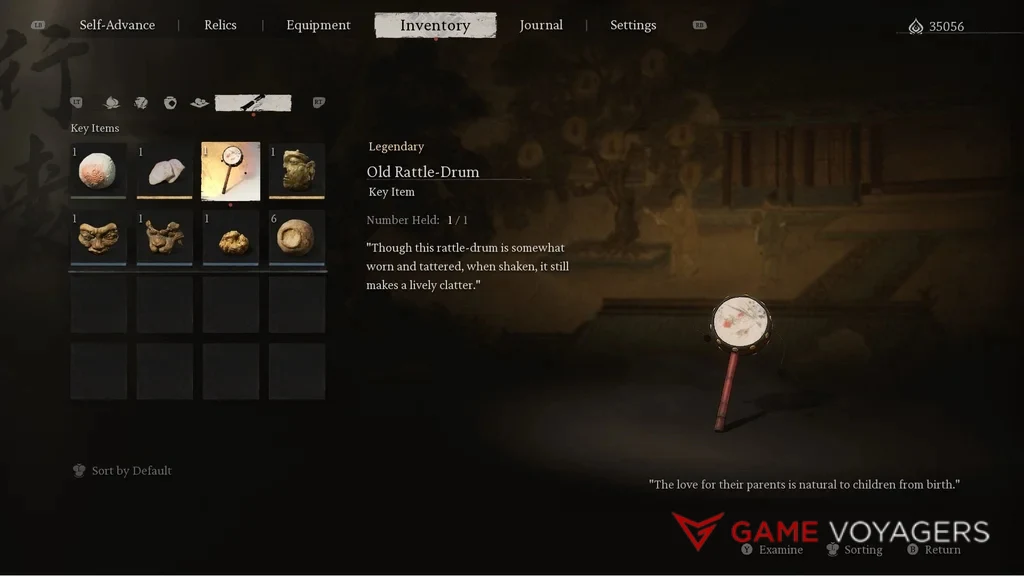
- Old Rattle Drum
The legendary item’s description states, “Though this rattle-drum is somewhat worn and tattered when shaken, it still makes a lively clatter.” Needless to say, there are no clues about where to go and what to do, so let me be your guiding light.
You must play this drum in three distinct locations spread around Chapter 2 – Yellow Wind Ridge to communicate with a child’s spirit. These locations are listed below.
Step 2: Location # 1 – Village near Windseal Gate
The directions to getting to the first location where you have to play the Old Rattle Drum are:
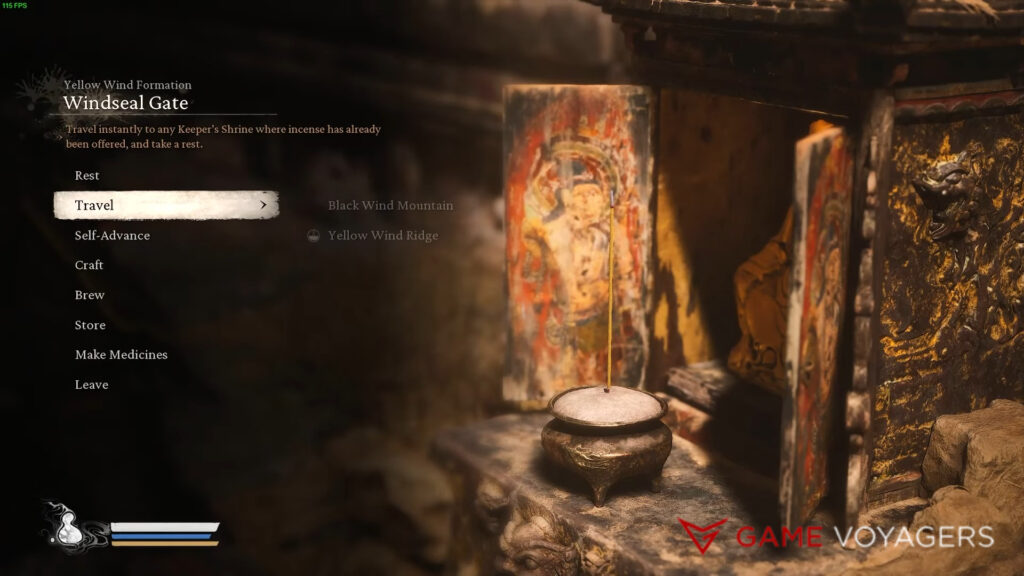
- Unlock or fast-travel to Chapter 2: Yellow Wind Ridge – Yellow Wind Formation – Windseal Gate Keeper’s Shrine.
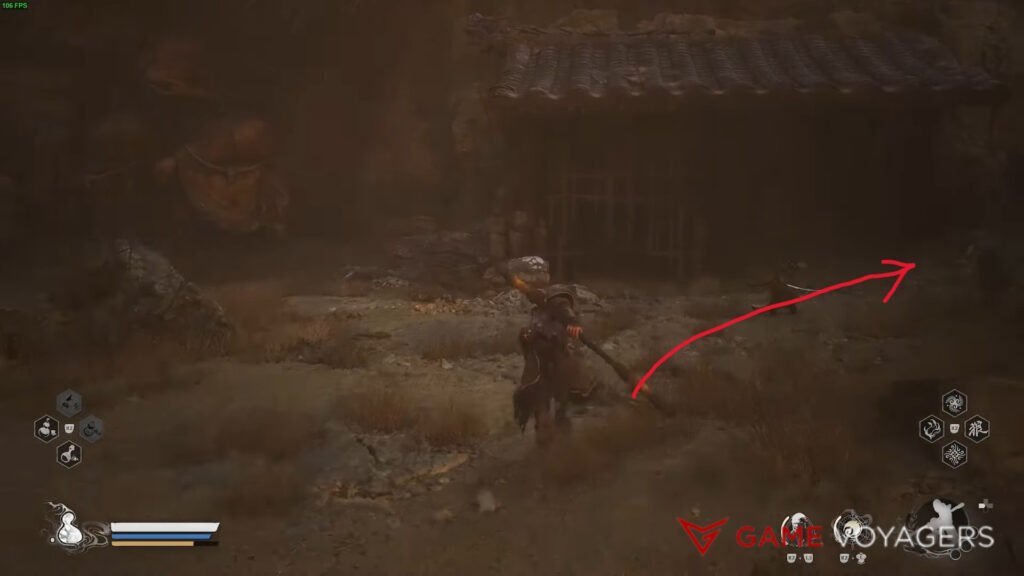
- Turn left from the shrine and start marching ahead. Turn right when you spot a small hut ahead.
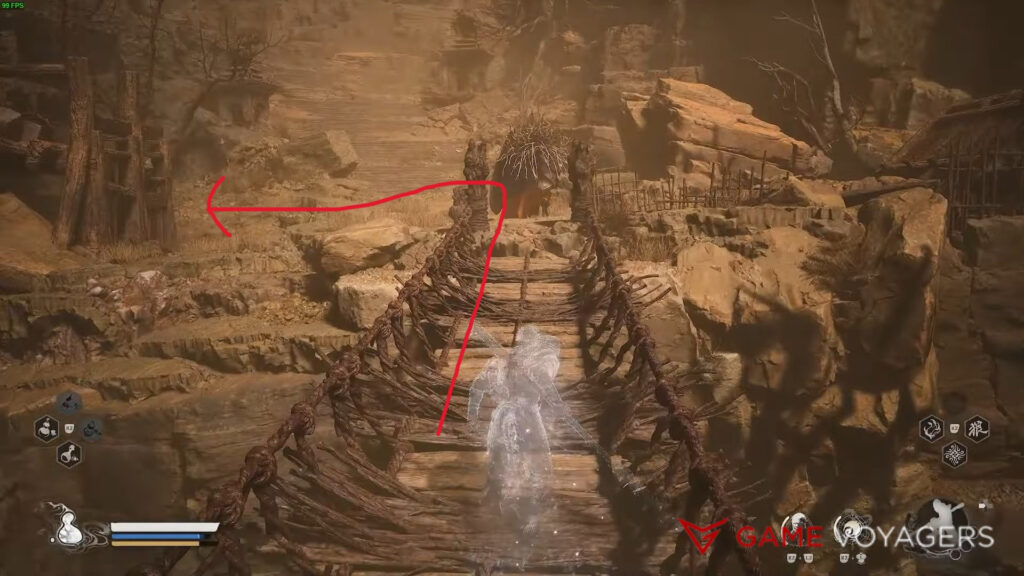
- Keep going and run across the upcoming rope bridge. Another shielded enemy is guarding the bridge, so prepare for a fight. After the bridge, turn to your left towards the wooden building and walk across it.
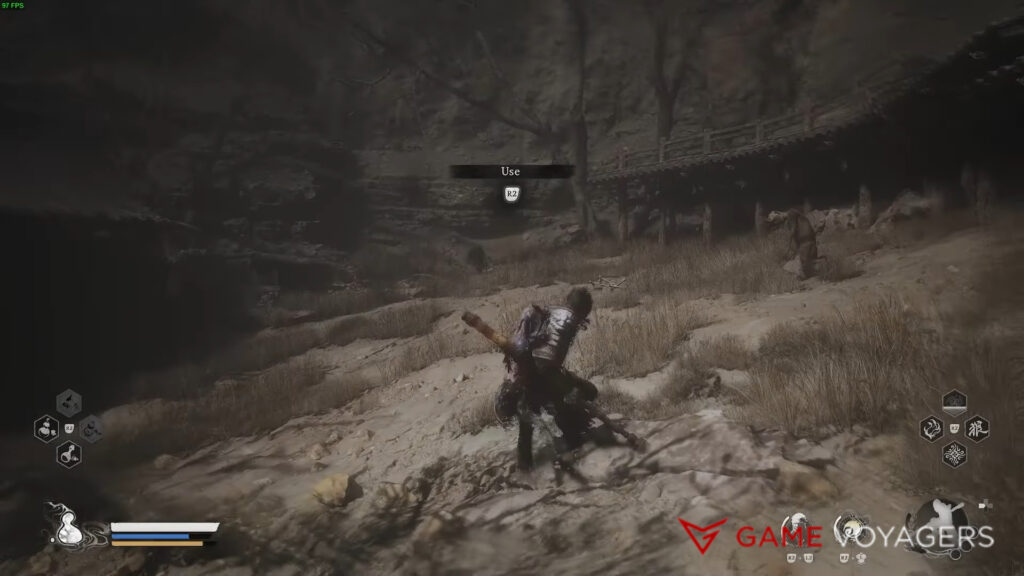
- As you exit the building, your whole screen will turn grey, and a “Use” prompt will appear overhead. You will hear a child saying, “I’m here, little monkey. Let me hear my rattle-drum.” Press the prompted button R2/RT, and Sun Wukong will take the drum out of his ear and begin to play it.
Doing so will summon a few zombie enemies. While you fend them off, the child will continue chatting, giving you vague hints about the following location. Forget what he says and follow our lead!
Step 3: Location # 2 – Village near Windrest Hamlet
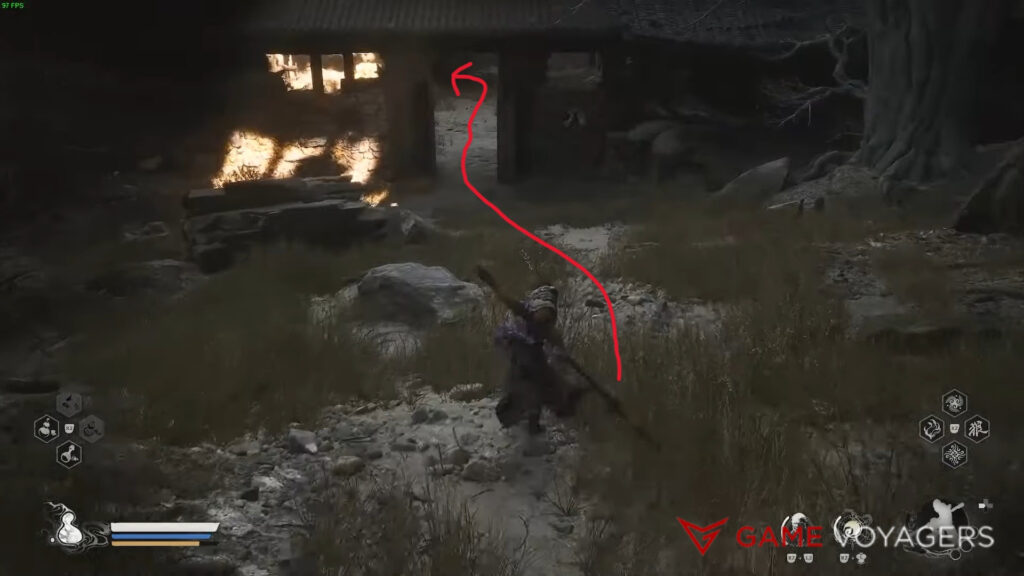
- Return to the Windrest Hamlet Keeper’s Shrine for the next location, but turn right this time. Follow the descending slope until you reach the entrance to a dilapidated village. Enter the gate and turn left immediately.
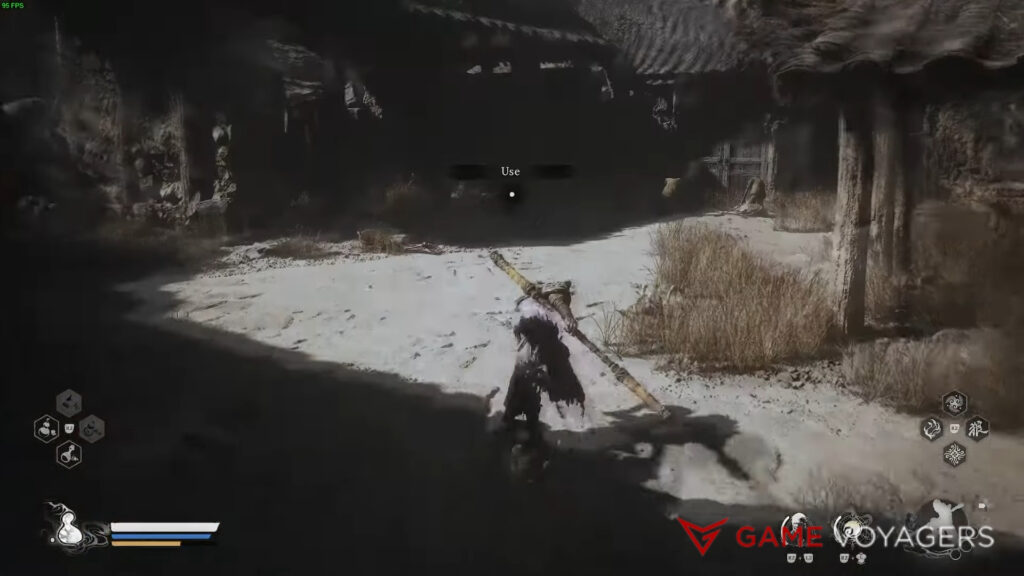
- As you venture onwards, the screen again turns grey, accompanied by the identical “Use” prompt and the same child’s voice suggesting you play the drum. Play the drum, kill the resurrected zombies, listen to the boy’s ravings, and get ready to visit the final location.
Step 4: Final Location – Sandgate Village
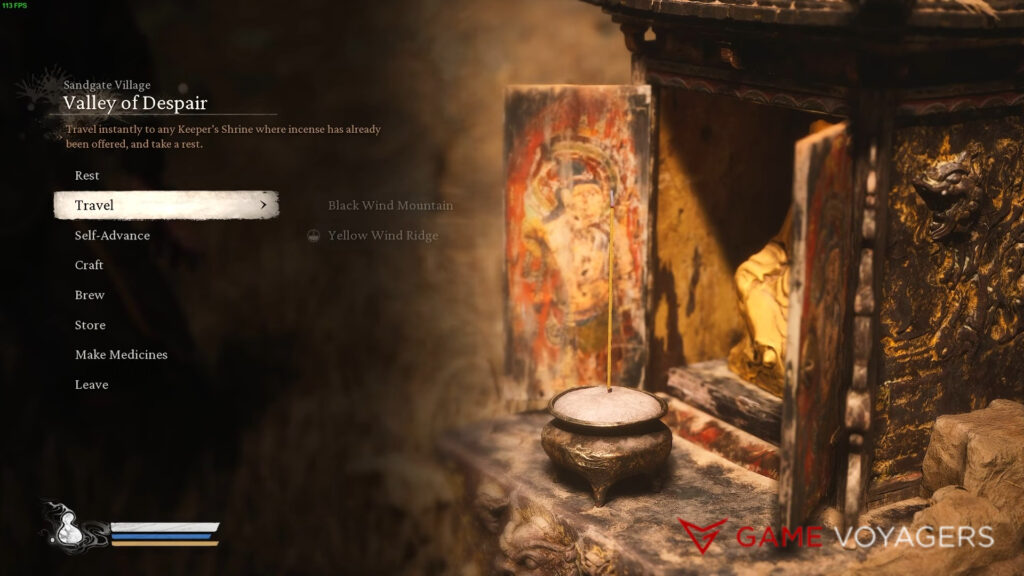
- For the final location, teleport to Chapter 2: Yellow Wind Ridge – Sandgate Village – Valley of Dispair Keeper’s Shrine.
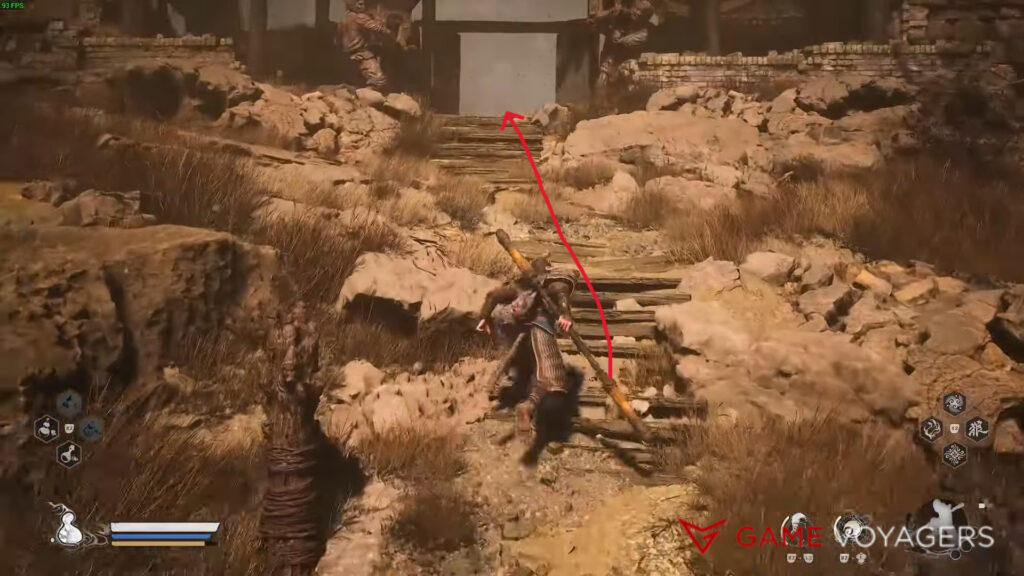
- Face the opposite side from the shrine and walk a little until you see a set of broken stairs on your right going up to an entrance with statues on each side.
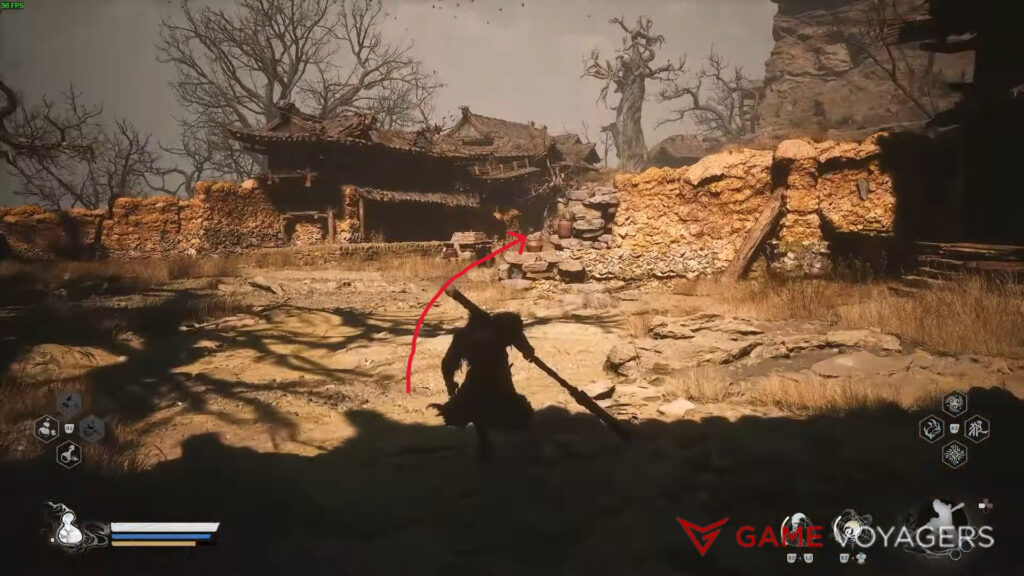
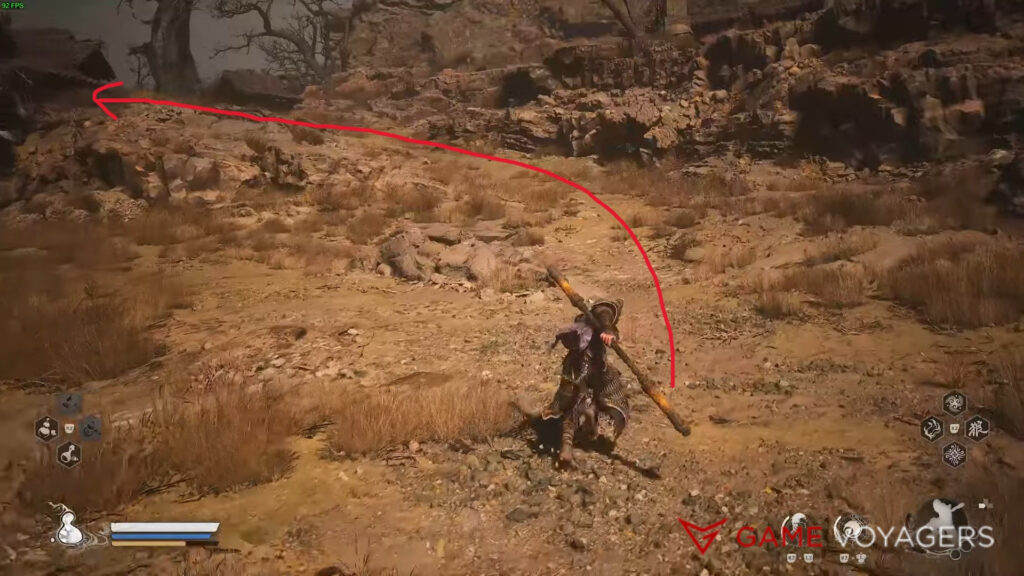
- Go straight ahead, pass the short wall, and then move to the upward incline going left. Take the path immediately to the left of the incline, with houses on both sides. You’ll meet enemies along this whole trek, so get ready for some action.
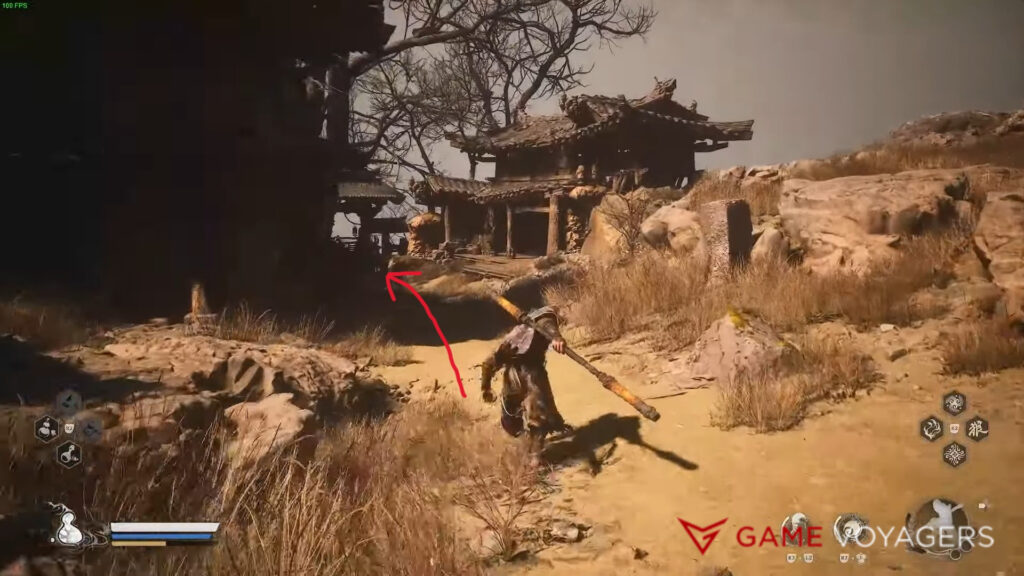
- Go through the archway in front, and you’ll enter a big arena where you might have fought the Earth Wolf mini-boss. If you haven’t, then check this video boss guide.
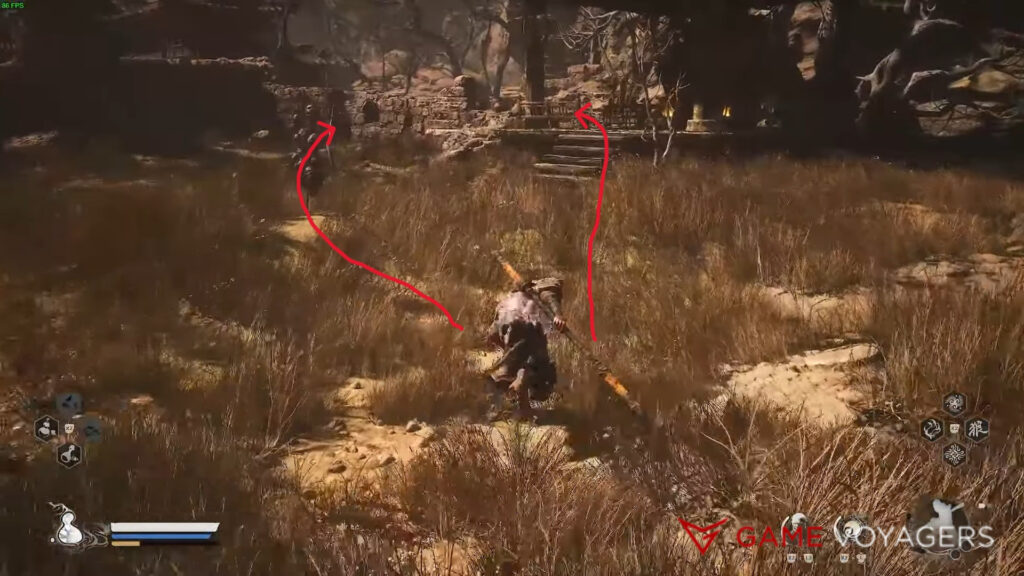
- There is a giant statue at the far right end of the arena; go toward it and drop to its left side. You can also use a small doorway in the wall just to the statue’s left.
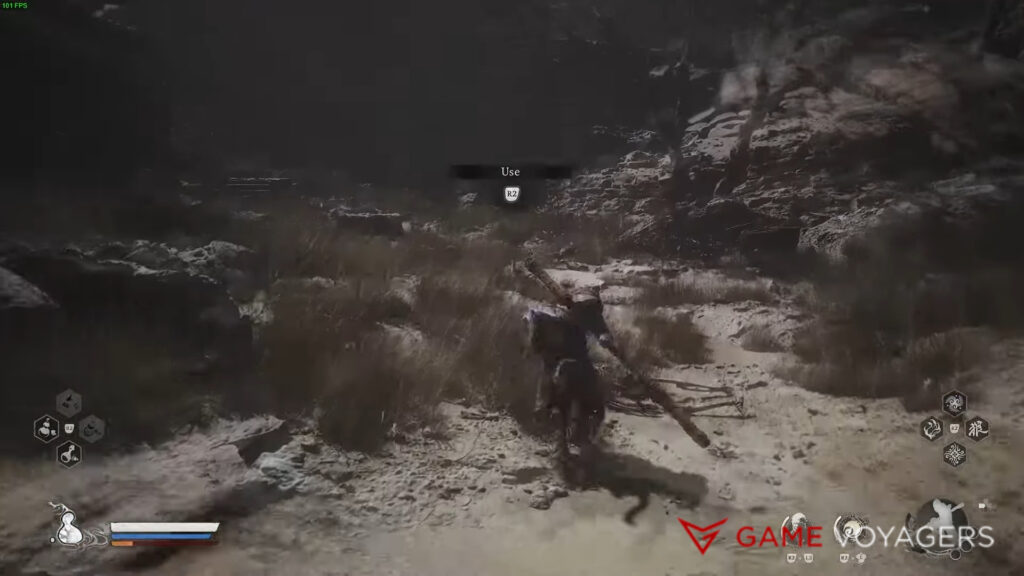
- Move a little further, and like before, the screen turns grey, and you’ll be prompted to use the Old Rattle Drum.
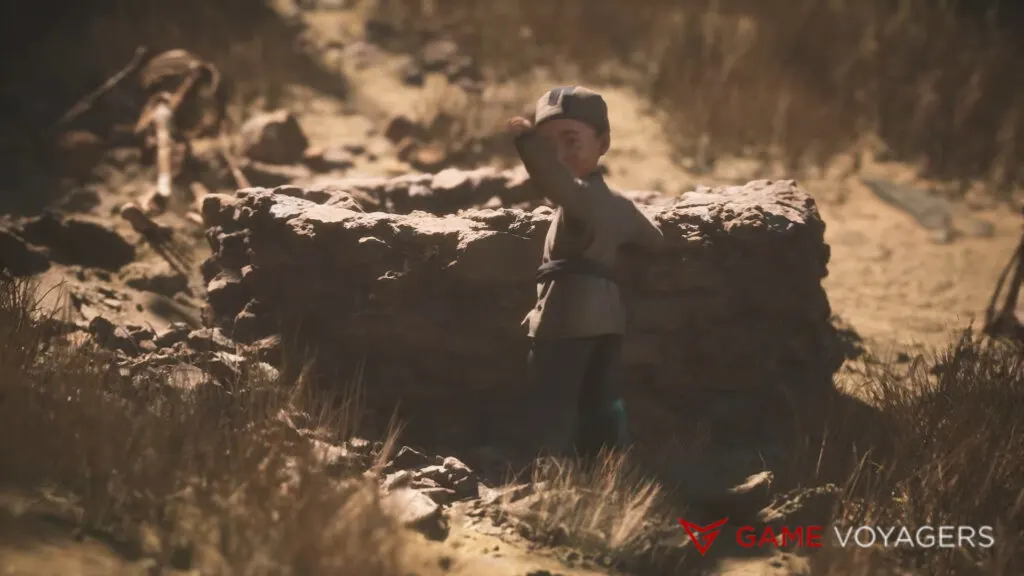
- However, this time, a cutscene will trigger where the boy poofs out of a wisp of light and jumps down a well, inviting you to follow him to meet his friend. Of course, nothing is suspicious about all of this, and any sane person would take the leap.
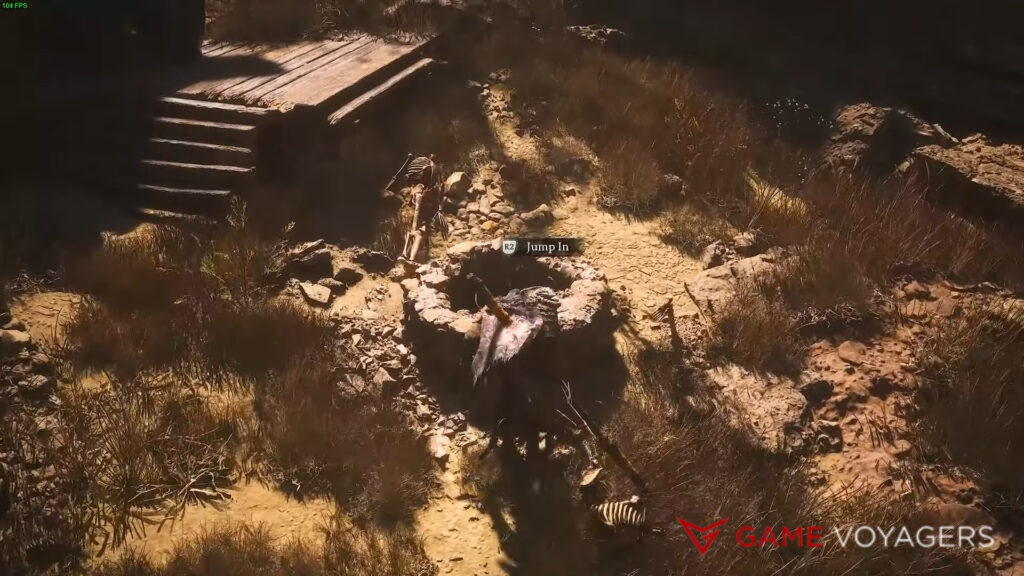
- Approach the well and notice the “Jump In” prompt. Press the button, and down you go.
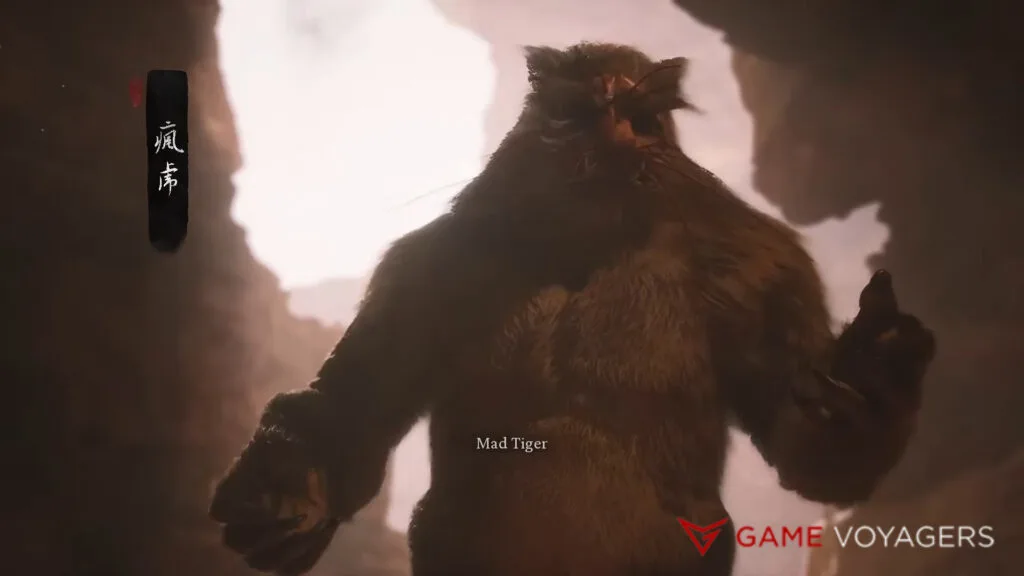
- Lo and behold, there is no child at the bottom of the well but a massive blabbering secret boss, Mad Tiger. He gets rattled by your sudden drop-in, and it’s time to face the music.
Step 5: Defeat Mad Tiger
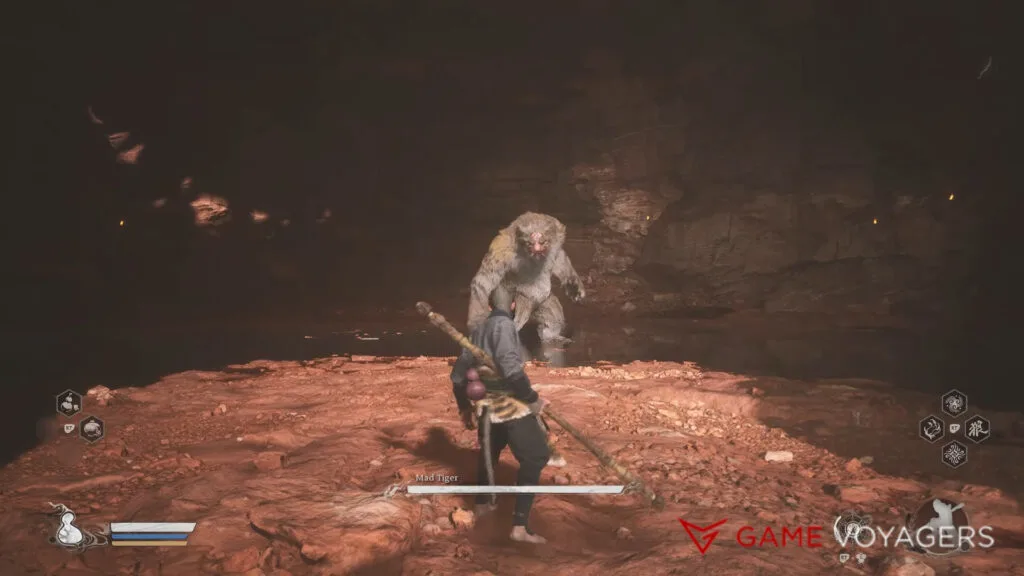
As the name suggests, Mad Tiger is an aggressive boss with hard-hitting attacks. Upgrade your armor before facing this feisty feline.
- Dual Scratch: The Mad Tiger starts with two claw swings. First, it swipes up at you with its right arm, followed by a downward strike from its left.
- Reaction: You’ll want to dodge to the right for its first swing, then to the left for the second one.
- Tri-Scratch: It is the same attack as the above but much quicker. It ends with a third swing where he strikes with both claws simultaneously.
- Reaction: Dodging backward is your best bet, but you must time them just right.
- Leaping Combo: He begins by stomping once, jumping, and slamming down with a kick. A claw swipe follows, sending it leaping up and smashing the ground with its claw when it lands.
- Reaction: This whole attack string has varying delays between each attack. You need to memorize it and dodge it accordingly.
- Seismic Roar: He will let out a tremendous roar, shaking the earth so that giant rocks will start falling from above.
- Reaction: The boulders fall in front of the boss only; if you are fast enough, you can circle behind him and attack.
- Roar Combo: He cracks his knuckles and performs a scream. While the boulders are falling, he will start a barrage of claw swings.
- Reaction: Identify the knuckle crack and start backing off. Most of the combo will miss, and you will only have to dodge the last few swings.
Here is a video guide for the Mad Tiger boss fight:
When the Mad Tiger is taken out of his misery, you’ll receive the following rewards:
- 1,008 Will
- Stone Spirit
- Yaoguai Core
- Blood of the Iron Bull
- Mad Tiger Spirit
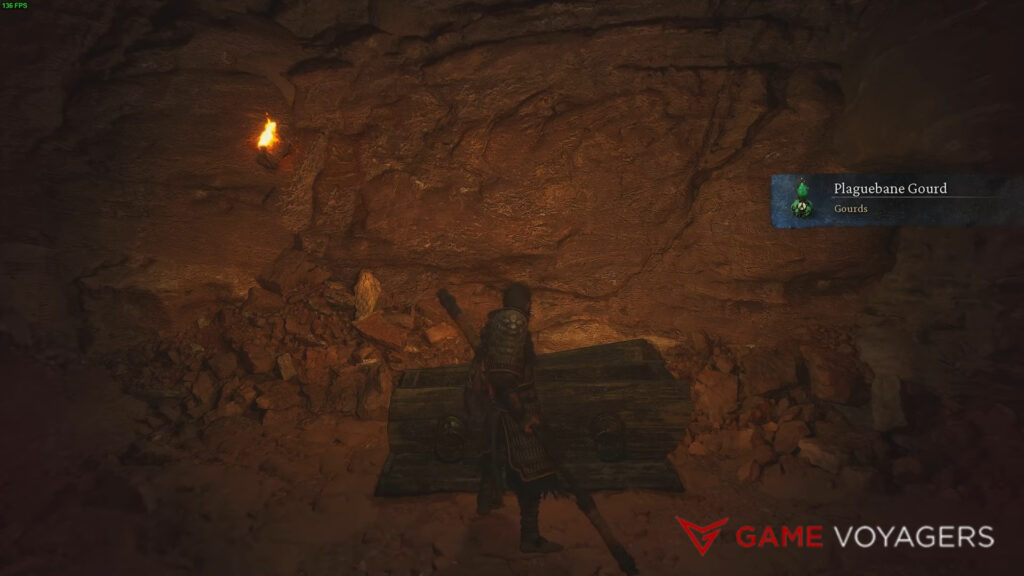
Don’t forget to check the left side of the cave. There is a chest here that will reward you with the Plaguebane Gourd. This Gourd has five uses, and its unique effect will cut the HP recovery by half, but you will get an attack buff for a short duration.
The Old Rattle-Drum quest is by far the most obscure side activity in the game. And as it turns out, most quests in Wukong lead to uncovering secret bosses and a plethora of goodies you never knew you needed. I really love the Plaguebane Gourd; it pairs so well with my pure damage build. Don’t miss out on these hidden side quests. Follow our site for more quest guides.

