Sekiro: Shadows Die Twice is not an easy game to master and one huge thing that you have to know how to use are the Prosthetic Tools. Knowing how to use each one is necessary if you want to implement them into your attacks. There are a total of 10 Prosthetics in the game and they all are different. They also all have a ton of upgrades for each so you can have different methods of attack when you have to use them. If you have not found all the Prosthetics yet, then I will tell you where you can get them and how to use them. Here are all the Prosthetics, their locations, and what they do:
Check out this awesome guide for Sekiro: Shadows Die Twice on Amazon here, it is a very helpful guide.
Loaded Shuriken
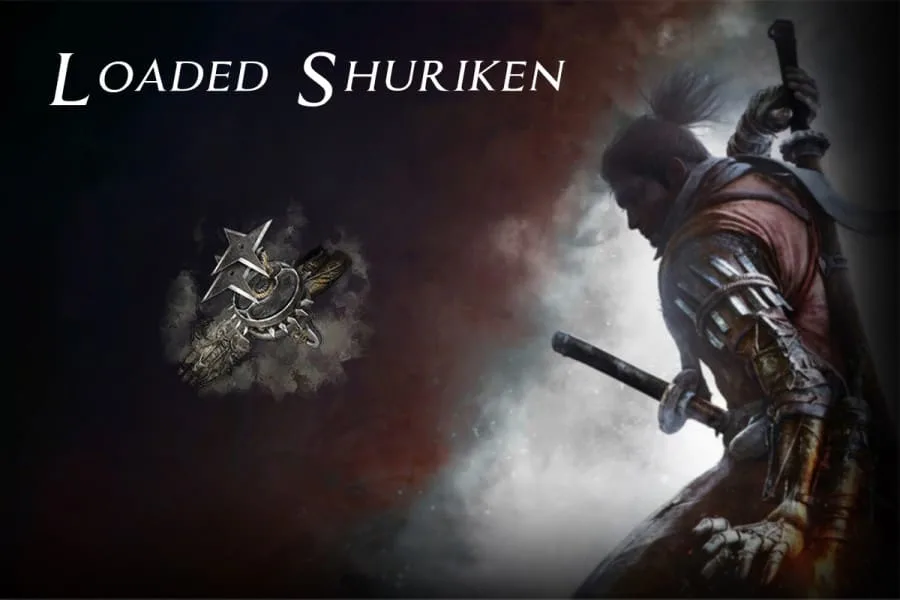
Location: Ashina Outskirts – Inside a building with a hole in the wall near the “Outskirts Wall – Gate Path” Idol.
The Loaded Shuriken is the first Prosthetic that you get in Sekiro, and it is probably going to be one of your best friends in the game. It is perfect against animals and it is fast enough to quickly throw one or two out at an enemy or boss to deal extra damage. You can also stop an enemy from recovering from Posture damage if you are quick enough about it and it can easily be upgraded in the future when you get all the material you need. Know how to use this Prosthetic because you will be using it a lot.
Flame Vent

Location: Hirata Estate – Inside the campfire that is surrounded by enemies, near the “Estate Path” Idol.
The Flame Vent is very important if you want to deal damage to an enemy over time without the need of hits from your sword. The best way to get the most damage out of it is to get oil and cover the enemy in the oil. You then wait until they are done attacking and then let those flames fly right at him. If you are successful in doing so, the enemy will take a lot of damage from the oil setting on fire. If you don’t use the oil, then the enemy will only get damaged once by the flames hitting him, but if you use oil too, it will constantly burn them.
Loaded Axe

Location: Hirata Estate – Inside a small garden house guarded by two enemies Sekiro can eavesdrop.
The Loaded Axe is the perfect weapon for destroying an enemy’s Posture. If you want a weapon that you can easily use with your combos and also increases enemy Posture by a lot, then this is the Prosthetic for you. Later on in the future, you can upgrade it to do even more damage so that it takes fewer Spirit Emblems to use, just make sure you don’t use it too much because your Spirit Emblems will drain drastically if you just spam it. Try imp[lementing it into your playstyle, don’t use it as the main attack.
Shinobi Firecrackers
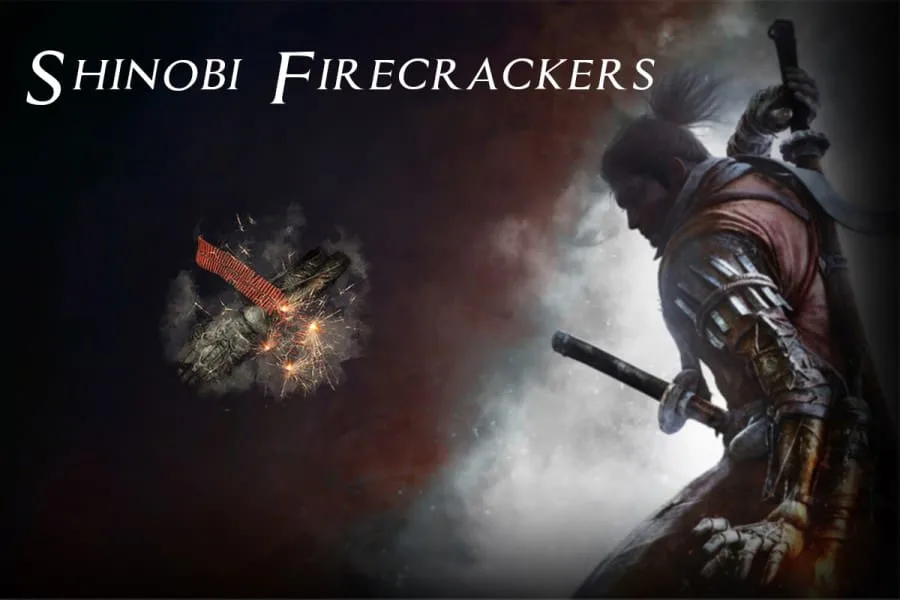
Location: Ashina Outskirts – Sold by the Battlefield Memorial Mob or Crow’s Bed Memorial Mob merchants for 500 Sen.
The Shinobi Firecracker is going to be your second favorite Prosthetic to use besides the Shurikens because you can basically use this anywhere you are in the game. It is the perfect way to stagger any enemy when you need to either get in a longer combo or to back away and heal. It also staggers animals to the point where you might be able to get in 4-5 hits. There are some bosses where you can basically cheese through the fight by just using your basic sword attacks and these Firecrackers. When you get them, try to master using them because they will help you a lot.
Loaded Spear
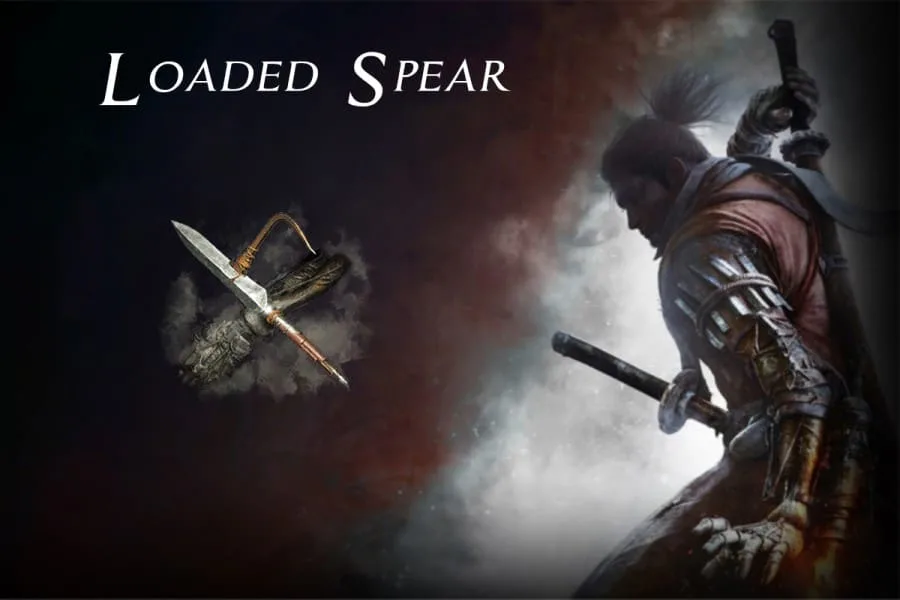
Location: Ashina Reservoir – Located inside a treasure box of the Gatehouse, players will need to acquire the Gatehouse Key to unlock it.
The Loaded Spear is very useful in the middle of the game for certain bosses. Basically, it is a spear that can extend from your arm to do some decent damage from a farther range. It can also be used to pull enemies toward you to deal with extra Posture damage. The easiest way to do this is to use the spear and then click the use button once more after the spear is extended and you will do a pull move. I would highly recommend using it on enemies that have a long reach to give them a taste of their own medicine.
Mist Raven

Location: Hirata Estate – From the Bamboo Thicket Slope Idol, grapple left and drop into a body of water. Swim past the bridge and then grapple to a branch. You’ll pick up an item and can look right to slash through bamboo. Wall-jump and you will find the Prosthetic inside a building that is guarded by an enemy.
The Mist Raven is an evasive tool that is very useful to give yourself a chance to recover from a damaging attack. It lets you teleport to a spot near you and gives you invulnerability for a short time. It also has a bunch of other upgrades as well so you can have a longer time to heal or whatever you want to do. One thing that I have to warn you about is that it does not work against grab attacks so keep that in mind when fighting a boss or mini-boss. The best way to use this is to pair the tool with another tool that works with one another so you can complete a successful combo.
Loaded Umbrella
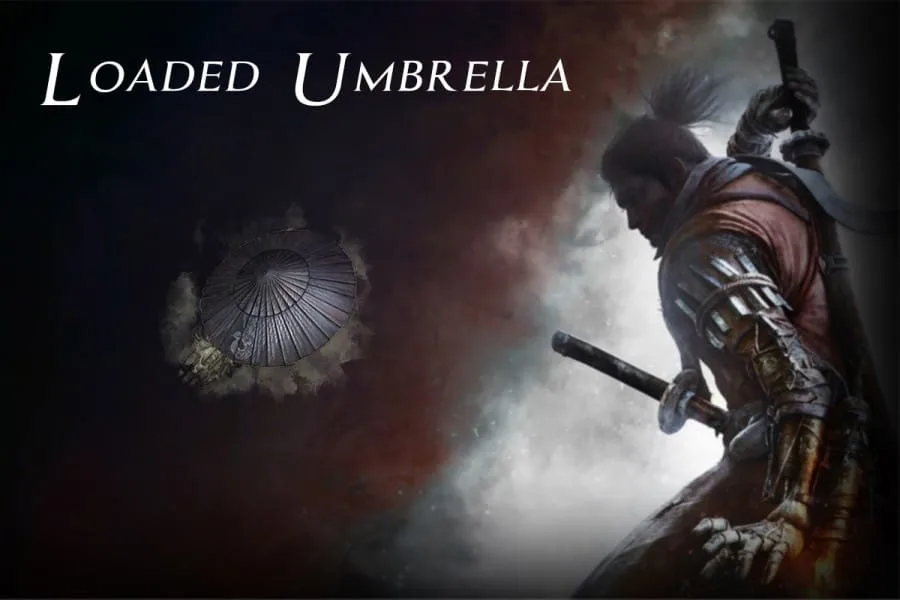
Location: Ashina Castle – Sold by Blackhat Badger for 1600 Sen.
The Loaded Umbrella is an important tool to block basically any oncoming attack. When you use it, you open up a giant metal umbrella over your body and it can block anything. Be careful though because it does take Posture damage when deflecting an enemy attack so you can’t stay hidden under it forever. You can also take the damage from the enemy attack and use it against them so make sure you take advantage of this and always watch your Spirit Emblems. Also, it does not block sweeping attacks so if you are fighting a boss or enemy with that attack, you are going to have to deactivate it when they start using it.
Sabimaru
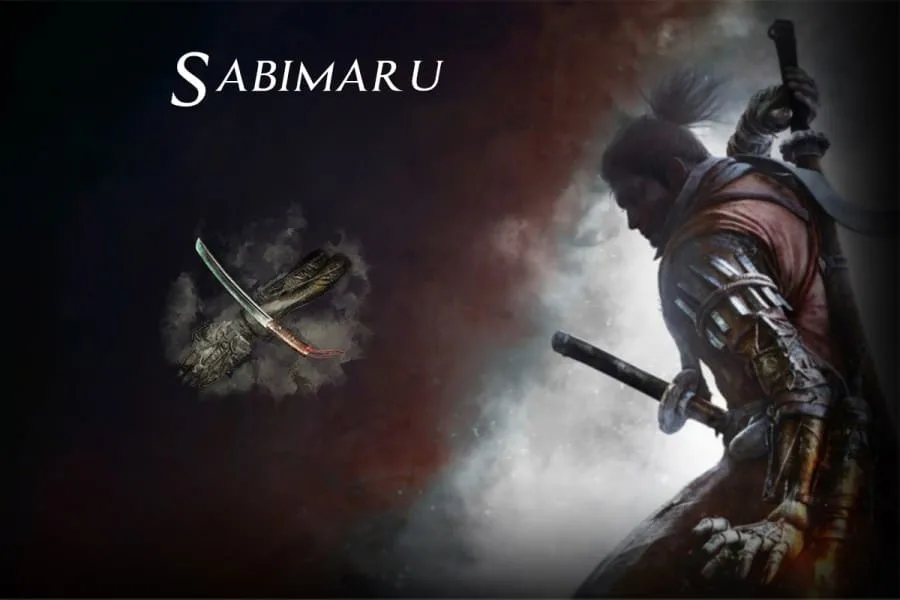
Location: Ashina Castle – From the Upper Tower – Antechamber Idol, go through the two doors and then jump down the giant drop in the middle of the room. Fight off the enemies at the bottom of the room and then grab the Sabimaru from the chest in the weapon room. It is very hard to miss.
The Sabimaru is a perfect tool for starting a flurry attack with the Sabimaru and your Sword. It deals with Poison damage to any enemy that you hit and takes health away over time. You can get upgrades that will let the Poison last longer and your attacks will deal more damage. If you can correctly hit the enemy, you could stagger them to the point of using the attack again and dealing much more damage. It is super effective towards the gun enemies and if you time it right, basically any enemy in the game. Make sure if you can upgrade it, that you do so.
Divine Abduction
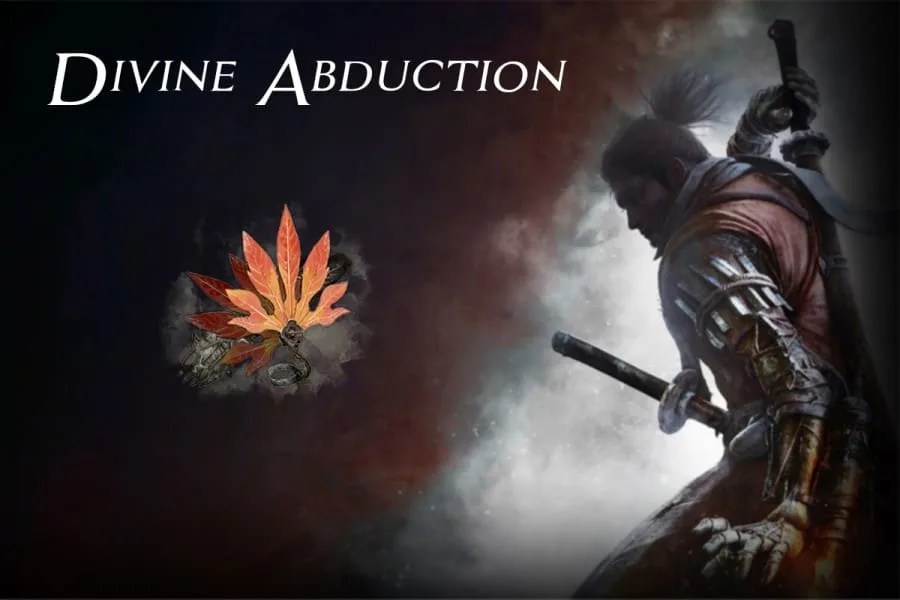
Location: Sunken Valley – From the Gun Fort Idol, after you defeat the Centipede Giraffe, the Prosthetic will be sitting on an idol in the middle of the room.
Divine Abduction is an important tool to not be seen when going through a populated area or taking out easy enemies. Basically, the tool uses a fan of leaves that wraps you in a whirling wind and covers you from enemy sight. If you do it closer to an enemy, you can turn them in the opposite direction and then get an easy deathblow on them. If you do it right, there are a few enemies that you can one-shot with this Prosthetic and if you can find them, then this tool is definitely worth it.
Finger Whistle
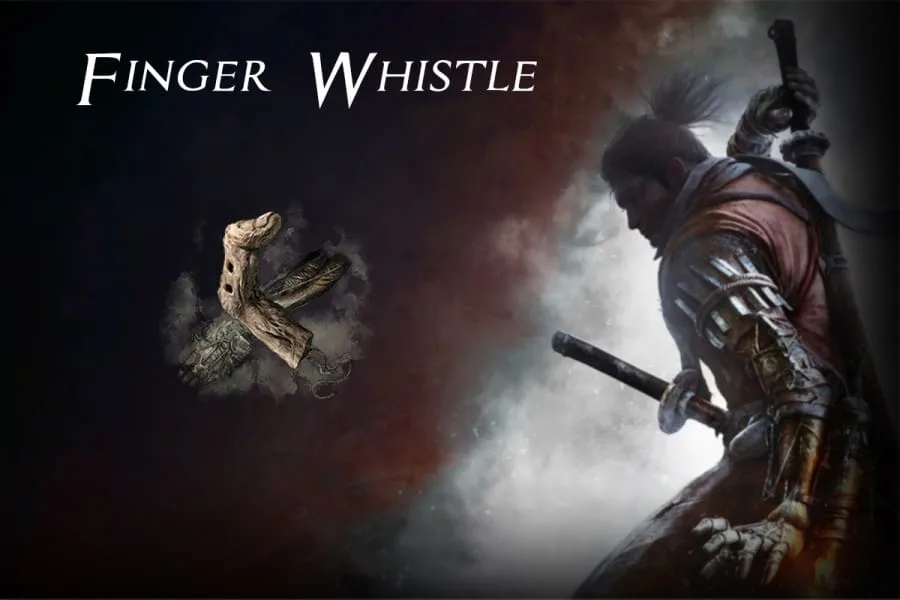
Location: Sunken Valley Passage – Received upon the defeat of the Guardian Ape boss (Both phases).
The Finger Whistle is a Prosthetic that you can get just by playing through the game. You get it after the defeat of a very difficult boss and, in my opinion, is my least favorite Prosthetic. You can basically use it on animals to attack anything in sight, so it is perfect if there are animals and people around. You can also use it like a Ceramic Shard to distract enemies so you can get an easy deathblow. It can stun certain enemies like Headless, but you have to be careful because if you use it too much, you might run out of Spirit Emblems.
Conclusion
In conclusion, Sekiro is a very hard game, but if you can learn how to use everything the game gives you, you might not have that bad of a time. If you have played any Dark Souls game before, you might have a hard time adapting to the different mechanics that this game has, but after a little while, you will start to understand how everything works and what to do. When going into the game, don’t treat it like a Dark Souls game, go in empty-minded and ready to learn.

