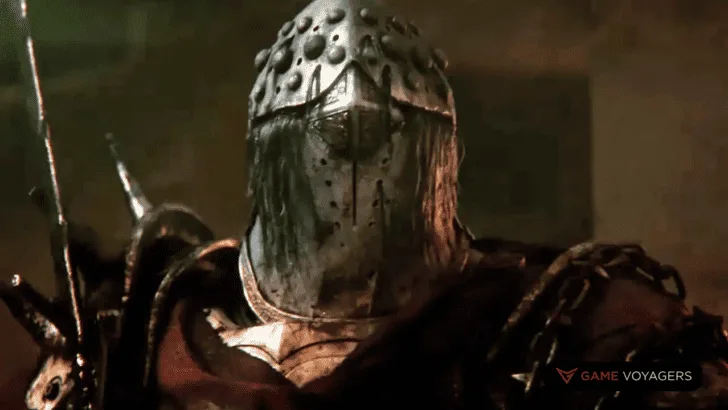
The Knight or Tarhos Kovacs is the 33rd killer added to Dead by Daylight. This is an original killer and comes with a very unique power. What is this power? How to use it right? Are there any perks worth looking into? All your burning questions will be answered in this ultimate guide to the Knight.
The Knight is basically four killers in one. The power to send Guards to execute chases and carry on other tasks is very powerful in the right set of hands. There are three different types of Guards with their respective abilities that can be capitalized upon. It is the perfect killer to terrorize particular zones.
Here is a detailed guide that covers everything there is to know about The Knight in Dead by Daylight to make it easier for you to decide whether to pick him or not.
Is The Knight (Tarhos Kovacs) good for beginners?
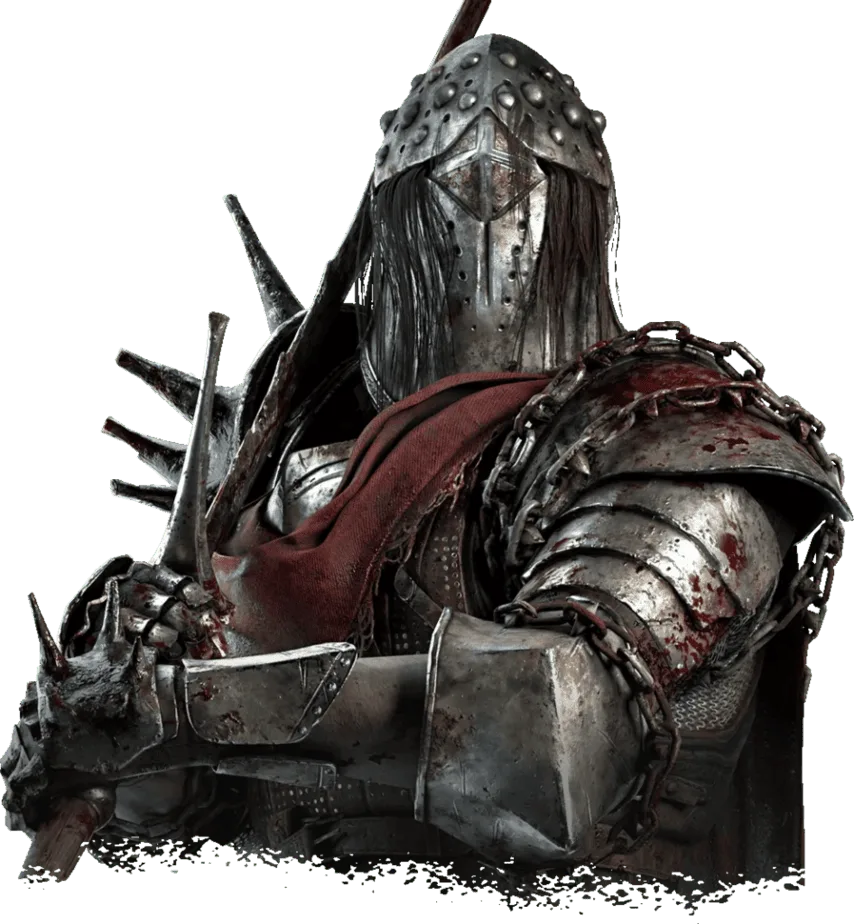
Dead by Daylight states that this killer has moderate difficulty but we would suggest otherwise. It is overwhelming sometimes to micromanage the killer itself and the Guards as well. And the fact that you can’t control which Guard is in the cycle is jarring too.
On the other hand, among the other complicated killers in the game, this killer’s skill is relatively easier to understand. With enough practice, a beginner can comfortably grasp the playstyle of this killer and make it shine.
Are The Knight Perks worth upgrading?
Nowhere to Hide is amongst the best perks in DBD and benefits various other killers. Just damaging a generator will reveal the locations of survivors within 24 meters is a very powerful tracking tool. The more you upgrade this perk the longer the Auras will be visible.
Hex: Face the Darkness is another great perk for revealing the locations of other survivors. And since this is a Hex, survivors have to interact with a totem to remove its effect.
What are The Knight Perks?
The Knight has 3 unique perks with three tier levels:
Nowhere to Hide
Performing the Damage Generator Action on a Generator triggers this perk, revealing the Auras of all Survivors within 24 meters of your position for 3/4/5 seconds.
Hex: Face the Darkness
Once you injure a Survivor by any means, if there is still a Dull Totem remaining on the Map, this perk activates and lights it, cursing that Survivor.
All other Survivors will scream every 35/30/25 seconds if they are outside of the Killer’s Terror Radius, revealing their Auras for 2 seconds each time.
This perk deactivates when the Cursed Survivor either enters the Dying State or becomes Healthy, extinguishing its Totem.
The perk is disabled for the remainder of the Trial if Survivors manage to cleanse its Hex Totem.
Hubris
Whenever you are stunned by a Survivor, that Survivor suffers from the Exposed Status Effect for 10/15/20 seconds. Hubris has a cool-down of 20 seconds.
What Weapon does The Knight have?
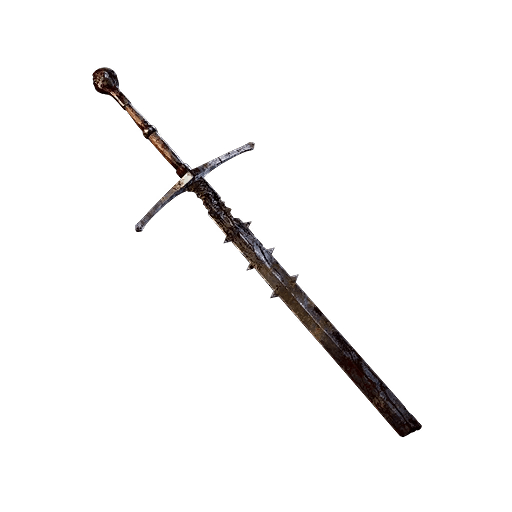
The Knight wields the Imposing Claymore as his primary weapon. This giant sword will go through its victims like a hot knife through butter.
What Powers does The Knight have?
The Knight’s Guardia Compagnia power allows him to summon 3 different types of AI-controlled allies to aid him in hunts. The Guards will cycle through all three as you use them. These Guards and their abilities are:

- The Carnifex: This Guard can destroy objects quicker and stays in the Hunt mode for longer.
- The Assassin: This Gurad has a faster movement speed while in Hunt. He also inflicts the Deep Wound status attack with each hit.
- The Jailer: This Guard moves faster in its Patrol phase and has a longer phase. Furthermore, his detection radius while patrolling is much bigger than the other two.
Before you can unleash these Guards, the killer needs to first paint the Patrol Path for the killers to follow in the Guard Summon mode. While in this mode, wherever you walk the path gets laid down.
This mode stays active for a maximum of 10 seconds and you can use this time to set a path for the Guards to walk in. You can either extend it to its limit or end the path by pressing the power button. If the Patrol Path is longer than 10 meters, the Knight receives a Haste buff.
The summoned Guard will only walk back and forth on the path you put down. The Guard will leave the patrol path once the power timer runs out or it detects a survivor and begins the Hunt mode. The Knight can also attack the Guard to stop them from patrolling. You can even order them to break walls, damage generators, and destroy pallets.
Guards have a white radius around them, if a survivor walks into it, the Guard will go into Hunt mode. Each Guard has a varying timer for the Hunt. Their main goal at this point is to attack the survivor. The longer their Patrol Path, the faster they will rush to the survivor. If and when the Guard attacks the said survivor, it will disappear. If the Knight attacks that survivor, the pursuing Guard will disappear. Downed survivors by the Guards will be revealed to the Knight.
Is The Knight fun to play?
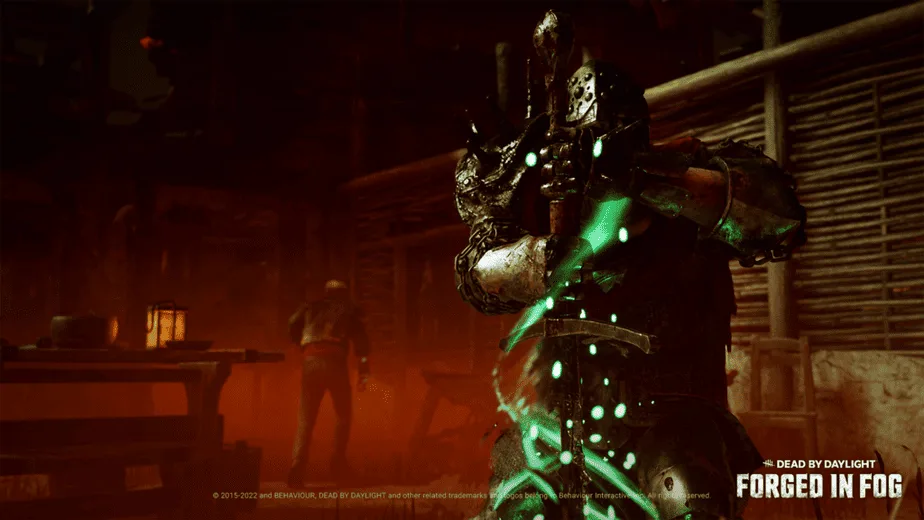
The Knight is pretty fun to play. The ability to outsource chases and tasks like breaking pallets and damaging generators is a godsend. Moreover, you can essentially control a zone in the trial with your Guards making it harder for survivors to venture into your territory. Each Guard has a specific set of skills so knowing when to deploy one will reap the most benefit.
Of course, controlling all these aspects of this killer is a bit cumbersome but you will eventually get a hang of it and would dominate any match.
What are some tips and tricks to get better with The Knight?
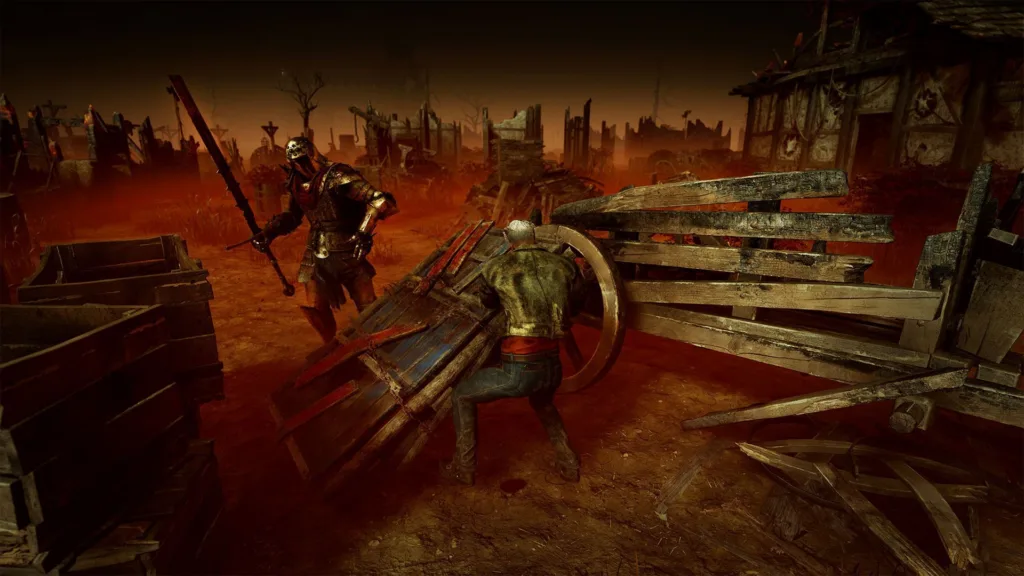
Here are some tips that you can employ when playing as The Knight in Dead by Daylight:
- The Guard summons at the end of the path. Using this knowledge and the fact you move incredibly fast while summoning mode, quickly spawn move toward where the survivors might be and bring the Guard out to either disband them or even get a hit. It is better than taking your sweet time to walk there yourself.
- Play to the strength of the Guard you currently have equipped.
- Let the Gurads do your bidding and order them to break pallets and damage generators while you continue on with your hunt.
- Always take the other route to a survivor who is being chased by a Guard. More often than not, you will catch the target and bring them down. Use them to shut down loops.
- Cancel Guards anytime by hitting them and then you can summon another Guard.
- Guards can spot survivors through obstacles and phase through objects to reach their last location.
- When putting down Patrol Path, you can go through windows and short obstacles. Use this technique to lay down some creative paths and catch survivors off guard.
- Use the Guards to zone a survivor at the edge of the map and cornering them is the best chase tactic you can employ.
- Covering multiple generators close by with yourself and your Guards is the most viable strategy for this killer. You can essentially make areas like this into a no-go zone.
- High-traffic or most-repaired generators are the perfect place to set up Guards.
- When you put down a Gurad and they begin the chase, wait for them to land their attack first, and then you follow up with yours. Applying this tactic will ensure the guard doesn’t get cancelled and your hit will surely down the survivor.
The Knight’s zone-holding potential is unparalleled in Dead by Daylight. With the help of your Guards, you can slap survivors around and they will never know how to dodge the two of you.

