Enshrouded’s voxel-based base building system can build magnificent structures for you to inhabit. The building mechanic in this game is unique compared to other survival games out there and can prove to be a bit too daunting for new players.
Thus, we are here to teach you how the build systems work in Enshrouded and send you on your way to creating the perfect base you can call home or show off to others.
Flame Altar
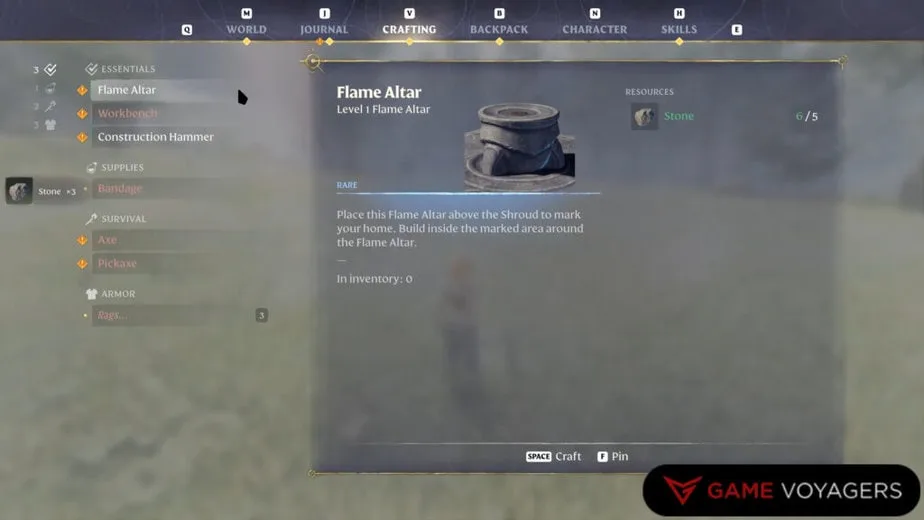
The first step to building your dream base in Enshrouded is claiming your piece of the wilderness. This is where the Flame Altar comes into play. It’s easy to craft, requiring only 6 stones to create.
Once crafted, place it in your toolbar and select it. Placing it on the ground will claim a reasonable area of 40x40x40m (indicated by an outline), creating a zone for you to start building. The building zone stretches equally on all sides of the altar.
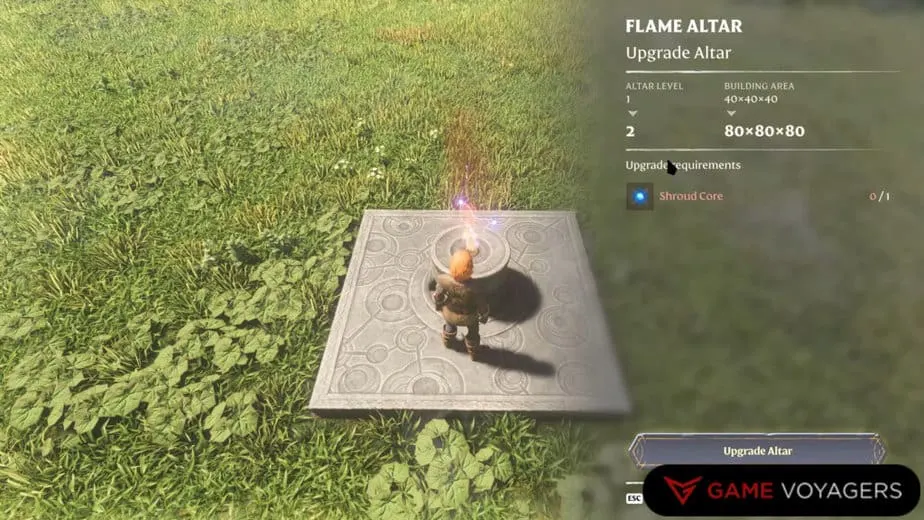
The alter’s zone can be expanded through upgrades extending its radius with each enhancement reaching up to 160m at its maximum level. You’ll need Shroud Cores to upgrade the Altar Flame.
Be mindful when placing or thinking about moving your Flame Altar. Removing it deletes all building blocks and chest within its radius. This only happens after you reload the game, restart the server, or leave the area for 30 minutes.
It is possible to move your altar by building another altar in the location you prefer and then removing the initial altar. You just need to make sure that your building is completely covered by the second altar to avoid losing anything.
The amount of altars that can be built per world is limited currently. You can upgrade the flame to build a maximum of eight altars for now.
Craft the Construction Hammer
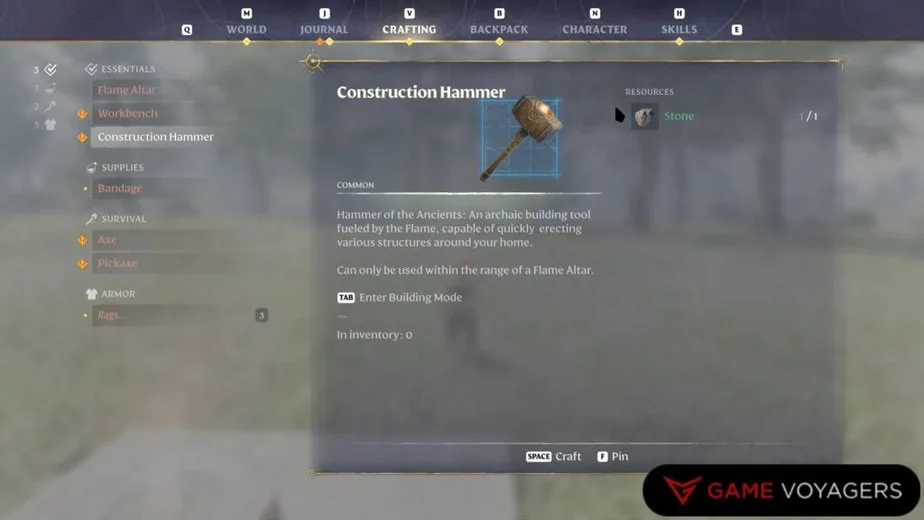
With your land claimed, it’s time to start building, and for that, you’ll need the Construction Hammer. You only need a single stone to craft it through the crafting menu.
Once you build the hammer, you also will need to craft building blocks. Initially, you’ll start with the basic blocks like stone, wood, and flint. You can craft these blocks at the Workbench using the resources you have gathered.
For example, raw stone and flint will grant you rough Stone and Flint blocks and also shingle roofs. Chopping wood will grant you wooden blocks. Plant fiber will allow you to craft fiber roofs and so on.
Later you will unlock the ability to craft more fancy blocks. You’ll unlock most of the blocks by progressing the game and mining resources while some of the exclusive blocks will be behind mini-bosses, dungeons, and/or puzzles. There are currently 31 building blocks and six roof blocks in the game.
Make sure you loot a ton of resources as much as possible since these buildings like to gobble them if you are going for an ambitious building project. Good thing they respawn instantly with a trick.
Building Mode UI
Now comes the time to start building. Getting familiar with the building UI makes things go a lot smoother. To access the building menu, you’ll need your Construction Hammer selected in your hand then press the TAB button.
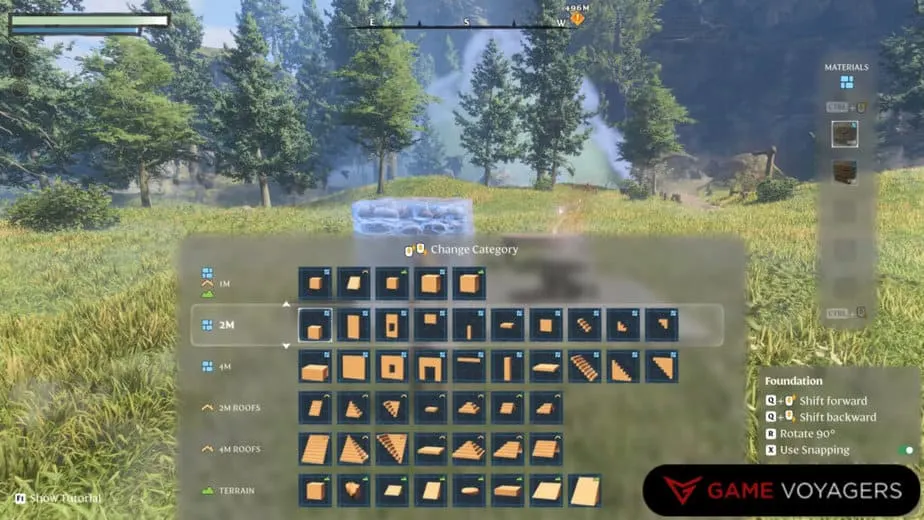
This action opens up your building menu revealing the range of building blocks at your disposal. Across the bottom of the screen, you’ll see your current toolbar which shows the blocks you have selected.
On the right side of the menu, there’s a list of all the building block types available to you along with the quantities you have in your inventory.
Switching between different types of blocks is simple. By pressing the ALT key and scrolling with your mouse wheel, you can navigate through your toolbar.
Here you can choose between different sizes of prefabricated (or prefabs in short) parts, terrain editing tools, or voxel building. Each category is marked with an icon; green mountains for terrain editing, blue bricks for building blocks, and orange roofs for roof tiles.
Switching between these categories changes the navigation bar on the right to display the relevant materials making it easy to find what you need. By pressing the CTRL key and using the mouse wheel, you can scroll through different material types used to make different variants of the block/prefab parts.
Building Grid and Snapping
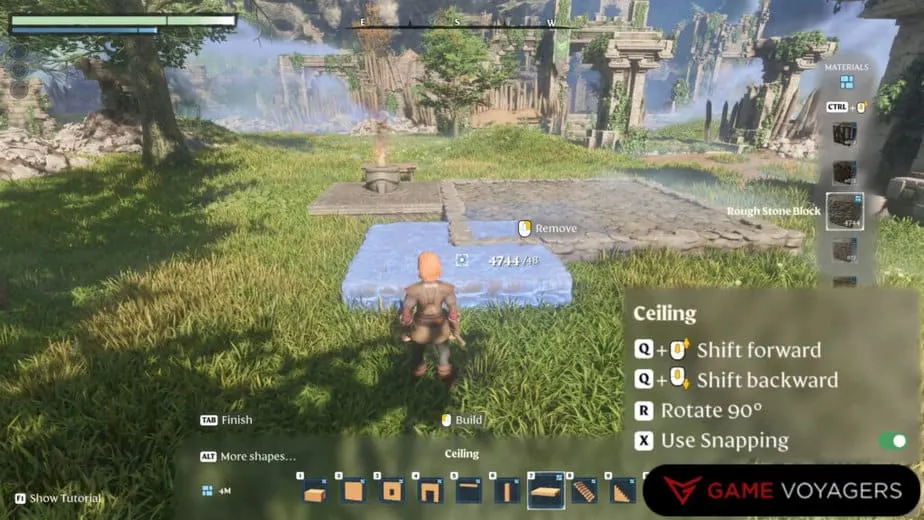
Next, we need to get accustomed to the principles of the building grid and snap points. The first time you come across the building grid occurs when you’re placing your Flame Altar. The grid only allows for a 90° rotation for all building blocks. For furnishing and non-structural elements, you have more flexibility as you can rotate them freely.
Once you build your altar, you will be able to work from its Snap Point or start building somewhere in the altar radius. With Snap Points, your block will automatically align with adjacent blocks. You can toggle snap points on and off by pressing the X key. Toggling it off allows you to freely place your parts onto the grid.
Placing Building Blocks
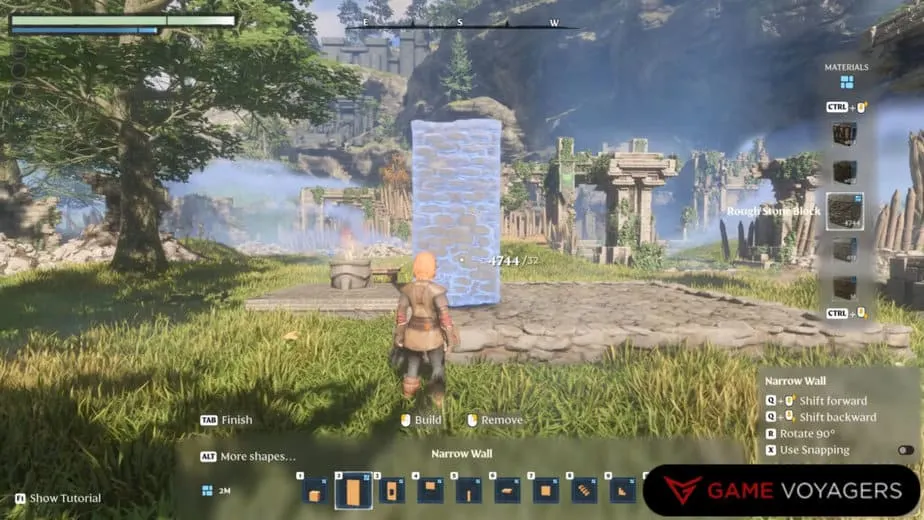
In Enshrouded, your building block will be placed where your cursor is aimed at. To place the block at the location you want, you need to move your character and cursor.
It is possible to move the block closer or farther away from your character, but most of the time, you will still need to be walking around to place a part in its spot.
Moving your block further or closer away from your character is done by pressing the Q key and scrolling the mouse wheel. It’s also possible to move your camera further or closer to your character by holding the Z key and scrolling the mouse wheel. This can come in handy for more detailed placement.
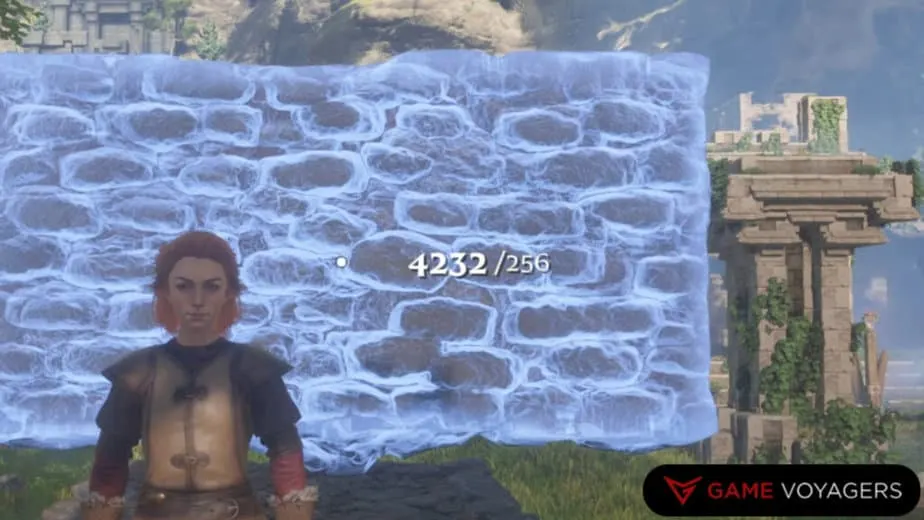
When placing a block, keep an eye on the resource counter beside your cursor. This feature shows how many blocks you’re using and how much of your resources are left. Interestingly, when blocks merge, the overall resource cost can decrease.
This happens because you’re only using materials for the space the block occupies not for the overlapping areas.
Prefab Building vs Voxel Building
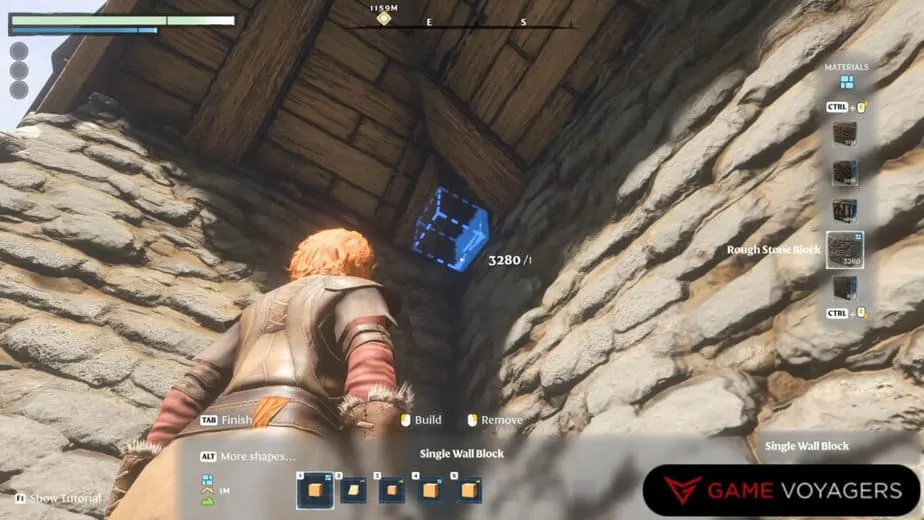
It’s good to understand the difference between building and removing voxel vs prefab building parts. When it comes to voxel building, precision is key. The game visually indicates which face of an existing block your new voxel will adhere to, be it building it or removing it.
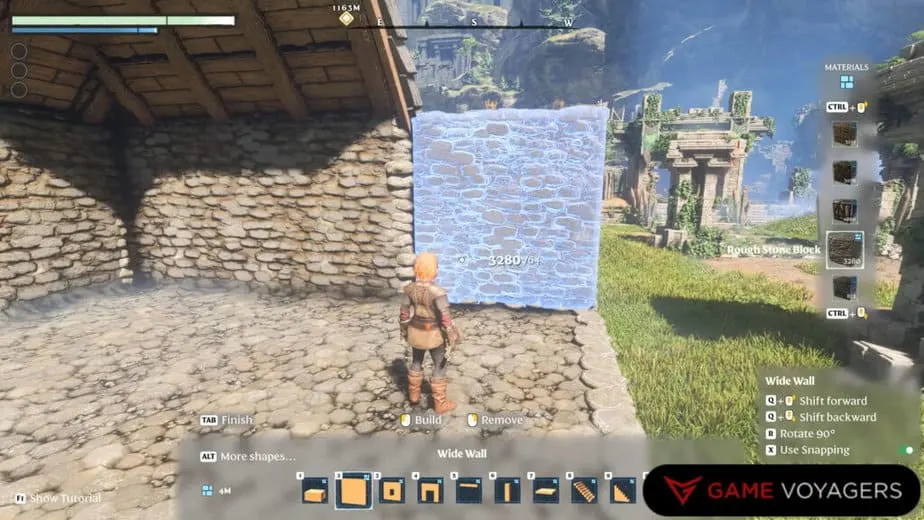
Prefab blocks, on the other hand, offer a more straightforward approach. When selecting a prefab block, you’ll see a ghost image of the block in its intended location making it easier to visualize and place large sections of your structure quickly.
Removing is done by aiming any prefab block against the prefab structure until the remove icon appears then use the mouse right click to take it down. The remove icon will only show when holding a prefab block. When you have a voxel or terrain selected, this icon will not appear.
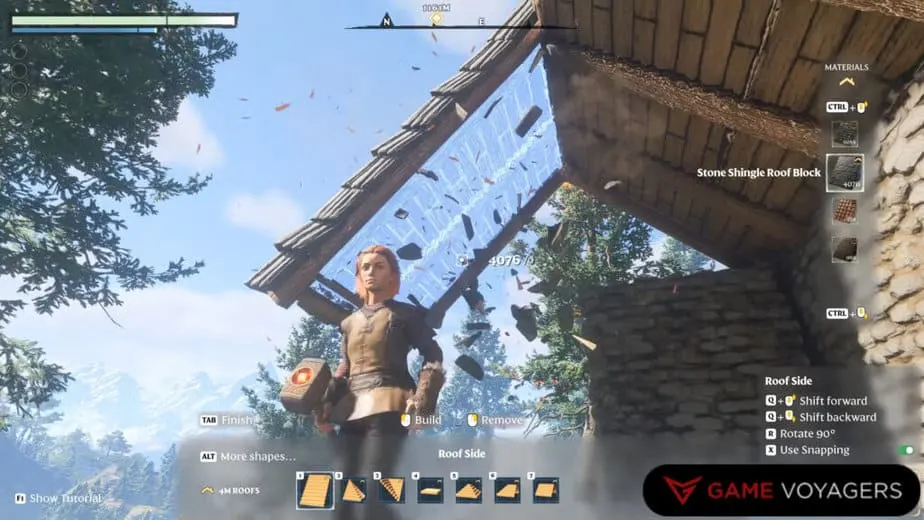
We highly recommend starting your project with prefab structures. It allows for rapid assembly of your building framework which you can then detail and/or modify using voxel blocks.
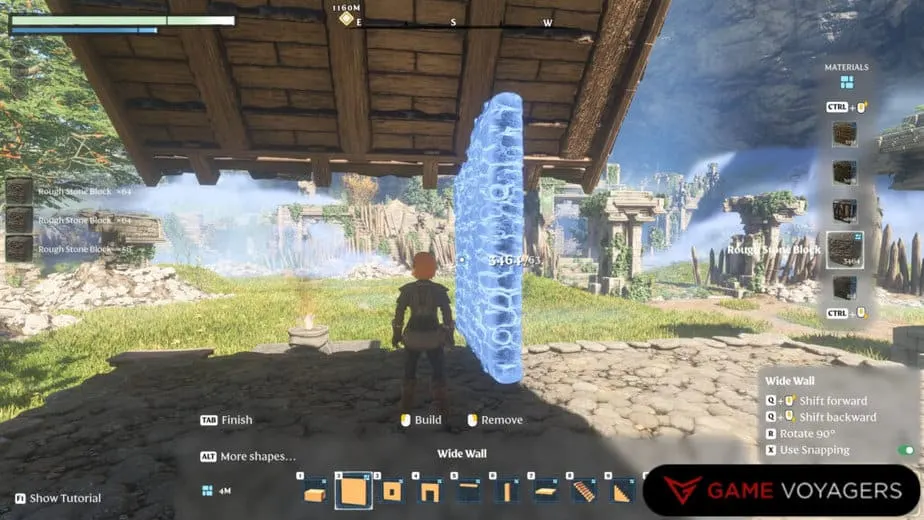
Even after cutting out spaces for windows or doors, prefab blocks maintain their integrity enabling easy removal or adjustment in whole pieces.
Voxel Building and Removal
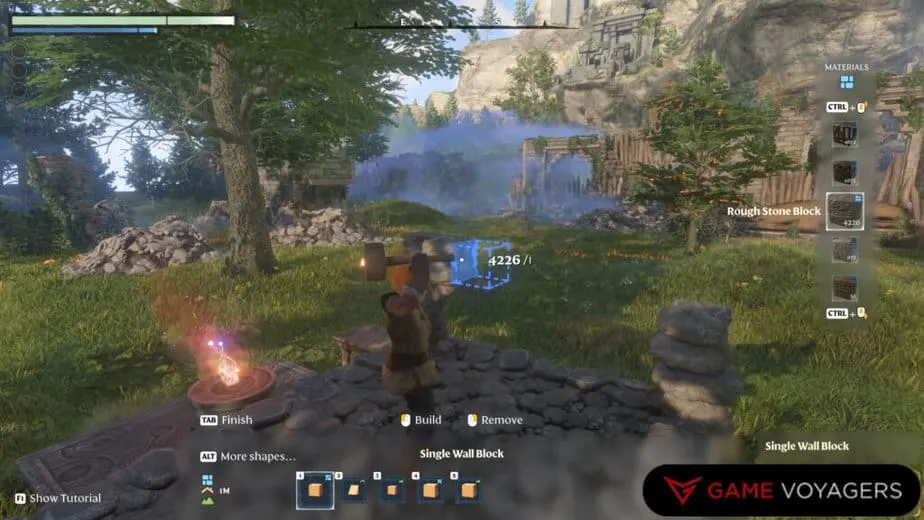
Voxel building allows for precision building, down to the individual block, enabling you to craft detailed features or adjust parts of your build for a custom look. This method is perfect for when you want to go beyond what prefabs offer allowing for detailed adjustments.
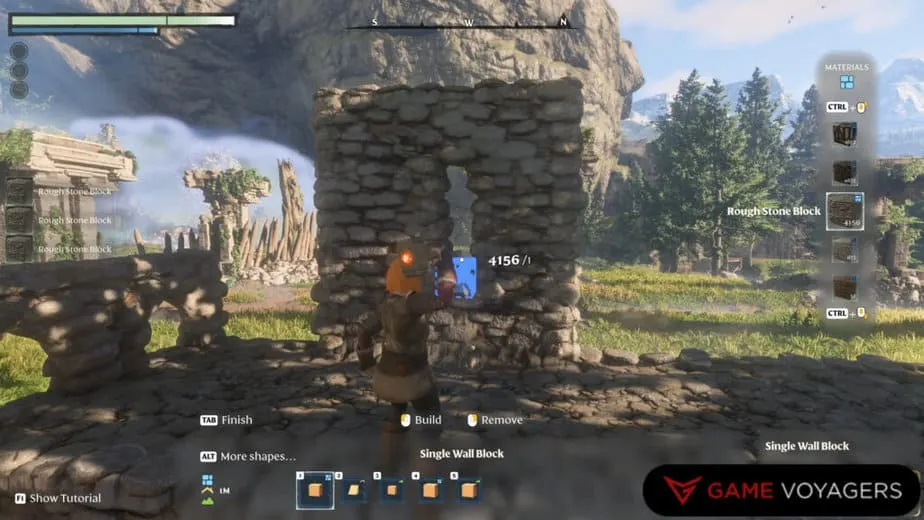
By using voxel removal, you can clear away parts of your wall to place a window or a door in later. Placing voxels is done with the left Mouse button and removing it is done with the right Mouse button.
One of the nice advantages of voxal building is to fine-tune the look of your roofs. For example, you can use it to either make nice trimmings or even support beams inside the roof. The best way to do this is by using a different type of roof against the roof you originally built. Doing so will prevent the blocks from merging.
Undo Build Action
One of the most useful tools at your disposal is the Undo Build Action function. By pressing the Y key, you can revert the last five actions you’ve taken whether building or terraforming.
This function is incredibly handy for correcting mistakes or reconsidering design choices without the need to manually remove or adjust each block. Remember this only works when you are in the build mode.
Scaffolding
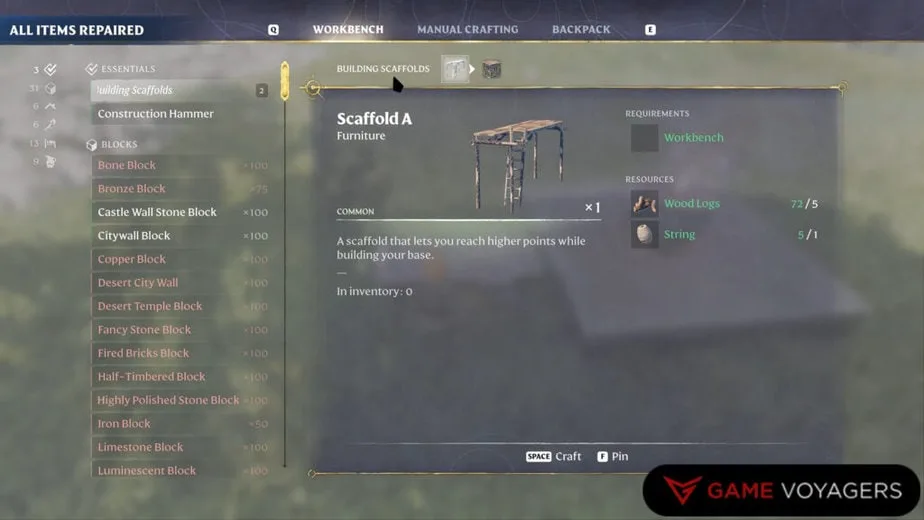
In any construction project, reaching those hard-to-get elevated spots can be a challenge. This is where Scaffoldings comes into play. Scaffoldings can be crafted at the workbench requiring minimal resources.
Just put a Scaffolding in your toolbar and simply place it into your desired location, climb up and you have the perfect platform to build higher up.
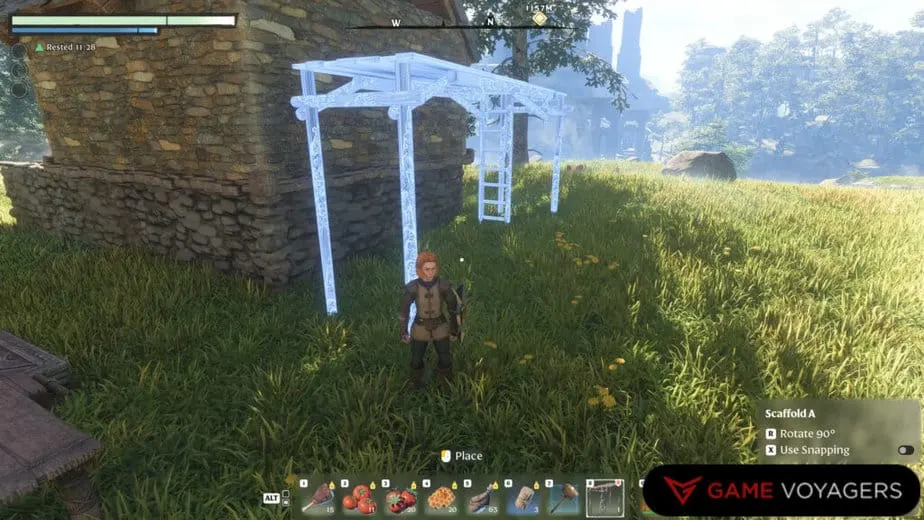
When the scaffolding is no longer needed or needs to be moved, you can pick it up by hovering over it and holding the E key. You can then place it elsewhere wherever it’s needed.
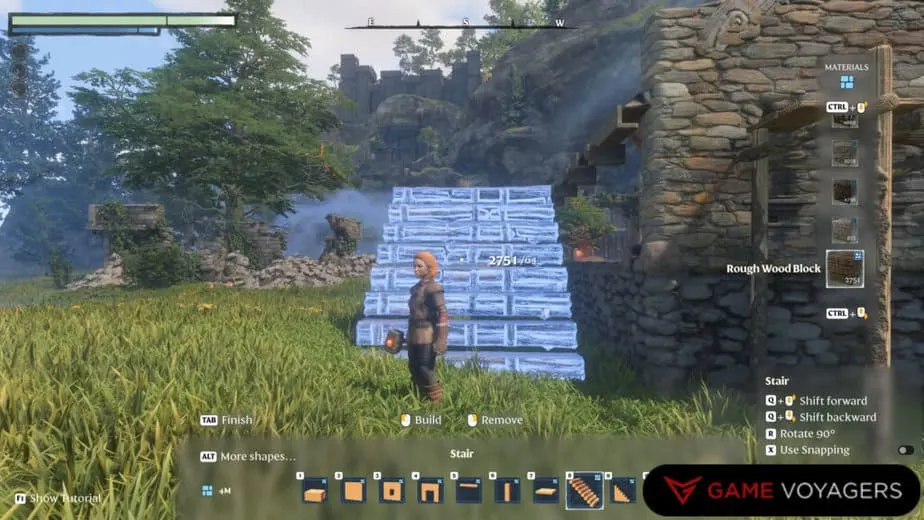
You can also make your own quick scaffoldings by just building some stairs and platforms. It will be handy as you will not need to constantly switch between toolbars and it will also take less space in your inventory. Just make sure you do not build the stairs or platforms into the terrain as they will reshape it.
Block Contextual Shaping
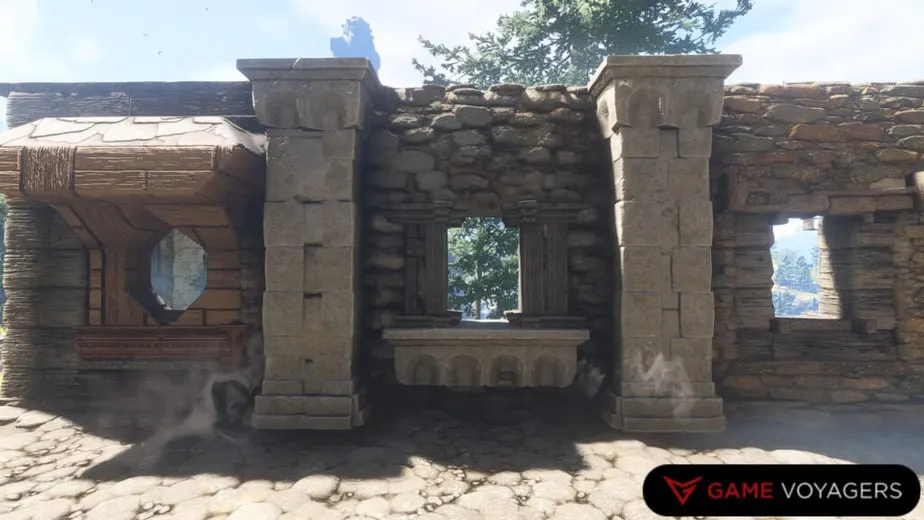
The block contextual shaping is a feature that allows blocks to alter shape or texture based on their placement relative to other blocks.
For example, the way roofs interact with each other as explained before, the principle applies also to walls, windows, doors, pillars, and more. You can see some of the examples in the picture above.
You can use this to your advantage if you want to add more detailing and personality to your build. The best way to understand the potential of block contextual shaping is through experimentation.
Try combining different block types and observe how they interact, you might discover new design possibilities that you hadn’t considered before.
Windows, Doors, and Furniture
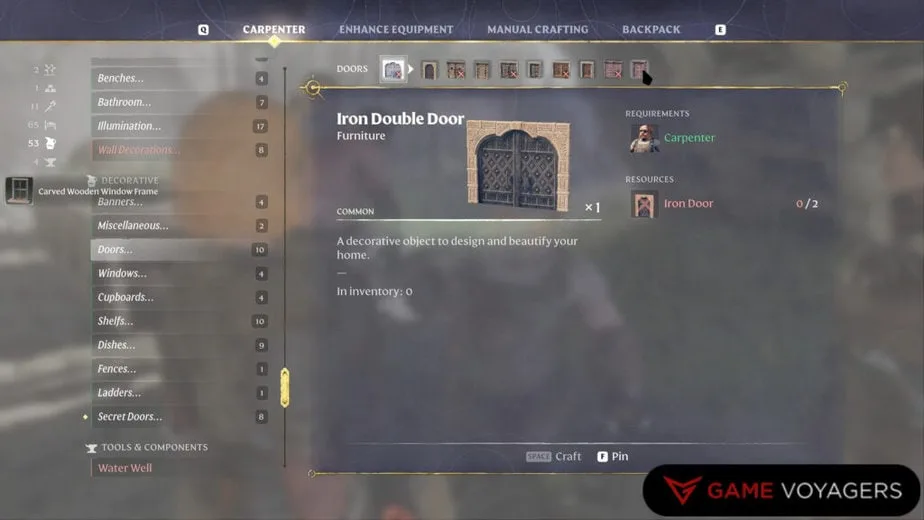
Lastly, what is an abode without windows, doors, and furniture? You can craft these essential items at your workbench or with the Carpenter along with lights and other decorative elements that add ambiance and character to your builds.
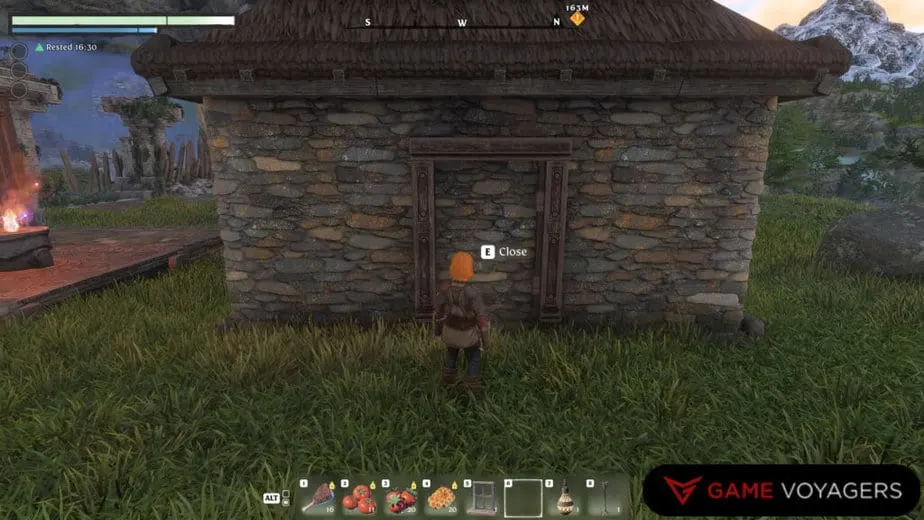
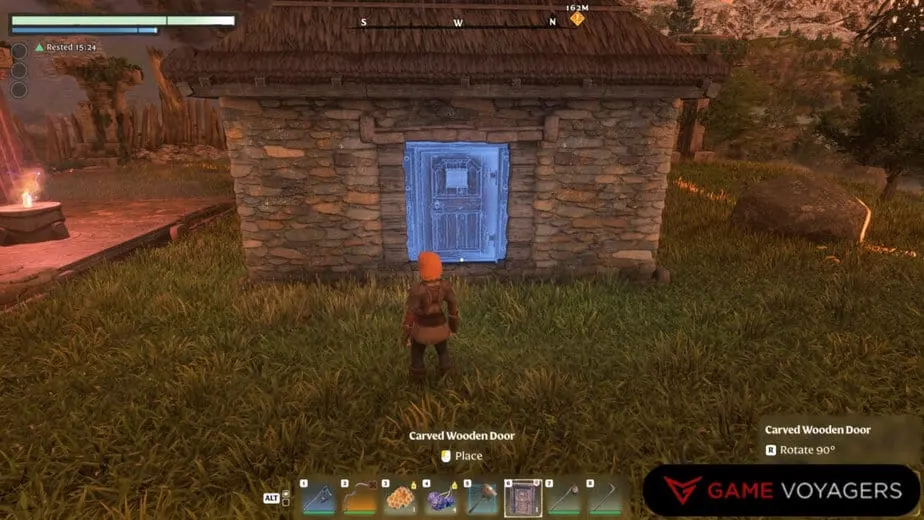
However, keep in mind that these items don’t automatically carve out the necessary spaces in walls. You’ll need to prepare these openings beforehand ensuring they fit seamlessly into your design. Once crafted, placing windows and doors is straightforward.
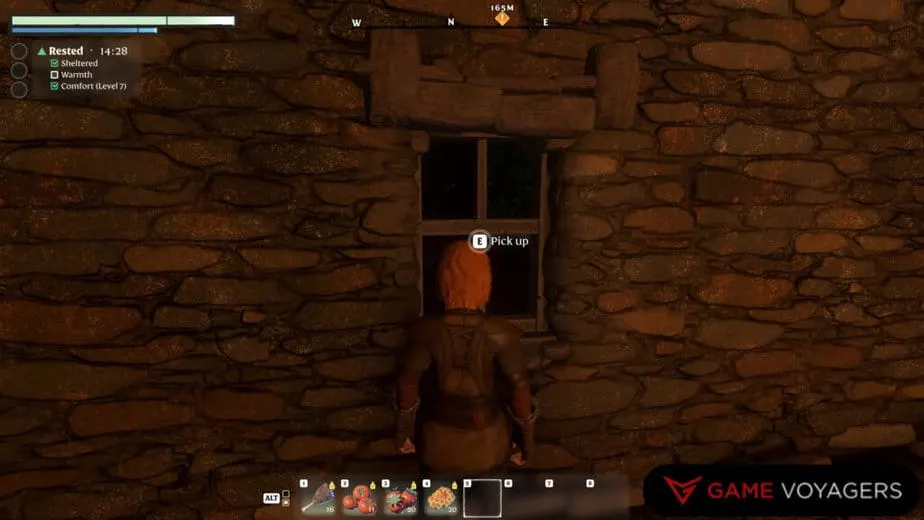
Add them to your toolbar, select them, and then position them where you want them. If you’re not satisfied with the placement or you unlock better designs simply aim at the item, pick it up, and remove it.
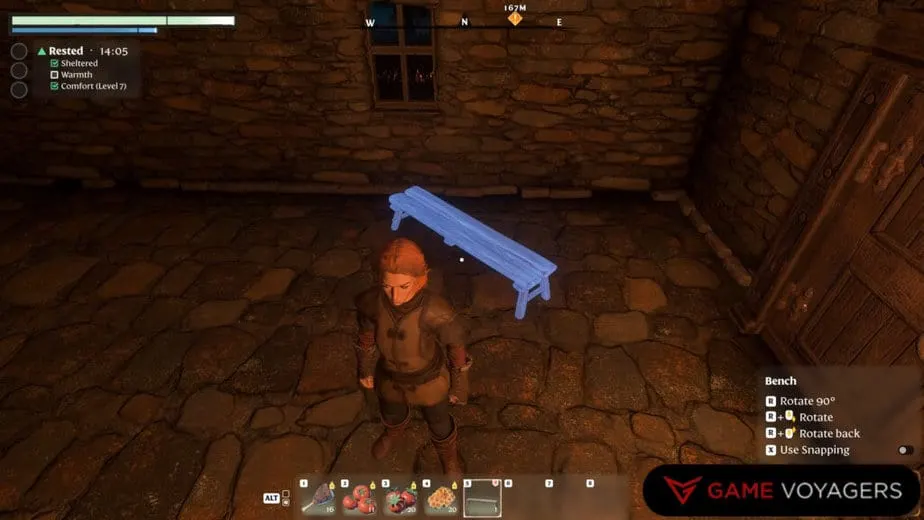
Furniture like beds and tables can be freely rotated, they are not restricted to 90° movements. Just disable snap points, hold the R key, and rotate with your mouse wheel.

