Risk of Rain 2 is a very well-received roguelike that lets the player fulfill their power fantasy by acquiring a plethora of items that makes them a force to be reckoned with. With so much power at your disposal, you will be thrown into various arenas with hordes of frenzied monstrosities with the sole purpose of annihilating them all.
Just like any roguelike, the main purpose of the game is to continuously loop through the entire game to build up your power to the point where you can stand strong against any challenge the game may throw at you. The endings are present in the game to put a stop to your loop. Still, it is never the end since the addictive nature of the game will surely pull you into another playthrough especially using the many unique characters that you can unlock.
There are 4 different endings in Risk of Rain 2 with each requiring a unique set of steps to follow:
- Obliterate Yourself Ending
- A Moment: Whole Ending (Obliterate with Beads)
- Commencement / Mithrix Ending
- Planetarium / Voidling Ending to Risk of Rain 2
Obliterate Yourself Ending

This is the original ending of Risk of Rain 2 and is the easiest of the bunch to acquire. This ending is also, by far, the most unsatisfying. This ending is heavily based on RNG. In the Sky Meadow, you need to interact with the portal’s exterior, which will teleport you to one of the starting environments of the game. From here on, the subsequent portals will/might randomly generate a Purple Orb on them, changing them into Celestial portals. The game will consistently generate Celestial portals every third stage after looping, so there is some level of surety.
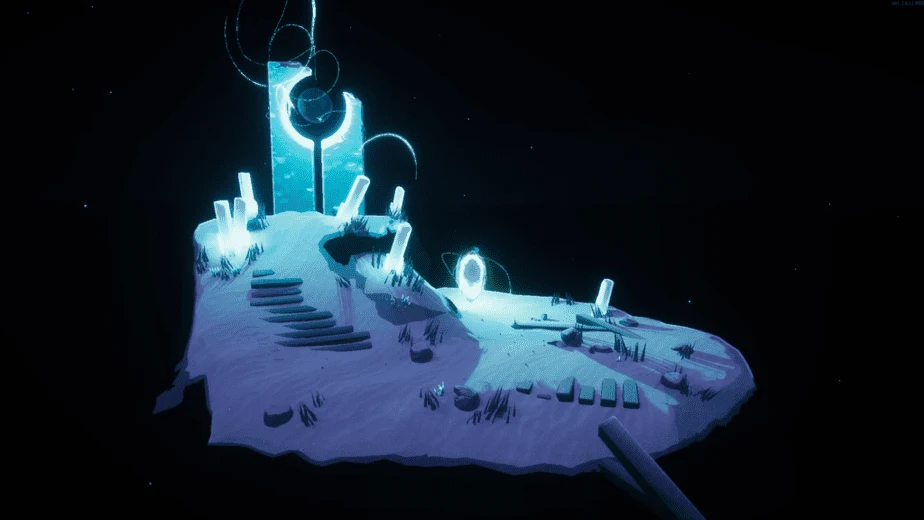
Using this Celestial portal will send you to A Moment: Fractured. This location is mostly empty, with only a platforming challenge that you have to complete. The challenge can only kill you if fall damage is lethal and you miss a platform. Upon reaching the end of the challenge, you will come across a giant Obelisk. To get this ending, you will have to interact with the Obelisk twice which will, in return, Obliterate you. Thus ending your run.
The first time you get this ending, you will unlock the Mercenary character and every time afterward you will be rewarded 5 Lunar coins. You can abort this ending by interacting with the Obelisk once to spawn a new Celestial portal to the right of the monument and simply teleport back to resume your run.
A Moment: Whole Ending (Obliterate with Beads)

There is a hidden offshoot of an ending to the previously mentioned Obliterate ending. To get this particular ending, you need to be holding the Lunar Item: Beads of Fealty when you are Obliterating yourself using the steps mentioned in the previous ending. Doing this will teleport you to a new area called A Moment: Whole. This is a totally white area with a single boss, The Twisted Scavenger, which is an amalgamation of 4 presets. Each of the 4 Scavengers has a unique name and playstyle. This is a rather difficult boss to fight, so be prepared for a challenge.
- KipKip the Gentle: It has many healing-themed items and is probably the easiest to kill if you focus on them. It is dangerous at low health if you can’t burst them down, as they will consistently heal back the damage you deal to them.
- WipWip the Wild: It is dangerous at all ranges. This Twisted Scavenger is a walking artillery cannon. It is recommended to stay at midrange so that they cannot burst you down with the increased 60% damage they do at close range.
- Twiptwip the Devotee: This is a very strange Scavenger, mainly because it boasts 2 mythic items, and they don’t seem to have an extreme synergy with their items.
- Guragura the Lucky: It is terrifying, boasting a 45% attack speed buff on their Visions of Heresy primary and a 42% movement speed bonus.
Other than just bragging rights for defeating this difficult “final” boss, there is little incentive in getting this ending as it only rewards 10 Lunar Coins which is nothing compared to all the trouble you face.
Commencement / Mithrix Ending
This ending is the traditional ending of Risk of Rain 2. Instead of interacting with the Teleporter/Portal as suggested for the Obliterated ending, if you use it normally, you will be sent to the Moon. To escape the Moon and end the game, you need the ship, which is stuck behind a forcefield that can only be deactivated by defeating Mithrix.
Mithrix is the final boss of this area and is located on the giant colosseum in the sky. You have two separate ways of getting to the arena, either you use your character’s traversal abilities to climb the pillar from the moment you enter the Moon, or if you have a character who can not climb, then you will have to take the normal route around the Moon’s landscape. This route will have a random mix of Pillars that you will have to activate to progress. There will be 4 to 7 different Pillars along the way. These Pillars include the following, and each functions slightly differently:
- Pillars of Mass
- Pillars of Design
- Pillars of Blood
- Pillars of Soul
Make your way through these Pillars and reach Mithrix’s arena.
Defeating Mithrix to Beat Risk of Rain 2

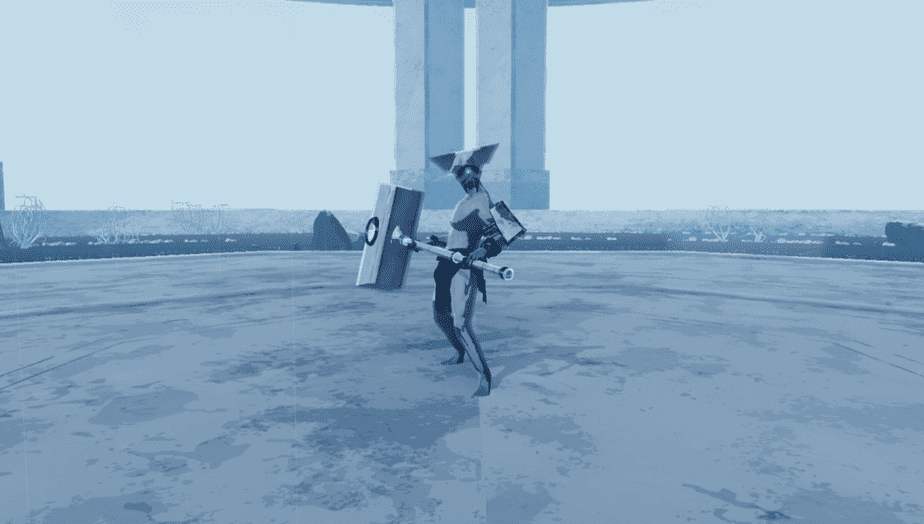
Mithrix is a very strong boss with hard-hitting attacks that can easily take away huge chunks of your health. Mithrix has a unique Adaptive Armor that makes it harder to deal massive blasting damage. Due to this resistance, he will easily absorb the most lethal attacks from you, so be prepared to have a long fight with this guy. His HP scales heavily with enemy level too. The fight is divided into 4 different phases:
Phase 1
This phase is mainly based on avoiding his short-range abilities and being careful of his quick lunge attacks, speed-enhancing dashes, and earth-shattering slams. His most devastating move is that he will jump toward the sky and slam into the middle of the arena, sending a shockwave across the colosseum, which you can only avoid by jumping over, otherwise, your health will be greatly reduced. This slam also gives him temporary armor. Mithrix has one ranged ability, and it is extremely easy to avoid.
Phase 2
In the second phase, Mithrix will disappear from the arena, and in his stead, a bunch of Lunar Chimera will be summoned. You will have to defeat all of them to end this phase. If you initially skipped the Pillar route and climbed your way to the colosseum, more enemies will be spawned in the arena. Once you have dispatched all of them, Mithrix will return.
Phase 3
In phase 3, you will be facing Mythrix, and an occasional Chimera will be summoned, so be aware of additional threats. Mithrix will also have a new set of attacks added to his original moveset. His hammer slams will now create giant flaming pillars that linger on and act as an arena trap for a while. His shockwave attack will now be replaced with a 5 stage-wide rotations of flaming paths, activating after a short delay. Much like the flame pillar, these flame paths will hit everything vertically in their path, so the only way to dodge them is horizontally. These flames also deal a Crippling effect. This addition of flame attacks is Mithrix’s most devastating attack and must be avoided at all costs.
Phase 4
During phase 4, which you can cancel by damaging Mithrix during the first frame of his animation, he steals all your items leaving you to fight in your default state. He moves relatively slowly in this phase and will return your items the more you damage him. He uses his ranged attack and occasionally rotates orbs around the stage.
Commencement Ending

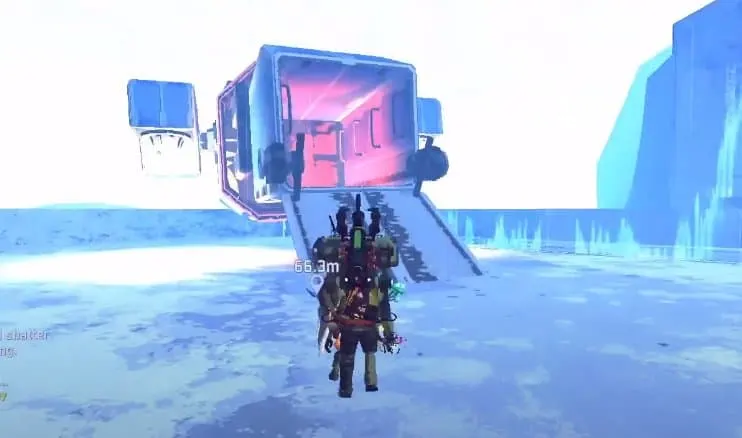
Once you have killed Mithrix you will be given a timer of around 4 minutes to reach the ship at the start before everything is destroyed by the Void Reavers. The portals you see along the way can be used to teleport to random locations around the Moon so use them at your discretion. Upon reaching the ship, you will have to give it time to charge while you defend it from incoming enemies. If all of this isn’t done in the given time, you will fail. If the ship is fully charged, you automatically escape giving you the Commencement Ending and unlocking the Captain character for you.
Planetarium / Voidling Ending

You can access the Planetarium by either completing the Void Locus or petting the Glass Frog at the beginning of the Moon’s level after beating Mithrix. It will take roughly 10 Lunar Coins, while the other alternatives are free. To get into the Planetarium without paying Lunar Coins and fighting Mythrix, you can continue looping until a Purple Orb appears on a Teleporter randomly, allowing you to go to the Void Locus. Additionally, you can force the Void Locus portal by picking its preview at the Lunar Seer in the Bazaar between time, or you could go to the Void Fields and breach all 9 cells to fully summon the portal at the exit.
The Void Locus
Once in the Void Locus, you might notice that there are no chests. In the Void Locus, all of the drops aren’t bought with money – They are bought with blood. Void Potentials, floating white tubes with a black orb on the top, drop normal items. While Void Cradles, black containers with the same orb on the top, drop void, corrupted items. You can choose what you get from the Void Potentials out of 3 randomly selected choices, but you cannot choose from the Void Cradles. Both types of interactables require you to shred 50% of your max health to open them.
To get to the Planetarium from the Void Locus, you must activate and complete 4 Deep Void Signals (which function similarly to the cells you can breach in the Void Fields) combined with the pillars from the Moon. The Void Locus spawns 4 different types of Void-Themed enemies. These enemies are the Void Barnacle, Void Devastator, Void Jailer, and Void Reaver. The 3 mentioned last will cause instant kill implosions on death. After completing all 4 of the Signals, the portal to the Planetarium will spawn atop the peak of the Void Locus.
Phase 1
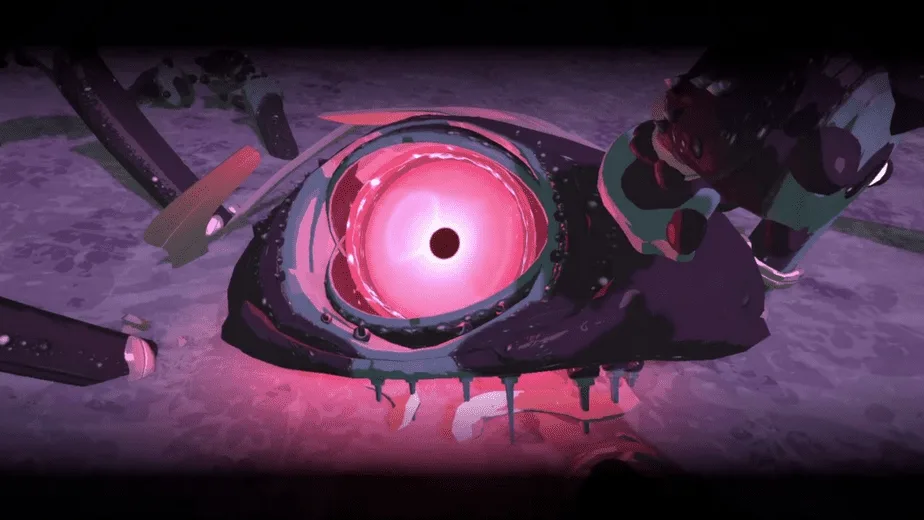
The Voidling has 3 phases. It is arguably more frustrating to fight than Mithrix. The Diviner of the Deep has 3 main abilities, all of which come from their eye. Their spinning Lazer ability pierces through terrain and requires you to dodge above it to evade taking damage. Their homing bullets ability practically requires you to dodge around cover and use movement abilities to avoid taking extreme damage. Lastly, their Lazer blasting attack leaves an indefinite puddle of damage on the ground after firing the last shot. It is advised to use cover for the final ability but not to rely on it.
Phase 2
The Voidling retreats into a portal, where you must chase it. This segment has simple platforming with continuous Void Fog damage ticking away at your health. After you get to the end of the segment, you will face the Voidling in a new landscape. They will spawn monsters that are both hostile to you and it. If you get their health below roughly 40%, the Voidling will implode and suck everything in around it. If you get too close or get caught in the AOE, not even revives can save you. This implosion sucks you in, so it is advised to run away from it while being wedged between the implosion and some terrain. They can do this every 60 seconds, so once the attack is over, end Phase 2 before it is too late.
Phase 3 And Voidling Ending

Once again, the monster retreats into a portal, just like in Phase 2. The platforming in this segment is random and more challenging than the platforming in Phase 2. Once you are free, you’ll find that the Voidling is surrounded by a bubble defending it from Void Fog. You have to stay within this bubble not to take damage, but the implosion from Phase 2 is still active when they are lower than 40% health.
You will have to be careful with positioning, and you will have to use the same trick as you used in Phase 2. Be careful not to lose your entire health bar with the Void Fog. After you have slain the Voidling, the game abruptly teleports you out with the text “Fate Unknown.” Though it’s a bit of an abrupt ending, this is one of the newest ways to beat Risk of Rain 2. You can unlock the Void Fiend by doing this.
Risk of Rain 2 has come a long way since its original release, and having so many different unlockables makes it worth searching every nook and cranny of each zone. The Beads of Fealty ending is underwhelming due to having no achievement hidden with it, so it is recommended to use a cleansing pool on the beads instead of allowing yourself to fight an insanely difficult boss for basically no reward. Hopefully, sometime in the future, Hopoo games will expand upon this ending or add a more significant incentive towards doing it.

