Borderlands 3 was definitely one of my favorite gaming experiences of 2019, combining its signature looter shooter mechanics with updated and refined gameplay that made it feel miles ahead of its 2012 predecessor in that regard. Tight yet weighty aiming and movement, more balanced classes and enemy types, and an end game deigned for play long after the credits role all make Borderlands 3 a worthy successor to, in my opinion, one of the best games ever made in Borderlands 2.
The bosses of Borderlands 3 were also a huge success (for the most part) in my opinion. Some bosses fell a little flat to me and a few were all out groan inducing, but for the most part they were a blast to fight against on the way to stop the Calypso twins. Most, if not all, of the bosses have special drops in the way of weapons or equipment that make it worth it to hunt them down and fight them again and again. Almost all of the weapons or equipment listed here come with various elemental effects and other stat boosts, so finding the perfect version of each one for your particular build or play style is key.
The question that many players ask then is “Which Borderlands 3 bosses are the best to farm for items and what are the best ways to farm them?”. After a little bit of research (aka 200+ hours of play across three separate classes) I believe I can safely give my opinion as to which of these baddies you should turn your attention towards first as well as a few tips and tricks for taking them down just a little bit easier.
Spoiler Warning: As careful as I tend to be when writing these sorts of posts, some inherent spoilers must be present in order to describe the farming process and loot items involved with each of the following bosses.
Grab your hoe/ gun that spawns legs and let’s go farming!
Mouthpiece
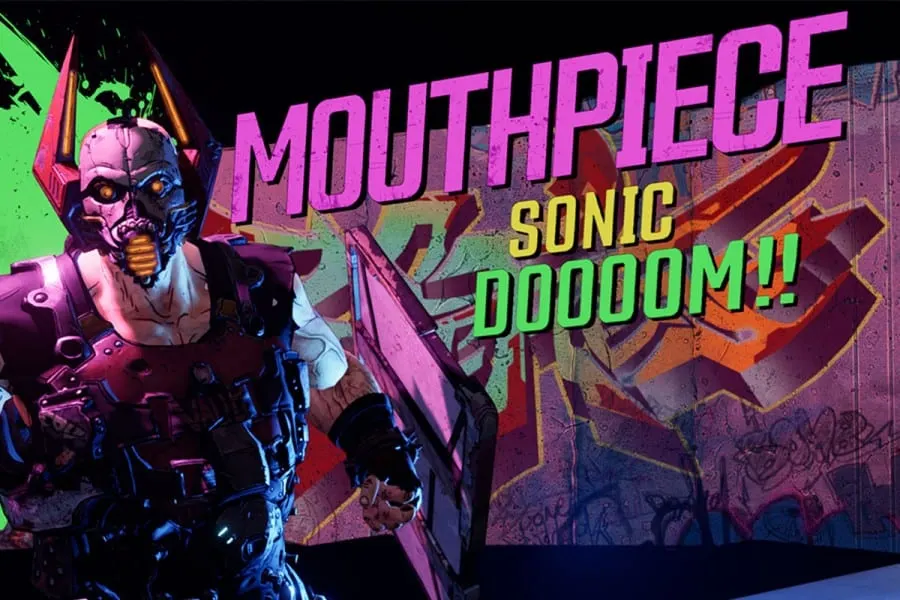
Location: Pandora- Ascension Bluff
Difficulty: 3 out of 10
Worthwhile Drops: Mindkiller shotgun, Nemesis pistol
As the first real boss of the game (sorry Shiv….), it should come as no surprise that Mouthpiece makes the list of “easy bosses to kill over and over again”. The run up to Mouthpiece is a bit of a slog as there are no main spawns (places where your character respawns after a quit out) located inside the broadcast station he resides in, but a few runs in and you will be able to skip most of the enemies with no real issue.
As a simple starter boss there aren’t a lot of helpful tips for killing him faster other than staying to his side, aiming for the head, and keeping your peripheral vision tuned in to the floor for the “dubstep” attacks powering up on any of the four walls/ floor sections. There is a constant flow of smaller minions that can be annoying but are quite useful for gaining “Second Winds” if you happen to be caught in a sonic blast or two.
Farming Mouthpiece is worth it for the Mindkiller shotgun and the Nemesis pistol. The Mindkiller shotgun is a “blast” to use early on in particular because of its unique dubstep asthetic and spread pattern. The Nemesis pistol comes in a variety of element combinations and effects and is great weapon for breezing through the early Pandora and Promethia mobs.
Gigamind
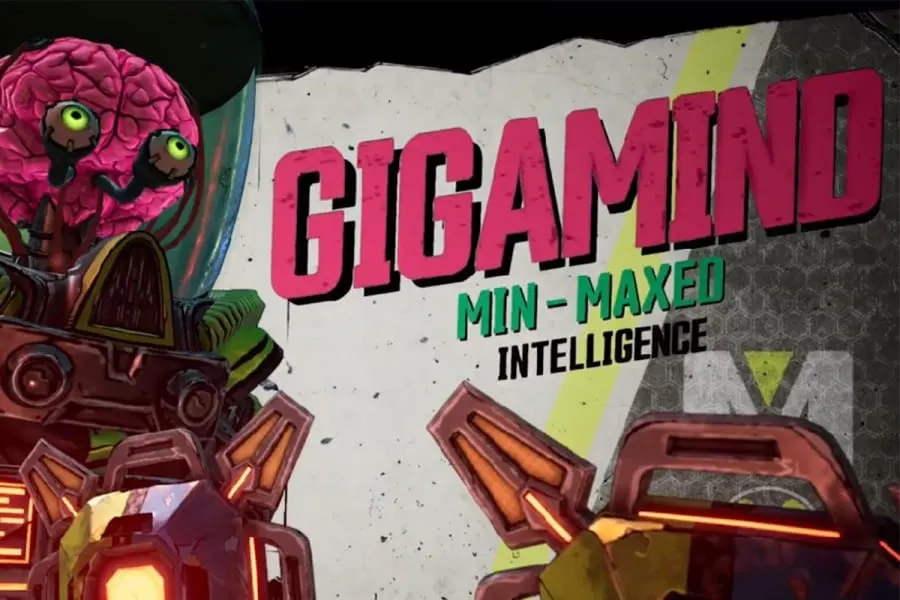
Location: Promethia- Meridian Metroplex
Difficulty: 4 out of 10
Worthwhile Drops: Smart Gun XXL sub machine gun, Hellshock pistol , Red Card shield
Gigamind can be found shortly after arriving on Promethia and running a few errands with my personal favorite character of the series, Zer0. If you come into the fight with anywhere near decent weapons and shield for your level he will not take long to defeat at all. (One of my Fl4k builds melted his external shield and health bar in four seconds.)
He has an orbiting external shield that he employs periodically in the fight and it is then that you have two choices. 1. You can wear down his shield the straight forward way or 2. You can lease him to the back right corner where Zer0 will distract him so you can slip behind. His glowing red weak spot on his back does “massive damage” and the fight will be over before his abnormally large brain can calculate what is happening.
The Smart Gun XXL SMG of Tediore make is an especially good Legendary drop from this boss as the gun becomes an automatic turret that can stick to walls and even enemies when reloaded. The Hellshock pistol is very similar to the Nemesis in its capabilities, though it is made by Maliwan so the elemental aspects are even more effective. The Red Card shield allows the wearer to dispense the current shields energy into a target while sliding, making it great for shotgun or melee builds to utilize.
Captain Traunt
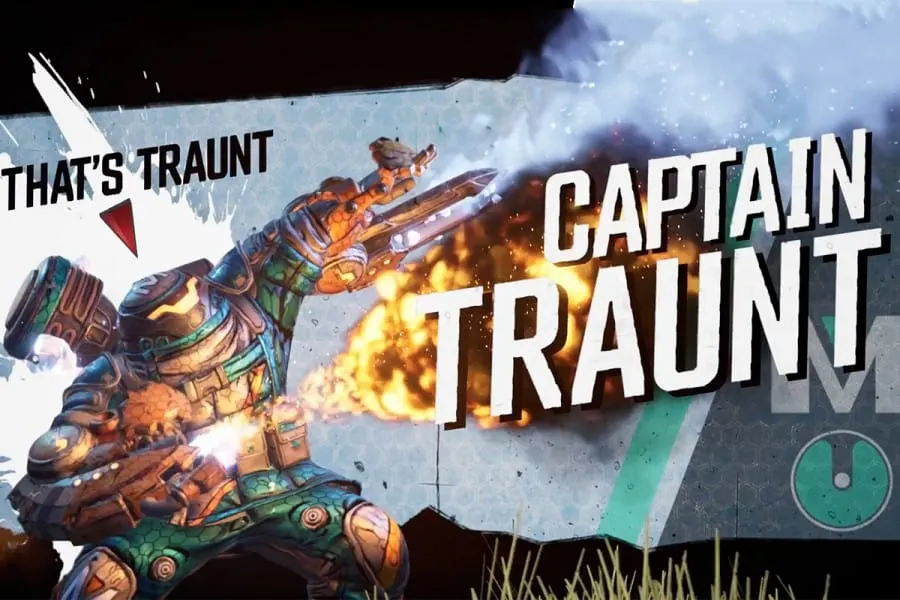
Location: Athenas
Difficulty: 4 out of 10
Worthwhile Drops: Speedloadin’ Hellwalker shotgun
Farming this guy is really just for fun as the reward in mind is the Speedloadin’ Hellwalker shotgun which in all honesty is simply an homage to the Doomslayer’s shotgun from Doom. Not terribly useful too far past its level but a fun gun to have and use nonetheless.
He is incredibly easy to farm as well because when you stay a certain distance from him he will pretty much only use an attack that sends energy orbs on a specific track to hunt you down. Simply stay up high on the right or left side balcony-like areas and shoot his head until you have to jump down from the orbs. Then run back around to the stairs and do it again until he is dead.
If he happens to meander over too close to you just switch sides and always keep one mob available (just like always) in case some of his attacks catch you off guard.
Katagawa Ball

Location: Promethia- Skywell-27
Difficulty: 5 out of 10
Worthwhile Drops: Tsunami SMG
I initially had a hard time with this giant orb of death but now that I have a working strategy he isn’t that difficult at all anymore.
He actually gets easier to face as his overall health goes down because he begins to shed his outer layers and get smaller, meaning his AOE attacks don’t go quite as far. Stay in cover as much as you can and pay attention to when he is gearing up for any attack.
Don’t try to be a hero and stay in his line of sight while he is winding up, just get behind cover, listen for the audio of the attack to end then jump out and light him up again. Rinse and repeat and you will kick this ball to the curb in no time.
He drops a great weapon in the Tsunami SMG, which lives up to its name by allowing each round to ricochet in a random direction after its first contact with an object or enemy and also randomly spits out bullets in all directions of various element types. In the middle of a crowded room of foes it really does look like a natural disaster!
The Rampager
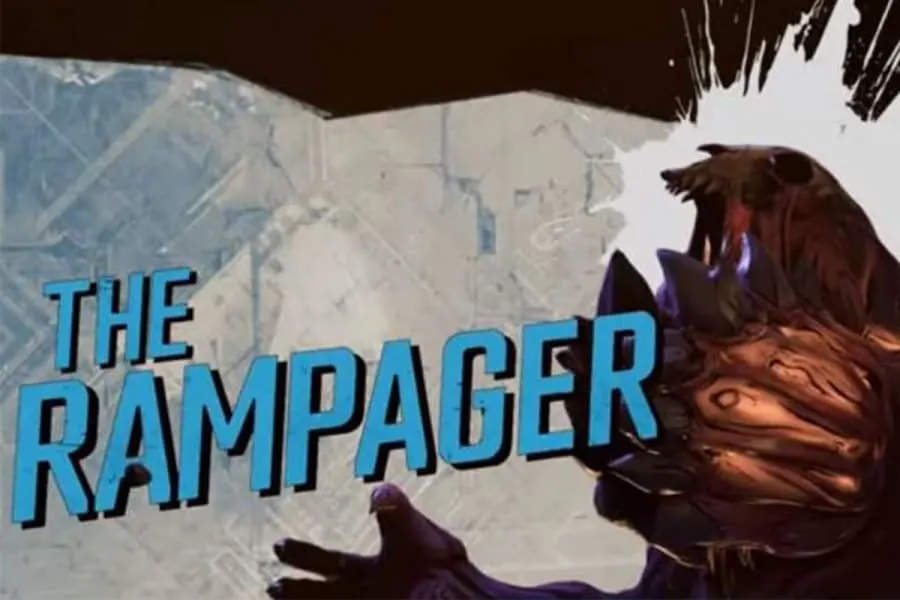
Location: Promethia- The Forgotten Basilica
Difficulty: 6 out of 10
Worthwhile Drops: Stuffed Quadomizer rocket launcher
Although this boss was one of my favorites from the base game, he isn’t actually all that hard to beat. Keeping your distance and making sure you have a shield with a high capacity on will pretty much ensure your victory here.
He does go through three different phases of varying elemental effect, so be sure to take note of which he is using and use the “opposite” element if you have it available. (Fire for Cyro, Shock for Radiation, etc.)
One of the reason why he isn’t too much of a threat is the mobs that spawn in to the fight when he is chasing you on the ground. Even if he knocks you down, one of the Eridian fighters will be more than kind enough to run right up to you for an easy Second Wind.
Hopefully once once you have made it through this fairly lengthy fight you will receive a variant of the Stuffed Quadomizer rocket launcher. This launcher specializes in splash damage so accuracy is not really the name of the game.
It is a radiation type rocket launcher that comes with a special extra feature. Any enemy that becomes irradiated by it, including any bosses or high leveled enemies, will irradiate any other enemy they come into contact with immediately, making it a great support weapon and boss weapon alike.
The Anointed
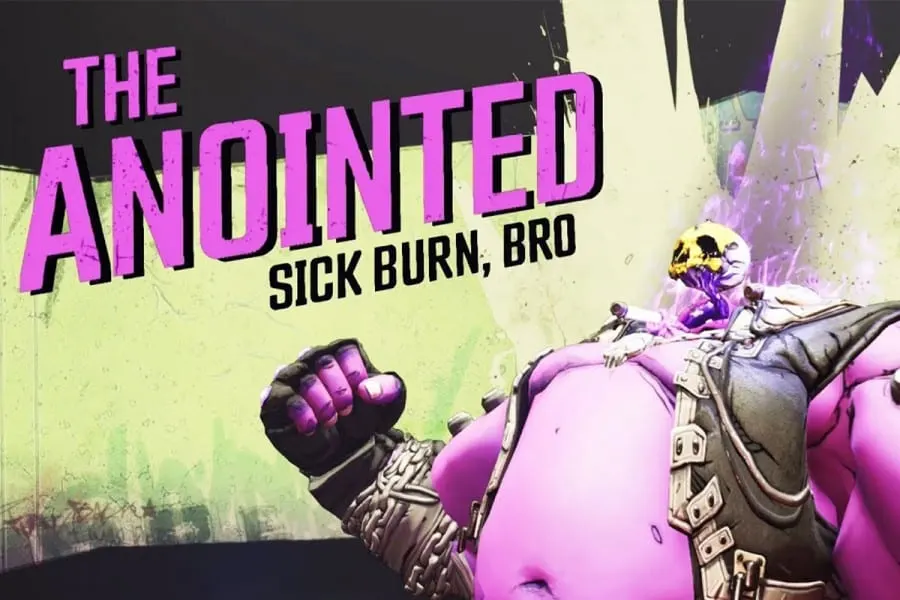
Location: Eden-6- Jacobs Estate
Difficulty: 8 out of 10
Worthwhile Drops: Lead Sprinker assault rifle
This guy is the definition of a headache inducing boss. If you have already gotten past this roadblock of a gameplay segment and you are wondering “Why in the world would I want to go back and farm this guy?” I don’t blame you at all. His arena is poorly conceived, he has way too much health for a boss of his speed, and his AOE attacks cannot and I repeat CANNOT be avoided.
As a matter of a fact if you are not an assault rifle enthusiast then I recommend you just move along to the next boss on my list and save yourself the trouble. But if you love the mid-range guns like I do then you need the Lead Sprinkler in your virtual life. More on that later.
Here are a few quick tips for making him just a bit easier to deal with while you cross your fingers for this gun. First off stay up higher in the arena, where on the stage or high in the seats, his AOE shock wave attack must be jumped over to avoid and if you are lower than him when he does it you won’t make it.
Secondly be sure to stop and take out the flaming skulls he deploys as soon as he puts them out. Getting hit by these while trying to keep fire on him will likely end with you crawling around on your knees desperately looking for a mob to shoot.
Lastly, be sure to use an elemental SMG or rifle if you can. He is weak to the elements and an SMG or rifle is accurate enough to stay on his tiny head throughout the fight.
The Lead Sprinkler rifle is an really fun to use gun that spawns explosives as each round hits the body of a target you are aiming at and can decimate entire areas of enemies if used correctly. There is a literal learning curve though as the rounds have a slight arc to them meaning you have to aim it “grenade launcher” style at longer distances. I found it to be very much worth learning though.
Aurelia

Location: Eden-6- Blackbarrel Cellars
Difficulty: 7 out of 10
Worthwhile Drops: Frozen Heart shield, Juliets Dazzle rifle, Widowmaker grenade mod
Aurelia was one of the more enjoyable boss fights to me as it felt like a well thought out combat encounter instead of a “bigger enemy with more health and damage” fight. She uses her ice powers in realistic ways and it takes a minute or two for most players to figure out how to slow her down and damage her effectively.
The most important thing to note is to keep the pressure on her at all times and make sure to break her “healing pillar” in the middle of the room whenever she employs it. Unsurprisingly, fire weapons do a bit more damage against her, so if you have a firearm handy that has a bit more “fire” than “arm” then light her up with it.
The Frozen Heart shield that patient and persistent players will encounter is an effective shield to be sure but is really only valuable for one reason. Whenever an enemy damages your shield beyond its breaking point, an ice nova will explode, dealing damage to all enemies around you, freezing them in some cases, and returning that damage to you in health. It gets passed up by other shields along the way but it can be worth your time to stop and farm for.
The Widowmaker grenade mod effectively turns your grenades into bouncing betties or landmines that only explode when enemies get near them. Their effects change slightly based on the manufacturer, which can be a number of them. The Juliets Dazzle is a rifle that can pierce through as many enemies as are lined up for your shot and it also reloads the current magazine after any killing blow but it is only available in Mayhem Mode 4. (Let’s face it, if you are running Mayhem Mode 4 then you have probably done quite a bit of farming already!)
The Graveward
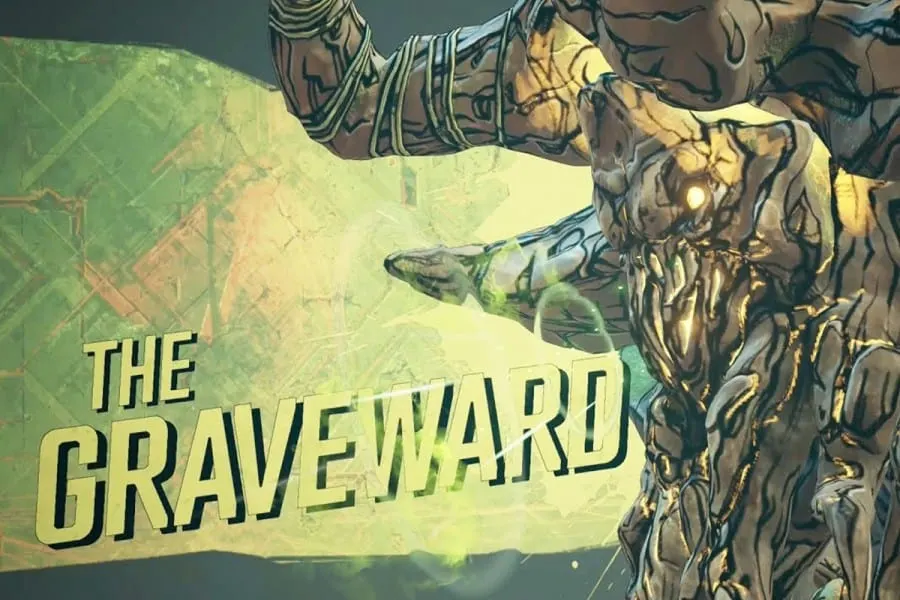
Location: Eden-6- The Floating Tomb
Difficulty: 7 out of 10
Worthwhile Drops: Grave artifact, Ward shield, Moxxi’s Endowment artifact, The Lob shotgun,
The Graveward, although initially terrifying in size, is not really that hard to farm as he has very a predictable and slow winding move set that rarely catches a player off guard and is incredibly easy to memorize.
He has only a handful of attacks to use but they do pack quite a punch so be sure to stay tuned in to his tells before each move. When the floor glows orangish-yellow, it is an indicator that he is about to smash down across one of the sides of the platform so quickly move to the opposite side. When the floor glows green it means he is about to puke up an acid attack across the front of the arena so obviously move to the front.
Occasionally he will smash down extra hard on the right side, causing the arena to tilt in that direction, immediately followed by some acid balls. You can either duck down in a hole located on the right side of the platform or attempt to dodge the orbs and keep fire on the Graveward’s most prominent weak spot on his left arm. These glowing yellow spots are obviously the key to a quick victory so be sure to memorize which ones to target during each attack of the fight.
After the guardian of the vault on Eden-6 is defeated you will hopefully be gifted with one of his potential legendary drops.
The Grave artifact boosts almost every way to output damage when you are close to death, so risk takers/ melee enthusiasts may enjoy this buff a bit more than cover seekers like myself. The Ward shield is similar in nature because it boosts weapon and melee damage when it is depleted while also allowing health to regenerate when it is active.
Moxxi’s Endowment is an artifact that carries a general but substantial XP boost based on your level and the level of the artifact as well as other various traits based on the version that you receive. Lastly, The Lob is a shotgun that comes in one of four different element types: Corrosive, Shock, Radiation, or Cyro. Each variant creates a pretty slow moving ball of energy that deals continuous damage to any enemy passes through. Firing rounds in a circle around yourself is a good way to clear an area of lower level enemies, but do not expect to use it fast moving bosses or higher leveled mobs with much success.
Troy Calypso
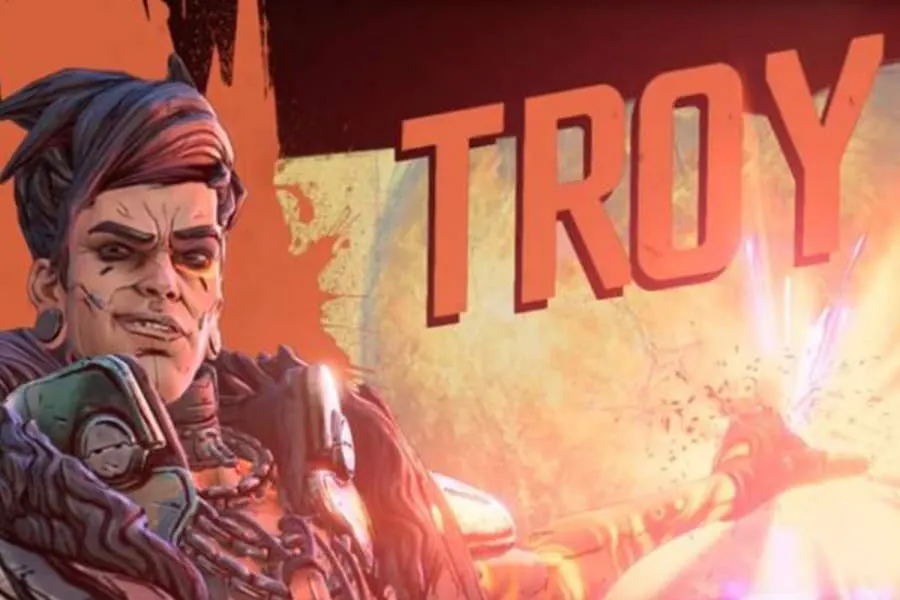
Location: Pandora- The Great Vault
Difficulty: 7 out of 10
Worthwhile Drops: Double-Penetrating Occultist pistol, Vosk’s Deathgrip shotgun, Back Ham shield
In my opinion Troy Calypso is the best boss fight from any Borderlands game as he feels challenging but fair, fine tuned, and even atmospherically a bit sympathetic as a character. All of this helps to make it a great and memorable experience. (Especially after Gearbox patched the glitch that allowed him to put you in Fight For Your Life nearly instantly.) For the average gamer who has not spent a lot of time playing more difficult experiences he definitely is not a pushover. Her is a quick rundown of his move set to help out with farming him.
His main attack is spawning a circular wave of damaging orbs after slamming his sword in the ground. Staying a good ways back away from him and keeping fire on his head is key during most of his attacks, but it is especially easy to do here. He will occasionally jump at you and slam his sword into the ground near you, creating more orbs as he does. You can either “tank” the hits if you have a great shield or jump back and to the right with near perfect timing to avoid any damage. (This takes a bit of practice.)
Watch for his non-sword hand to start glowing as an indicator that he is about to dash at you. Start moving quickly left to right as he winds it up because if you aren’t moving when he takes off you will get hit by it. Jumping with good timing as he approaches you can also ensure that you don’t take any damage.
At certain points in the fight he will become protected by a shield while also spawning mobs around you. Kill the mobs quickly and then focus your fire on the pillars that are creating the shield for him. The faster you do this the more time you will have to get some free shots in before he goes back to attacking you. Stay on the move with good accuracy on his head throughout this fight and he will fall in no time.
The main reason to farm Troy is the Double-Penetrating Occultist pistol which fires one large exploding round with several smaller exploding rounds swirling around it, making it a great boss killer for True Vault Hunter and beyond.
The Vosk’s Deathgrip shotgun is also a great get from Troy, but you can only get it in Mayhem Mode 4. The primary firing mode features a sort of “beam” of energy in the element the weapon came in but the secondary firing mode is where this weapon truly shines. The shotgun’s alternate mode is called Vosk’s Grasp and allows players to create a massive singularity that pulls enemies in from across the room.
Finally there is the Back Ham shield of Typhoon Deleon fame. It is one of the best all around shield the game has to offer, not really fantastic in any one category, just really good in all of them. Its one unique trait is nearly half damage reduction when being hit or shot from behind.
Tyreen, the Destroyer
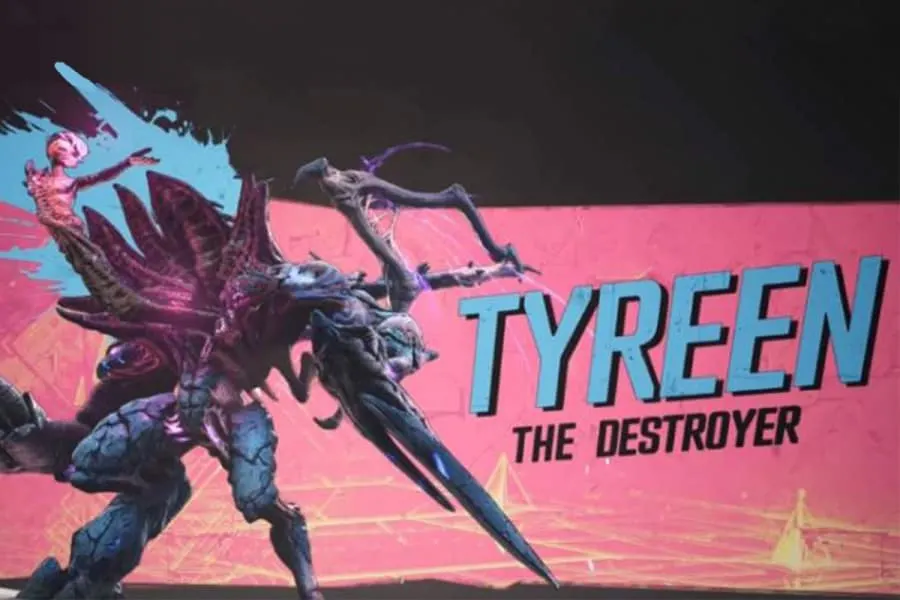
Location: Pandora- Destroyer’s Rift
Difficulty: 8 out of 10
Worthwhile Drops: King’s Call pistol, Queen’s Call pistol, Otto Idol artifact
Tyreen can be tough the first time through just due to the sheer number and variance of her attacks. There are AOE attacks, heavy hitting slams, tracking attacks, mobs, and only specific windows of opportunity for any real damage again her/ it. But like almost all bosses of Borderlands she isn’t that difficult after a minute or two of learning her move set.
She has an attack similar to Troy’s energy orbs but instead they form cracks that you can safely avoid at the right distance. She also deploys a giant tracking orb that can be tough to avoid but your best bet is to actually run towards the boss and slightly to the right to dip under it before it reaches ground level.
After you deal enough damage to Tyreen, she will drop to her knees and take a breather I suppose. Climb up the foothold positions highlighted for you on her legs and lower back and shoot the glowing “core” between her shoulders. This will cause the part of Tyreen that is closed up inside her shell to come out and you can deal huge damage during this time. (Save all your special abilities tied to damage output for these moments.)
After each time you down her she will get back up and fly away to perform some swooping AOE attacks across the battlefield. These get more and more complex as you go but they are exactly the same each time so once you find a safe spot to stand/ path to run around stick to it. It can be a longer fight at first but it can be optimized for a two and a half or three minute run if you get it down.
She exclusively drops the King’s Call and Queen’s Call pistols which are nearly identical except for which elemental variants they can come in. Both pistols fire three rounds with each trigger pull that will ricochet to an addition target if they hit their first one while also lightly healing the user with each successful hit.
She also has a high probability of dropping the Otto Idol artifact which is extremely powerful even in to the Mayhem Modes because it gives you a percentage of your health back with each kill. (Percentage buffs in RPGs are always better than fixed because they scale with your characters overall health and damage.)
Hopefully this list has helped you to formulate a plan about which bosses you are going to focus on farming!

