Because there are forty-six unique bosses in Hollow Knight and its DLC (disregarding a few small variations in the Godhome DLC), I will do my best to quickly yet accurately describe the attacks and tells of each boss and what some of the better strategies to face them are.
If you would like to see a more general rundown of the difficulty levels of the bosses, check out my article “Ranking the Difficulty of the Bosses of Hollow Knight”.
I will be breaking down each boss by the areas you will meet them in and also tacking on how I rank them all in terms of my personal favoritism.
If you came here for help you might not care too much but there will be small but necessary spoilers ahead.
Let’s get started.
1. Forgotten Crossroads Bosses
False Knight

Boss’s Moveset: Long jump with mace slam, Mace slam with shockwave, Repeated slams accompanied by falling meteors after damage is done to his actual body, Meteors begin to accompany attacks after each phase.
Attack Strategy: Stay within nail-striking distance as often as possible and keep up the hits, meteors can also be redirected to deal massive damage but it can be risky to do so.
Defensive Strategy:s Stay ready to dodge under if he crouches to leap or dodge outward and jump up if he prepares a shockwave slam, maintain spacial awareness when the meteors begin to fall.
Healing Opportunities: Best opportunity is after his long jumps or during his repeated slams if you see you have the clearance to do so.
Best Boss Ranking: #14
Failed Champion (Dream Variant)

Boss’s Moveset: Same as False Knight but always accompanied by falling meteors, attack speed increased, and double damage to almost all attacks.
Attack Strategy: Stay within nail-striking distance as often as possible and keep up the hits, meteors can also be redirected to deal massive damage but it can be risky to do so.
Defensive Strategy: Stay ready to dodge under if he crouches to leap or dodge outward and jump up if he prepares a shockwave slam (use the wall to double jump if you can as these shockwaves are larger), maintain spacial awareness when the meteors begin to fall.
Healing Opportunities: Best opportunity is after his long jumps or during his repeated slams if you see you have the clearance to do so. (Much smaller windows)
Best Boss Ranking: #22
Gruz Mother

Boss’s Moveset: Accordion like bounces across the arena from left to right and back again, Homing dash with long buildup.
Attack Strategy: Follow close behind as she zags along getting as many safe strikes as possible, Down-strikes into pogo attacks are also possible
Defensive Strategy: Stay close behind her as she approaches a wall to dodge under her when possible and repeat your attacks. Stay prepared to dodge or jump her charge attack.
Healing Opportunities: Anytime she is on the other half of the arena from you.
Best Boss Ranking: #35
Brooding Mawlek
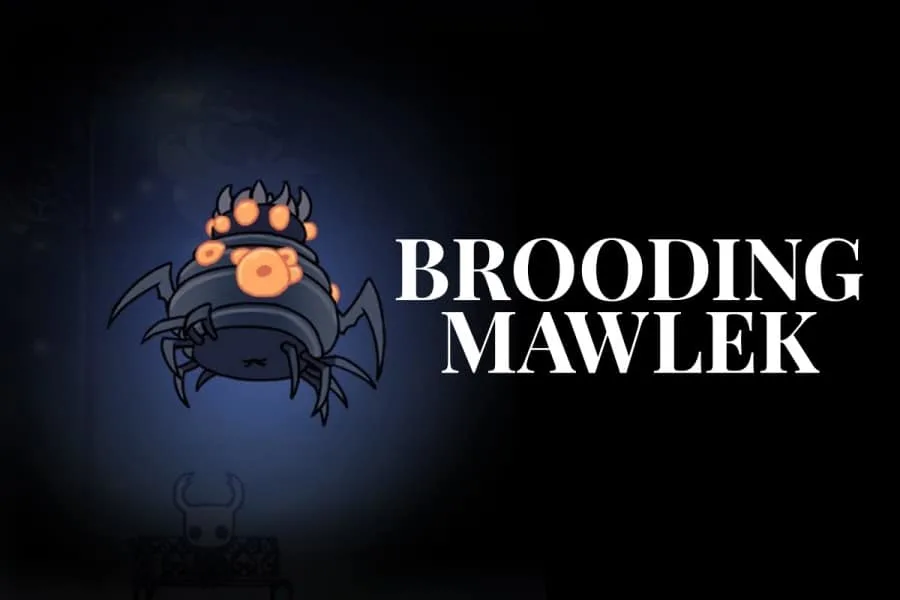
Boss’s Moveset: Single jabs left and right, AOE single directed spit, AOE large spit covering a lot of the arena, jump to where you are and back to where she started.
Attack Strategy: Attempt only two strikes at a time as her claw jab will punish you over an over.
Defensive Strategy: Be prepared to dodge underneath her when she leaps and always keep in mind a safe spot to stand on both sides of her in case the floor is covered In her spit.
Healing Opportunities: During the single directed spit or after escaping her larger AOE spit attack.
Best Boss Ranking: #44
2. Greenpath Bosses
Vengefly King

Boss’s Moveset: Single swoop attack back and forth across the surface of the platform, scream that calls up to two smaller vengeflies that are easy to dispatch.
Attack Strategy: Strike once as he swoops in, then jump and pogo attack, then follow up with a strike to his back as he passes for maximum efficiency.
Defensive Strategy: Don’t let him hit you and take care of the vengeflies as soon as possible.
Healing Opportunities: After successfully dodging his one and only attack.
Best Boss Ranking: #40
Hornet (First Encounter)

Boss’s Moveset: Quick dash along the ground, Tracking midair dash, Javelin style needle throw, and needle whip attack.
Attack Strategy: Pogo attack her twice after dash attack and strike her once essentially after every air attack.
Defensive Strategy: Stay on the move laterally as most of her attacks are homing attacks. During her javelin attack, always be sure to clear the needle as it comes towards you and returns.
Healing Opportunities: Whenever she is stunned, or whenever you are too far out of reach for her needle throw or dash (which is rare).
Best Boss Ranking: #7
Massive Moss Charger
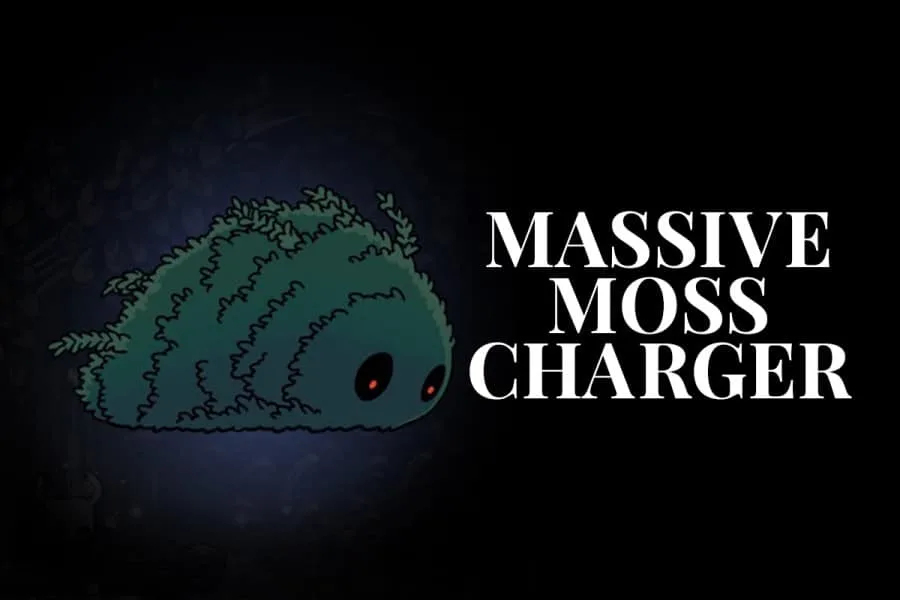
Boss’s Moveset: Running at you, Jumping laterally
Attack Strategy: Pogo attack the charges or just get the timing down to bat him continually until he is dead.
Defensive Strategy: Jumping over him.
Healing Opportunities: Anytime he is done with a charge attack.
Best Boss Ranking: #39
No Eyes (Dream Boss)

Boss’s Moveset: Summons spirits that move across the screen in both directions.
Attack Strategy: Pursue her early on but then only attack her on the ground when the spirits become more abundant.
Defensive Strategy: As simple as it sounds, avoid being hit by the spirits and don’t get greedy near the end.
Healing Opportunities: Almost anytime you see you have the clearance for it.
Best Boss Ranking: #34
3. Fungal Wastes Bosses
Mantis Lords
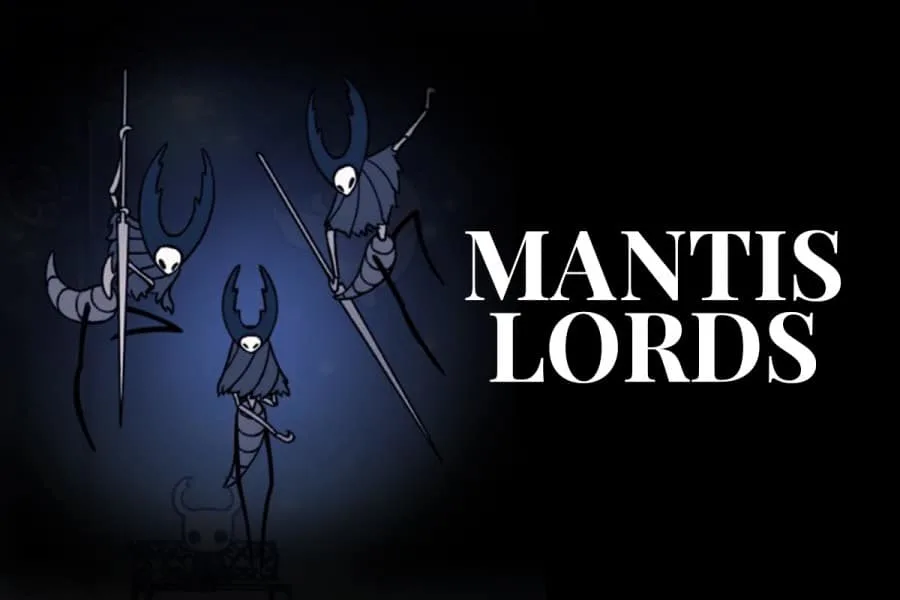
Boss’s Moveset: Quick lateral dash, Boomerang style weapon throw, Plunging attack.
Attack Strategy: Pogo during dash attacks and get as many strikes in after plunging ones.
Defensive Strategy: Learn the pattern during the one Lord portion of the fight so you can replicate it faster during the two Lord stage.
Healing Opportunities: Only guaranteed one is after the first Lord sits down between phases.
Best Boss Ranking: #2
Elder Hu (Dream Boss)

Boss’s Moveset: Seemingly random patterns of magic slamming projectiles, Occasional attack that sends waves of them crashing in from left and right.
Attack Strategy: For whatever reason Elder Hu seems to favor the left side of the arena so do your best to position yourself for attack there.
Defensive Strategy: Make learning the dodge timing to avoid damage to his wave attack the priority over anything else to start.
Healing Opportunities: The only guaranteed safe time to heal is after dodging his wave attack successfully.
Best Boss Ranking: #23
4. Deepnest Bosses
Nosk

Boss’s Moveset: Charge attack from one side of the room to the other, Homing spit projectiles similar to Brooding Mawlek fired from the ceiling followed by a slam, Random jumps throughout.
Attack Strategy: Pogo during the charge attack whenever possible
Defensive Strategy: You can cheese Nosk by hanging out just under either lip of the central platform during his charges and jumps, Walk slowly from one wall to the center of the room when he drops his spit to give your self more clean floor space.
Healing Opportunities: Anytime when pressed beside the central platform. After he passes during the jump attacks.
Best Boss Ranking: #16
Galien (Dream Boss)
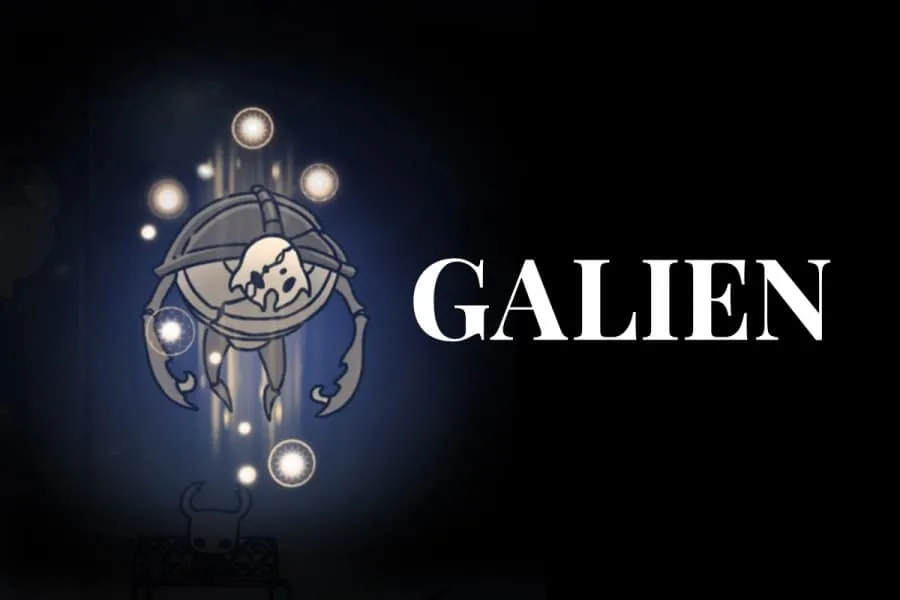
Boss’s Moveset: Spinning syche that homes in on your location as it reaches the zenith of its path, Adds two smaller scythes of similar nature as the fight goes on.
Attack Strategy: Only when it is completely safe to do so, Attack windows are very small near the end of the fight so wait it out.
Defensive Strategy: Use your dash to dodge the large syche right before it would hit you and try not to get cornered by alternating directions whenever possible.
Healing Opportunities: In between each phase when his scythes stop pursuing you.
Best Boss Ranking: #15
5. Crystal Peak Bosses
Crystal Guardian

Boss’s Moveset: Laser blast with a path indicator just before he shoots it, A room full of these same blasts but placed at random.
Attack Strategy: The best time for multiple hits is after his single laser attack, otherwise try to keep it to just one per opening.
Defensive Strategy: Time your jumps right so you don’t end up landing on the activated lasers, look for the largest open floor space to dash to during the random attack.
Healing Opportunities: After stun or while he is hopping around the other side of the arena.
Best Boss Ranking: #38
Enraged Guardian
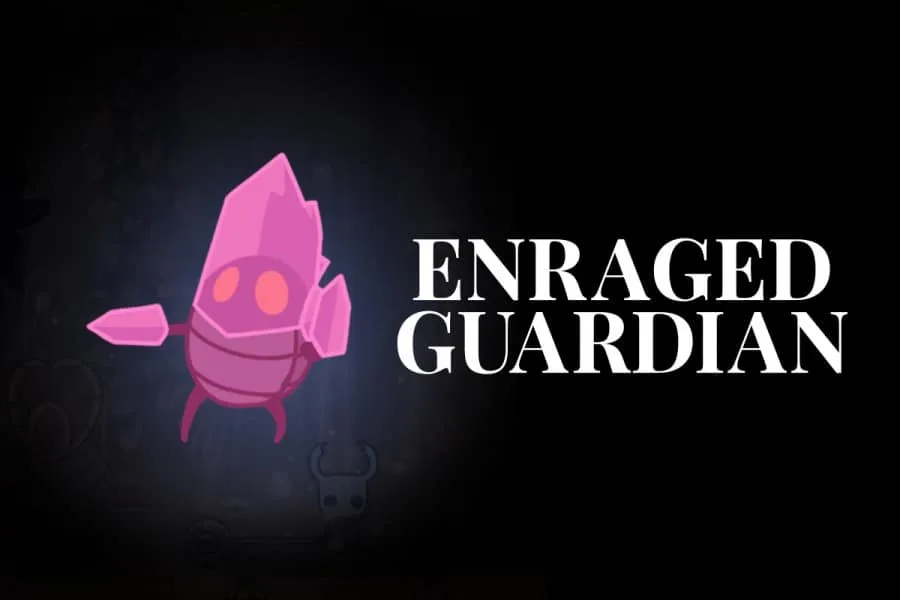
Boss’s Moveset: Same as Crystal Guardian but about 1.5 times faster, Damage for all attacks is doubled.
Attack Strategy: Same as Crystal Guardian.
Defensive Strategy: Same as Crystal Guardian.
Healing Opportunities: Same as Crystal Guardian.
Best Boss Ranking: #46
6. Resting Ground Bosses
Xero (Dream Boss)

Boss’s Moveset: Two floating magic swords on either side of him that shoot toward you alternately and come back to him, The number of swords increases to four about halfway through the fight and the attack speed also increases.
Attack Strategy: After each successful dodge as the sword is returning get one strike in.
Defensive Strategy: Dash to the timing of his sword throws.
Healing Opportunities: You can literally hid under the center platform anytime you like to heal, making him the easiest boss in the game to cheese.
Best Boss Ranking: #33
7. Howling Cliffs Bosses
Gorb (Dream Boss)

Boss’s Moveset: Similar to Xero except his spears/ swords fly out in a circle pattern from around his current position.
Attack Strategy: As often as you are able but keep it to one or two strikes per opening.
Defensive Strategy: Once the number of rings increases, be prepared to move left and right to slide into each gap in the rings.
Healing Opportunities: There is a small window for one heal between each wave of rings.
Best Boss Ranking: #32
8. City of Tears Bosses
Soul Warrior

Boss’s Moveset: Horizontal slash attack, slam from above, Homing magic orb.
Attack Strategy: Pogo during his dash attack and try to get in one hit per attack he throws at you.
Defensive Strategy: Similarly to Mantis Lords, learn each counter for every move (such as pogo attacking when he dashes, dodging to the side when he slams down, etc.)
Healing Opportunities: After the orb attack is complete there is a small window.
Best Boss Ranking: #37
Soul Master

Boss’s Moveset: Homing magic orbs similar to Soul Warrior, Four orbs that spin around him as he moves from left to right, Large slam attack with long windup, Horizontal charge attack, Wave of dive attacks and wave of orb attacks in the second half.
Attack Strategy: Pogo during his horizontal charge, attack when he is still during orb attack in the second half.
Defensive Strategy: Stay focused on dodging during orb attacks rather than attacking him.
Healing Opportunities: After the spinning orb attack passes you but before they return from the other side of the arena.
Best Boss Ranking: #8
Soul Tyrant (Dream Variant)
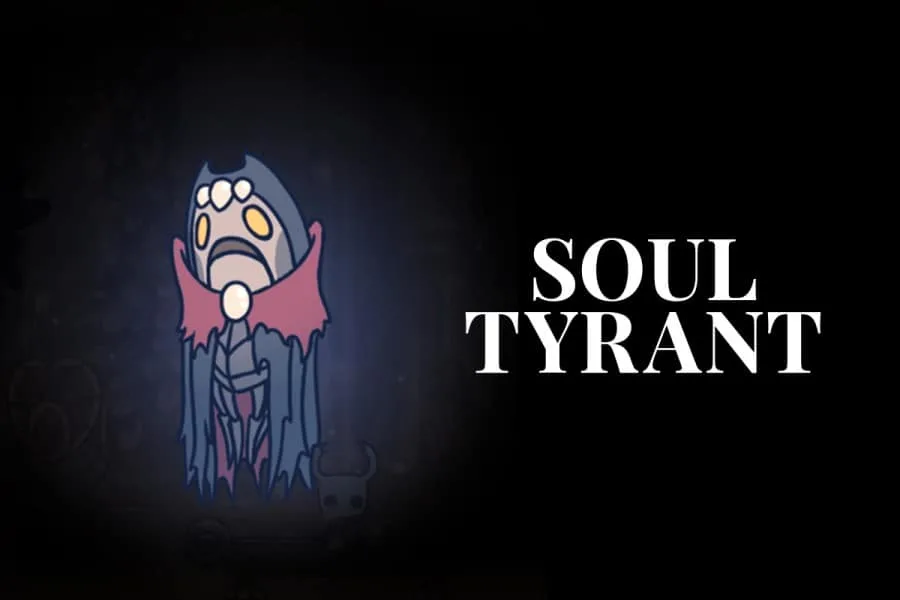
Boss’s Moveset: Same as Soul Master but a little faster, Number of spinning orbs is increased.
Attack Strategy: Same as Soul Master.
Defensive Strategy: Same as Soul Master.
Healing Opportunities: Same as Soul Master.
Best Boss Ranking: #24
Watcher Knight

Boss’s Moveset: Double swing sword attack, Rolling attack, Bouncing attack.
Attack Strategy: The best time to attack them is after one of them is finished rolling so try to keep an eye out for where they will be when they are done.
Defensive Strategy: Predict the path of the bouncing ones and stay clear of it while keeping an eye out for rollers as well, Parry when possible.
Healing Opportunities: Anytime all current Watchers are in motion away from you or out of reach with the sword swing.
Best Boss Ranking: #6
The Collector

Boss’s Moveset: Summons weaker enemies from earlier in the game that starts with one and can get to be as many as three per wave, Grab attack.
Attack Strategy: Attack him as safely as possible during his temper tantrum after you kill his pets, It can be easy to accidentally collide with him during this time so go slow in the beginning.
Defensive Strategy: Dodge the falling jars indicated by falling dust from the ceiling and remain wary of his seemingly random grab attack.
Healing Opportunities: When he is jumping around at the other end of the room.
Best Boss Ranking: #25
9. Royal Waterways Bosses
Dung Defender
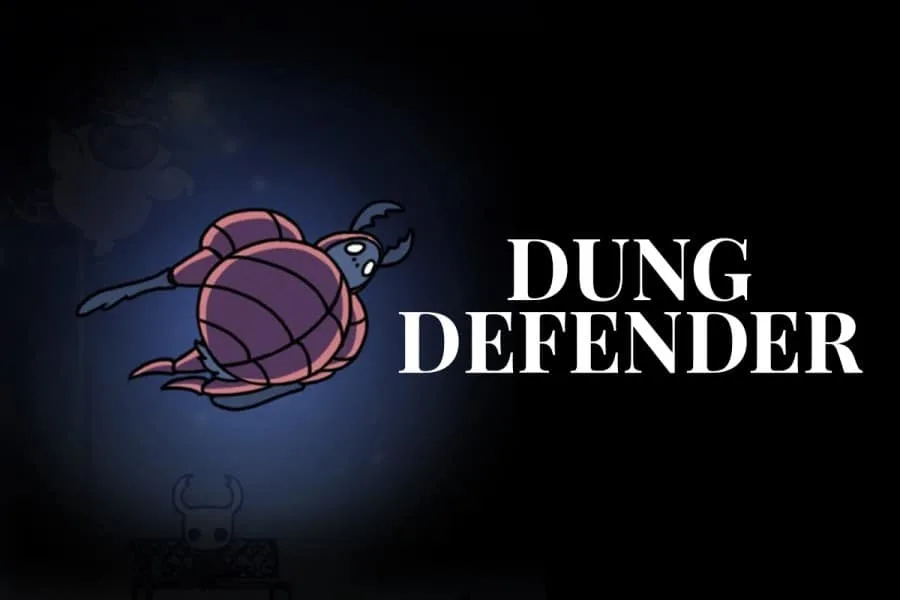
Boss’s Moveset: Two thrown bouncing balls of dung, Dolphin dives across the room, Erupting out of the ground accompanied by four dung balls.
Attack Strategy: As he erupts out of the ground and a few seconds after he is open for attack with little repercussion.
Defensive Strategy: Line up your safe distance from where he will pop out of the ground (Usually right next to it), Time your jumps over his dolphin dives or dodge underneath.
Healing Opportunities: When you know you are in a safe spot during his “eruption” attack.
Best Boss Ranking: #5
White Defender (Dream Variant)

Boss’s Moveset: All of Dung Defender’s attacks but slightly faster accompanied by a set of spikes after he joins the bouncing ball attack and the same set of spikes around him after he slams his foot to the ground.
Attack Strategy: Same as Dung Defender.
Defensive Strategy: Same as Dung Defender, dash away from his upraised leg before the spikes.
Healing Opportunities: Same as Dung Defender.
Best Boss Ranking: #26
Flukemarm

Boss’s Moveset: Continually spawns Flukeflies from its body two at a time.
Attack Strategy: After downing all spawned enemies.
Defensive Strategy: Never attack Flukemarm while any spawned enemies are present.
Healing Opportunities: After downing all spawned enemies.
Best Boss Ranking: #43
10. Fog Canyon Bosses
Uumuu

Boss’s Moveset: Shock attacks that follow you around the arena, Large stock attack that blocks off random platforms.
Attack Strategy: Wait on your NPC companion to strike it for an opportunity to do damage.
Defensive Strategy: When the shock attacks are following you stay on the move in a circular pattern, sliding down the walls when you come to them.
Healing Opportunities: Between waves of attacks.
Best Boss Ranking: #45
11. Ancient Basin Bosses
Broken Vessel

Boss’s Moveset: Slam attack accompanied by four spit-like orbs moving upwards, Nail swipes when you stay too close for too long, Dash attacks along the ground and at a fixed height in the air, Also spawns small enemies to distract.
Attack Strategy: Pogo attacks after slam attack to avoid the orbs, After successfully dodging one of his dash attacks.
Defensive Strategy: Time your jump during his slam attack do that you are above him as the orbs rise up, Always take care of his minions as soon as possible or they will limit your ability to successfully dodge him.
Healing Opportunities: Occasionally he will do an orb attack that is seemingly random and has several safe spaces to heal along the floor.
Best Boss Ranking: #17
Lost Kin (Dream Variant)

Boss’s Moveset: Same as Broken Vessel but a bit faster (as per usual), Now has six spit orbs come out after a slam instead of four.
Attack Strategy: Same as Broken Vessel.
Defensive Strategy: Same as Broken Vessel.
Healing Opportunities: He does not do the random attack like before so try to heal up as much as possible when you are able to stagger him.
Best Boss Ranking: #27
12. Kingdom’s Edge Bosses
Hornet (Second Encounter)

Boss’s Moveset: Same as her first encounter but accompanied by spike traps that she sets at random and a new defensive counter attack.
Attack Strategy: Try to predict where she will end up before her dash along the ground or after her mid air dash for two easy strikes each time.
Defensive Strategy: Stay on the move, keeping an eye on her and her windups and taking out her spiky traps ASAP!
Healing Opportunities: Whenever you are over half of the rooms width away from her (none of her attacks can reach that far) or when she is staggered.
Best Boss Ranking: #18
Markoth (Dream Boss)

Boss’s Moveset: Rotating shield that does damage when contacted, Similar sword throws to Xero, Two shields in the second half of the fight.
Attack Strategy: Get three hits on him from the left side every time the shield passes by underneath him.
Defensive Strategy: Try not to focus on one thing in particular but keep your eyes fixated on Markoth himself to find your openings.
Healing Opportunities: Whenever he does a shield spin attack and the swords disappear for a moment.
Best Boss Ranking: #28
Hive Knight

Boss’s Moveset: Short nail strikes while dashing through the air, Long nail strikes while moving along the ground, Summoning scream that brings several Hiveling enemies which will eventually fall back to the ground while homing in on you, Creates three orbs that shoot eight spines out in all directions
Attack Strategy: He is highly vulnerable and stands completely still during his scream attack.
Defensive Strategy: Jump and attack downwards when Hivelings are first summoned, then immediately dash and move to the opposite side of the arena when they turn to follow you.
Healing Opportunities: Whenever the Hive Knight is staggered or as he is screaming if he is not close to death.
Best Boss Ranking: #9
13. Queen’s Garden Bosses
Marmu

Boss’s Moveset: Curls up in a cannonball and homes in on you like a magnet,
Attack Strategy: Hit her in perfect timing. It isn’t actually all that hard after a few tries.
Defensive Strategy: Stand in one corner to get the timing down if switching sides is messing you up.
Healing Opportunities: Long intermissions between waves of attack.
Best Boss Ranking: #36
Traitor Lord
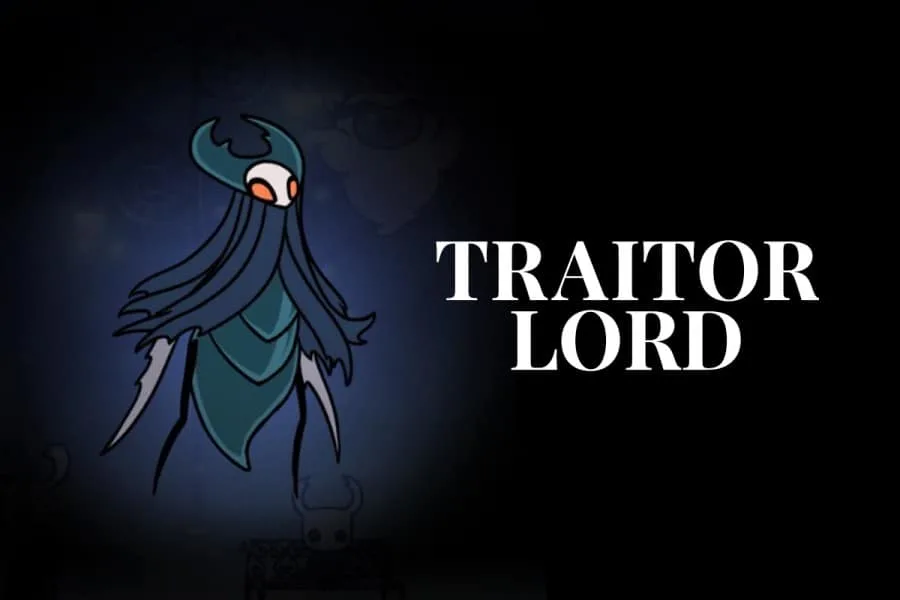
Boss’s Moveset: Jumps into the air and chops downward (double damage), Slam attack with accompanying shockwaves on either side (double damage), Lunge and slash attack (double damage), Thrown discs similar to Mantis Lords that comes back to him while also moving up and down.
Attack Strategy: His attacks hurt a lot but his windups are slow, get in at least two strikes between each attack.
Defensive Strategy: If NPC is present use double jump and dash to get over him and attack from behind for as long as he is turned away. Also shade cloak is your best friend here if you can get the timings down.
Healing Opportunities: Utilize the arena space to keep him on one side or the other so you can back off for heals whenever you need them. Stay out of the middle area as much as possible!
Best Boss Ranking: #1
14. Coliseum of Fools Bosses
Oblobble

Boss’s Moveset: Similar to many bosses on this list (and the final one) has one attack with corruption blobs that shoot in a circular pattern from its body, becomes more varied and faster as the fight progresses.
Attack Strategy: Get one strike in at a time and don’t get too greedy as the attack pattern and speed can be quite varied. Attack them evenly so the second phase will be shorter.
Defensive Strategy: Keep your eyes fixated in the middle of the arena so you can see the blobs coming from both bosses.
Healing Opportunities: During breaks in their attacks.
Best Boss Ranking: #42
God Tamer

Boss’s Moveset: Tamer only attacks by jumping up and then dashing to your location similar to Hornet, Beast can spit three blobs of corruption that are spaced out the same each time and also roll into a ball and charge you similar to Watcher Knight.
Attack Strategy: There is always a longer pause after the rolling attack so focus on dodging that attack well for extra time to attack.
Defensive Strategy: Don’t stand still unless the Beast has just spit as all three attacks are technically homing ones.
Healing Opportunities: When standing on dry ground after the spit attack.
Best Boss Ranking: #29
15. Black Egg Temple Bosses
Hollow Knight

Boss’s Moveset: Three quick nail swings, Slam attack that summons upward moving streams of fire, Defensive stance for counter attacks, Sprays corruption from midair, Charge across the arena, Homing slam attacks from midair similar to Soul Master.
Attack Strategy: Two strikes to his back after avoiding his charge attack, Whenever he staggers (twice at the most), During fire stream attack if you position yourself correctly.
Defensive Strategy: Watch for the tendrils to know where the fire streams will erupt from, Time your dashes right before each of his slam attacks (try to stick around the center of the arena), His nail strikes are parry-able.
Healing Opportunities: Between phases, Whenever he staggers
Best Boss Ranking: #3
Radiance

Boss’s Moveset: Phase One Attacks (they continue to appear in all other stages as well)- Four waves of sword attacks similar to many “dream” bosses on this list (can come from any direction), Radial sword launch attack, Three homing magic orbs, Light beam that moves from left to right.
Phase Two Addition- Platform panels alternate with spikes
Phase Three Addition- Spike floors with columns of swords falling from the ceiling
Phase Four Addition- Main platform is dissolved leaving smaller midair platforms.
Phase Five Addition- Long climb up several increasingly smaller platforms while the Radiance fires beams of light at you.
Attack Strategy: Best real opportunities are during the homing magic orb attack if you can kite them around him and whenever a gap you must jump through is underneath him.
Defensive Strategy: Memorize all of it and get good at spotting gaps from multiple attacks at the same time. There will always be one if you stay zoned in.
Healing Opportunities: Get quick one-heals done when you are safely in a gap during the circle of swords attack.
Best Boss Ranking: #19
16. Dirtmouth Bosses (Grimm Troupe)
Grimm

Boss’s Moveset: Horizontal slash with upward flurry of fire balls, Homing bats, columns of fireballs moving outward from the center, Hornet-like mid air homing charge, Columns of fiery tendrils similar to Hollow Knight.
Attack Strategy: Memorize the timing of the bat attack to get at least two hits in each time, Continue striking him even after he turns into bats as he will continue taking damage for a second.
Defensive Strategy: Pogo during slash attack and then immediately dash away as his uppercut will catch you, Jump and double jump through the fiery columns at whatever distance you feel comfortable.
Healing Opportunities: nWhen standing in a safe spot during tendril columns, also when he becomes a bunch of bats periodically.
Best Boss Ranking: #30
Nightmare King

Boss’s Moveset: Very similar to Grimm, double damage, some attacks are accompanied by trails of fire left on the ground, some basic split second invincibility during certain attacks.
Attack Strategy: Same as Grimm.
Defensive Strategy: Same as Grimm.
Healing Opportunities: Same as Grimm.
Best Boss Ranking: #10
17. Godhome Bosses
Winged Nosk

Boss’s Moveset: Similar to Vengefly King with a mixture of corruption based spit attacks.
Attack Strategy: Pogo during his swoop attacks and try not to get greedy with it.
Defensive Strategy: Same as Vengefly King
Healing Opportunities: Same as Vengefly King.
Best Boss Ranking: #41
Nailmasters Oro and Mato

Boss’s Moveset: Copies your own nail arts:Mato does the Cyclone Slash in mid air and Oro does the Dash Slash but the full length of the room, Both of them use a jump and slam attack as well as a series of combo’d nail slashes.
Attack Strategy: There is always a slight hesitation after each attack, just try to lure one away from the other before going too crazy on them.
Defensive Strategy: Stay on the move and use dash along the ground a lot unless Oro is charging up his dash attack.
Healing Opportunities: Corral them on one side of the room and then heal on the other, providing that Oro isn’t preparing to dash across the ground.
Best Boss Ranking: #20
Paintmaster Sheo

Boss’s Moveset: Four different attacks indicated by the paint at the tip of his brush before each one: Pink- his own version of the Great Slash nail art, Blue- three paint blobs evenly spaced out in front of him, Red- Jump accompanied by three paint blobs on either side (similar to Dung Defender), and Yellow- Dash Slash across the floor similar to Oro.
Attack Strategy: Between each attack similar to Oro and Mato.
Defensive Strategy: Find gaps in each paint drop attack, use double jump against Dash Slash and Great Slash and try to pogo whenever possible.
Healing Opportunities: Whenever he is on the other side of the arena.
Best Boss Ranking: #11
Great Nailsage Sly

Boss’s Moveset: Three nail strike combo that ends with a midair flip, Dash Slash nail art, Great Slash nail art, Cyclone Slash nail art, Jump attack followed by a slam then uppercut.
Phase 2 Addition- Bounces around the walls like Marmu until he will stop near you and throw his nail in a boomerang pattern like the Mantis Lords.
Attack Strategy: During the long-ish delays between each attack
Defensive Strategy: Keep your distance when he isn’t doing a nail art, use the Shade Cloak as much as possible during nail art attacks, if he walks toward you on the ground be sure to kite him in and then immediately dash backwards.
Healing Opportunities: Whenever he stagger (two times)
Best Boss Ranking: #4
Sisters of Battle
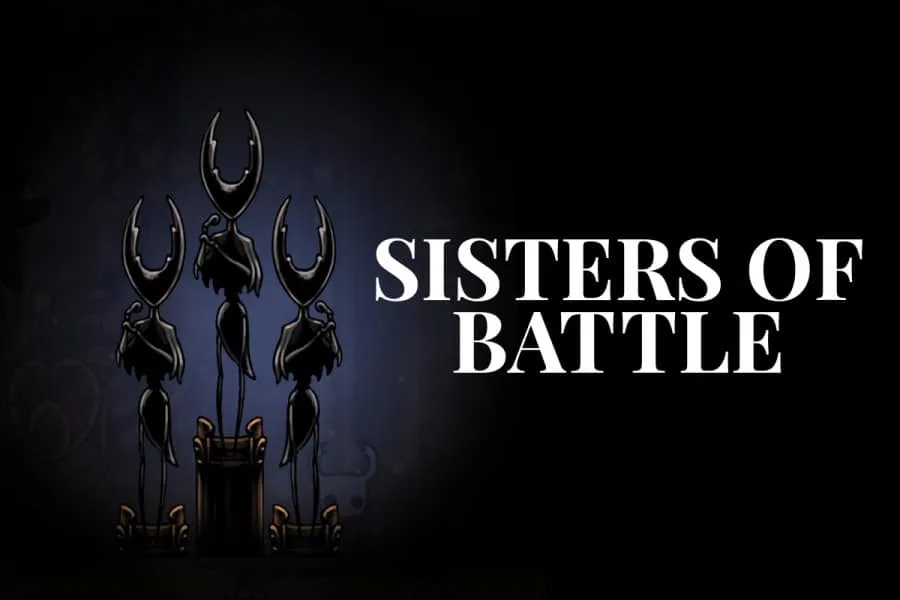
Boss’s Moveset: Same as Mantis Lords, but with all three of them.
Attack Strategy: Same as Mantis Lords, but with all three of them.
Defensive Strategy: Same as Mantis Lords, but with all three of them.
Healing Opportunities: Same as Mantis Lords, but with all three of them.
Best Boss Ranking: #21
Pure Vessel

Boss’s Moveset:Same as Hollow Knight but with double damage and three new attacks, Nails fired from his chest into the floor and then panning up to the ceiling, White magic circles around the room that deal damage, Tendrils fired from his chest in a straight line.
Attack Strategy: Between attacks, never during them.
Defensive Strategy: Use shade dash a lot and always be on the lookup for gaps to slip through for column attack and others.
Healing Opportunities: After he staggers, You can also get one heal off during the white circle attack if you are already located in a safe location.
Best Boss Ranking: #12
Absolute Radiance

Boss’s Moveset: Same as Radiance but faster and certain attacks deal more damage.
Attack Strategy: Same as Radiance.
Defensive Strategy: Same as Radiance.
Healing Opportunities: Same as Radiance.
Best Boss Ranking: #31
18. Secret Boss
Grey Prince Zote

Boss’s Moveset: False Knight style shockwave slam (much larger wave), Bunny hops accompanied by normal sized shockwaves, Sporatic nail swinging while moving towards you, Homing jump and slam attack accompanied by smaller shockwaves, also spawns normal sized versions of himself.
Attack Strategy: Pogo during his nail charge, Whenever he falls down after a homing slam.
Defensive Strategy: Jump, jump, and jump. Then jump some more. Use the wall to jump, double jump, dash in midair, and then jump.
Healing Opportunities: When he begins to spawn his minions or as he is staggered.
Best Boss Ranking: #13

