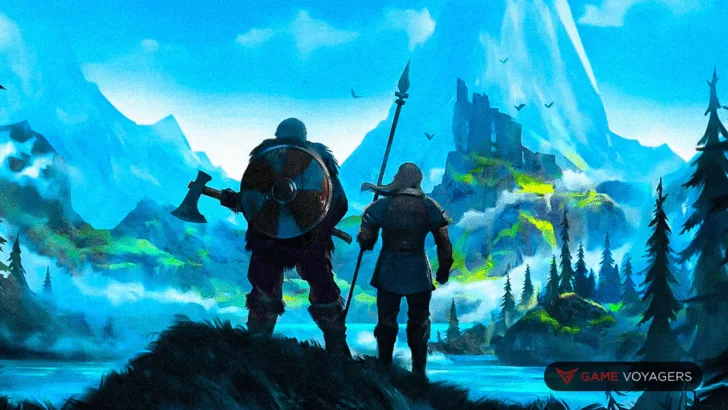
I’ve done what I could to put together the most comprehensive Valheim progression guide on the internet right now. I cover everything you need to do to progress from sticks and stones to black metal at the end of the game.
In terms of progression in Valheim, think of it like this: each boss you kill gives you access to the next rank of upgrades and material. There are currently five tiers, each being better than the last.
That’s not much to go off of, though. Luckily, I’ve got a detailed guide walking you through progressing Valheim from when you spawn to the last boss. I’ve made sure to avoid as many spoilers as possible while writing this, so don’t worry about missing out on too much by reading this guide.
Part 1 – The Meadows and Getting Started
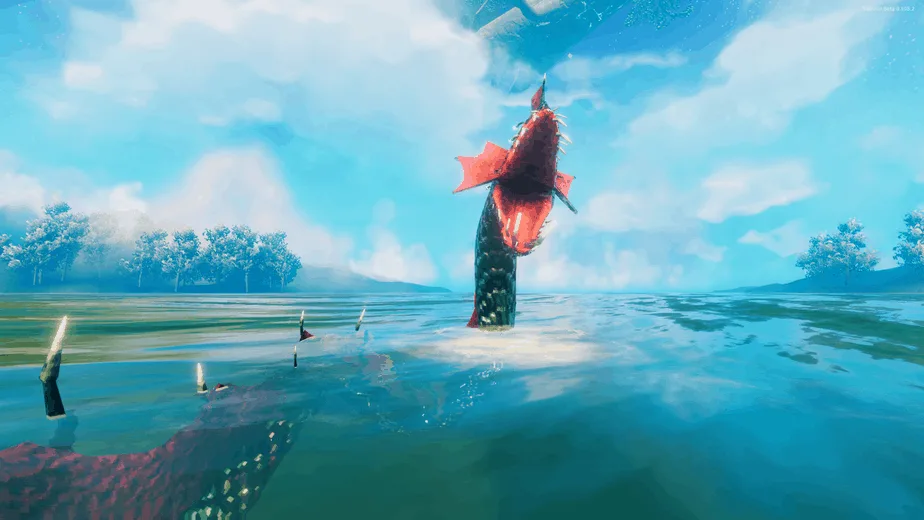
I’ve separated the guide into five individual parts. Each part is broken down into the steps you need to take to progress to the next tier in your progression.
The guide runs you through the primary order you need to obtain items and materials to make your way up the item-quality ladder, although you’ll see later that you don’t need to make it to the fifth tier to finish the game.
Valheim is procedurally generated. That means I can’t give you directions on where to go; I can only advise you on what to do. The game is heavily based on exploration, so I suppose that’s a good thing.
To get started, you need to grab basic materials, as in every single sandbox crafting game since Minecraft. Specifically, you’re looking for wood and stone. Stones are all over the ground near the starting area, as are branches that you can pick up for wood. Using your new materials, you need to craft yourself a hammer, a club, and an ax. These three will carry you through the rest of the game’s opening portion.
Setting up Your Base
With your trusty band of tools at your side, you’re ready to start building your home base. Using your ax, cut down some trees to get more wood. Using the wood from the trees, make a workbench. Your workbench is the center of all your base-building exploits, so make sure you place it in an area where you want to camp out at.
Try to pick a spot that’s near the ocean. There’s a lot of sailing involved in Valheim, so being near water will be life-saving in the long run. Once you place your crafting bench, you will not be able to use it. Before that, you need to build walls and a roof around it. So, spend some time gathering resources and building up a little base, all until you’ve got something cozy that you’re happy with.
Food
You can’t starve to death in Valheim, so that’s not why we’re hunting for food. Instead, eating gives you buffs. You’ll need Buffs as you fight through the game’s bosses. If you want to try these fights without food, be my guest, but don’t come crying to me when you get slaughtered. You’re looking for three specific animals for meat at this point, as well as berries and mushrooms.
You can find your vegetarian options all over the wilderness; all you have to do is pick them, so I don’t think you need an explanation. On the other hand, hunting can be a bit of a chore at the beginning of the game. You’re looking for boar, deer, and necks. See any of these guys you find and give them a whack over the head with your club. Alternatively, if you’re lucky enough to have crafted a bow at this point, you can use that instead.
Remember to keep an eye on your stamina while you’re sneaking.
While hunting deer, keep an eye out for deer trophies and hides. You need the trophies for the boss and the hide to build yourself some leather armor. With your bloody meat in hand, head back to base and build yourself a fire and a cooking station. Hang your meat over your fire and let it cook. Don’t let your food cook for too long, though, otherwise you’re going to burn it, just like when you try to cook food in real life.
You will be stacking three buffs for every boss fight going forward. Two from meat, and one from vegetation, so try to keep a nice pantry stocked up with various edibles.
Getting Ready for the First Boss
You’ve got your base, food, and weapons, so you’re almost ready to face off against the first boss. I’ll avoid telling you too much about these bosses, for spoilers’ sake, so if you’re having trouble, you will have to find a boss guide.
Before you rock up and summon your first real challenge in Valheim, you will want to craft some armor. Either use the leather from the deer you mercilessly slaughtered or if you’ve managed to fell some trolls between now and then, you can make some troll armor.
Grab your armor, three different foods, weapons, bow, and arrows, and make your way to the boss’s altar. If you haven’t got the altar marked on your map, head back to your initial spawn point and interact with the glowing rune. That will mark its location on your map.
Baby’s First Boss Fight
Before you use your two deer trophies on the altar, eat your three foods to buff yourself up. Then place your deer and hang on for dear life (get it?)
After you’ve beaten the first boss to death, take its head and bring it back to your spawn point to receive a tasty once-per-day buff. You can do this for the rest of the bosses you face.
Part 2 – The Black Forest and Exploring

Congratulations, you’ve made it out of the tutorial!
I’m kidding, I’m kidding, but this is where Valheim starts to shine. Head back to your base and use the antlers you ripped off the boss’s head to make yourself a pickaxe. This pickaxe doesn’t last very long, so make as many as possible before you set out.
With your pickaxe, the next thing you need to do is start looking for the Black Forest. These forests spawn all over the place near your spawn point, so you shouldn’t have to look too hard.
Setting Up Your Second Base
Find the Black Forest? Good, now it’s time for your second base.
You want to have various bases dotted around the map for one simple reason, not to do with transport. It’s because you can’t travel fast with ores. That means that unless you want to walk a country mile each time you need to craft something, you need several crafting stations set up in various locations.
You’ll link these bases up later with portals, but for now, you don’t have access to the necessary materials. Once you reach a comfortable position on the edge of the black forest, craft yourself a workbench, and make a base.
In the Black Forest
You’re looking for three specific things in the forest.
First, you need to get your hands on copper and tin. Both of these metals are how you unlock bronze and get the ball rolling on a lot of the content that Valheim currently has to offer. This is why you built the pickaxes earlier, which you should have on you right now.
Copper deposits can be hard to find and generally spawn towards the forest’s center. They spawn in big clusters of rocks, meaning once you find a vein, you’ll get a decent bite out of it. Once you find copper, mark it on the map so you can return to it later.
Tin is easier to find. You can locate it around bodies of water, and it’s much easier to spot than copper. Once you have these two metals, you can start making bronze. You’re not ready to start smelting yet, though.
You still need to find the third thing we’re in the forest for skeletons. Specifically, you’re looking for skeletons because they will lead you to dungeons.
You’re going to be running a lot of these dungeons, and they don’t respawn, so be ready for some grindy exploration at this point. The skeletons in these dungeons are weak to blunt weapons, so bring a club if you want to be as efficient as possible.
As you’re running these dungeons, you’ll come across startling cores. This is why you’re dungeon crawling in the first place. You need at least 15 of these, and you should get between six and 10 per dungeon. You use this item for many different crafting recipes, so get as many as possible.
Also, as you explore, you might stumble across a dungeon with another rune. Interact with it to reveal the location of the next boss on your map. Remember to mark the locations of dungeons on your map as you explore. They don’t reset, but they can help you get a better lay of the land as you progress.
Back at Base
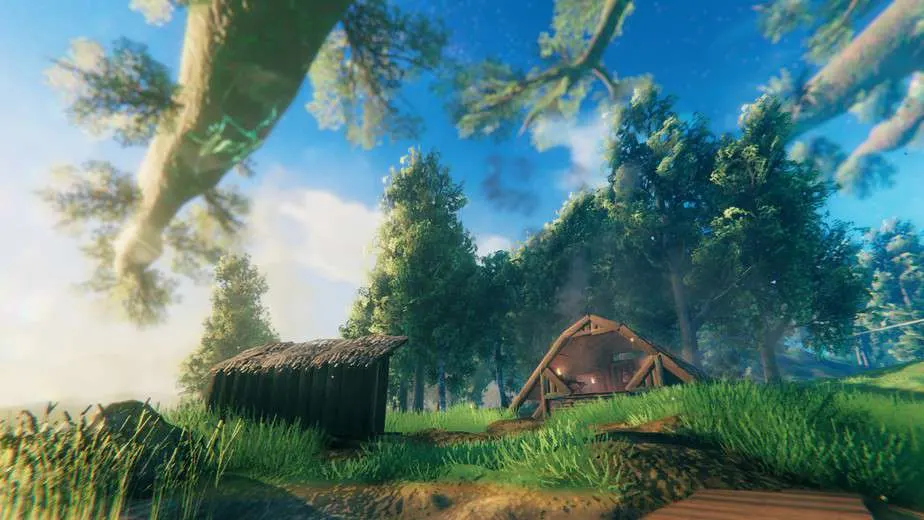
When you have your cores, you should head back to the base. You will be making two things here: a Kiln and a Smelter. If you have the materials for it, make more than one smelter because these things are painfully slow.
You use these smelters to… well… smelt the ore you found earlier. Get some coal from your kiln and put it in your smelters with your ore of choice. While waiting for your ore to be melted down, upgrade your workbench by crafting the stations with stars next to them. Particularly, you want to make yourself a forge.
Combine your copper and tin to make some bronze, then use that bronze to make yourself a pickaxe. A bronze pick will last far longer than your haphazard antler one. This pickaxe will let you chop down fine wood, which lets you build portals, so that’s objective number one right now.
The next few steps in your Valheim progression guide are to upgrade all of your gear to bronze. This is grindy and takes a while, so go on autopilot and enjoy playing the game for a little while. Build your base, convince some buddies to get the game and play with you, and just have some fun until all your gear has been upgraded.
Oh! And don’t forget to link up your two bases. You’ll also want to craft some fire arrows for this next boss. Trust me on this one.
Boss Number Two
Now that you’re decked out in bronze, or even while you’re still working on your collection, it’s time to get yourself some ancient seeds so that you can spawn the next boss. You can get these seeds from grey dwarf hives, and you need three altogether, which can be time-consuming.
Once you have everything in order, head to the boss arena marked on your map (if you need to sail to it, skip down to where I talk about building a boat.) Eat your food for some buffs and throw your seeds into the fire to spawn in the second boss.
If and when you manage to beat this glorified treant up, you’ll loot a swamp key. Grab your goodies and, once again, head back to base.
Part 3 – The Swamp and Gearing Up
Next up in your Valheim progression guide is to get yourself over to the Swamp. This is when things start to get serious, so you’ll need to do some serious prep work before you head over there. Particularly, you want to build a fermenter and a cauldron, and if you’ve found any beehives, you want to use them to build some at yourself at your base.
Your beehives give you honey, and your fermenter is used to create various meads that do things like resist frost and poison. You’re going to want to stock up on poisonous mead for later. The Swamp is easily identifiable by the fact that all the trees in the area are dead. However, you’ll probably need a boat to get over there.
You can make a boat surprisingly easily. The only new thing you should need to craft is some bronze nails.
Swamp Dungeons
The Swamp is a serious step up from anything you’ve faced so far, so don’t take the area lightly. Make sure you have a portal ready to go once you land and get your third base up and running as soon as possible. Make a habit of doing this in every new biome that you explore.
When exploring the Swamp, you’re looking for more dungeons (the key you got from the boss opens the dungeon.) These look similar to the ones you explored earlier. However, these let you mine scrap iron which is the next progression step in your material quality.
As well as iron, be on the lookout for wavering bones in these dungeons. You need to get your hands on ten of these bones for boss number three, so good luck and have fun. Once again, a dungeon will randomly have a rune you can interact with to reveal the boss’s location, so keep an eye out for that, too.
Preparing for Boss three
Things are going to start moving at a rapid pace now. You’re well into the gameplay loop, so expect the following formula from here on out: explore a new area, find new materials and boss spawn items, upgrade gear, and base, fight the boss, and repeat.
Either take your iron home to your base or bring it back to your Swamp base, provided you have the necessary crafting stations set up. Smelt it down and use it to make iron armor and tools. Iron is a big improvement over bronze. It can carry you to the end game if you upgrade it enough. It’s also next to mandatory for the next boss, given that it’s the hardest one in the game.
Smelting iron will open up a world of possibilities for your sandbox base building. It gives you access to more bots but, more importantly, a stonecutter. You can use a stonecutter to upgrade your base with new, sturdier materials.
You’ll start getting attacks around your base after the next boss fight, so take this time to upgrade your defenses.
When ready, grab your iron gear, food, and bones and head to wherever the third boss has spawned on your map. This boss is a nightmare to fight. It’s going to poison you, so hopefully, you’ve been stocking up on mead.
Arrows aren’t very effective against it, although blunt weapons are, so you’ll have to get in close and personal with it.
Once you beat this boss, it’s going to drop a wishbone. Pick it up, along with the rest of your loot, and breathe a sigh of relief. The wishbone opens up the ability to find treasure in the meadows and silver in the mountains. You only need treasure if you find the trader, which is entirely RNG, and silver, while better than iron, isn’t necessary for the bosses from here on out.
Part 4 – The Mountains and Staying Alive
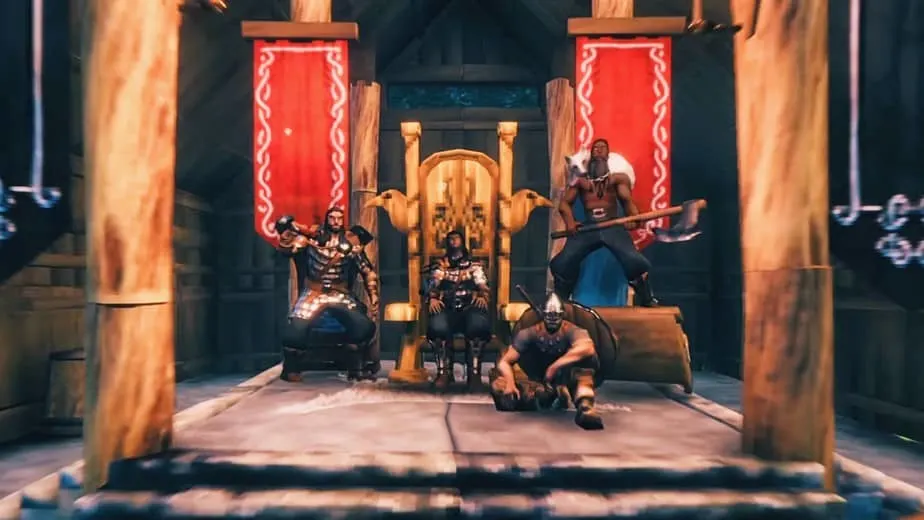
You’re almost at the endgame! Well done for making it this far. You honestly don’t have too much left to do until you’re caught up with the developers, although you still need to overcome the Mountains.
To even begin exploring the mountainous regions of Valheim, you need to be able to resist frost. Like with the poisoned mead you made earlier, you can make mead for the cold, just like in real life. Stock up on some and head out to the new biome.
Objective number one for this period of gameplay is getting you a Lox Cape, so you don’t need to keep drinking mead to stay alive. Save that for real life.
With your wishbone on hand, mine some silver out of the mountains and head back to the plains. From there, you will want to kill some Lox for their hide. Use that material to make yourself a cloak that will make you resistant to frost in the Mountains.
Three Dragon Eggs
Head back up into the mountains and get ready to explore. You can take this time to grind out some silver gear if you want, but it’s not necessary. Believe it; you’re over the hardest part of the game so far. You’re looking for two things in this area: three dragon eggs and a Draugr camp with a rune for the boss arena.
Rinse and repeat the same loop you’ve done before, then get ready for the dragon boss fight. Don’t worry; it’s not as bad as it sounds.
Part 5 – The Plains and Defeating Yagluth
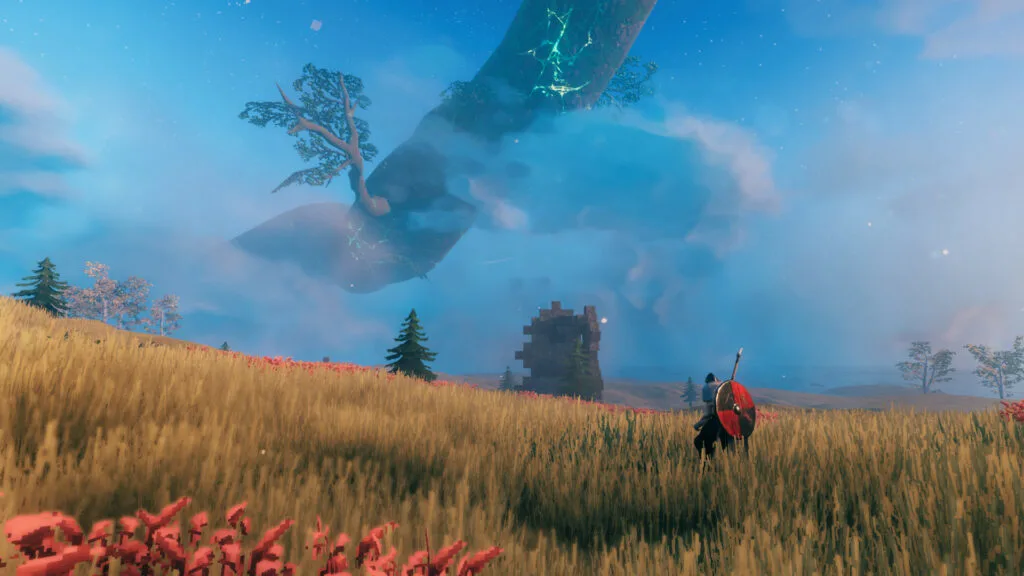
The dragon will drop a tear once you kill it. This unlocks the ability to create the artisan table. This crafting table gives you access to endgame stations needed for some of the strongest gear in the game, like the windmill and blast furnace.
The windmill is used to turn the crops you likely have stolen from goblin camps on the plains into food. The blast furnace is used for smelting black metal, which is currently the strongest material in the game. You also get this from goblin camps and forts.
You don’t need any of this gear for the last boss fight. However, you’ll need it when the developers drop the next big update, so most of your endgame time will be spent grinding for it and upgrading your base.
While you raiding and, let’s call it what it is, colonizing these goblin camps, you should be looking for totems. You need five of them. If you haven’t picked up on the pattern by now, these are the items you need to spawn the boss. You also need to find the rune, which is located somewhere near a structure in the plains.
Although, you’re not going to need it to find the boss arena. You’re looking for a giant Stonehenge in the plains. Once you find it, get ready for a fight and summon the fifth boss.
Part 6 – The Mistlands and Challenging Yourself
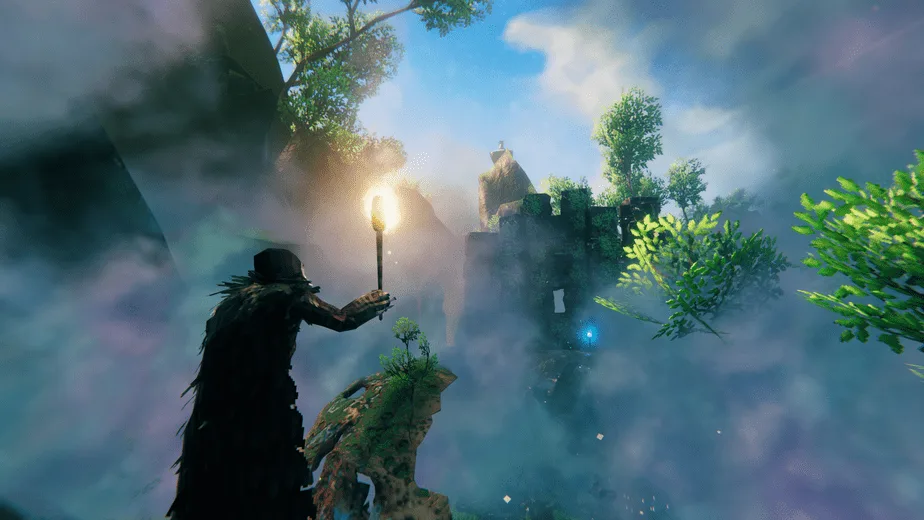
The latest biome to be added to Valheim is the Mistlands. This biome houses perhaps the game’s most difficult challenges thus far, and serves as a reminder that you still have much to conquer in these ever-expanding lands.
The Mistlands themselves can only be described as erratic and difficult to battle within. This is largely due to the dense mists and fog that make up most of the region. It is also difficult to see enemies within this region. And if you do not stay vigilant then you will quickly find yourself outnumbered and outmatched.
The primary enemies you have to be wary of are the Seekers. They are the main hostile mob you will find within this new biome. The second enemy type you might find, although rare, are the Seeker Soldiers. Accompanying the two mentioned earlier will be the airborne Gjall and the Ticks that they spawn.
Your primary goal in the Mistlands will be to use the Torn Sporits that you receive from Yagluth to construct a Wisp Fountain. The wisp fountain will attract wisps to you and you can use this item to construct Wisplight and Wisp Torches. Both of which can be used to help disperse the dense mist in the area.
Materials Available in Mistlands
There are a plethora of important materials that you can obtain from the new biome, Mistlands. These items can be worth knowing about simply based on the specific advantages they can provide to you. We’ve made a list down below to help make it easy for you to navigate.
| Material | Usage |
|---|---|
| Yggdrasil wood | Obtained from thin trees. This type of wood is used in numerous crafting recipes. |
| Hares | Non-threatening creatures. They drop Hare Meat and Scale Hide. |
| Carapace | Dropped by Seekers. Used to craft new armor and ammunition. |
| Mandible | Dropped by Seeker Soldiers. Used in the new weapons. |
| Bilebag | Dropped by Gjall. Used to craft new items. |
| Blood Clot | Dropped by Ticks. Used in Mead and Food recipes. |
| Jotun puffs and Magecap | Both of which are used in new food recipes |
| Black Marble | Enables the construction of Dvergr-style structures and new workstations |
Structures to Look Out For
The Mistalnds are practically teeming with important vistas and structures. Each of these structures provides some useful benefits for you. This is why it can be important to keep your eyes and ears open when traversing the new biome and spotting them where necessary.
- First, you can locate the Ancient Roots. From there, you can harvest Sap.
- Scrap Iron can be mined from the Swamp Crypts.
- Dergr Towers and Mining Camps
- Giant Remains, usually contain skulls which can be important because they contain Soft Tissue used later for Eitr Refinement.
Infested Mines of the Mistlands
Your progression path through the Mistlands will invariably run you through the Infested Mines. They are the key to accessing a slew of new items and will provide you with Black Cores needed to construct workstations.
With the addition of the new biome, you can expect two types of Infested Mines entrances. One is set into a hillside with a lengthy dark marble stairwell. The second is in the basement of the overrun Dvergr towers. You can expect both of these to be heavily guarded by Seekers.
Additionally, if you found the seekers above to be a challenge then going deeper into the labyrinthine dungeons will be even more challenging. Regardless of the entrance, the dungeons are full of Seekers, Seeker Soldiers, Seeker Broods, and Ticks. You can find Black Cores on mounted pedestals in hidden rooms.
Finally, the progression into the Infested Mines will provide you with the much-needed Sealbreaker Fragments. These are required if you wish to unlock the latest boss of Valheim, the Queen. You will need 5 Black Cores to construct a Black Forge, used to construct new items.
Sap Progression in Mistlands
Another important step of your progression through Mistlands will be that of Sap. The Sap Extractor will allow you to obtain Sap from tree roots that are scattered around the world. It is important to note that this will, however, require a workbench. Additional components include Yggdrasil wood, Black Metal ad Dvergr Extractor.
For Dvergr Extractors, you will have to look through Dvergr Component Crates. You will find these in the Dvergr Towers and Mining Camps.
Construct the Eitr Refinery
The Sap we discussed in the last section will be utilized to construct the Eitr Refinery. This will convert Sap and Soft Tissue into Refined Eitr. Careful not to linger too close for too long. The refinery does shoot out pulsing elemental damage in all directions.
Summon and Defeat The Queen
To summon the Queen, you will need to construct a Galdr table. This is the last new crafting station required for the Mistlands. To construct the Galdr table you will need the following items:
- 20 Yggdrasil Wood
- 10 Black Metal
- 5 Black Core
- 5 Refined Eitr
Once you’ve constructed the Galdr table, it is time for you to create the Sealbreaker. You need the 9 Sealbreaker fragments from the Infested Mines. Combined them at the Galdr table to obtain the Sealbreaker. Navigate to the position of The Queen.
To defeat the Queen, we have several recommendations. The first is to use the Feather Cape. This helps you in managing the verticality of the Queen’s boss arena. You can thus jump to lower sections without taking much damage. The Staff of Embers can be particularly good at managing this fight for you as well.
Make sure you have the Healing Mead and Poison Resistance Mead when facing the Queen. The Queen has a very large HP bar of 12,500 but will eventually fall if you kite her around and use the Staff of embers. May luck be with you!
Valheim Crafting Progression Guide
That’s a lot of information to take in all at once. Believe me, I’m the one who wrote it. We have a full crafting progression guide here if you want to learn more.
If you’re here looking for a quick and easy guide to follow, here’s a TLDR Valheim crafting progression guide that should be a little easier to digest:
- Pick up stones and sticks for your first tools. Use these basic tools until the first boss.
- Use the loot from the boss to make a pickaxe.
- Use the pickaxe to find tin and copper in the Black Forest.
- Use tin and copper to make bronze.
- Make new bronze tools.
- Use your bronze tools to fight boss two.
- After boss two, find the Swamp.
- Explore Swamp dungeons to find iron scraps.
- Use iron scraps to make iron items.
- Beat the third boss for access to silver.
- Silver is found in the mountains. Use it to craft better gear.
- After the fourth boss, explore goblin camps in the plains for black metal.
- Use a blast furnace for smelting the black metal into the best armor and weapons in the game.
It goes Wood – Boss 1 – Bronze – Boss 2 – Iron – Boss 3 – Silver – Boss 4 – Black Metal – Boss 5.
Hopefully, that’s a little easier to understand if a full Valheim progression guide was too much information for you to digest in one sitting.
Despite being made by a team of five people, the game is incredibly expansive. Valheim’s charm comes from the level of exploration involved, so don’t rely fully on guides to get you through the game. Don’t be afraid to go blind in some areas and take risks. You’ll enjoy the game more for it.
New Biomes and the Future of Valheim
The creators of Valheim have an ever-expanding vision for their game. This means that you can expect this guide to be further updated as time goes on. Two of the biggest releases that fans of Valheim and you especially might be waiting for are the new Biomes.
The new biomes are the Ashlands and the Deep North. With the Ashlands scheduled to be the next addition to the game after the Mistlands. The Deep North can be expected after the Ashlands has made its significant stay within the game, and players have had the chance to complete all it has to offer.
The Ashlands will be a volcanic “land of the dead” And you can expect that it will be chiseled to perfection by the developers and jam-packed with skeletal horrors. The Deep North on the other hand will be vast, snowy, and extreme. It will be found in the far far north of Valheim.
Expect us to add more content to this guide when these Biomes release. Until then, play the game through our guide, or explore it by yourself. Either way, Valheim is one of the most influential and remarkable games of our generation. Happy Gaming!

