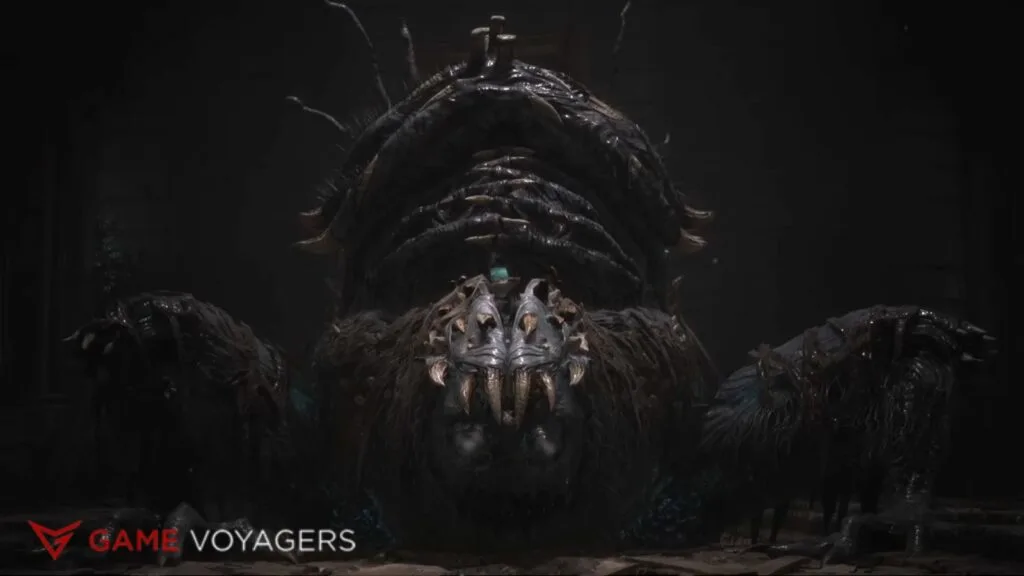
Are you finding it challenging to defeat the Fallen Archbishop Andreus in Lies of P? As the second major boss in the game, Andreus is a grotesque creature with two distinct phases, making the battle more complex.
To defeat Fallen Archbishop Andreus in Lies of P, equip the Flamberge Legion Arm and Flame Grindstone, capitalize on fire damage, and master parrying for optimal defense. During phase 1, focus on precise dodging and exploiting attack windows. In phase 2, strategically manage dual threats, using the Fire Grindstone wisely.
In this guide, I’ll walk you through the strategies to overcome both phases of the Fallen Archbishop Andreus in Lies of P.
Fallen Archbishop Andreus Overview

Andreus, a Carcass creature, is weak to fire damage and susceptible to electricity. Equipping the Flamberge Legion Arm and Flame Grindstone is essential for optimal damage. Additionally, consider using throwables like Pulse Cells, Fire Canisters, or Thermite sparingly, saving them for critical moments.
As I prepared to face Andreus, I delved into understanding his vulnerabilities. Being a Carcass, fire, and electricity were his weaknesses. Equipping the Flamberge Legion Arm and Flame Grindstone, trophies from previous victories, became my arsenal. The stage was set for a battle where strategy would be my greatest ally.
Phase 1
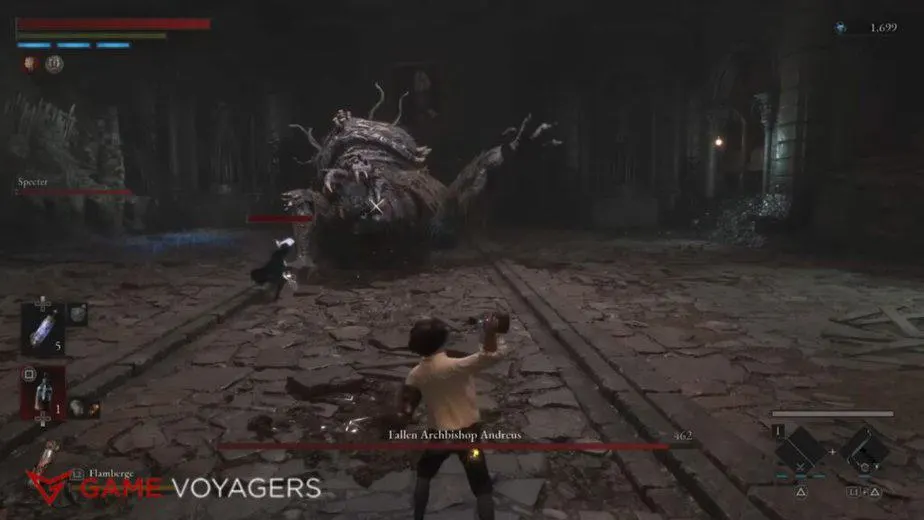
As I confronted Andreus, his colossal form unleashed a barrage of attacks. His tongue lashes, overhead swings, and unblockable stomps tested my parrying skills. With each attempt, I meticulously learned his patterns, ensuring I blocked the initial strikes and parried the finishing blows. The regain mechanic, a lifesaver, allowed me to recover health after successful parries.
Here are all of his moves:
- Tongue Lash: Single and double hits from various angles.
- Overhead Swings: Two-hit swings from different directions (always first right and then left).
- Double-Armed Slam: A powerful slam with a windup.
- Unblockable Stomp: A slow butt stomp, avoidable by sprinting backward.
Parrying Strategy
- Master the Timing: Learn the boss’s attack timings for successful parries.
- Regain Mechanic: Block initial attacks, then parry the finishers for health regain.
- Stun and Attack: Land charged heavy attacks after successful parries to stun the boss.
Positioning Tips
- Avoid Corners: Stay away from corners to prevent getting trapped.
- Exploit Openings: Attack during the brief downtime after the boss finishes an attack.
Strategically positioning myself to avoid getting cornered, I exploited every opening. Timing was crucial – landing charged heavy attacks when his stance weakened provided moments of dominance. Andreus was a giant puzzle, and I was deciphering each move.

Phase 2
As the battle shifted into its second phase, a new challenge emerged. The Archbishop and the Beast – two enemies demanding simultaneous attention. The Archbishop lunged with his staff, while the Beast unleashed a flurry of attacks. Timing my movements and utilizing the Fire Grindstone, I aimed to cripple them both.
- Faster Double-Armed Slam: Quickened version with a faster follow-up swipe.
- Combined Tongue Lash: Combines single and overhead attacks.
- Charging Attack: The Beast charges with multiple attacks, ending in an unblockable hit.
- Multistomp Combo: A series of stomps followed by a swipe.
Strategic Choices
- Fire Grindstone: Use it before the Archbishop reaches you in phase 2.
- Target Weaknesses: Exploit the Archbishop’s limited move set by constantly moving to his side.
- Specter: Summon the Specter for distraction strategically for damage.
Constantly on the move, I exploited the Archbishop’s limited move set by moving to his side. The Specter AI companion proved invaluable, creating distractions and adding to the chaos. In this phase, coordination and adaptability became my keys to survival.
Rewards for Beating Fallen Archbishop Andreus

Upon defeating the Fallen Archbishop Andreus, your rewards include:
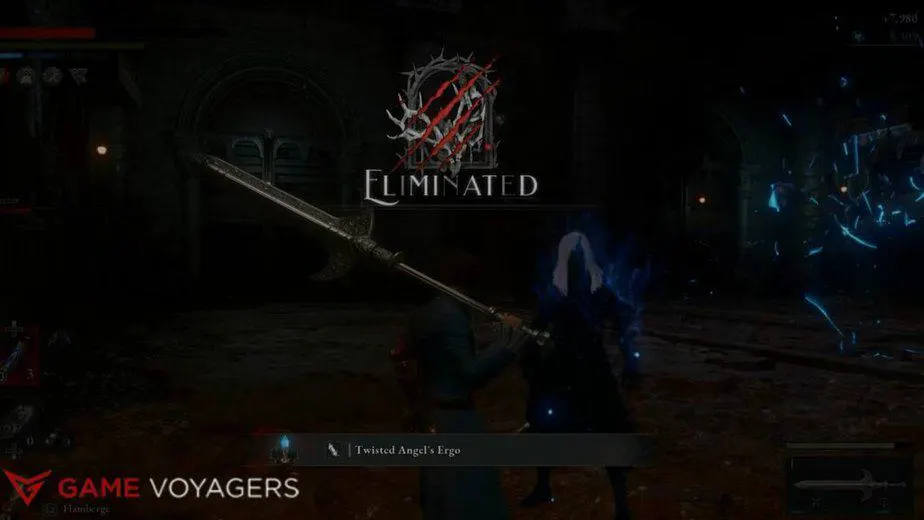
- Twisted Angel’s Ergo: A valuable item obtained after the grueling boss fight.
The victory came at a cost, but it was sweet. The Twisted Angel’s Ergo was my reward, a testament to my perseverance. The journey, however, was far from over. With blades sharpened and confidence bolstered, I ventured towards the Malum district, ready to face the next chapter of challenges in Lies of P.
Stay tuned for more expert gaming guides, strategies, and tips to conquer the challenges that lie ahead. Keep following us for the latest updates, and may your adventures in Lies of P be filled with triumphs and epic victories. Happy gaming!

