Shadow of Yharnam, or more accurately Shadows, is a trio boss fight in Bloodborne. They are not an optional boss, you have to defeat them to progress to Byrgenwerth. The potential of them ganging up on you makes this one of the more difficult bosses in the game. Not to mention, their transformations ramp up the fight to 11.
This could be one of the easiest or the hardest fights in the game depending on how you tackle it. It can also depend on the weapon you use as well.
You needn’t worry though good Hunter! With the light of our guidance, some tips, and a little effort from your side, these Shadows will poof out of existence.
Fighting Shadow of Yharnam


The Shadow of Yharnam is a gank boss fight in Bloodborne. Their sheer number is the troublesome bit here. Alone, each Shadow is a pushover, but when working together, they are a handful, to say the least. Managing this fight can be the hardest challenge.
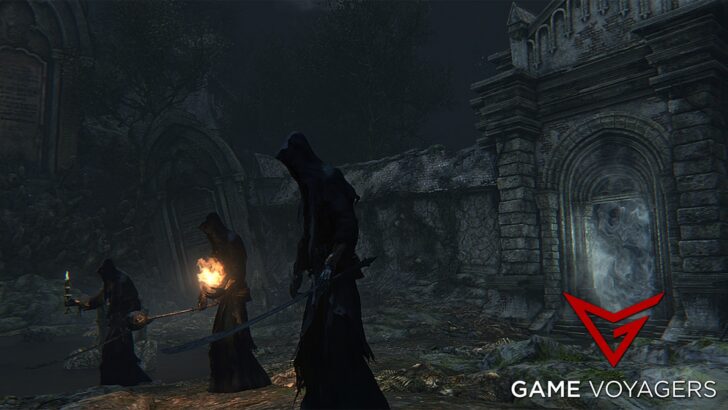
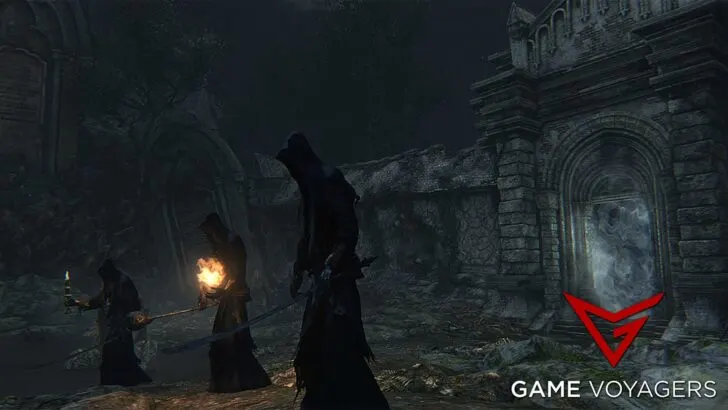
There are three unique Shadows in the fight, each with their distinct weapons and fighting styles:
- Katana Only: He uses melee attacks and is the more aggressive of the bunch, always trying to rush you.
- Katana and Candle: This Shadow has similar attacks to the previous one with the addition of spewing fire at close range. He also likes to stay close to you.
- Mace and Fire Hand: He doesn’t use his melee weapon. He only casts fireballs at you that move slowly and have a bit of tracking. He stays in the back and casts his spells.
When one of them reaches the 30% health mark, all of them transition to phase two. Snakes burst out of their chests and add new attacks to their roster. When damaged even further, they also gain the ability to spawn giant snakes from the ground that are extremely fatal.
Here are some tips you can use when facing Shadow of Yharnam in Bloodborne:
- They will transition to the later phases if the fight goes on for far too long, regardless of their health or whether one of them is dead or not.
- Only one of them is strong against Bolt and one of them is strong against Fire.
- You must have the Impurity Rune equipped to summon Younger Madaras Twin to aid you during the fight. Henryk can also be summoned only if you have killed him. They will help take some aggro away from you.
- Taking cover behind the graves dotted around the arena will be a lifesaver. You can even use it to play Ring Around the Rosie and split the Shadows.
- Keeping them all in your vision will save you from any surprise attacks coming in from outside the frame. Keep moving your camera around if they are divided to stay updated with their location.
- Do not be aggressive during this fight. The fight is all about divide and conquer.
- The Shadows are very frail. Your attacks will constantly stagger them giving them no opening to attack.
- All of them are highly susceptible to parry. A well-timed countershot will put them down giving you a chance to perform a Visceral Attack.
- The Shaman Bone Blade will turn them against each other for 20 seconds which you can use to your advantage.
- Equipping fire-resistant armor is highly advised.
Phase 1


The phase one of the fight is simpler. Each Shadow has only a handful of attacks you need to be aware of (discussed below). The goal is to separate them and slowly chip away at their health.
It is highly advised to keep their health above the 30% mark, or else they will transition, making this fight unnecessarily harder.
We recommend going for the Mace and Fire Shadow first. He is the most annoying of the bunch, on the other hand, he is the easiest to target. He sits back and casts his fireballs rather than chance you like his other brethren. Consequently, you can use this behavior to your advantage.
Stand behind the giant tombstone and lure the rest of the Shadows. This way you’ll be protected by the fireballs. Once the Shadows approach you, quickly rush to the Mace and Fire Shadow and lay into him.
Be careful of the others, though; if they get near you, move back to the tombstone and repeat the process. Leave the Mace and Fire Shadow once his health is nearing 30%.
Next, try to lower the health of the Katana Only one. He is easy to parry, so shoot as he’s about to attack, and you’ll get an opening for a Visceral Attack. Keep his health above 30% and move on to the Katana and Candle Shadow.
If you do this right, they will not transition to the second phase. Once all their health is above 30%, kill the Fire and Mace Shadow and move the fight to the second phase.
Moveset
Here are all the attacks you have to look out for:
Mace and Fire Shadow:
- Fireball: Shoots three horizontal fireballs at you. The fireballs have light tracking.
- Reaction: Either use cover to protect yourself or dodge to the side as they are about to land.
Candle and Katana:
- Flamethrower: Stands in place and starts spraying fire at you. The attack will continue for some time and he can track it in a 180-degree radius.
- Reaction: The range is pretty short so back off. While he is busy spewing fire, start attacking other Shadows.
- Swings: Swings his sword to deal melee damage.
- Reaction: Parry or dodge to the side.
- Lunge: Runs up to you and performs a leaping sword strike.
- Reaction: Dodge to the side or parry it in the nick of time.
Katana Only:
- Uppercut: A quick short-range sword uppercut that launches you upwards.
- Reaction: Parry or dodge into the attack or to the sides.
- Lunge: Runs towards you and performs a sword strike that can knock you down.
- Reaction: Parry or dodge into the attack or to the sides.
- Combos: A series of slashes with his attacks. He can chain it up to 4 strikes.
- Reaction: Parry before the first strike or dodge away.
Phase 2


Phase two begins with every Shadow bursting snakes out of their chests. In this phase, all the Shadows’ normal attacks will be enhanced, the swords will be imbued with fire (dealing fire damage), new attacks will be added to their repertoire, and they will be more aggressive.
Fret not, for you won’t have to deal with this phase for too long since you have already weakened them if you used the previous strategy. When the Mace and Candle Shadow is dead, move your attention to the Katana Only one. His attacks have farther range in this phase so he needs to go out first.
Bait the Candle Shadow to breathe fire and use this time to go crazy on the Katana Shadow. If you keep attacking him without any stoppage, he will be stun-locked and will die soon. Be vigilant of the snakes they end up summoning in the third phase of the fight.
When the Katana one is dead, the Candle Shadow will pose no threat. Stick to him and keep attacking him. He will have no time to react and get stun-locked to death.
Moveset
Here are all the attacks you have to look out for:
Mace and Fire Shadow:
- Enhanced Fireballs: His attack stays the same but the fireballs move a tad bit faster and explode when they hit you.
- Reaction: Stand behind any cover or dodge to the sides.
Candle and Katana:
- His attacks are the same as before only his sword is doused in flame.
Katana Only: Has the same attacks as before with a few new attacks.
- Enhanced Uppercut: Same as before, but this time, he stretches out his arm to reach from a longer distance.
- Reaction: Dodge to the side.
- Poke: Elongates his arm and thrusts his sword into you.
- Reaction: Dodge to the side.
Phase 3: The surviving Shadows will periodically summon multiple giant snakes from the ground. They appear in random locations in the arena. These snakes will either thrust toward you or perform a short-range swipe depending on your location.
- Reaction: Keep dodging or running until the snakes go back into the ground.
How to Cheese Shadow of Yharnam


Cheesing the Shadow of Yharnam is the same as the one we discussed in the Vicar Amelia guide. You need to first start the boss fight and exit out of the game. Return to the game and you will be placed outside of the arena with the fog gate in front. The Fog Gate is a crucial part of this cheese strategy to work.
Next, position yourself in the leftmost corner of the fog gate and move back from it until the farthest point where you can still see the option to Traverse Nightmare Fog. Now face the wall to the left and press the traversal button. The exact location can be seen in the picture above.


If you do it right, you will enter the arena and the boss’s AI will be broken. Their health bars won’t appear and they will stand in place. Just start attacking them and soon they will begin to die one by one. Once all of them poof away, the boss fight will be over.
Rewards for Defeating Shadow of Yharnam


For defeating the Shadow of Yharnam in Bloodborne, you’ll receive 20,460 Blood Echoes and the Blood Rapture Rune. This Rune will heal you +200 HP every time you perform a Visceral Attack. Make sure to equip it into your Rune slots from the Hunter’s Dream to activate its benefit.