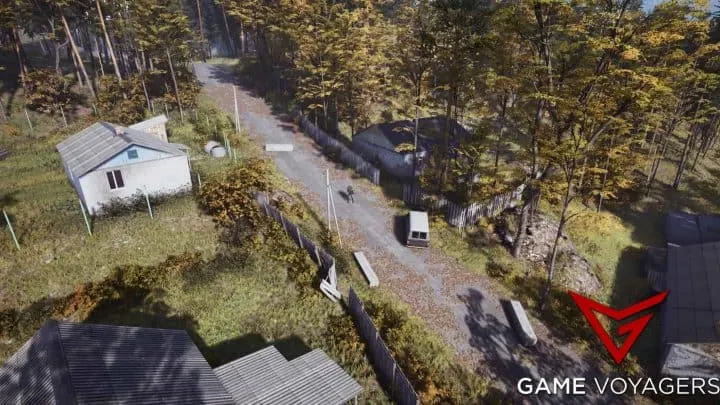
When you first load in to Deadside, the entire premise of the game seems simple. It looks very similar to games such as DayZ or PUBG, so it doesn’t seem that complicated.
You’ll soon realize that there is a lot more to the game than it seems. Base building is slightly more complicated than other games, and the weapon system takes getting used to.
We’ve been playing Deadside a lot recently, so we’ll tell you everything you need to know about playing the game.
Where and How to Loot
The core gameplay of Deadside is looting, which will allow you to get a ton of weapons and valuable items. There is gear literally everywhere you go, so you just need to know the best places to get it.
The most common way to get low-tier loot is to explore the many towns around the map. These are the named locations you’ll see, and most of them hold a ton of low level loot.
If you explore a bunch of these locations, you’ll eventually have so much loot that you won’t be able to carry it all. To carry more items, you need to wear jackets, pants, and backpacks that have more storage slots in them.
You can only carry 2 primary weapons and one secondary, although you can put secondary weapons into your inventory to sell later. Some items are very valuable, such as batteries, so you should save those to sell.
Basically everywhere you see signs of buildings and people, there will be loot nearby. You may see player made bases, but you can’t raid them in the current early access form of the game.
How to Get Better Gear
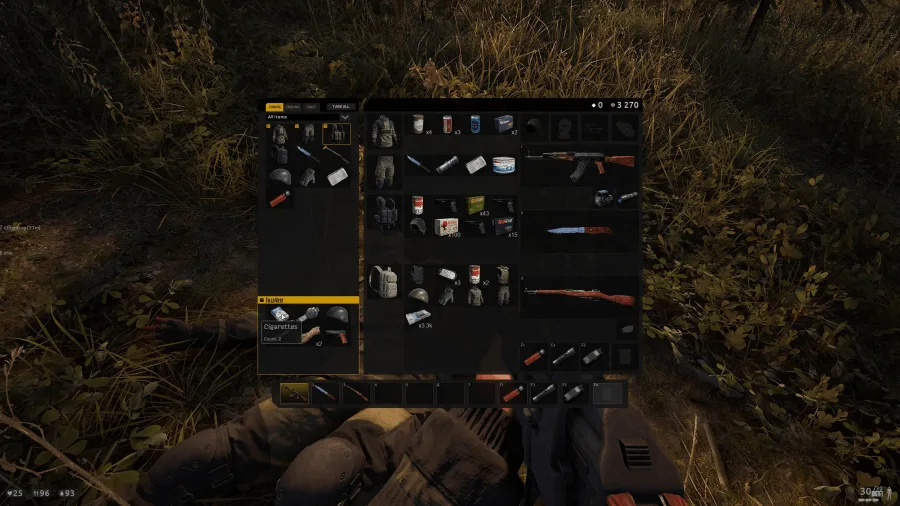
Your character in Deadside is pretty much useless without some decent gear, but fortunately, it’s quite easy to get.
The other day I spawned in and immediately got attacked by NPCs. I managed to take one out with the starter knife and used the double-barrel to take out the rest. After dispatching 3 or 4 of them, I had good enough gear to survive in the wild.
With a few weapons, you can easily get more. Food and water can be found in buildings, and NPCs have lots of weapons and items on them. Besides NPCs, there are other players to attack and loot.
My brother and I got a ton of different high-level gear from attacking players at a military base. Other people can be the best great source of gear, so always be on the lookout for them.
Military bases are my favorite way to get high level gear, but you need some decent weapons to clear it of the NPCs. Even if you have a low damage weapon, you can sometimes go in there and come out with higher end gear.
Safe zones are great places to buy and sell items. Sometimes other players will be willing to trade you gear in exchange for other resources. There’s a guy in my server who’ll trade me 5,000 in game currency if I give him burlap or sheet metal, which works out pretty well for me.
One of the best ways to get gear is with money, which isn’t too hard to get.
Getting Money
Money is pretty important in Deadside. With money, you can buy food, water, bandages, ammo, weapons, and more. A lot of the weapons are overpriced, so it’s better to save your money for supplies.
You can get those same weapons basically for free by attacking other people. It’s not worth spending 50k for something you can get free, so just buy the essentials.
Selling items is by far the easiest way to make money in Deadside. You can get so many items in a single loot run. The best areas I’ve found for loot are military bases, which are marked by a white dot on your map.
The next best way to get money is by completing missions, which are marked by the red waypoint on your map. There are several difficulties of missions, but they’ll give you a chest with some good loot inside.
Selling rare weapons and armor will give you a ton of money, and selling small items will really add up after a while. Items such as moonshine are common, but will get you a decent amount of money.
Some servers have bonus money and events you can participate in. One server I play on has events where the winner will get a nice chunk of cash, and it’s quite fun to play events with other people.
Missions
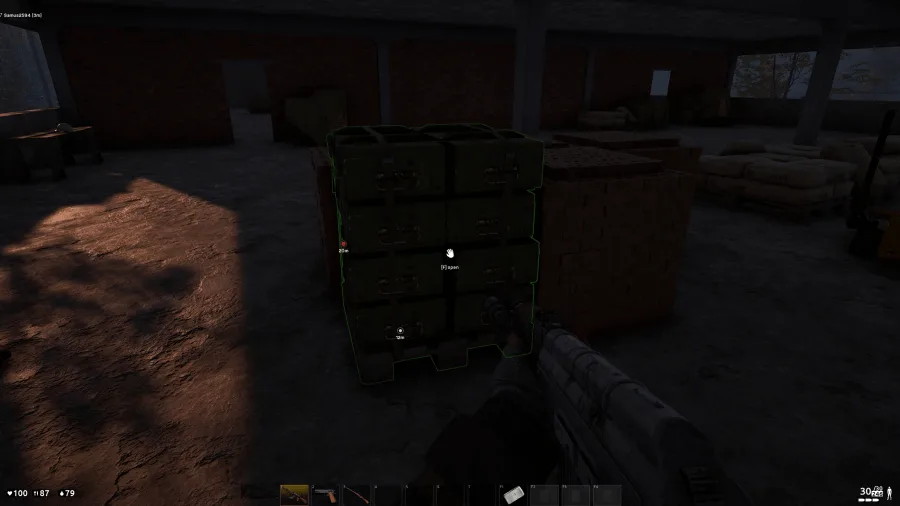
While missions can be the best places to get loot, they are by far the most challenging. I prefer to clear out military bases for my loot, but these missions are a great challenge with some awesome rewards.
There are 4 difficulties, easy, medium, hard, and epic. The amount and quality of the loot you get depends on the difficulty, but they are very hard to complete without a squad of people. But, if you want the highest tier loot in the game, you’re going to have to learn how to complete these.
For each mission, you must eliminate waves of bots. The weapons and armor the bots carry are determined by the difficulty of the mission, so they’ll be harder to take out on harder difficulties.
It’s highly recommended that you have a small squad of friends with you, because the AI seems to have laser accuracy. Leaning around corners with Q and E is also crucial, as the bots have a harder time hitting you when you lean.
One thing you need to watch out for is other players coming to the same mission you are. Having to fight hordes of AI is hard enough, but other players coming to take the loot adds another layer of difficulty.
The key to completing these waves is to find some good cover and bring lots of supplies. Food, water, ammo, and bandages are must haves, and will help to ensure that you survive the mission.
Here’s a great guide to missions I found on Youtube:
Getting Food and Water
Food usually comes in the form of canned goods, can found all over the place in various buildings. Drink comes in the form of sodas, and are equally as common as the food is.
Sometimes it can be very difficult to find sustenance while looting, and it seems like you find less when you start running out of food or water. This is why I always recommend getting some food and drink every time you get to a safe zone.
I like to buy 3 of each, which will see me through a long journey of looting and traveling. When you consume an item, your food or water will slowly go up until the effects have worn off.
Eating and Drinking
In its current state, the inventory system is slightly annoying to use. This leads some people wondering about how their supposed to consume their items.
Your food and drink needs to be placed into your hotbar at the bottom of the screen. Once it’s in a slot, you need to equip it and consume it using the mouse button.
Every consumable will restore a little bit of health, and will bring you food or water levels up slowly after eating it. Sometimes you may need to consume more items if your levels are still low, so be sure to always carry enough items to sustain you.
Equipping Items
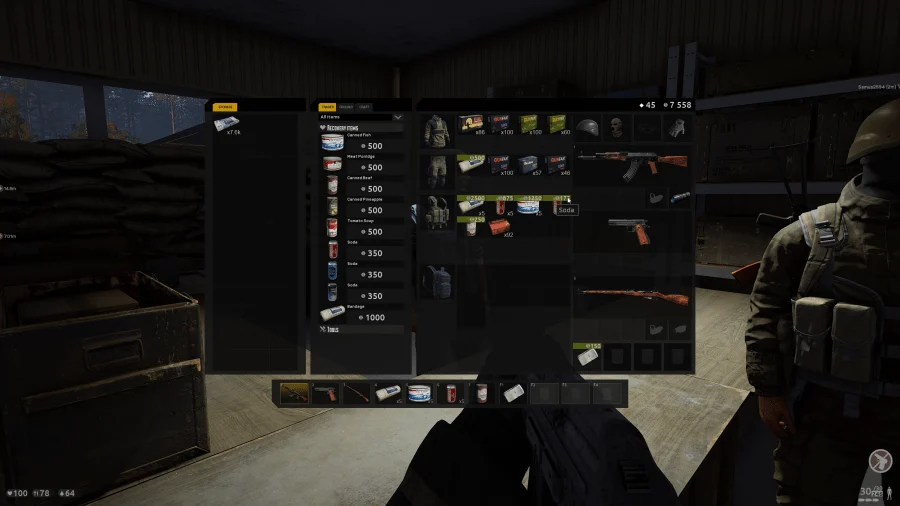
The confusing inventory system also brings about some weird mechanics that confuse a lot of people. One such mechanic is that dragging a weapon to another weapon slot won’t swap them. Hopefully this is fixed before Deadside leaves early access, but we need to deal with it in the meantime.
Equipping pistols is another aspect that’s slightly annoying. Pistols can only be placed into your secondary slot, not in the primary slots. You need to remove the knife you start with, and then the pistol can be equipped in its place.
Healing items are similar to food and drink, as you need to drag it into a hotbar slot to use it. Nothing can currently be used until it’s in one of the usable slots, so you should get into the habit of putting consumables in the hotbar as soon as you get them.
Crafting Items
The crafting system in Deadside works pretty much like other games. If you have the necessary items in your hotbar, you can craft the item shown in the crafting menu.
You can access the crafting menu by opening the inventory, and then by pressing the crafting tab at the top left. You’ll then see all of the categories of craftable items, which you can expand to view all of the items.
Some items can only be crafted once you’ve crafted another item before it. For example, you use logs to make boards, which you can then use to craft beams or plywood. Each item takes a little bit to craft, which leaves you vulnerable to getting attacked by other players.
Be sure to always get to a safe location before attempting to craft items, especially when you’re low on health.
Healing Yourself
Currently the only way to heal damage is to use bandages, whether you craft them or buy them. The ones you can buy at the store cost 1,000, but heal the most health.
You’re able to tear clothes into rags and turn them into bandages using either rubbing alcohol or liquor. This is better for emergencies, as some liquor can sell for more than 1,000, and you can buy a better bandage with that amount.
It’s likely you’ll get injured often, so gathering a stack of rags for healing is a smart move. You’d hate to die as a result of not healing enough, so it’s better to be safe than sorry.
Joining and Leaving Squads
You can start a new squad simply by finding someone in game and pressing F on them. This will send them an invite to the squad. which they can then accept by pressing F5
When someone is in your squad, you’ll be able to see them on the map and they’ll have a marker over their heads. Each time you leave the game, you’ll have to make another squad. If you’ve created a base with your friends, they’ll only be able to use the doors of the base if they’re in the owners squad.
You can leave the squad by pressing M, and going to the top right corner of the map.
How Storages Work
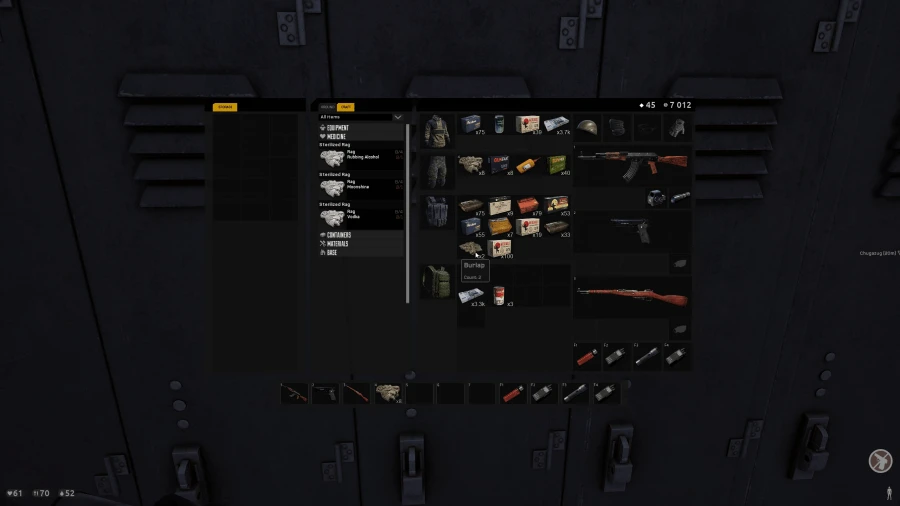
There are a few types of storages in Deadside, and all of them work differently.
Safe Zone Storage
Safe Zones are the easiest way to access storages. In every Safe Zone, there’s a storage with 12 inventory slots. You can access these by going to the lockers, or simply by talking to the people running the shops.
You can get 18 more storage slots by purchasing the Deadside Supporter Pack, which I highly recommend. This storage is incredibly useful for storing money and extra weapons, and having double the storage helps you out quite a bit.
The best use of the Safe Zone storage is to keep all your money there as well as some decent backup weapons and armor. If for some reason you lose all of your items, you’ll have a full kit waiting there for you.
Get some backup kits in both Safe Zone storages and you won’t have to worry about not having weapons when you die. It’s so easy to do that you could have several kits waiting there as backup.
Containers
Containers are storage boxes that you can place around the world to temporarily store items. Their purpose is to prevent items from despawning so that you can come back and get it later.
Let’s say you got into a fight and got a ton of good weapons from it. You can only carry two primaries, so you can place any primaries you want to keep inside a hidden container.
Containers you place will show you a waypoint on the map called “Loot Stash.” This allows you to easily come back to it,
Base Storage
These boxes are the ones you craft and place at your base. There are a couple different types, but they work just like storages do in any other game. They’re good for storing crafting materials and a weapons, though I prefer to stash my best items in the Safe Zone storage.
There is currently a glitch where players can access storages if they’re touching the outside wall of the base, leading to items be stolen quite often. Until this is fixed, you should place your base storages a few feet from any outside walls to keep them safe.
Getting Wood
Building a base requires a massive amount of wood, which starts with chopping a ton of logs. You’ll need to buy an ax at the store or find out while looting, and then you get get to chopping.
You can only have 4 logs in a stack, so it will quickly take over all of your inventory slots. I recommend you have a good backpack and clothes with many inventory slots before you start gathering wood. Placing a few containers near your base site is also a good idea to store wood while gathering.
Claiming Land
Before you can do any building, you must claim a piece of land as your own. The only problem is that it can take forever to find a decent location, as it has to be located away from landmarks and other players.
You can craft a land claim in the crafting menu, and you can use it by finding it in your inventory, right clicking it, and pressing “Use.” Then, you’ll take the land claim out and see a sign in front of you.
If the sign outline is red, you can’t place the land claim, but if it’s green, it’s a viable location. It can take forever to find a location, but once you do you can get straight to building.
How to Build a Base
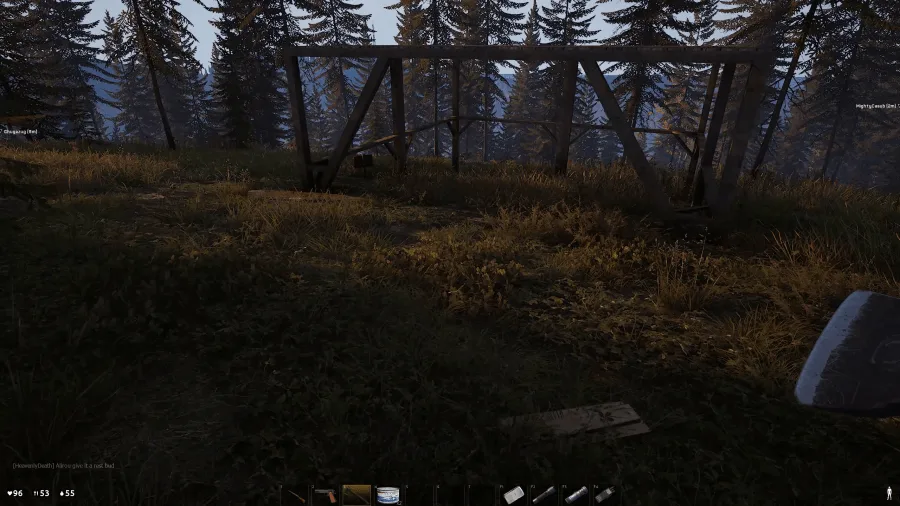
Base building is quite different in Deadside, and may confuse a lot of people at first. Once you have your land claim up, you need to place a scaffold, which is the basic foundation of a base.
From the scaffold, you then need to craft a deck to use as a floor. Depending on the scaffold you used, you may need to make another scaffold on top to allow the construction of walls.
There are larger scaffolds that already have spots for walls, as well as spots for a second floor. My preference is to start with a 1 block side base to store items in, and then to craft your larger base off of that one.
You can spend as little or as long building as you’d like. Base building isn’t essential like it is in other games, especially with the inclusion of Safe Zone storage. The entire purpose of building a base is to store items, so you don’t have to spend time building if you don’t want to.
Conclusion
Deadside is still a brand new game, so some these mechanics are expected to change over the course of development. This will be updated over time as new mechanics are released so that it’s constantly up to date.

