Rust has a brutal open-world design where you are constantly worried you might run into an enemy player and lose all your progress. There is another fear of getting raided that always looms over your head, the fear of seeing your beloved base crumble into pieces by some pesky players.
Alliances are made and broken just as easily and there is always the reality of snakes living comfortably in your house. The PVP element is robust and in many cases punishes the weak. Raids are the pinnacle of gameplay here and the tension of getting annihilated in your fortress is very likely.
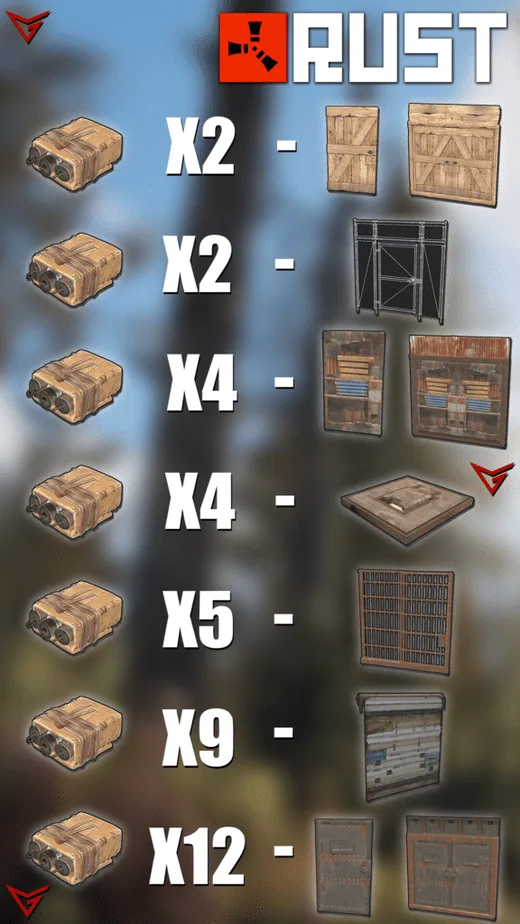
Armored Doors are the best to close off sections in your base and have great potential to block and absorb damage. As for Armored Doors, it takes 12 Satchel Charges to completely destroy it, considering none of them fizzle out to be duds. So consider other means of explosive armaments to deal with these doors.
The way one prepares for such possibilities in Rust is by building an even more impenetrable base by putting up the best and most defensive building materials to fortify oneself. There is a constant standoff between base building or upgrading and an effective arsenal to take it down. Knowing both sides will only add to your survivability in the world of Rust.
Satchel Charges are the earliest form of high damage explosive players get acquainted with and depending on progression you will be facing them a lot. And if you have upgraded your homestead to the Armored Tier then you will have to know how much punishment they are willing to take.
Satchel Charges
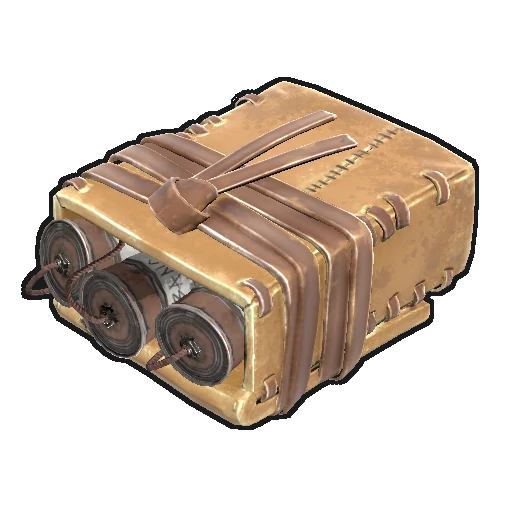
The world of Rust is filled with explosive items and ammunitions of all kinds but the anticipation that comes with Satchel Charges is unnerving if it works then you are surely getting your money’s worth. The nervousness to effectiveness ratio of this item is worth it in most early cases but becomes inefficient in the later harder stages.
The basic stats that govern the Satchel Charges are:
| Damage | 475 |
| Explosion Radius | 4 m |
| Explosion Delay | 6–12 sec |
| Dud Chance | 20 % |
These charges are best at taking down un-upgraded sections of a building like Wood and Stone ones only. But the fact that these explosives have a random timer when placed or the chance that they become useless is there then it is best that it should be used according to the situation rather than a be-all solution to every explosion need.
Related: How to Destroy a Wooden Door in Rust (6 Easy Ways)
Obtaining Satchel Charges
The Satchel Charges can be found in the world while exploring and don’t need to be crafted only. The chances of finding a Charge in the open world without reverting to crafting are listed below:
| Container | Amount | Chance |
| Supply Drop | 2 | 29 % |
| Sunken Chest | 1 | 1 % |
| Crate | 1 | 1 % |
| Underwater Lab Blue Crate | 1 | 1 % |
| Oil Rig Scientist | 1 | 0.2 % |
| Patrol Scientist | 1 | 0.2 % |
| Arctic Scientist | 1 | 0.2 % |
| Military Base Scientist | 1 | 0.2 % |
| Cargo Ship Scientist | 1 | 0.2 % |
| Excavator Scientist | 1 | 0.2 % |
| Underwater Dweller | 1 | 0.2 % |
| Tunnel Dweller | 1 | 0.2 % |
Crafting Satchel Charges
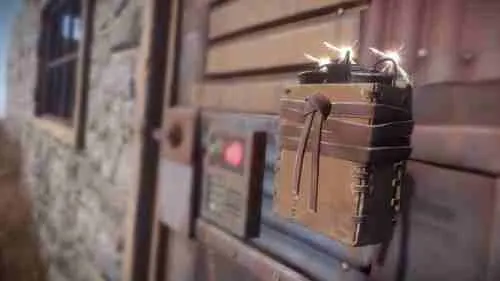
Though they are available in the world running into one is sometimes hard and some situations require a quick stocking. Hence, there are ways you could craft this explosive with the items you have acquired while looting the world. Crafting will give you more power and control over how much you need.
The items required to craft Satchel Charge are:
| Icon | Name | Qty | How to Obtain |
| Rope | 1 ft | Can be often found in barrels near the sewing kits. You can recycle them to obtain more rope! | |
| Sulfur | 480 | Can be found in its ore form in sulfur nodes. However, it needs to be smelt in a furnace before use. | |
| Charcoal | 720 | Is the byproduct of wood after the smelting process. Keep as much as you can. It’s really useful in late-game. | |
| Cloth | 10 | Can be farmed with hemp and hemp seeds. The easiest way to farm it is by implementing planters. | |
| Metal Fragments | 80 | Smelted from Metal Ores and can be extracted by a Giant Excavator in bulk. |
When you have the above-mentioned items in your inventory then it’s time for the elaborate crafting process. Each step of crafting is listed below:
- Create 240 Gunpowder by mixing 480 Sulfur with 720 Charcoal on a Level 1 workbench.
- Use 10 Cloth to create a Small Stash and gather the Beancan Grenade and Satchel Charge Blueprints.
- Now, add 240 Gunpowder with 80 Metal Fragments on a Workbench to make 4 Beancan Grenades.
- Finally, add the 4 Beancan Grenades with a Small Stash and 1 ft Rope on a workbench to create a Satchel Charge.
Related: How to Get Tech Trash in Rust (6 Easiest Ways)
Armored Door
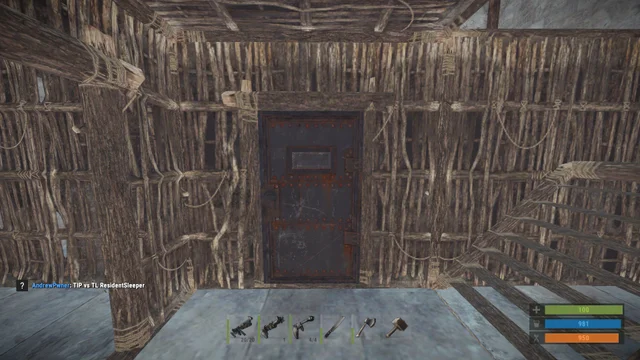
This door is the peak of defense capabilities your base can get in terms of entrances. Everyone is quickly building their way toward this armored tier. It provides the best resistance against all types of damage in the game. There is a slim chance that you can find these doors from different sources:
| Container | Condition | Amount | Chance |
| APC Crate | 100 % | 1 | 30 % |
| Locked Crate | 100 % | 1 | 14 % |
| Elite Tier Crate | 100 % | 1 | 3 % |
| Underwater Lab Elite Crate | 100 % | 1 | 3 % |
| Helicopter Crate | 100 % | 1 | 1 % |
| Heavy Scientist | 100 % | 1 | 0.4 % |
We recommend that you never put an armored door as your main front door or one that can be easily spotted from outside, to avoid the chance that players will catch a glimpse of it and you become the target of a raid as the door will allude to a valuable being guarded inside. Place them deep within the base to create choke points. Some other stats related to this door are:
| Upkeep | |
| Decay | 12 hours |
Related: Nine Best Ways to Get High-Quality Metal in Rust
Crafting an Armored Door
An Armored Door being the best defensive measure requires some extra effort to be crafted. You need to know all that is necessary to craft them to be able to upgrade and properly defend your base against raiders.
The items required to craft this door are:.
| Blueprint | Ingredients | Time | Workbench Level |
|---|---|---|---|
| 30 sec | III | ||
| 1 sec | III |
To get the blueprint for the Armored Door you need to first follow this table:
| Tool | Requirements | Scrap Total |
|---|---|---|
| 500 | ||
| 625 |
Should You Use a Satchel Charge to Destroy an Armored Door?
The Satchel is a good match for anything below this tier of Armored Door. Though you must keep some in your inventory for cost-effective destruction but for this tier this is very ineffective. The exact number of required Satchels to take out only one Armored Door is listed below long with a list of damage done by each:
| No. Of Satchel Charges Used | HP Remaining |
| 1 | 740/800 |
| 2 | 660/800 |
| 3 | 590/800 |
| 4 | 520/800 |
| 5 | 449/800 |
| 6 | 379/4800 |
| 7 | 309/800 |
| 8 | 239/800 |
| 9 | 169/800 |
| 10 | 99/8000 |
| 11 | 29/800 |
| 12 | Destroyed |
Yes, you saw that right it requires 12 Satchel Charges to destroy an Armored Door. Who has the time or resources in the middle of a raid to do that. So it’s best that structures with these doors are to be approached with better explosive weaponry.
For a better explosive it requires 2 Timed Explosive Charge or 4 Rocket to destroy, even that is substantial for a bunch of doors.
Satchel Charges are to be left behind in exchange for Timed explosives or Rocket when it comes to the Armored Door. Luckily we have imparted this knowledge before you embarrassed yourself with using relatively crackers in front of these toughened entrances.

