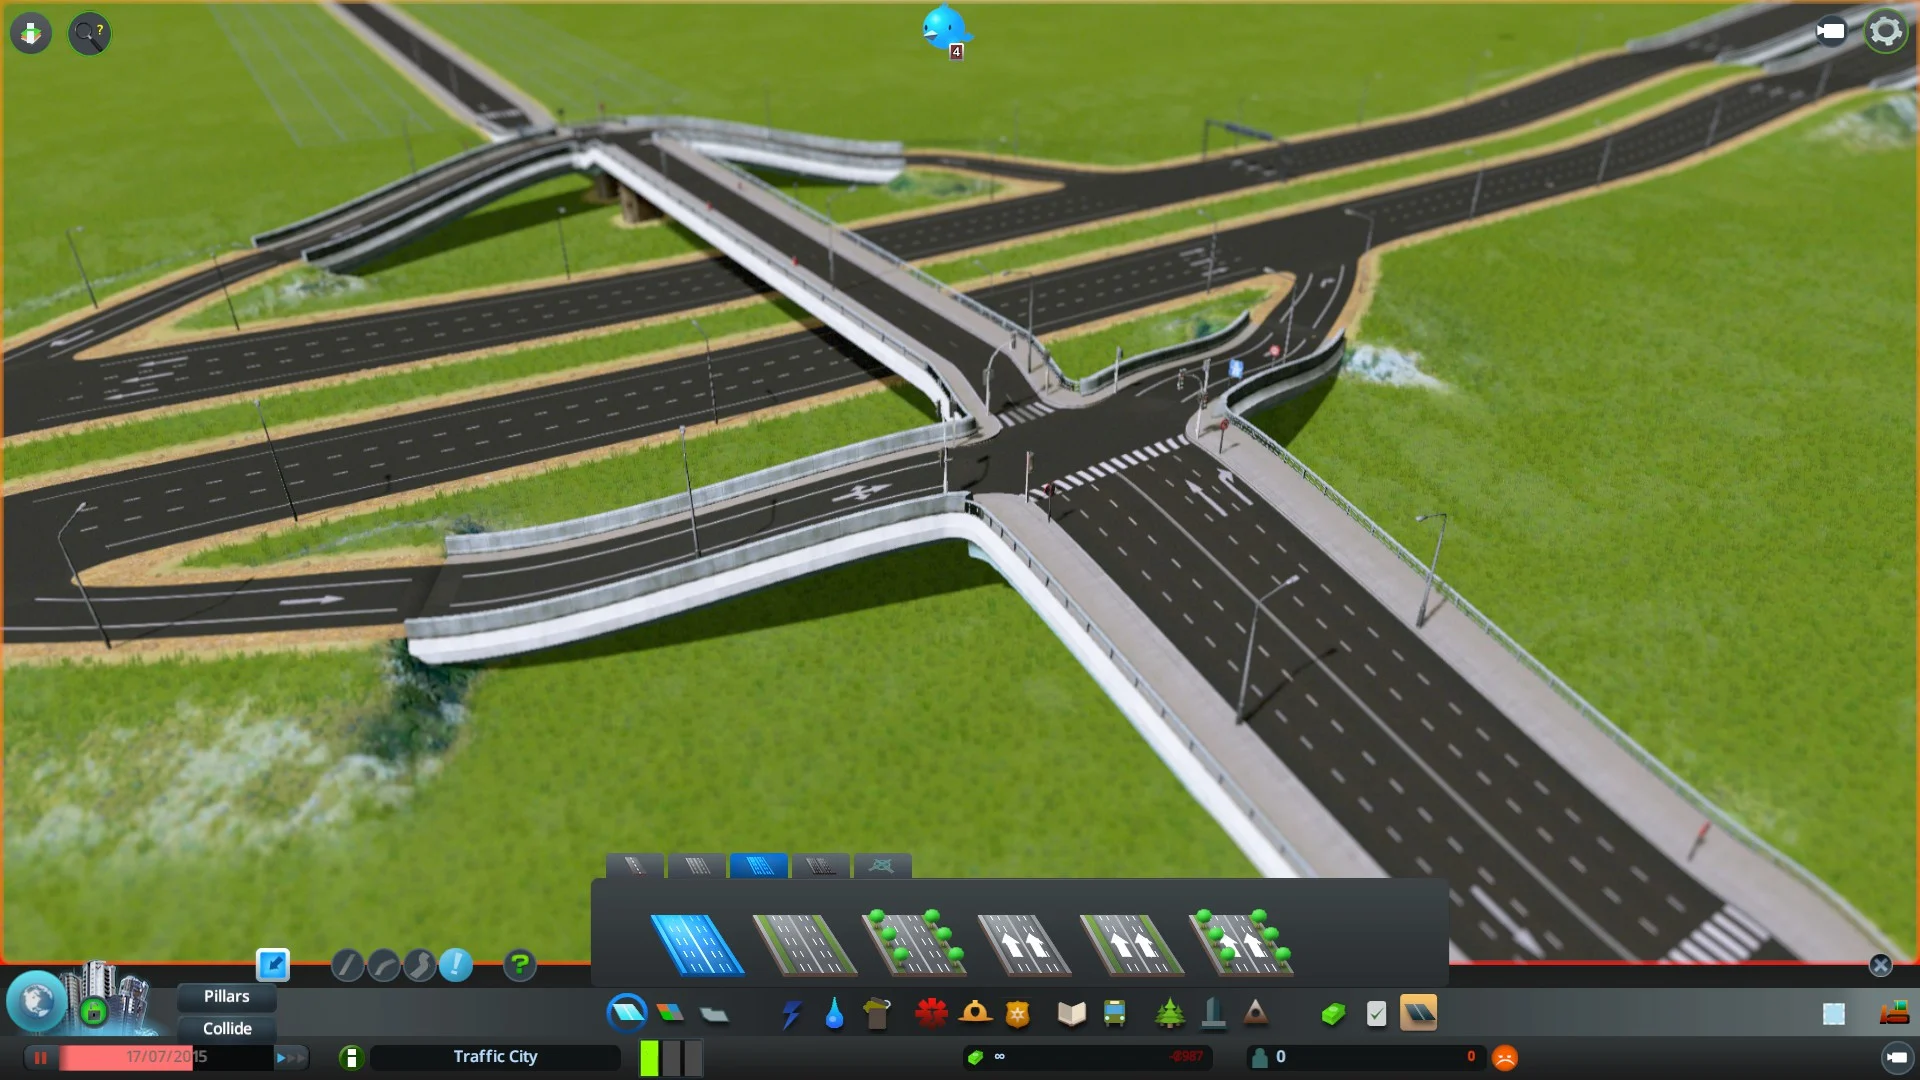
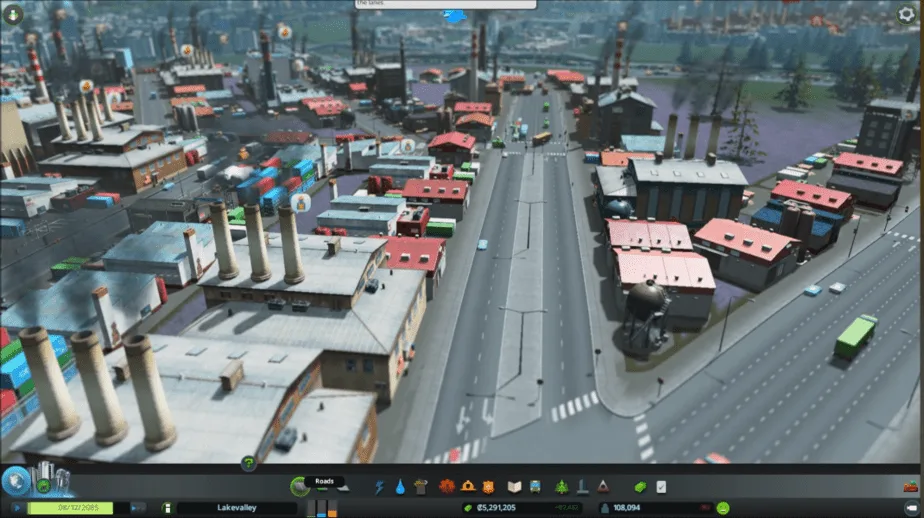
As you start Cities: Skylines, initially you will not have many roads. However, as you continue to unlock new milestones, you will obtain many new roads, and they will require several upgrades. In this guide, we’ll be discussing the easiest method to upgrade your roads in Cities: Skylines.
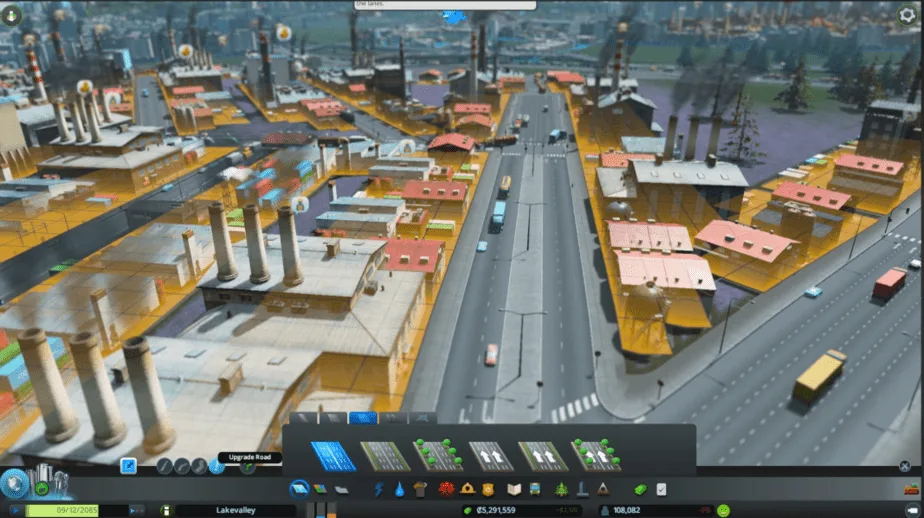
You can upgrade your roads in Cities: Skylines by opening your Building Roads Tab, then Select Upgrade method and finally Click on the road you wish to upgrade.
Cities: Skylines is the type of game that floods you with various systems and mechanics. It can be incredibly hard to keep track of them all. But once you understand the various systems that are at play. It can be an incredibly rewarding experience. Keep reading to learn more about roads in Cities: Skylines.
Related: Not Enough Raw Materials In Cities: Skylines (5 Fixes)
Upgrade Roads in Cities: Skylines

Cities: Skylines is one of the best city-building simulators that you can play. And just like many other city builders, the roads of the game function as an essential part of managing the city. After all, these roads are what’s going to ultimately deal with the traffic issues and the transport of your population later.
If you’re currently dealing with a messy traffic situation in certain areas. Then to ease the tension within those locations you can upgrade your roads. Besides Rotundas, upgrading your roads can be one of the most efficient and easiest methods to deal with traffic in the game.
Depending on your need you can either reduce the size of the upgraded road or you can increase the size of the road. It all depends on what your requirement is at that particular moment in time. A larger road will accommodate more people, but a smaller road can give you more land for construction and building.
so what’s the easiest and simplest way to upgrade your roads? We’ll be going over all the necessary steps in the following section:
1) Open the Building Roads Tab

Now that we’ve understood the utility and advantages of upgrading roads let’s jump into how we can upgrade them. First, and foremost we need to navigate to our Building Roads tab. You can find this in the bottom center of your screen. To the far left there will be a blue icon that depicts a Road. Click on that.
Once you click on that you should be able to see a multitude of different options for creating new roads for yourself. These will be small roads, medium roads, highways, intersections and so many more. More options will become available to you as your city gains population.
2) Select the Upgrade Method

Now that you’ve entered the Building Roads Tab, you should find a host of different options. It’s a good idea to familiarise yourself with all of the options available on the Building Roads tab. However, the most significant option for us will be the Icon to the far right.
The icon you see to the far right should be a Blue Exclamation mark. It should quite clearly be visible, and might even have a color change depending on whether you have an upgrade available for one of your roads or not. The process from here on out is vastly simple. Just click on the Blue exclamation mark to upgrade.
Related: How To Get More Workers In Cities: Skylines (4 Ways)
3) Select a Road to Upgrade

Now that you’ve selected the upgrade method. The next step is fairly simple, you merely need to select the road that you wish to upgrade. The simple method to that is by dragging your cursor to that specific road and then simply clicking on it. Once you do that road will be selected for upgrading and will be automatically upgraded for you.
However, depending on the type of the road itself there might be a few additional prompts. The most important additional prompt shows up if you are upgrading a one-way road. When you Right Click this type of road then you can change the direction of the road in the upgrade mode.
Finally, it can be important to recognize when your roads are incompatible with each other. You might receive an “I” shaped signifier on top of roads that cannot be connected. These can be quite a hassle for your drivers. So make sure to fix this issue as soon as possible.
Potential Problems with Road Upgrades
Although the process of road upgrading is simple. Nonetheless, you can run into some major problems if you’re not careful with which road you upgrade at the end of the day. I’ll discuss some potential issues here so that you can keep an eye out to avoid them whilst upgrading roads in your own city.
Buildings Might Get Destroyed
There are some negative consequences that you can face if you upgrade the wrong road. Roads have an impact on the buildings that are built around the roads themselves.
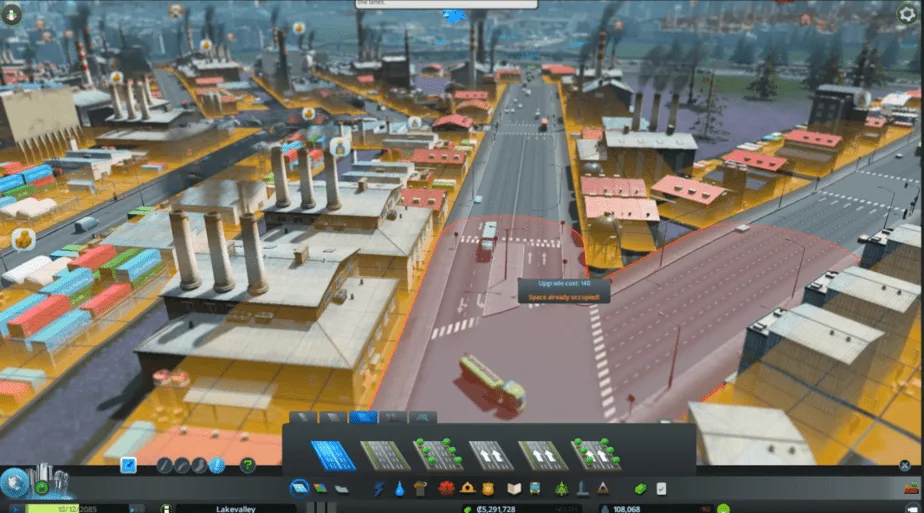
If you change the road from a basic 2-lane road to a four-lane road then because the roads are going to be wider, any buildings on their side will be destroyed.
This can be quite a hassle. Because to upgrade your road, you will have to sacrifice an entire building for a commercial purpose. In some cases, this might be used to solve the problem of congestion. However, most times you would like to only upgrade roads that can be safely developed further.
Related: How To Make Money In Cities: Skylines (Ultimate Guide)
Bus Lines Get Destroyed
Many times, after you’ve optimized traffic, upgraded your roads, or even simply changed the roads. Then the bus lines that you had set up get destroyed. This can be quite a problem. Because you will have to figure out where to place the new business. Or your old bus lines might not connect at all.
It’s important to still upgrade and change your roads though. But you can do so, after changing the color of the lines for your Buses. This will ensure that you don’t lose track of your Bus lines even after you upgrade your roads.
Ultimately, upgrading your roads in Cities: Skyline is a simple task. I hope this guide has helped you improve your roads. For more information like this, check out our other guides related to Cities: Skylines.

