re are very few moments in gaming that are as exhilarating or as pulse-pounding as finally taking down that annoying Dark Souls boss that you found yourself stuck on for a while. The frustration and anger you might feel towards some of these devilish nightmares are all meant to be part of the experience. Without the difficulty, the sense of relief and accomplishment at your triumph would be nowhere to be found.
Let us see where we can place each boss in Dark Souls in terms of difficulty. The bosses are the focal point of this game, and you are in for a wild ride.
26. Pinwheel

When most players feel they are at a high enough soul and skill level to face the dreaded Catacombs, this boss ought to be an absolute pushover. It might be different if an unfortunate, misguided player faced him as their first boss.
He has an incredibly limited move set, beginning with summoning two clones of himself, firing a single magic spell, and eventually doing an AOE (Area of Effect) attack that will do minimal damage unless you do not simply walk away from it. Simply pursue the nearest clone, and a single hit will cause the illusion to break.
Once you find the real Pinwheel again, get as many hits as possible because striking him will cause a new cycle to begin. Rinse and repeat until he is dead, and you will be given the Rite of Kindling, allowing you to kindle bonfires further so you can carry ten Estus after resting there.
Overall Difficulty: .5 out of 10
25. Moonlight Butterfly
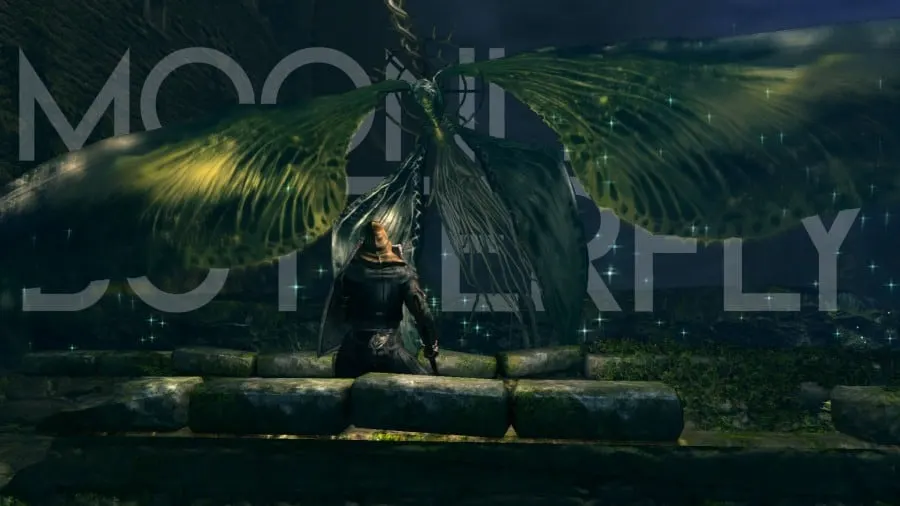
The Moonlight Butterfly is a boss that is easy for every build but laughably easy for magic or a pyromancy build.
The boss will float around parallel to the bridge the player is on while firing two magic attacks, one which fires six “soul arrows” at the player and the other firing a single homing mass. The recommended strategy is to “tank” the arrow attack and dodge the homing attack. Tanking lets the attack strike your shield, knowing it will damage you but not nearly as much as a mistimed dodge.
Rinse and repeat until the boss lands in the middle of the bridge and then goes to town on her. Most players should be able to defeat her in two cycles but doing it in one is possible if the player has magic attacks or pyromancy to use while the Moonlight Butterfly is in the air. Hitting the wings will not damage him, so be sure to wait until she has stopped moving so you can strike at her body.
Overall Difficulty: 1.5 out of 10
24. Asylum Demon
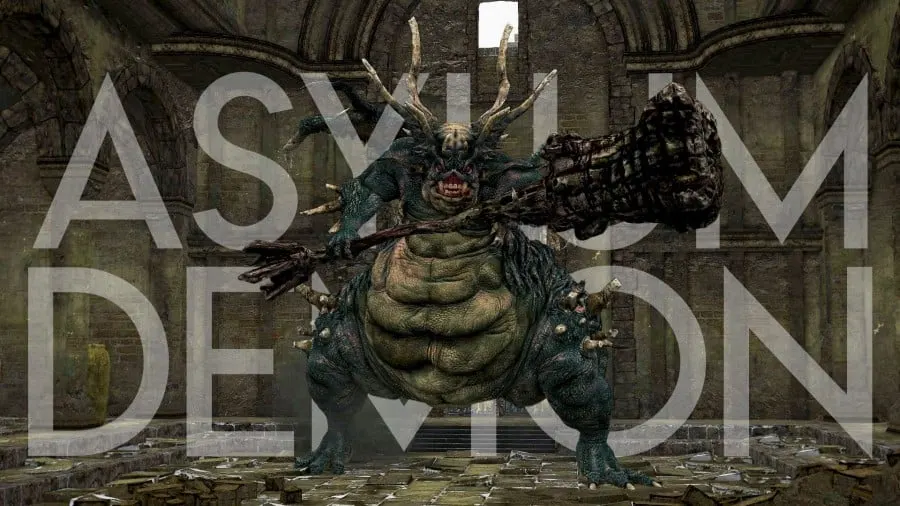
As the first boss you encounter in the entire Dark Souls series, it should be no surprise that the Asylum Demon is also one of the easiest. To a first-time player, this boss serves not only as a rite of passage to the actual game but also as a tutorial on how almost every boss they will face should be approached.
He serves as a lesson that Dark Souls does not play fair. When you first encounter him, you are not meant to fight him but rather to run to safety through a door on the left side of the arena. It is a moment that says, “this game will not hold your hand,” which might put off some gamers but made me want to beat it even more.
Use the plunge attack opportunity at the start of the real fight, get around behind him, and wail on his butt ( a strategy that works for ninety percent of these bosses). Watch out for his slam attack, though, which he does by first flying into the air.
Overall Difficulty: 2 out of 10
23. Taurus Demon
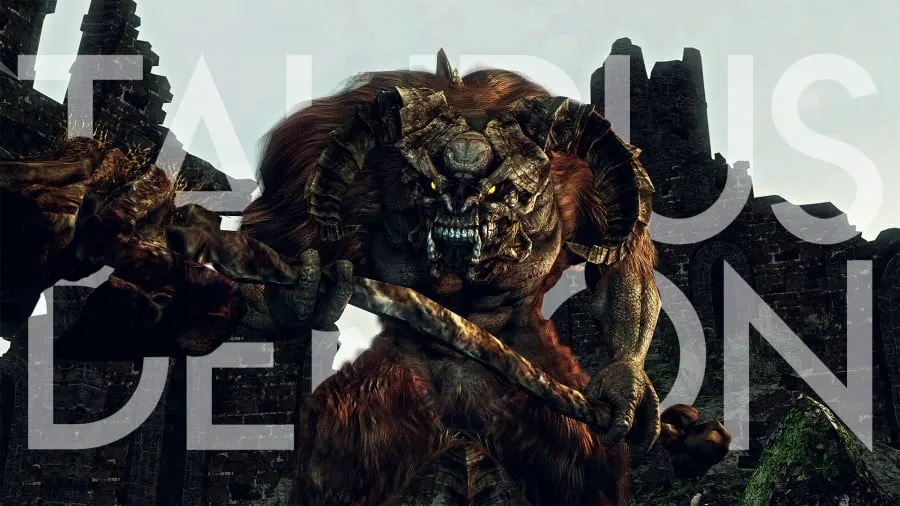
Typically, most players will have to face the Taurus Demon as their first “real” boss of the game. His sudden appearance is meant to surprise and frighten the player, causing them to become unnerved and scramble around, looking for help, but if the player stands their ground, this is a boss that most can beat on the first try or two.
You can use a famous “cheese” strategy if that doesn’t work. Before the fight begins, turn around and climb the ladder to the left of the fog gate, kill the two skeleton archers atop the tower, and go back down.
After the boss spawns and jumps down, run back to that tower and use a plunging attack on him, then run past him to the other side. Wait for his next slam attack with his great hammer, then run past him to the ladder and repeat the plunging attack strategy until he dies.
Overall Difficulty: 2.5 out of 10
22. Dark Sun Gwyndolin
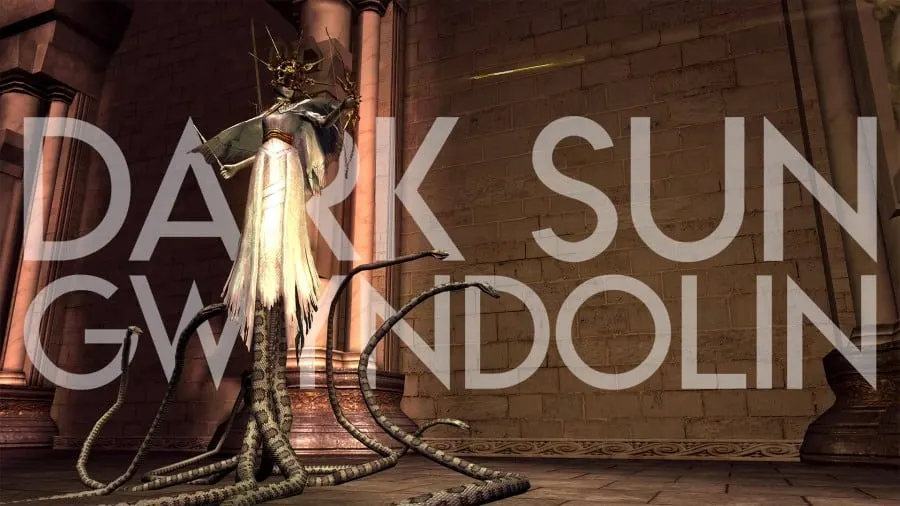
Some bosses of the series can be labeled as “gimmick” bosses or bosses that do not pose a physical challenge but rather a mental one. Gwyndolin is not a hard boss at all, but you will have a bad time if you charge into the fight recklessly.
First of all, the pillars on the sides of this endless arena are your best friends. Be sure to show them love and hug them often in this fight. Gwyndolin only has three attacks at his disposal, but all three can be your death if you aren’t careful. He can shoot a volley of arrows, cast homing orbs, or unleash a stream of deadly energy.
The best advice I can give for getting in close is to tank the hits from the arrows and time your rolls for the magic attacks, weaving in and out from behind the pillars on whichever side you prefer.
When you finally get in close, continue to swing even after he has teleported because he will still take damage for a moment after leaving. Using this trick makes this annoying fight only half as long.
Overall Difficulty: 2.5 out of 10
21. Gaping Dragon
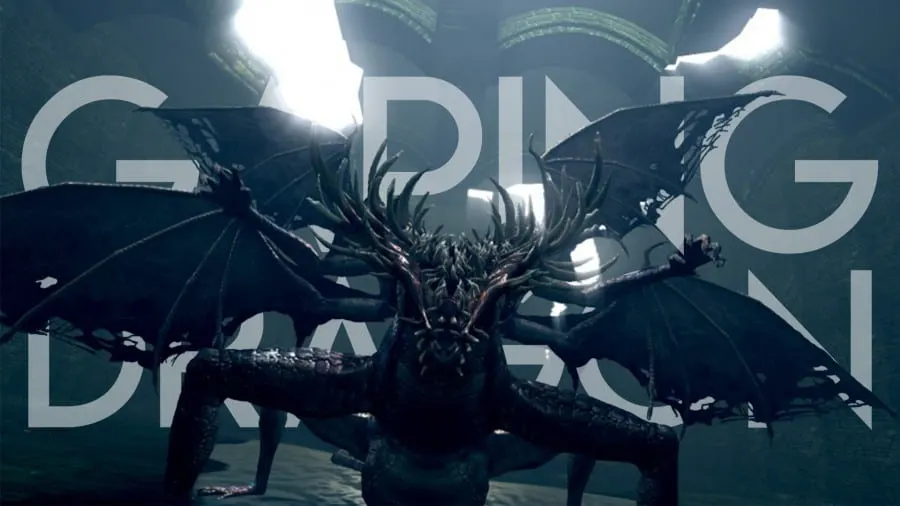
Seeing this boss coming over the spillway only to realize in a moment that you only saw his head was a fantastic way to introduce him.
That said, this boss was easy on my first playthrough, and I didn’t even come close to taking damage in NG+. His attacks have incredibly long windups, it is very easy to get behind him and attack his tail (which gives you a cool weapon if you whack it off), and as long as you don’t stand directly in front of him when he raises to slam, you will have more than enough time to heal after every attack.
The only thing that might mess you up is the acid-strewn pools around the arena. Take note of the safer areas and try bringing the fight there as often as possible. This boss might even be hard enough to qualify as a final boss for any other game, but he just gets points for being initially scary-looking here.
Overall Difficulty: 3 out of 10
20. Iron Golem
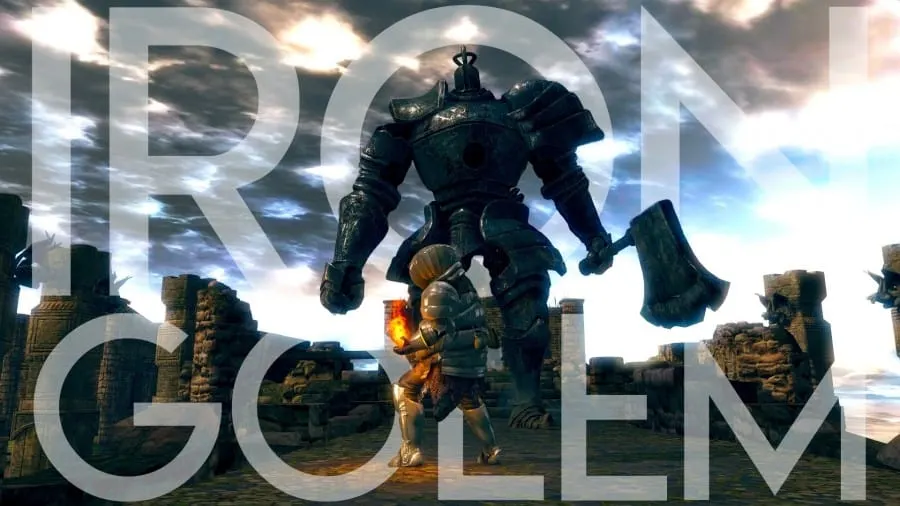
Sen’s Fortress was one of the coolest areas in the game, so I was a little disappointed to end up fighting in this extremely mediocre boss encounter. He has very slow windups but powerful attacks and, depending on your vitality levels can kill you in one hit occasionally. At every attack, simply roll forward toward his right leg and keep attacking it.
If you keep attacking only one of his legs, he will eventually fall completely, and if he is close enough to the edge, he will fall off. This is made even easier if you have a strong enough lightning weapon. It’s a shame that such a boring boss is sandwiched between Sen’s Fortress and Anor Londo, two of the best areas of the game.
Overall Difficulty: 4 out of 10
19. Ceaseless Discharge
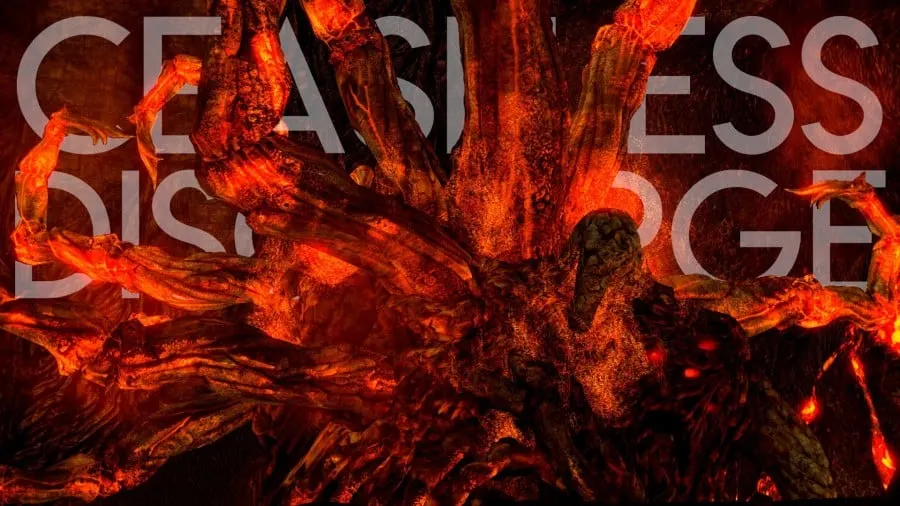
Almost every boss in this game section can be difficult for the wrong reasons. Clearly, From Software was in a time crunch and did not put anywhere near the effort that can be seen everywhere else.
However, Ceaseless Discharge has an unintended exploit that you can use for a very easy victory if you so desire. As soon as you awaken him, run back to the fog gate and simply wait. He will walk to the edge of the “lavafall” and then reach out to hit you but plummet to his death instead.
Without this exploit, he can be viewed as a test of your soul level because you are guaranteed to get hit, and you will have to dole out the damage fast.
Overall Difficulty: 5 out of 10
18. Gravelord Nito
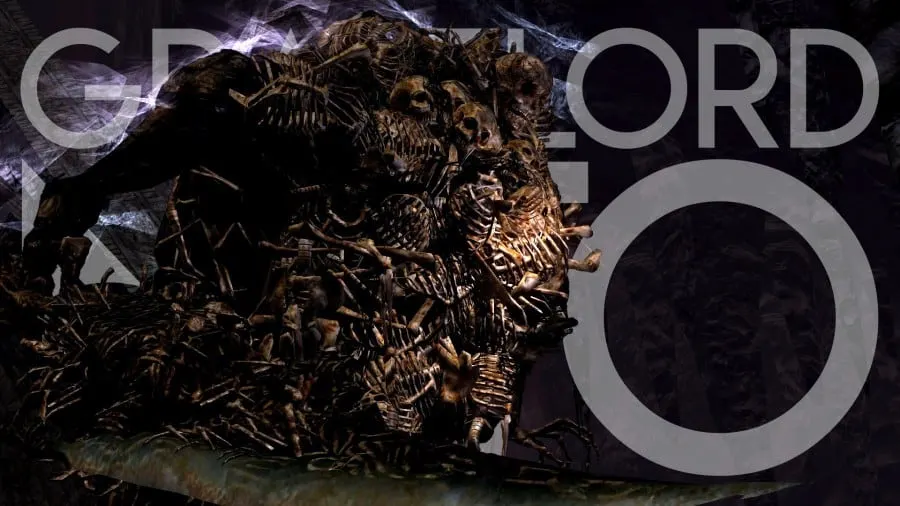
The design of this boss is simply terrifying, and some of the secrets you can discover about him are cool. The fight with him, however, can become simple as long as you keep a cool head and don’t let his appearance get to you.
You only need to worry about staying close to him and trying to get behind him as often as possible. All his sword attacks are from the front, and the only attack that can get you here is an AOE attack with the longest windup imaginable.
You may be tempted to worry about his skeleton minions, but don’t even bother with them. If you stick close to Nito, then when he does the AOE mentioned above, it will kill all of them, and he will have to stop and summon new ones, which is a great time to attack.
Overall Difficulty: 6 out of 10
17. Crossbreed Priscilla
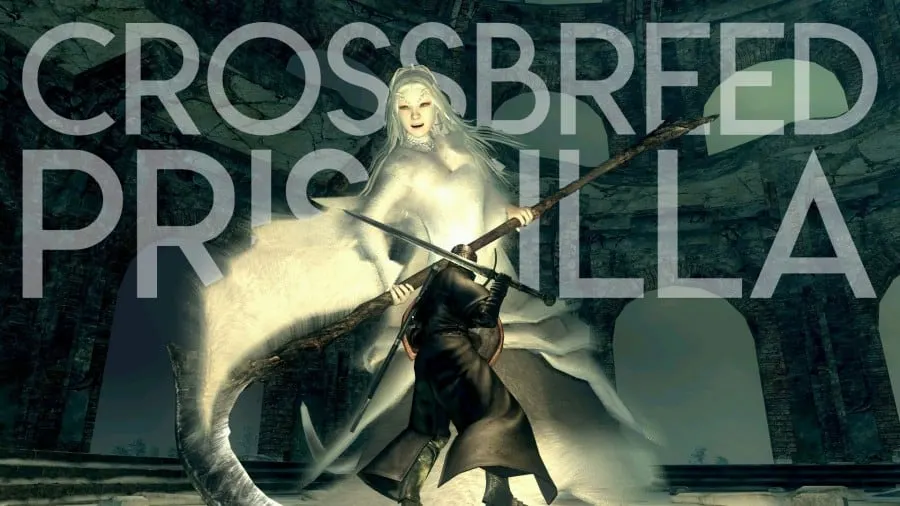
This boss is aptly named because she is a “cross” between a standard boss and a gimmick one. During the fight, she can turn invisible in an attempt to get around behind you for devastating attacks that have a bleeding effect. Simply watch the snow in the arena for her footprints and ensure she always stays in front of you.
As for when she is visible, stick to her furry tail and don’t let her frost breath get you. Most players should find this part very easy, especially if they have explored enough to find her.
Overall Difficulty: 6 out of 10
16. Seath the Scaleless

The Ring of Sacrifice. It has one real use, and chances are you didn’t have it on when you met Seath for the first time, so just kiss those souls goodbye and get ready for sweet revenge.
When the fight starts, you have to get around behind him quickly and break the Primordial Crystal at the back of the arena (he is invincible unless you do this).
Now the fight becomes a simple yet difficult game of keep away as you get behind him as often and as early as you can, avoiding his crystal breath and waiting for the right moments to attack his tail. He does have a tail attack combo, so stay patient, don’t get too greedy, and you will eventually overcome.
Overall Difficulty: 6.5 out of 10
15. Capra Demon
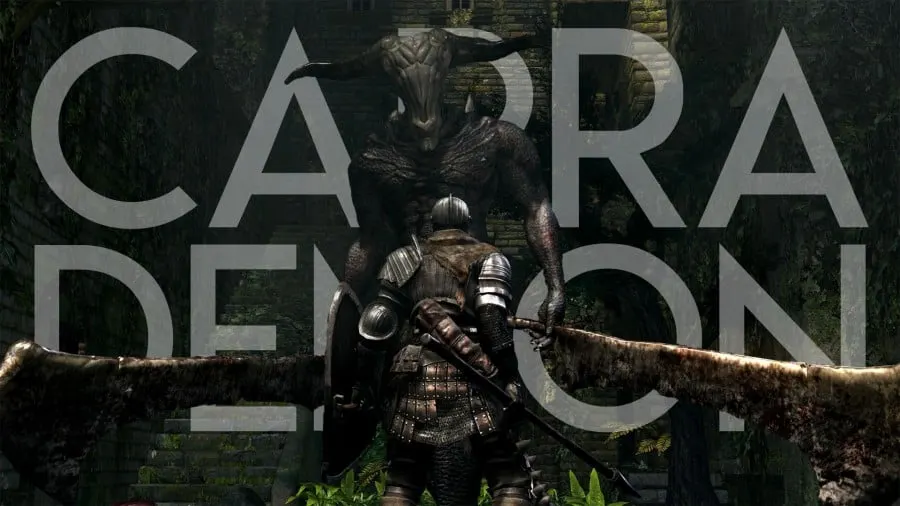
The Capra Demon was my first real roadblock on my journey, so I have placed him near the middle of my ranking.
Upon entering the smallest arena ever conceived, this boss will immediately rush you to make an overhead slam attack and will not relent from his attacks for even a moment after that. He is super quick, has nearly double the HP of the Taurus Demon, and there are two dogs packed in there with you too.
I have found after much practice that the best way to kill him is to go right initially and then immediately roll left to avoid the slam. Run up the stairs and kill the dogs as they chase you, then jump down when the Capra Demon approaches and hit him as he lands behind you, then rinse and repeat until he is dead.
Overall Difficulty 6.5 out of 10
14. Gwyn, Lord of Cinder
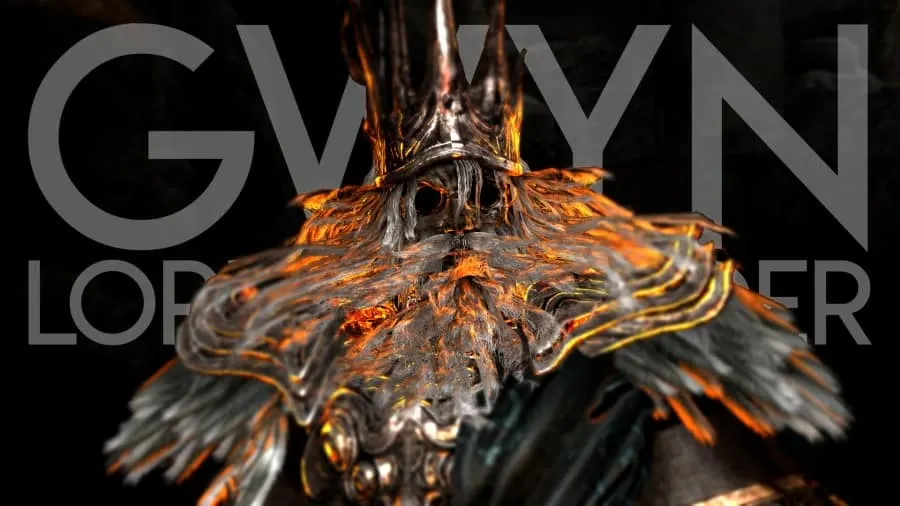
Learn to Parry. That’s it. If you have mastered parrying by the end of the game, then the final boss of one of the toughest games of this generation is an absolute joke. But if you haven’t, then good luck to you my friend.
He is fast, unrelenting, leaves little to no opportunities to heal, has a massive HP pool himself, and a grab attack that will make a grown man cry. All you need to do without parrying on your side is have perfectly timed dodges, don’t get caught in the geometry of the arena, and have a steady stream of ice water in your veins.
NG+ almost demands that you learn to parry effectively, so when I fought this undead “savior” again, I reveled in the sweet vengeance as he crumbled before me!
Overall Difficulty: 7 out of 10
13. The Bed of Chaos
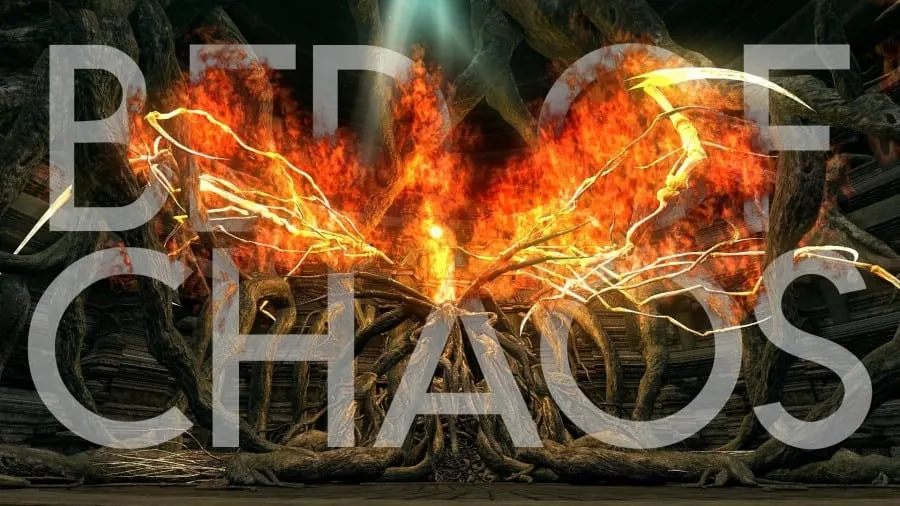
Hard for all the wrong reasons. This is the worst boss of the entire series and is a nominee for the worst boss design of any game I have played.
Run to the left, avoid the giant “branch” arms, and destroy the shield. Go to the right, avoid the giant arms and gaping holes, and destroy the shield. Run up the middle and jump with perfect timing to avoid getting swatted out of the air by a giant arm, landing on a branch, taking you to the actual boss, the deformed, bug-like body of the Witch of Izalith. All of which is frustratingly easier said than done.
Smash the bug, get your Lord’s Soul, and forget this “fight” never happened.
Overall Difficulty: 7 out of 10
12. Centipede Demon
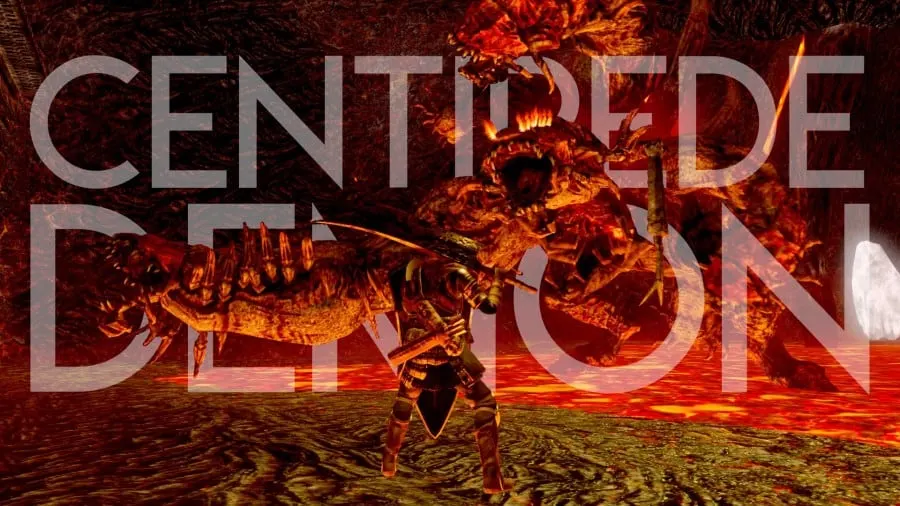
When this fight begins, quickly run to the right and jump over the smallest width of lava that you see, then continue right and jump one more time to find a large lava-free area you can fight him in. This will hurt you, but it is well worth the peace of mind.
In your first attempt, you should target his large right arm, as cutting it off will grant you a ring that drastically minimizes lava damage. You can use this on your next attempt if you die, making the fight slightly easier as far as the arena goes.
After his arm is cut off, his leaping attack will happen more frequently, but at least he usually lands right where he jumped. Overall this boss can be tough as he can hit you with attacks no matter where you stand, so just keep your eyes trained on him and continue to move around as you strike. Perseverance and practice will win the day if you keep at it.
Overall Difficulty: 7 out of 10
11. Chaos Witch Quelaag
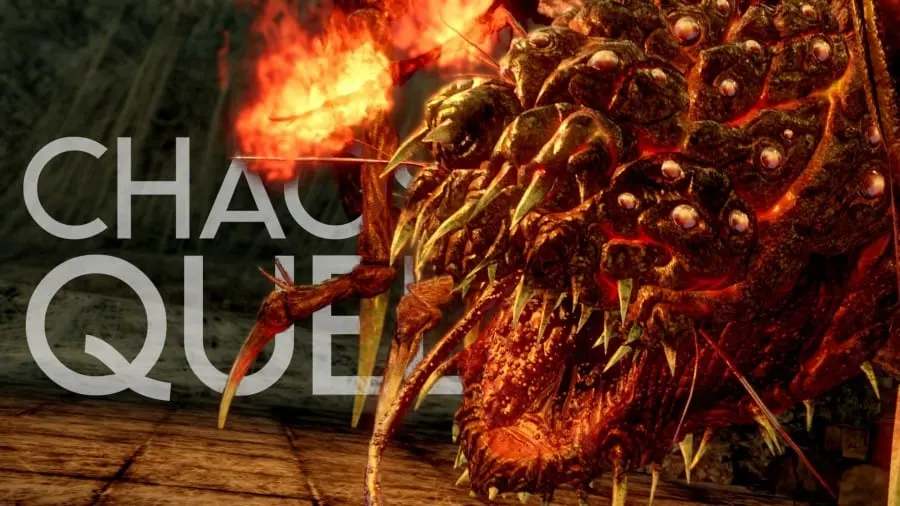
I more or less have Quelaag here because of the difficulty she gave me on my first playthrough. As the guardian of the second Bell of Awakening, she requires some practice to get down and earn your right to progress.
The strategy for defeating her is not as difficult as you may remember from the first playthrough. Roll forward through her sweeping sword attacks and whack at her right side, moving with her as she turns to face you for extra swing opportunities.
When she stops to vomit lava all over the floor, strategically maneuver to a new spot before engaging her again. Do not stick around when this happens because she will use it to corner you if you let her. Also, there is no shame in summoning if you need it. I get it, especially if it is your first time playing a FromSoftware title.
Overall Difficulty: 7.5 out of 10
10. Bell Gargoyles
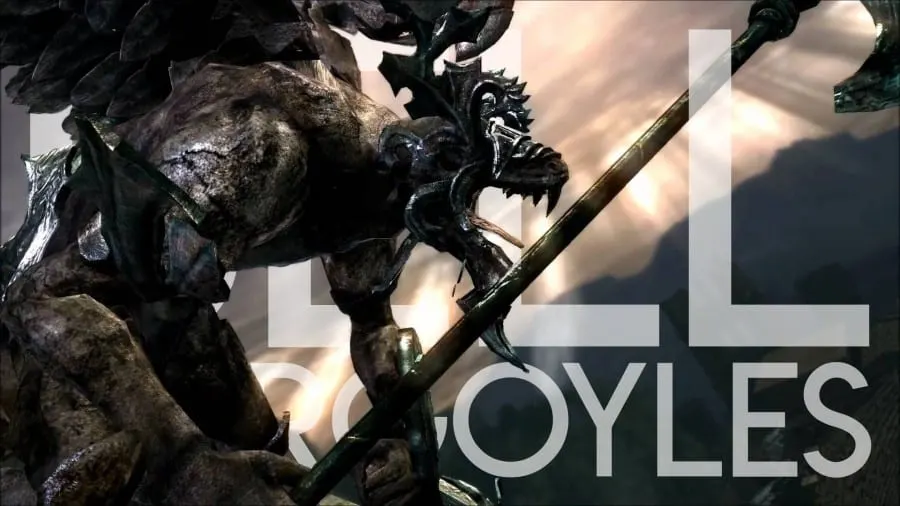
Here we go, the top ten. This is where the rubber meets the road, as many players will all-out rage quit over facing these bosses repeatedly.
This is the first fight that truly separates those who will give up and those who will never give up. If you think about it, it is a standard fight, but something about the setting and the sense of urgency to kill the first gargoyle quickly makes this fight unforgettable. Pyromancy, Firebombs, or Gold Pine Resin are good for lightning damage.
After all, downing that first gargoyle quickly is the key. I have logged hundreds of hours into the Dark Souls series, and I still don’t wish to fight both of them together. This is where players decide to hate or love Dark Souls.
Overall Difficulty: 8 out of 10
9. Great Grey Wolf, Sif

Get your tissues, folks, because after playing through the DLC and realizing why he (or she, no one is sure) has taken up residence in a graveyard, you won’t ever want to contest this pup again. It is a heartbreaking tale and an even more heartbreaking fight.
The strategy is simple, get underneath him and strike at his two back legs as often as possible. This will cause him to leap backward and wait for you to approach again, but just keep moving toward him with your shield up, ready to roll under as soon as an attack has missed.
His attacks have varying speeds, which can mess up new players, and he does quite a bit of damage if you are hit without your shield up, but he leaves generous windows to heal, so if you bring a lot of Estus, it makes for a more fair fight.
Overall Difficulty: 8 out of 10
8. Stray Demon
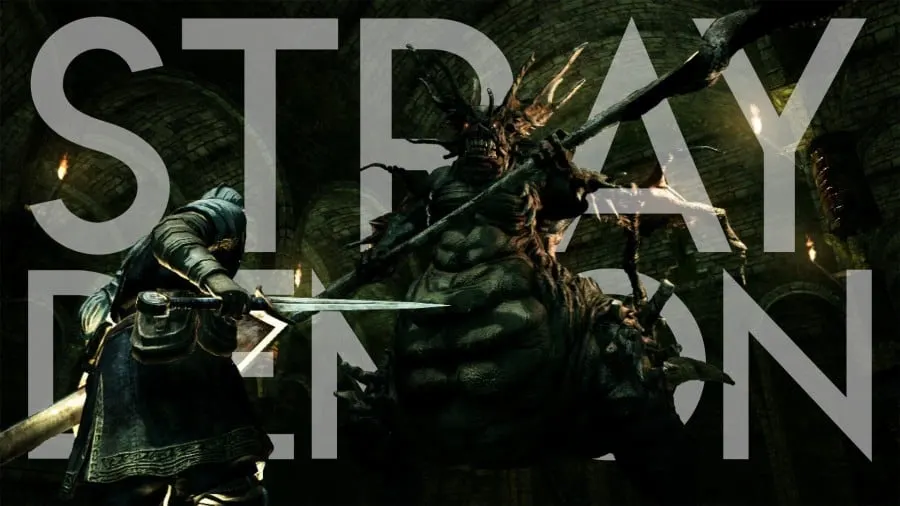
Ladies and gentlemen, allow me to introduce you to Beavis. Many players I have spoken with say that they did not have that hard time with this boss, so I am not sure where I went wrong.
I died to the Stray Demon more times than I can count, and I never want to deal with him again. First of all, you take fall damage to start the fight; the arena is as small as the Asylum Demon’s, he has an increased move-set that deals far more damage with each hit, and he has an AOE magic attack with a fast windup that can hit you just about anywhere you run to.
He’s called a stray because, as far as I am concerned, he is unwanted, unloved, and unneeded.
Overall Difficulty: 8.5 out of 10
7. Demon Firesage
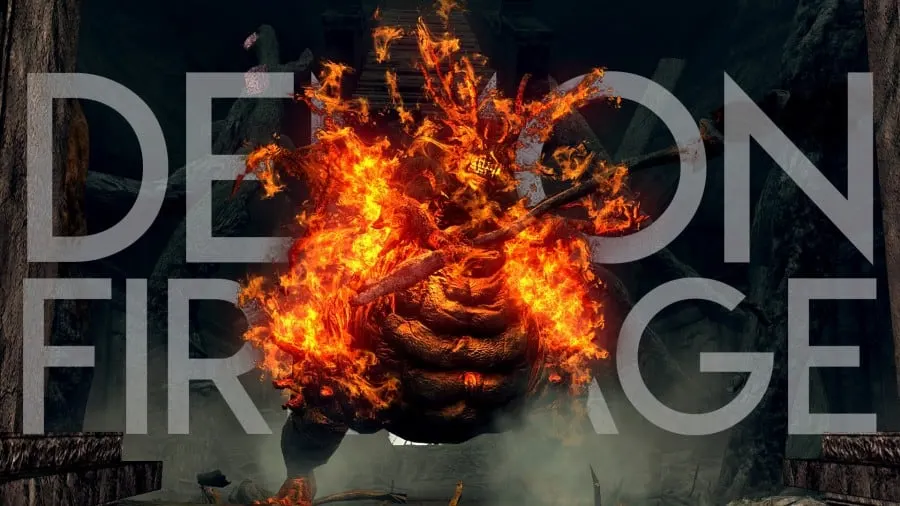
And then there is Butthead. Once again, another reskin of the Asylum Demon boss, but this time instead of magic, you must deal with fire.
The real challenge for me wasn’t just with the boss but also with the area you fought him in. The roots of trees stick out everywhere, making dodging some of his large AOE slams difficult. I usually spend the first half of the fight moving him around the arena so he can clear them out of the way for me!
The strategy is the same as the Asylum Demon or Stray Demon, with one exception, stick to the front. Going behind will cause him to make his butt slam attack repeatedly, which is tedious and annoying. Also, keep strafing back and forth as you move because all of his light attacks are followed by a fire blast that will occur where you were when the attack started.
Overall Difficulty: 8.5 out of 10
6. Sanctuary Guardian
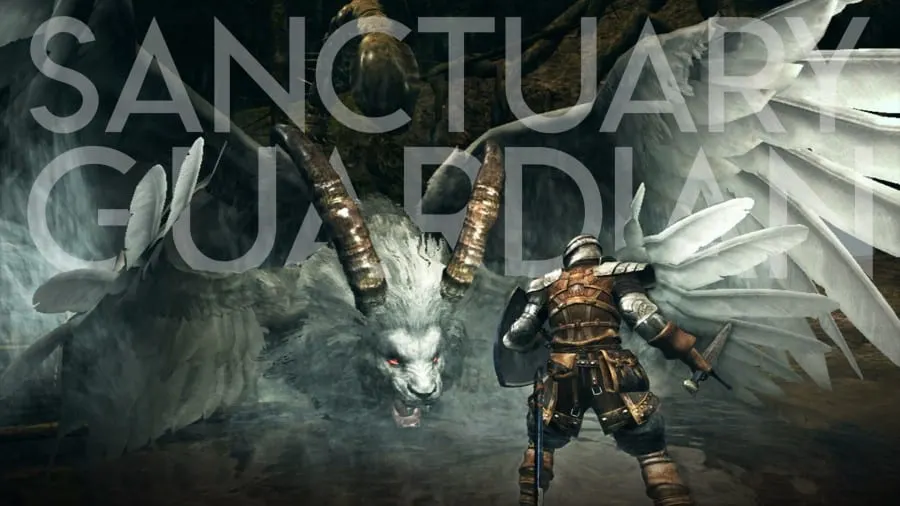
Anyone who would buy DLC for a game like Dark Souls is asking for more pain in their life. FromSoft must have known this because four of my top six bosses are from the DLC.
This guy is the first enemy you encounter in the “Artorius of the Abyss” DLC, the first one! I took extra time to level up excessively before starting it because I had heard about how hard it was.
I died over and over again to this thing for a few reasons. First of all, getting behind him is a bad plan because he has a scorpion’s tail that will poison you in a few hits; secondly, he moves in on you quickly as you drink Estus, so you are bound to get hit again each time you do, and lastly, he is nearly invulnerable to lightning damage, which was my entire build at that point.
The safest time to strike is immediately following the attack when he rears up and delivers a shock wave that can be seen in the water. Roll to one side, move quickly for two or three hits, rinse, and repeat.
Overall Difficulty: 9 out of 10
5. Four Kings
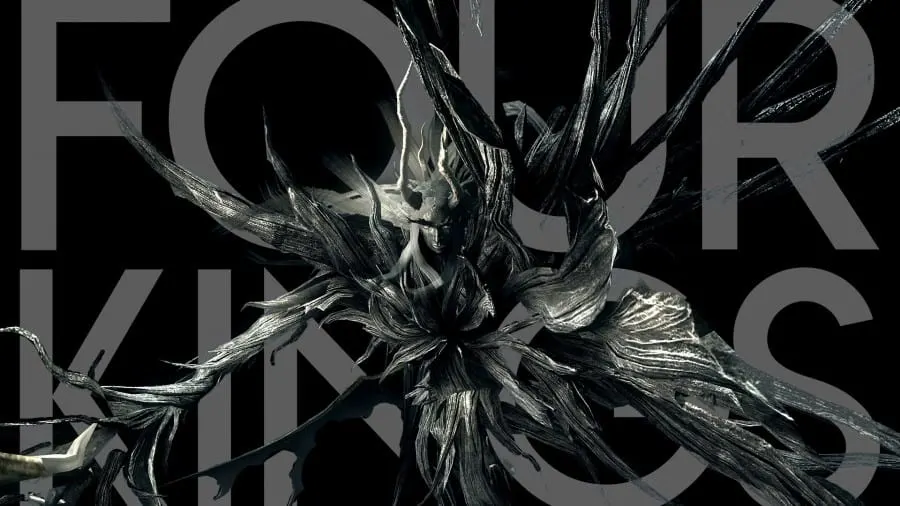
Now we are getting to the tough guys, and we begin with the Four Kings. Their name is kind of a misnomer, though, because you could fight as few as two or as many as eight, depending on the strength of your build and your skill.
When you first land in the Abyss, turn your camera around in a circle until you see the first spawn, then move in quickly. Time is of the essence in this fight, and you must defeat each one as quickly as possible.
Each of them can summon a homing orb that will devastate your health bar if you don’t have a strong magic shield, but they will only summon it if you are far enough away, so stay close to them. Rolling into their attacks and to the right is the key to victory in this fight.
Having the best or heaviest armor in your inventory, like the Havel Armor, will negate many of these soured sovereigns’ attacks. You should also carry a magic defense shield to minimize the damage from the devastating magic attacks.
It may take you two or three tries (or twenty-four), but this is a winnable fight for most players.
Overall Difficulty: 9 out of 10
4. Ornstein and Smough
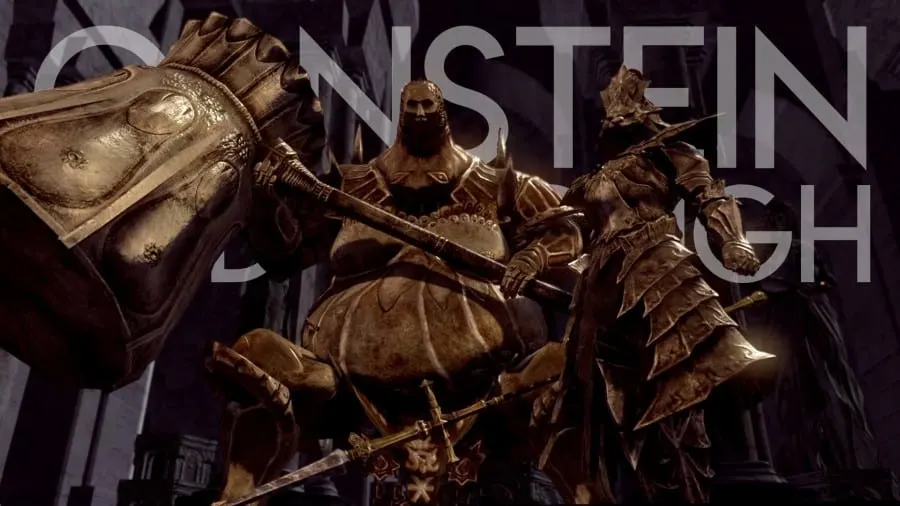
I love this fight. The arena. The music. The opening cutscene. Everything about it. That’s not to say it isn’t tough as nails, but it is hard for the right reasons. There is a balance to how they attack and allow you to recover from it, there is almost an honor to it, and it makes this fight unforgettable.
Taking on Ornstein first is most players’ best bet as you can draw him away a bit easier and deal with him one-on-one. After one is down, the other will absorb the fallen’s power and heal completely. Use the pillars in the arena to hide from any line-of-sight attacks.
You can also summon Solaire of Astora to aid you in this battle from his sign right before the arena’s entrance. Tag team the heck out of these golden goobers.
I wasn’t even mad at that point; I was excited. It made me feel that the boss I was facing was as desperate to win the battle as I was. It is still the only boss in the series I am sad to defeat now because I know I have to wait for another playthrough to face them again.
Overall Difficulty: 9 out of 10
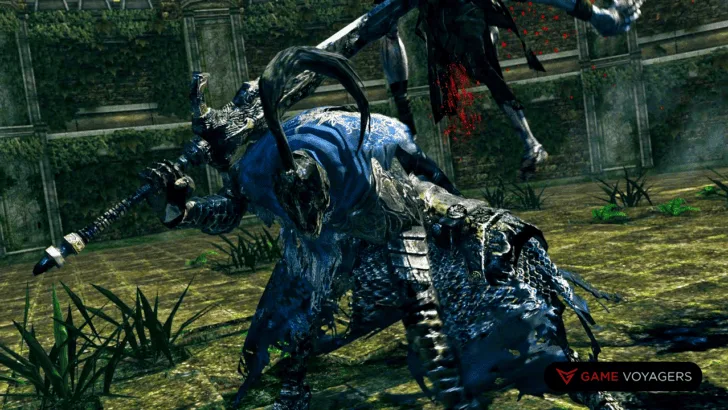
3. Artorius the Abysswalker
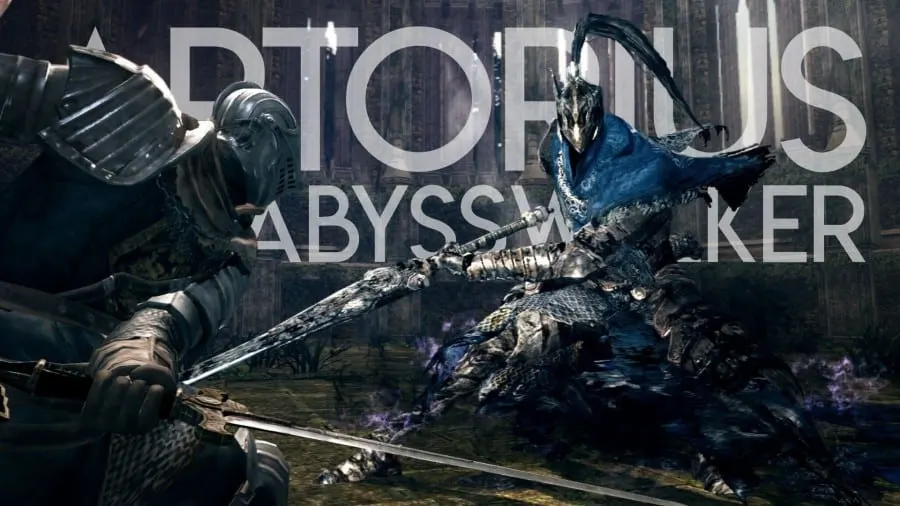
There is a reason that this fight is overwhelmingly considered the favorite among the Dark Souls player base. Even as an undead husk of his former glory, the Knight Artorius is more than a worthy adversary.
His attacks have odd timings and reach, the way he glides across the floor while dragging his massive greatsword is almost mesmerizing, and he can go into a rage at times that truly frightens me to this day.
Make it your duty to learn every move he makes from the thousands of deaths you will inevitably have to face. From your lessons, perfect the art of dodging his attacks and utilize the small windows he provides to chip away at his health. Do not get greedy, or you will join him in the abyss.
Pyromancy can also be quite useful, but you need to be a very high-level fire mage to make an effective difference.
Overall Difficulty: 9.5 out of 10
2. Black Dragon Kalameet
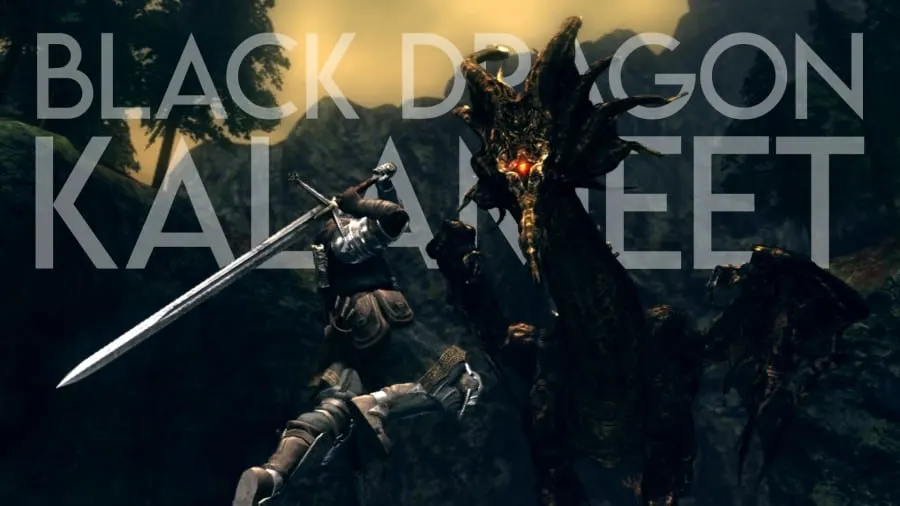
An absolute beast of a fight in every way. He has the largest HP pool of any boss, a handful of attacks that can kill in one hit, and extremely limited windows to exploit for damage. Learning to fight this boss is like learning to waltz in perfect timing. Every move must be memorized and immediately evaded or countered.
He can breathe fire in front of him or fly up and breath it straight down. He can swoop down toward you (or fake like he is going to) and swipes at you after you roll. Bring your best gear, weapon, and every ounce of your concentration to help this dragon join his ancient brethren.
Acquire the Greatshield of Artorias; it will be useful against this boss. (Stopping a hit with this shield uses extremely little stamina while providing good protection from magic.) Strive to get near the dragon as possible without going under him. Avoid his breathing attacks if possible; if not, block them with your shield, or he will make quick work of you.
Overall Difficulty: 10 out of 10
1. Manus, Father of the Abyss
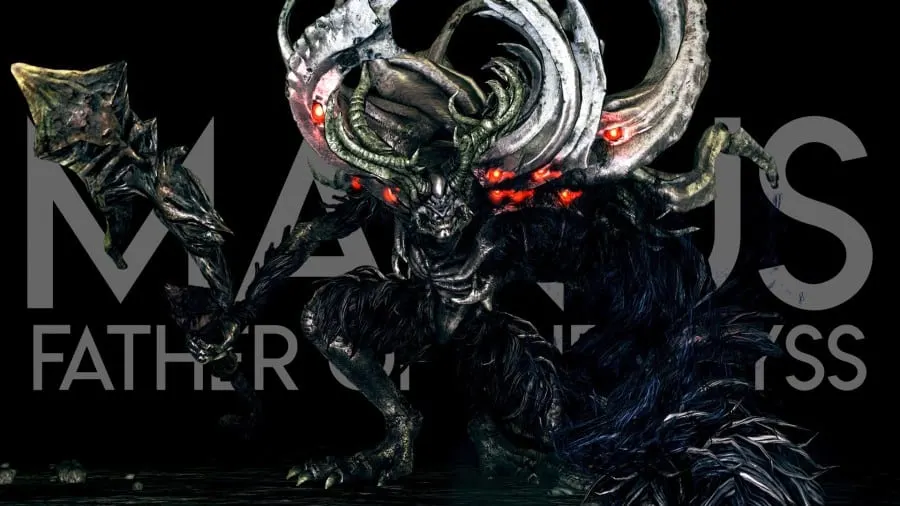
Here he is, my number one, hardest to kill, it made me want to cry myself to sleep, boss fight. On my second playthrough, even Manus didn’t feel that bad anymore, but he was the bane of my existence for several days on the first go around.
He is unrelenting, super powerful, resistant to most forms of elemental damage, can strike from any distance, has a huge HP pool, and can utilize a dark orb-homing attack that is extremely difficult to block or dodge. Oh, and he has a massive left arm.
Make sure you save Sif from the area before the boss room to get the help of this pup in the middle of the boss fights. He is not the most hard-hitting canine, but he helps distract the demon.
Stamina management is the key here. Having a high-stability shield on you will lessen the impact of his attacks and give you just enough windows to hit him once or twice. And I know it sounds like suicide, but stay close to him always. Practice blocks and parries.
Manus does not just require you to be good at Dark Souls; he requires you to have mastered it in almost every way.
Overall Difficulty: 10 out of 10

