As soon as you reach the mythical Fountainhead Palace, you’ll be greeted by the True Corrupted Monk in Sekiro Shadows Die Twice. This boss fight is similar to the Corrupted Monk in Mibu Village. However, some surprises might catch you off guard.
Fret not for we are here to spread awareness about what’s new in this fight. By the end of the guide, you’ll be equipped with the right knowledge to finally end the Corrupted Monk. For those who are looking for an easy way out of this fight, we have included a spicy cheese strategy here too!
Fighting True Corrupted Monk in Sekiro Shadows Die Twice
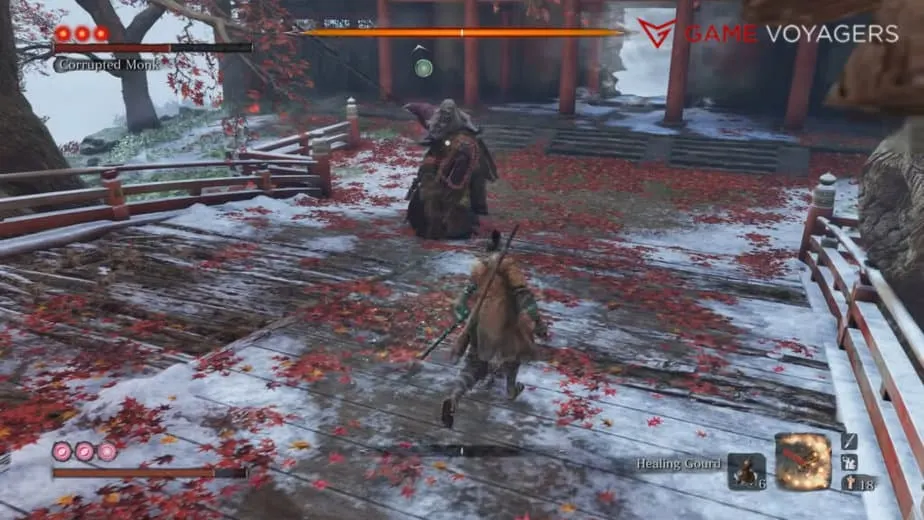
After getting off the straw man ride, you’ll enter a majestic garden with a bridge in the middle of Fountainhead Palace. As you walk the bridge, the True Corrupted Monk jumps into the scene scaring the bejeezus out of you.
Luckily, you have already fought him before, so there are fewer surprises, but do not underestimate these surprises.
The Corrupted Monk has a twirly dancer-esque moveset which is easier to defend against. Fortunately, the boss’s posture meter fills up quicker than her previous iteration; hence, effective deflection will make quick work of this fight. However, this time around the boss has three health bars.
The first two phases are the same as before with a new Illusion attack added to the mix when she transitions to the second phase.
As for the third phase, a giant centipede bursts out of her neck and she gets even more aggressive, employing numerous perilous attacks. She also has a puke attack that can fill up your terror meter if you receive the full brunt of it.
Nevertheless, the boss has an identical moveset so blocking won’t be that hard if you are well aware of her attacks.
Here are some tips and tricks that can aid you in this battle:
- Ako’s Sugar should be a staple by now for boosted posture damage.
- Fistful of Ash is amazing at stunning the boss and even canceling her illusion shadow attack.
- Shinobi Firecrackers can stun lock this boss with repeated use.
- Equip Mortal Draw for extra damage.
- Divine Confetti deals more damage against the third phase of the boss.
- Grab some Pacifying Agents or Mottled Purple Gourd to cure terror build-up in the third phase.
- There are many places to fall off the arena, especially the middle bridge, so be careful when jumping.
Phase 1 & 2
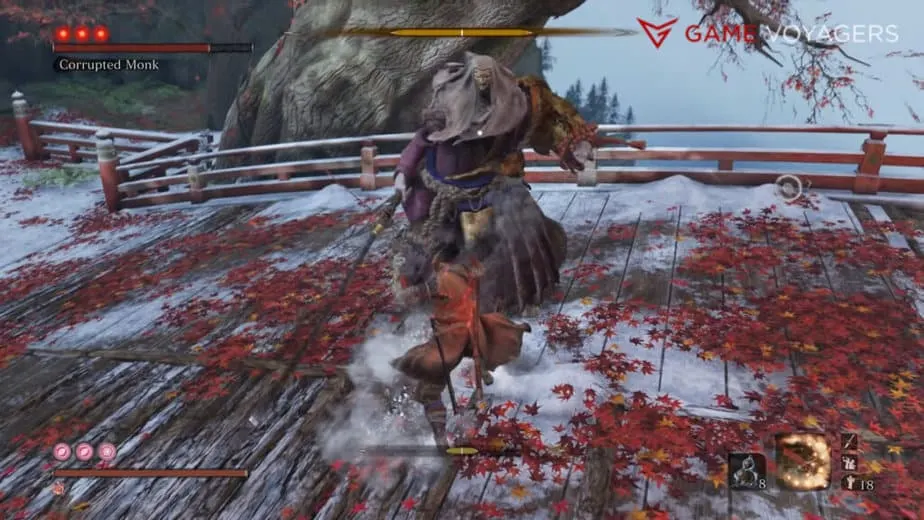
Phases 1 and 2 of the True Corrupted Monk are all about sticking close to the boss and reacting to her attacks. Perfect deflection can end these phases in a few minutes.
We have listed all the attacks below so read them carefully. Try to react properly to all of her perilous attacks to deal the most posture damage.
She receives a butt load of posture damage with deflection. With effective deflection, her posture meter will fill up way before her health even reaches the halfway mark.
The only attack you have to actively watch out for is her illusion attack at the beginning of phase two. Quickly start grappling between the trees and do not stand still until the attack is over. Conversely, you can use the Fistful of Ash at the nick of time to cancel this attack but it is harder to pull off for some.
You can ignore all combat arts and prosthetic tools for these two phases and learn her moves. With the right reactions and perfect deflection, the fight will transition into phase three without a problem.
Take your time in understanding her moveset and don’t worry about some deaths along the way. Shadows technically live more than twice.
Moveset
These are all the moves True Corrupted Monk uses in her first and second phases and how you should react to them:
- Thurst: Pokes her sword staff forward into you. Usually used at the end of a combo.
- Reaction: Dodge into the attack to Mikiri Counter it.
- 6-Hit Mikiri Combo: A six-move combo that ends with a thrust attack. Right swing, left swing, left uppercut, left swing, left swing then a forward poke.
- Reaction: Deflect the first five attacks then dodge into the poke to Mikiri Counter.
- Dual Strikes to Perilous Swipe: A right swing, then a left uppercut, ending with a perilous sweep attack.
- Reaction: Block or deflect the two initial attacks then jump over the swipe once the Kanji appears over your head. Try to bounce off her to deal posture damage.
- Sweep to Uppercut: A perilous ground swipe followed by a vertical uppercut.
- Reaction: Jump over the swipe and make sure to bounce off her to cancel the uppercut. If you can’t bounce off her then get ready to deflect as you land after the jump.
- Retreating Spin Attack: Jumps backward after a backhanded swipe while performing spinning attacks in the air.
- Reaction: Stand still deflect the initial strike and ignore the follow-up attack.
- Charge Uppercut to Jumping Slam: Runs up to you with an uppercut then leaps in the air ending with a sword slam.
- Reaction: Let her come to you, block the uppercut, wait for her to jump, and then tap the block button to deflect the slam.
- 4-Hit Combo: Strike from right, then from left, followed by a double-handed staff headbutt ending with an uppercut.
- Reaction: Press the block button in this rhythm; Tap, Tap, pause, Tap, pause while she spins then Tap again to deflect the uppercut.
- Leaping Slam: Jumps toward you while performing an overhead slam. Can execute this attack while close quarters minus the leap.
- Reaction: Let her reach you then begin tapping the block button to deflect.
- Illusion Attack (phase 2 only): She vanishes, filling the arena with fog, multiple illusions will start popping in to deliver a blow and disappear. This attack goes on for a few seconds then the fight will resume. She will always use this attack when transitioning from phase 1 to 2. She can use this attack later on too.
- Reaction: Start grappling quickly onto and in between the trees once she vanishes without any stops. Keep it up until she reappears. You can use a Fistful of Ash just as she begins to vanish to stun her and cancel this attack.
Phase 3
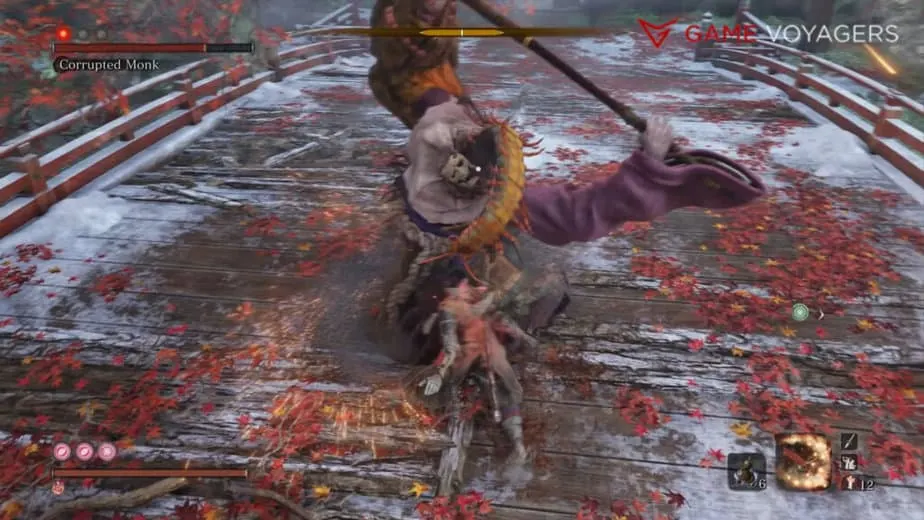
After the second deathblow, the boss will fall to the ground. After some squirming, a giant centipede will erupt out of her neck, and she gets up to a more aggressive fighting style. She will occasionally scream like a maniac while performing her more lethal attacks.
She uses a lot of perilous attacks in this phase and constantly charges you with no time for any breather. Other than a few new standard attacks she has a terror-inducing vomit attack that will fill up your terror meter fully, one-shotting you in the process.
Luckily, there is an easy trick to this phase. Equip the Shinobi Firecracker or Long Spark upgrade and fire it to stun her then continue to attack her 3 to 5 times then fire the firecrackers again and repeat the process. Keep it up until her health reaches 0.
This tactic can also be done with the Fistful of Ash. Instead of the firecracker, equip Fistful of Ash to your quick-use slot and use the ash to stun her for a few seconds and attack her 3 to 5 times then use the ash again and rinse and repeat.
Moveset
She has many of the same attacks as in previous phases. These are all the new third-phase attacks of True Corrupted Monk and the reactions to them:
- Terror Puke: Fires a centipede-filled vomit at you that quickly builds up the terror meter. This attack is either performed independently or after a sweep attack combo.
- Reaction: Move to the side or back off out of range instantly. This attack can easily one-shot you if the terror meter is filled up. If she uses the sweep combo then jump over the sweep and try to bounce off her to cancel the vomit or jump to the side if you can’t bounce off her to avoid the puke.
- Extended Sweep: Swiftly runs up to you from a longer distance and performs a perilous sweep attack.
- Reaction: Let her come to you and then jump before the sweep connects to you. Try to bounce off her to deal some posture damage.
- Uppercut to Retreating Perilous Sweep: A devastating two-handed uppercut that can send you flying followed by a backstep double perilous sweep attack.
- Reaction: Deflect the uppercut in time so you are pushed backward and you don’t have to worry about the sweeps as she backs off.
- Twirling: Puts her sword staff up and continues to spin five times. She slowly moves and tracks you while spinning. Usually the first attack after the transition.
- Reaction: You can deflect each spin attack or you can move behind her before the first spin and light her up with Flame Vent or your preferred attack.
- Swing to Swipe to Puke: Rears her staff to deliver a wide swing followed by a perilous swipe ending with a quick terror puke.
- Reaction: Delfect the first attack, jump over the perilous swipe, and try to bounce off her to cancel the puke. Or jump to the sides to ignore the puke.
- Leaping Spin Attack: Short jump towards you accompanied by three spinning sword strikes.
- Reaction: Delfect each spin attack or back off out of range.
- Quick Overhead Slam: While standing still she quickly performs an overhead slam that can faceplant you.
- Reaction: Block or dodge to the sides.
How to Cheese True Corrupted Monk in Sekiro Shadows Die Twice
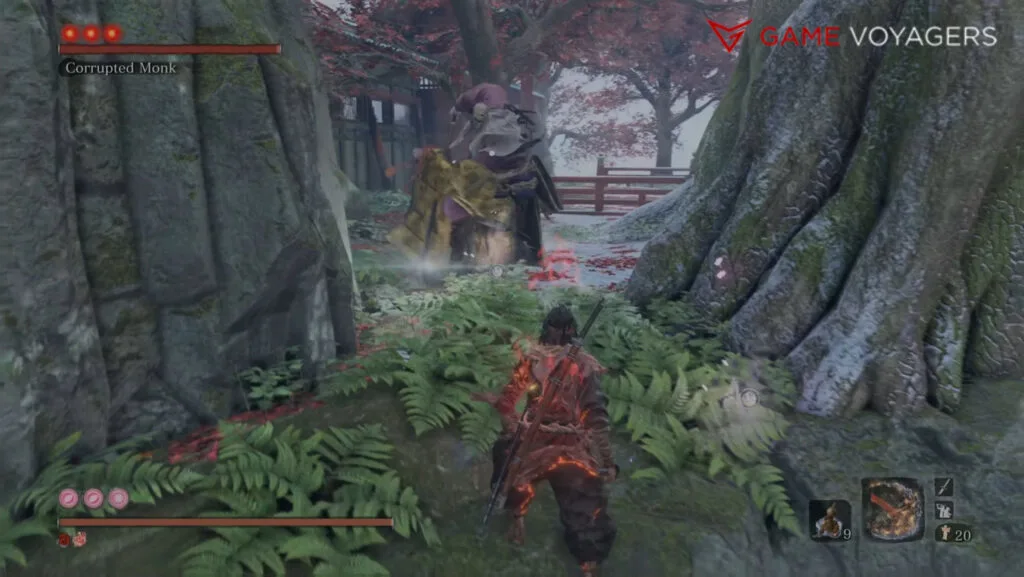
There is a nifty little cheese that will completely break the True Corrupted Monk and you can go in and kill her without any repercussions. All you need is the right placement and you are good to go.
Using Mortal Draw will end the fight much faster. Equip Fistful of Ash too to your quick-use slot. You can also consume Ako’s Sugar to expedite the cheese.
As soon as the boss appears, back up and run to the grassy area with the tree at the edge on the right side of the door you enter the arena. You can see the exact location in the picture above.
Hug the tree and lure the boss near you. When she gets closer and is about to attack, jump off the cliff. Don’t worry, the game teleports you back to the arena.
Make sure to top up your health before jumping. If done right, she will get stuck on the lower side of the cliff and the tree. If it doesn’t work then repeat the process until she does.
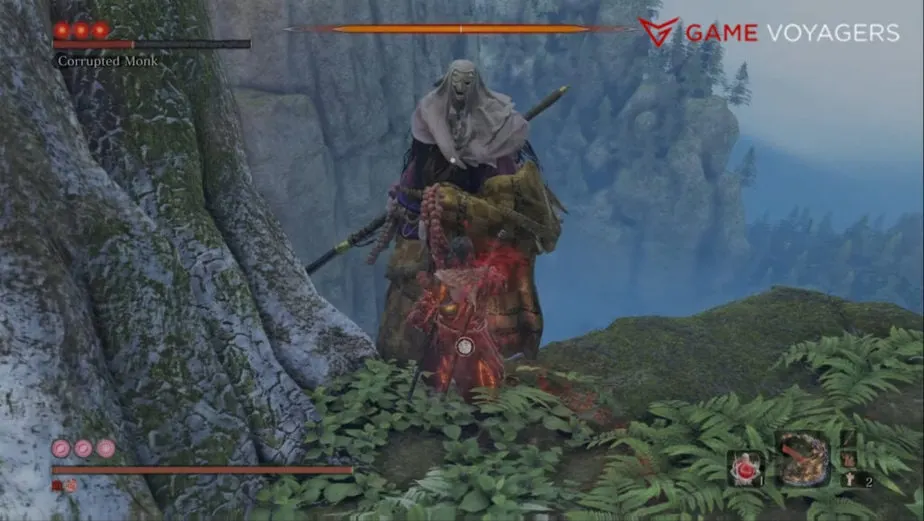
When she is stuck, you can begin the punishment. She won’t be able to attack you in most cases and gets locked in a running animation. Although, she can sometimes attack you from here so be vigilant.
Use this time to spam Mortal Draw to quickly finish her first health bar and go for the deathblow.
When she transitions into the second phase, quickly use the Fistful of Ash to stun her and cancel the illusion attack. If it gets canceled, start the Mortal Draw spam to end this phase too.
If she manages to execute the illusion attack, she will teleport to the middle of the arena and get unstuck. You can fight her normally during this point or lure her again to the same location and try to get her stuck.
Perform the second deathblow and initiate the final phase. She will remain stuck here and you can continue spamming Mortal Draw to end the fight. In rare instances where she gets out, either fight her normally or lock her up. your call. Use Divine Confetti in the final phase to deal extra damage.
And that’s it, the fight will be over without having to actually fight her. There is a chance during all this strategy of her getting out of the trap but you can simply repeat the trapping process. There is also a chance of her dying automatically after some time when trapped.
Rewards for Defeating True Corrupted Monk
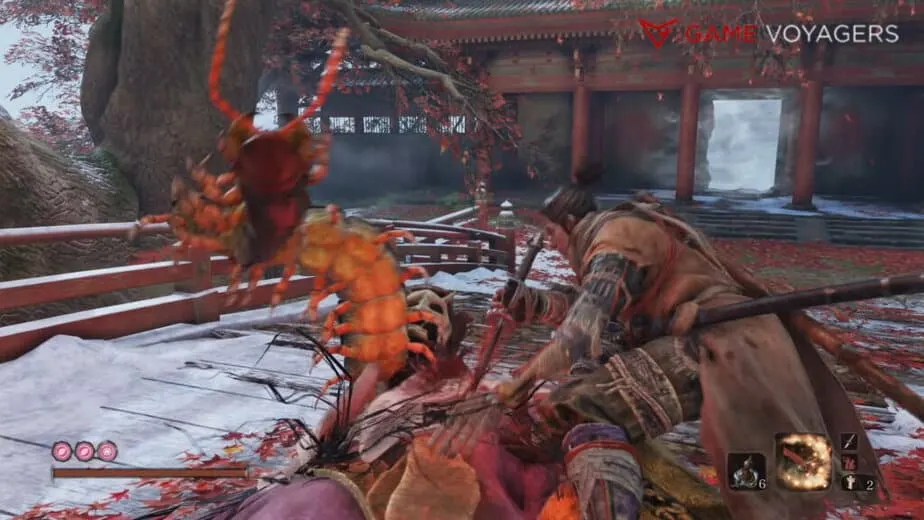
You’ll receive these gifts for beating True Corrupted Monk in Sekiro Shadows Die Twice:
- Memory: True Monk
- Dragon’s Tally Board. With this, new items will added to various merchants’ inventory while some will have infinite stock.
- 8000 XP

