Elden Ring houses some great weapons and amazing skills that can be used and fused to create various fantastic combat styles. Many of these combinations result in crazy-looking builds and executions.
But then some skills and weapons in this game are easily ignored due to their meme potential and general uselessness. But if you use these properly, you end up with an amazing damage dealer and look weird while punishing your opponent. Talk about insult to injury.
Builds that include a mixture of otherwise rejected items are quite popular and super annoying for PVP players to succumb to. For this build, we’ll be using the following items:
Armor: Bull-Goat Armor Set
- Bull-Goat Helm
- Bull-Goat Armor
- Bull-Goat Gauntlets
- Bull-Goat Greaves
Weapons:
- Hoslow’s Petal Whip x2
Ash of War:
- Beast Roar
- Lightening Ram
Talimans:
- Erdtree’s Favor +2
- Great-Jar’s Arsenal
- Shard of Alexander
- Roar Medallion
Stats
This advanced build requires 150 levels to be properly molded into a beast. This build relies on your basic physical stats and does not opt for much magic and incantation type of damage. You can easily create a lower-level version of this just keep in mind the consideration of the build.
| Attribute | Stat Levels |
| Level | 150 |
| Vigor | 60 |
| Mind | 24 |
| Endurance | 38 |
| Strength | 20 |
| Dexterity | 55 |
| Intelligence | 9 |
| Faith | 14 |
| Arcane | 9 |
Stats Considerations
- This build needs to be a damage-sponge hence the huge Vigor level.
- 38 Endurance will be required to equip the hefty armor set and weapons and still be able to medium roll and dodge (Talismans help too here, but we will talk about that later).
- Mind should be your dumping ground just put any levels in here if you run out of things to upgrade.
- STR and DEX are both leveled up to be at their soft-cap thresholds. These can be lowered and are most likely to be used to meet the stat requirements of the weapon.
Armor – Bull-Goat Armor

This armor set is the centerpiece of this build. A huge base Poise number makes it nearly impossible to stagger your chubby self. You can go toe to toe with any heavy weaponry that could stagger and trade damage without much flinching. And considering the Ash of War you will be rocking in this build; you need as much armor on your person to keep the fight in your favor.
To get this armor, you must progress the Tanith questline of Volcano Manor, and Patches need to be present at this manor. Once you have assassinated the first target for her, Patches will arrive in the manor, and he will give you a letter to kill Great Horned Tragoth, and a red marker will be placed on the map.
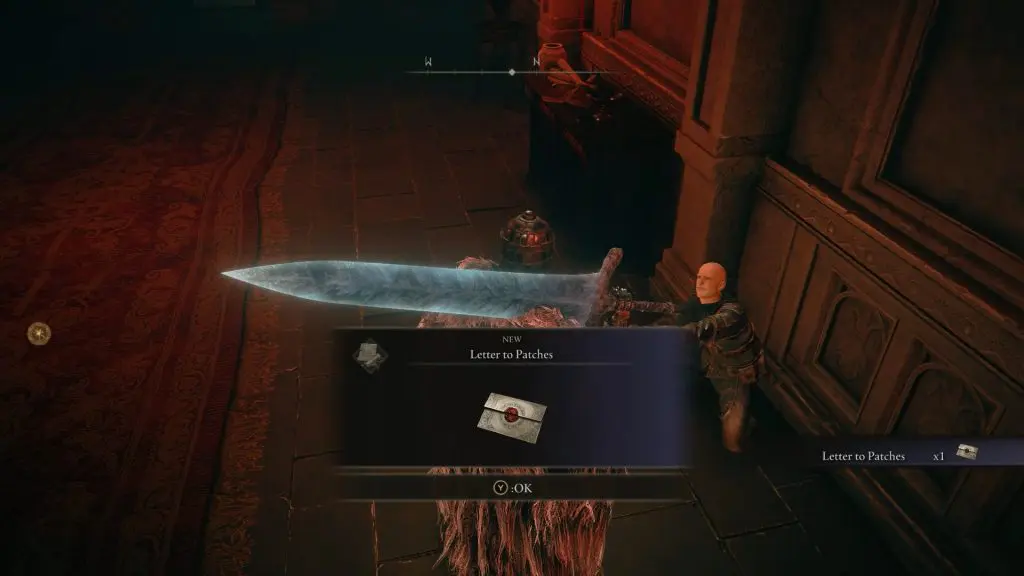
Great Horned Tragoth can be invaded from the Ruin-Strewn Precipice Overlook inside Magma Wyrm Makar’s boss room after resting at the grace inside the boss room.

Hoslow’s Petal Whip

A versatile whip that if you can get your hands on two either by asking a friend to drop you one or you pick up again in a new game+. Dual-wielding the weapon will give access to some amazing moves in a power stance.
The dodge roll R1 attack has some serious range and fast execution. The jumping L1 of the dual-wielded whips is great for an area-of-effect attack, and the same can be said for its running L1 attack for rushing opponents.
This weapon already has a good Bleed build-up, and Ash of War can infuse it with some other elemental damage type like lightning or Frost. This weapon cannot be parried, so you are safe from that counteraction.
And this will be mentioned again in the Ash of War section but keep the affinity of the right-hand whip of Bleed, and for the left-hand one, keep it Lightning.
This weapon is tied to Tanith’s quest too. Her third assassination request will be for Juno Hoslow in the Mountaintops of the Giants. Her exact location is marked on the map below. Invade and kill her to access the Hoslow’s Petal Whip.

Ash of War
Beast Roar

Equip this Ash of War to the primary hand weapon. This projectile fires off rather quickly, so it can punish any fleeing or healing opponent. If you see someone prepping for a sorcery attack, use the roar instantly to disrupt their attack and keep your pressure on from a distance too.
Use the Blood affinity on this Ash of War to enhance the bleed potential of the whips further.

You can get this from Gurranq, Beast Clergyman, after giving him the fourth Deathroot. He is located at the location marked on the map below.

Lightning Ram

Have you seen those goats that turn into Sonic and roll away? You can do that with this Ash of War with lightning surrounding you while rolling into your enemies. This skill is so dumb yet effective that it’s hard to ignore.
Opponent players, most often than not, end up fighting this rolling attack head-on and get bulldozed by it literally. Equip it to the left-hand whip and keep the Lightning affinity to boost the innate elemental damage.
You can get this Ash of War from killing a scarab on the Altus Plateau just south of the Sainted Hero’s Grave. The exact location of the scarab is marked on the map below.

Talismans
Erdtree’s Favor +2
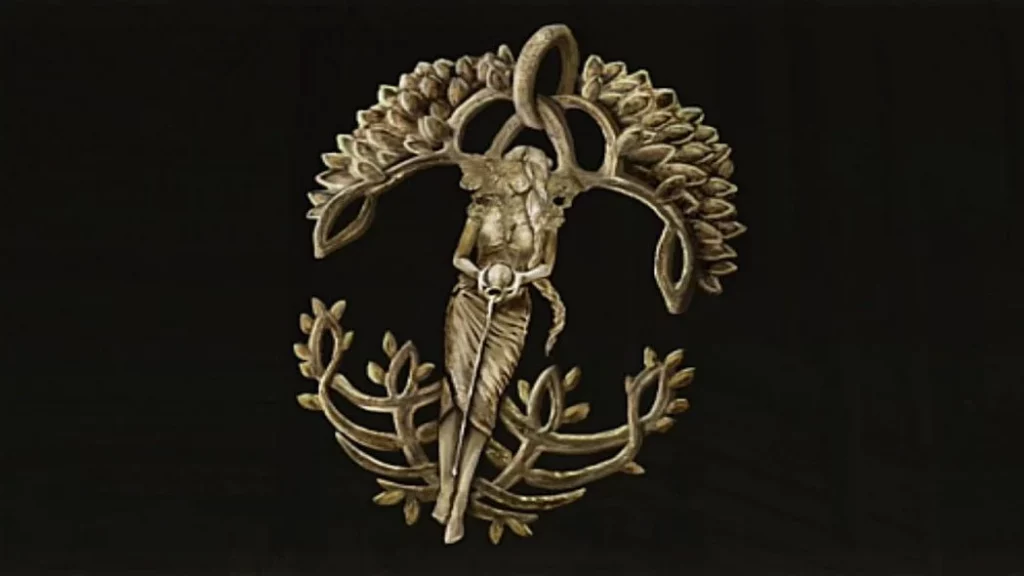
Description: Raises maximum HP, stamina, and equip load.
This is the third and most powerful version of this talisman that most players will surely be familiar with. This increases the stated capabilities without any drawbacks, so your damage sponginess can benefit from this HP boost. The increased equip load will let you wield the heavy armor and weapons and still mid-roll.
This talisman is accessible only after you have completed the Crumbling Farum Azula and defeated the main boss there. After this, there will be a noticeable difference in the Capital Leyndell region.
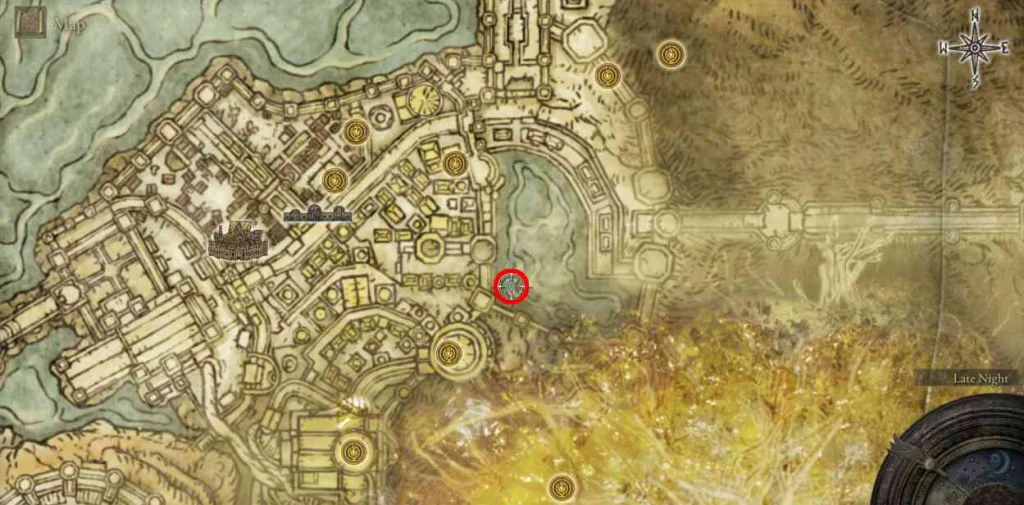
Using the Forbidden Lands grace site, make your way back to the Capital, to the location marked on the map. Look out for the enemies here and locate a small broken tree branch that houses the Erdtree’s Favor +2 on top.
Great-Jar’s Arsenal

Description: Vastly raises maximum to equip load.
This talisman will increase the equipment load threshold by 19%. The Bull-Goat armor is one of the heaviest armors in Elden Ring and requires a substantial equipment load even to put on, let alone be able to mid-roll in it; this talisman does the heavy lifting for this build.
Make your way to this arena at the edge of the Caelid Region. Here you will spot a huge Jar NPC. Talk to him and he will spawn three duel-summoning signs on the ground before him. Kill all three in a go without dying, and you will be awarded Great-Jar’s Arsenal talisman.

Shard of Alexander
Description: It greatly boosts the attack power of skills.
This talisman will boost the damage of skills by 15%. This whole build’s charm is in those two Ash of War, and to make them even more potent, this talisman will be used.
To get this Talisman, you must finish Iron Fist Alexander‘s questline. The video below will have all the necessary steps to complete this quest.
Roar Medallion

Description: Enhances roars and breath attacks.
Since Beast Roar is an integral part of this build to deal with enemies at range and quickly, we would want it to deal as much damage as it can, and this talisman will boost its attack power by 15%. With this on, you have even more incentive to use this skill regularly to interrupt far-off enemies and constantly punish them.
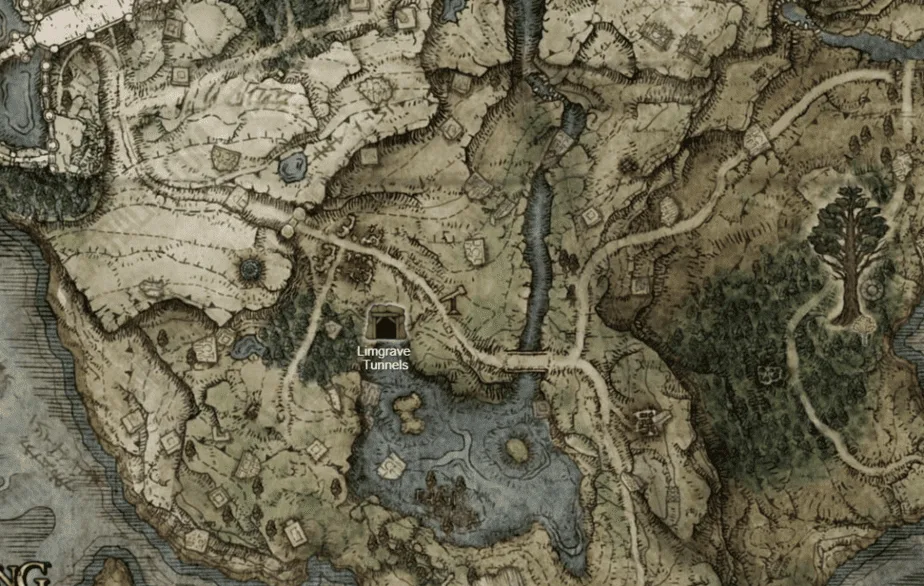
You can get this Talisman early on in Limgrave by completing the Limgrave Tunnel near Agheel Lake. Defeat the Stonedigger Troll boss of this mine, and you will be rewarded with this talisman.
Bonus – Flask of Wonderous Physick
The mixture to keep in hand for this build include:
Cerulean Hidden Tear

This tear will eliminate any FP usage for the next 15 seconds. Perfect for keeping the rolling of Lightning Ram going for the duration. You can get this tear from defeating the Ulcerated Tree Spirit at the Minor Ertree on Mt. Gelmir. The location is marked on the map below.

Crimsonwhorl Bubbletear

This Talisman will turn any elemental non-physical damage, like Magic, Fire, Lightning, and Holy, you receive into HP for the next 15 seconds. Perfect for instances when you are challenged by a spell caster where you can easily just walk up to the enemy without worrying about any damage received.
You can find this tear surrounded by a bunch of hand enemies, and one giant hand will even surprise attack you, so be careful when approaching this talisman. The exact location is marked on the map below.

How To Play The Goat Build
To utilize this build most effectively, keep these in mind while playing:
- Keep the distance between you and the opponent short, stay in their face in most cases, and keep spamming your whips’ quick attacks. Your armor is heavy and has great poise, so there is little worry of losing a damage trading contest and staggering.
- As mentioned in the whip’s description, capitalize on the weapon’s swift attacks and keep the pressure on the invader.
- If and when the opponent flees from your immediate radius, start spamming the Beast Roar to keep them on their toes, and don’t let them heal or cast any sorcery.
- If you are facing a sorcery build, drink the Physick mixture to negate non-physical damage and make it easier to cover the distance without sustaining damage.
- When you are close to the enemy and get the opportunity, start Lightning Ram rolling into them. Most players don’t know how to deal with this attack; they will be turned to dust before they know it. The unlimited FP Physick can help you in keeping the roll going.

