Minecraft has cemented its name in the zeitgeist of gaming by consistently hosting insane numbers of players each month, with some reports saying 140 million monthly active players. This fame is due to a constant influx of YouTubers creating content for this game. The audience is always looking to replicate what their favorite influencer has done in the game recently.
These influencers often use some skin that is not widely available, and the viewers want access to it. Minecraft has many versions, many of which have different ways of creating or changing skins and skin packs.
For the Education Edition of Minecraft, this skin-changing can be done through skin compilers which lets you import custom skin to this particular version. Many skin compilers online can all be utilized to get the desired result.
Related: How to Fix a Grey Screen on the Minecraft Launcher
Minecraft Skin Compiler
There are many skin compilers in the market, and we will mention just a few here for your convenience:
For the purpose of teaching you how to use the skin compiler, we will be using the CDsmythe skin compiler. These skin compilers group a bunch of skins in a file that the game can use as a skin pack.

These files are only accessible in Bedrock versions like Pocket or Education Edition, and don’t expect it to work on the Java Edition, so keep that in mind before proceeding to the next steps.
CDsmythe skin compiler has multiple ways of importing skins and has skin pack creators for classic and slim skins. Use the compiler with your needs in mind, and this diversity makes this site quite versatile and convenient for the user.
Related: This is Why Some Achievements Are Locked in Minecraft
Using Skin Compiler
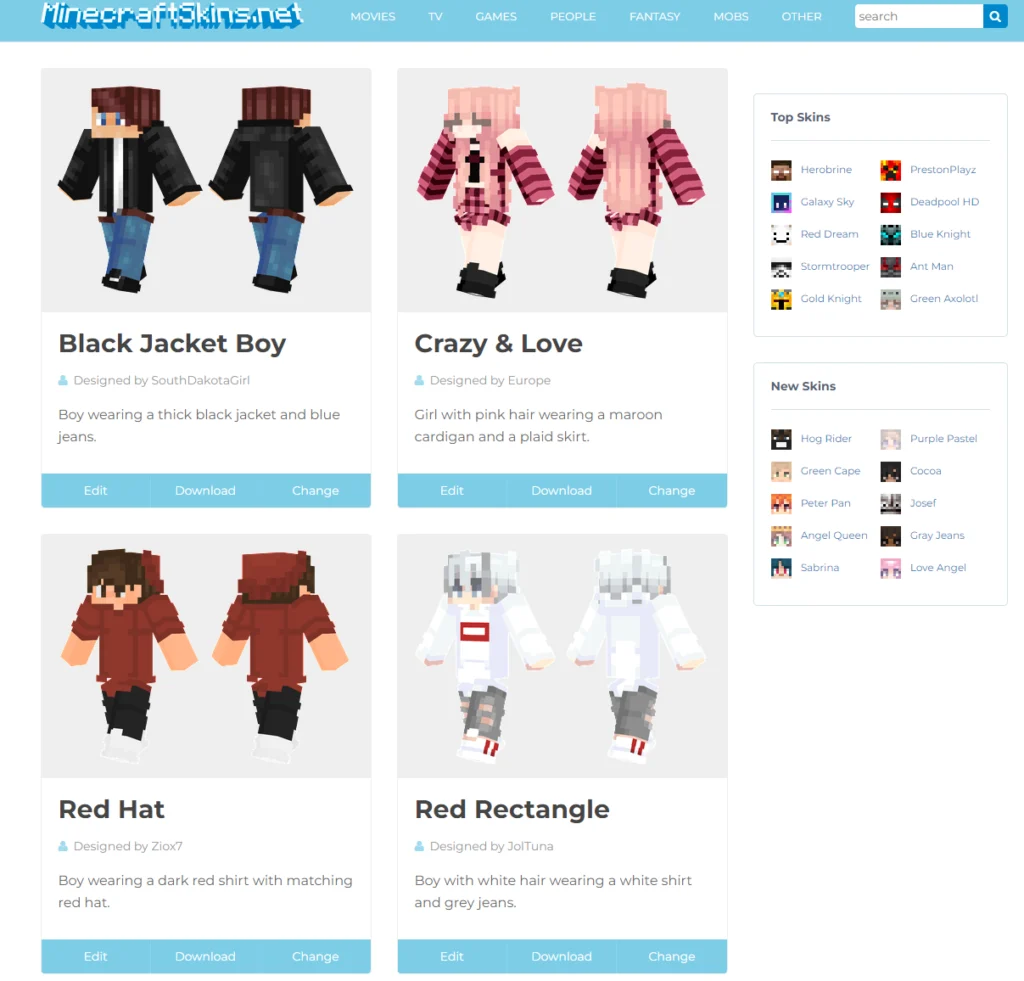
The first step requires you to download the .png files for the skins you want, use this site to get the skins of your liking, and do keep in mind to select skins with only one particular proportion meaning either all slims skins or classic ones. Download a bunch of the skins to your device.

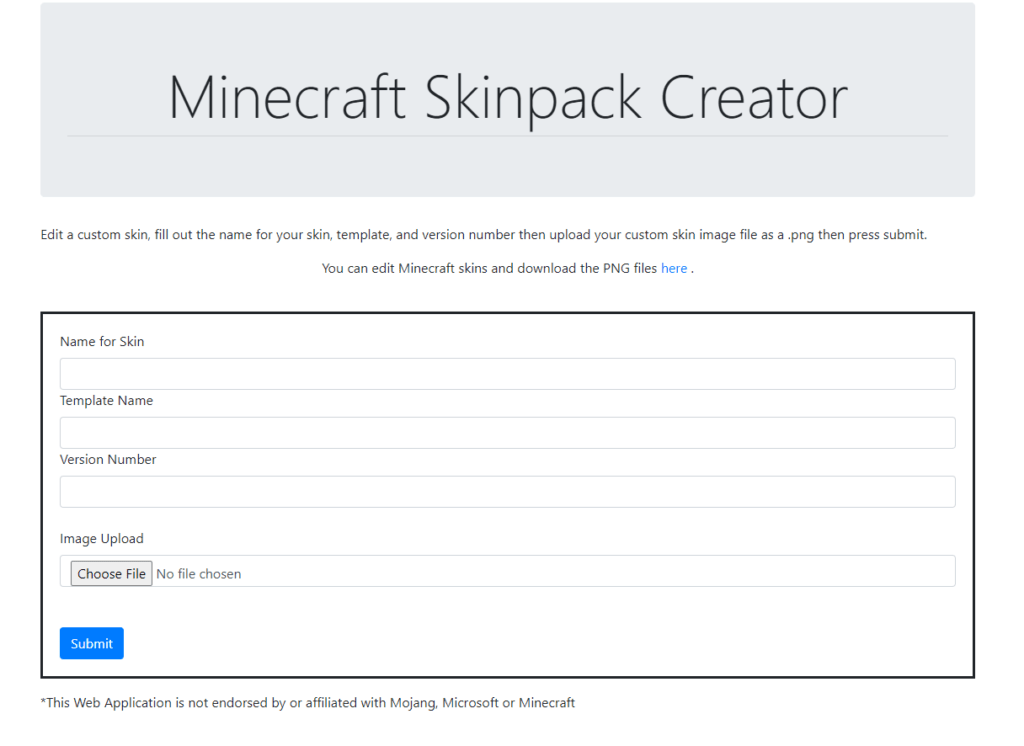
Next, we head to this website which gives the players the option to either create a skin pack for slim or normal skins. Choose the type of skin pack you are going for and proceed to the next step.

Related: How to Keep Creepers Away in Minecraft (Easy Guide)
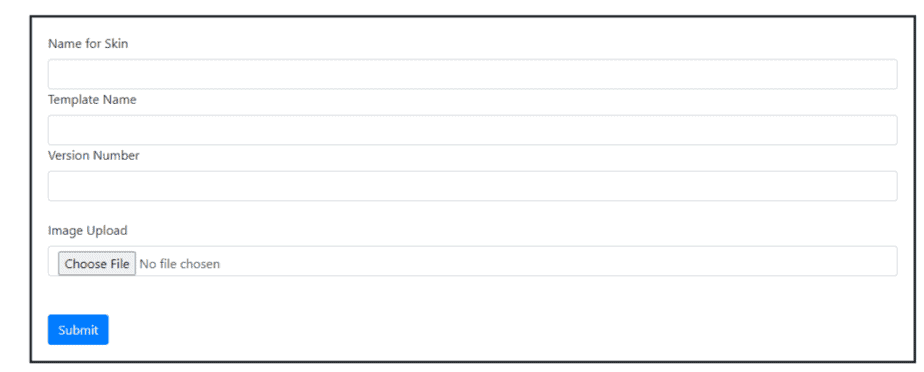
The skin pack creation page will ask the players to upload their .png files of the selected skins they have stored, and you can do so by using the “Image Upload” option. Select every skin that you want to use. After you have uploaded the skin, you can enter the name of the skin and the whole skin pack. You can even name or number the version of the pack for any future revisions.

Once everything from the previous step has been uploaded, and the fields have been filled, then you will get the option to “Download Pack” nest to this option is another option to “Add Another Skin,” where you can upload more skin to the pack. Once all the uploading is done, you can download the.MCPACK file.

Related: How to Easily Get the Fortune Enchantment in Minecraft
Once this file, .mcpack, is created and downloaded you can just select or double-click it, and it will open up by default in Minecraft. Doing so will import all the skins in the pack to the player’s skin editor and make them available for use as and when needed.
This way, you can get any skin you want without hassle or feel left out. Just visit the skin site, do your shopping, and import it to your game. The store has some impressive skins, so get your hand on the best they offer.

