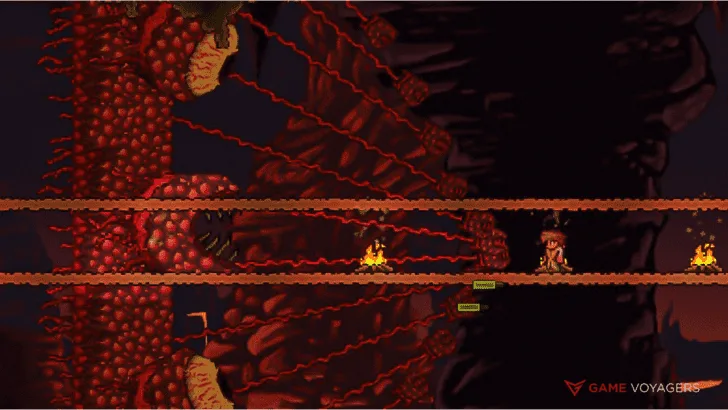
A long time ago, in a world before Terraria version 1.1, Skeletron was the game’s final boss. I started playing the game years ago on 1.1, and since then, the game has been massively updated. Players often wonder what they’ll do in Terraria after defeating the Wall of Flesh.
There’s a lot to do after defeating the Wall of Flesh in Terraria, like checking out your new world, farming ores and gear, exploring dungeons, facing off against the Moon Lord, and loads more.
There’s A LOT to cover here, but I’ll quickly give you the best guide. I’ll even give you tips on beating some of the hardest bosses, so both normal and expert mode players will benefit.
1. Check Out Your New World
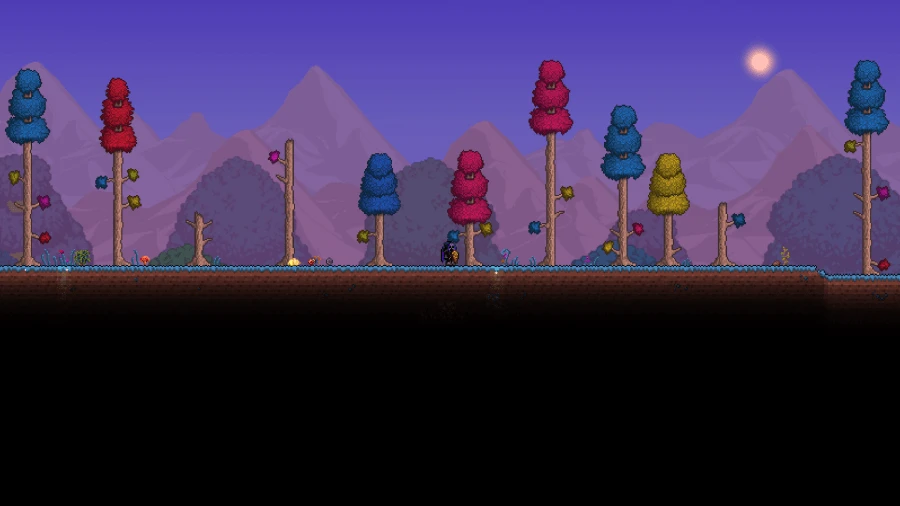
Remember your home in the safety of the overworld? Well, all of that safety is thrown out the window. Not only is the Corruption (or Crimson) much deadlier, but there’s a new biome called the Hallow, basically the happier counterpart of the Corruption.
Unicorns and fairies abound in this biome, which can be farmed for some useful items. Both Corruption and Hallow spread alarming,ly and the Corruption/Crimson can no longer be kept at bay with sunflowers.
New enemies and invasions can also happen during this time. Goblin invasions are ramped up in difficulty, and pirates can invade you. A Solar Eclipse can also occur, which spawns Halloween-type monsters like Vampires, Frankensteins, and Reapers. Later in hardmode, you can get invaded by aliens, but you don’t have to worry about that yet.
In addition to these overworld changes, new biomes and ores are found underground. Underground versions of the Hallow and Corruption/Crimson have appeared in place of normal underground areas and are extremely deadly to early hardmode players.
You won’t have access to any new ores just yet, though, as you’ll need to spawn them in the world using a tool given to you by the Wall of Flesh.
2. Destroy The Alters
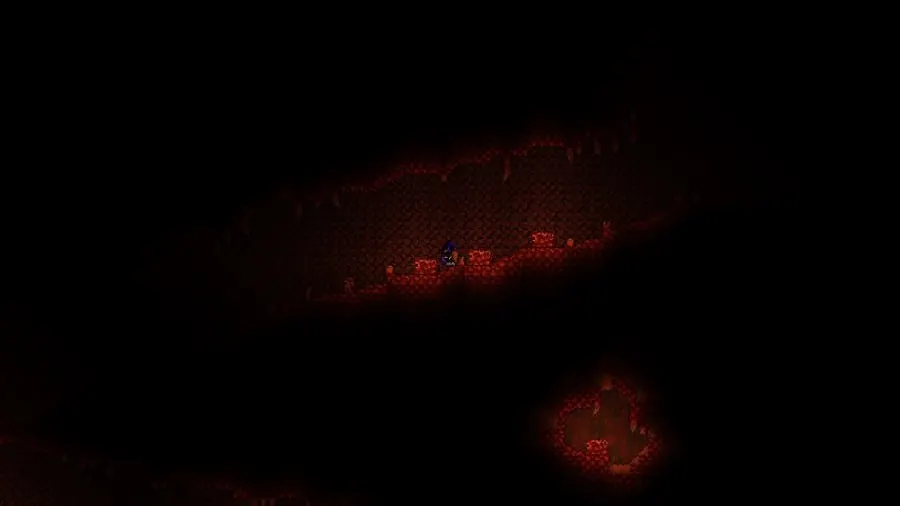
The Pwnhammer is a decent weapon dropped by the Wall, but combat isn’t its main function. The Pwnhammer can break Demon Alters, which causes hardmode ores to spawn randomly underground.
You’ll find the bulk of these alters in the Crimson/Corruption, but some are randomly found worldwide. As soon as you start breaking them, the world will spawn a couple of Wraiths and spawn more each time you break one.
In addition to hardmode Corruption being more difficult to survive in, Wraiths are deadly to early hardmode players. Use a penetrating weapon to slice through a group of them, and you should be able to survive.
There are 3 tiers of ore that the alters spawn:
- Tier 1 – Cobalt/Palladium
- Tier 2 – Mythril/Orichalcum
- Tier 3 – Adamantium/Titanium
The first alter you break will spawn a tier 1, the second a tier 2, and the third a tier 3. After the third one, you’ll get a tier 1 ore and the cycle continues.
Tier 3 ores are hard to find, so you should strive to break as many alters as possible. SAVE ONE ALTER NEAR YOUR HOUSE, as you’ll need it to craft items in the future. Breaking all of them will mean you have to make another world for crafting certain items, which would be an annoying hassle.
3. Dig Up Some Ores
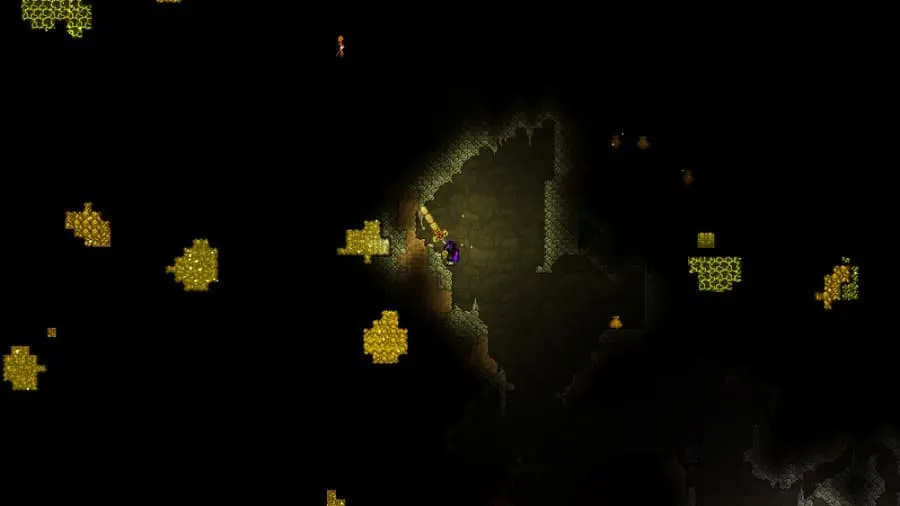
With your newly spawned ores in the world, it’s time to collect them. Remember that you can only mine a tier of ore with tools made from the previous tier, so you’ll need to collect all 3 to get the next best armor available.
To farm a tier 1, you’ll need a Molten Pickaxe. You probably already have one, so use a spelunker potion to find gear. The deeper you go, the better ones you’ll find. You’ll find the most tier 1 ore towards the start of the cavern layer, so focus your efforts on that area.
I don’t make armor or weapons using a tier 1. Simply make a pickaxe of tier 1 ore and get to mining the next tier. The armor and weapons you get from these ores are decent but not worth wasting time on.
Take your new pickaxe (or drill) and head back down underground. You’ll start to see an increase of tier 2 towards the cavern layer center, so drink another spelunker potion and start mining.
You must make a new anvil to craft the next-level pickaxe this time. Only get enough of the next ore to craft the Orichalcum/Mythril anvil and pickaxe, then go searching for the tier 3 ore.
The best way to find tier 3 ore is to mine in the cavern layer directly above the underworld. You might have Imps spawning on you, but you can easily deal with them now. I’ve always had difficulty finding Titanium, as its dark color is hard to distinguish from other ores. You need a spelunker potion, and a metal detector would make your life much easier.
You need more of this ore to craft a bar than the other ores, so you’ll spend a lot of time farming to get everything. The only items you’ll need are armor and a pickaxe. There are much better weapons to farm, so don’t waste your time with these.
4. Look for Shimmer

Shimmer is a purplish pearlescent liquid found exclusively in the Aether Biome. This liquid has tons of different effects on all types of items and even NPCs in the game when they come in contact with it. It was added with the 1.4.4 update.
It transmutes objects into other cooler items. Simply throw the item in the purple pool and watch it transform. To see each item’s transformation, check the Terraria Wiki.
Naturally occurring Shimmer can only be found in the Aether Biome. This biome is located in only one place in each world. Specifically in any location in the Cavern Layer in the same half of the world as the Jungle biome.
To find the Aether biome, you must head to the world’s outer third. The Aether always generates on the same side of the world as the Jungle, so if you see the Snow biome or the Dungeon, you must turn around and go to the other side.
It’s pretty deep underground, and you can identify it when you see it due to its aesthetics. It is entirely made out of stone and has an interesting visual effect when entering it.
5. Get Your First Pair Of Wings

It’s time to be able to fly wherever you want! Wings give you the freedom to go pretty much wherever you want to. They won’t let you fly indefinitely, but you can go a reasonable distance before gliding.
The angel and demon wings are some of the first wings available to you. For your first set of wings, farm 10 feathers, 20 Souls of Flight, and 15 Souls of Light/Night. Souls of Light will give you angel wings, while Souls of Night craft demon wings.
Feathers are found by slaying harpies on floating islands. While you’re on a floating island, long, snake-like monsters will spawn called Wyverns. You’ll need to defeat a couple of Wyverns to get all the Souls of Flight you need, but it’ll be well worth it.
6. Farm For Powerful Gear
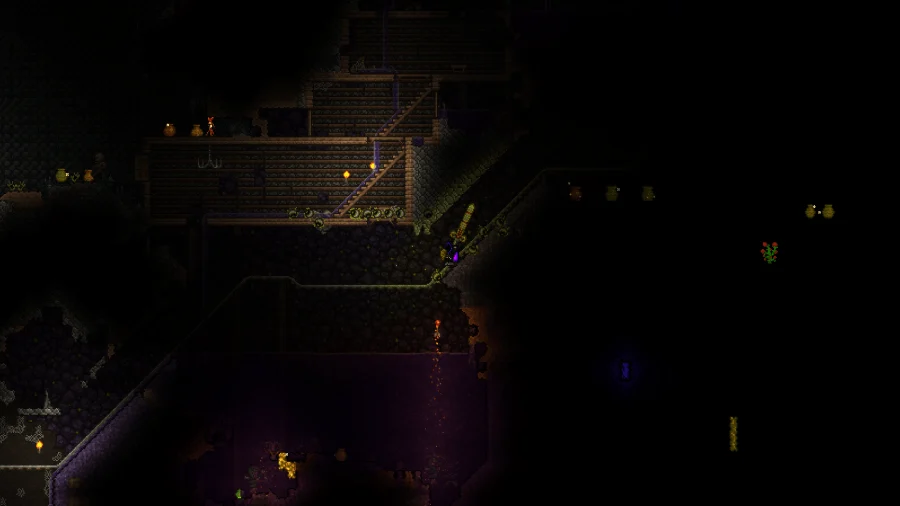
Now that you have the best armor available to you right now, it’s time to get weapons to slay the next bosses. One of my favorite weapons in the game, the Daedalus Stormbow, will help you wreck these bosses. This bow rains arrows from the sky, which becomes extremely deadly when paired with piercing arrows. Expert mode players will have a much more difficult time, but the Stormbow is an awesome tool.
You’ll need to slay a Hallowed Mimic to get the bow until he drops it. Mimics are chests that become monsters when you get close, so you may run into a few while farming. Running into a naturally spawning Hallowed mimic is a death sentence for an early hardmode expert character, so stay away from large chests.
You’ll need to farm 15 Souls of Light for each spawn key you need. Souls of Light are found in the Underground Hallow, so keep killing enemies until you get one. With the 15 souls, craft a Key of Light at a workbench, and place it into an empty chest to start the boss.
If possible, I recommend spawning it away from your NPCs and on a sky bridge. Ranged weapons such as the Clockwork Assault Rifle (dropped by the Wall of Flesh) are awesome against these minibosses.
Defeat the Hallowed Mimic until he drops the Daedalus Stormbow. You’ll get some other good gear along the way, but the bow is what you need. With the bow, you’re ready to start taking on some bosses.
7. Summon Some Sidekicks
Use this time to become acquainted with the Summoner Weapons in the game. These weapons will allow you to summon characters that seek out enemies and completely obliterate them. You can experiment with the Summoner class if you want and sit back, relax, and let the carnage happen automatically.
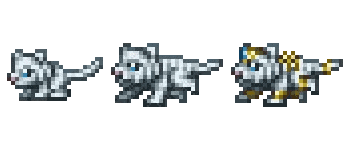
One of the best weapons in this category is the Desert Tiger Staff. This lets you summon one tiger, which becomes stronger and faster with each additional summon. It has around 17 attack damage and 17 speed.
The desert tiger will initially appear as a baby when summoned one to three times. Dealing surprisingly good damage considering any class can use this without affecting their stats. An adult tiger will appear summoned four to six times which, for anyone looking for a more mixed Summoner class, I’d say, would be the sweet spot for slots used to damage output.
And finally, an armored adult tiger will appear when summoned seven or more times. Its final form’s sheer speed and damage are very impressive, and it can easily chase down enemies.
Aside from dealing contact damage to enemies, it also has a curl and pounces attack. The tiger can travel through blocks to keep up with the player, and the pounce deals 1.5 times the base damage but, on its final tier, has a cooldown of 4 seconds.
In boss encounters, it works well too. You just have to wait for it to progress its forms, and soon, any boss will be taken down quite easily. A vicious tiger always following you and doing your bidding isn’t the dream.
8. Defeat the Destroyer, the Twins, and Skeletron Prime

The first boss you should fight is The Destroyer. Holy Arrows are the ammo type you’ll need, which can be crafted with Pixie Dust, A Unicorn Horn, and wooden arrows. Around 1,000 arrows to start will be good enough. These arrows rain, shooting stars on impact, allowing for massive damage.
Next, farm a Ranger Emblem from the Wall of Flesh. The emblem increases your ranged damage, so it’ll immensely help the fight. When you’re ready to fight, you’ll need 6 Vertebrae/Rotten Chunks, 5 Iron/Lead bars, and 6 Souls of Night. Make sure you use a hardmode anvil to craft the Mechanical Worm.
Farm The Destroyer until you have a full set of Hallowed Armor. A Hallowed Repeater is also beneficial, but the armor is a must. Crafting a Hallowed Pick or a Drax is also essential, so make sure to make one.
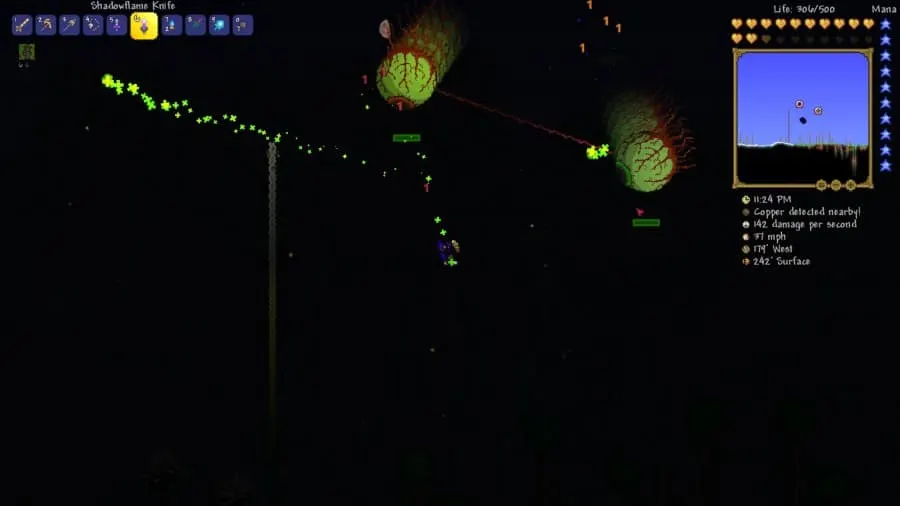
Skeletron Prime is much easier than The Twins, so go for him next. Once you get his boss spawner, Spawn him in the same area where you fought The Destroyer. Using the same arrows and bow as the falling stars will help remove his 4 deadly arms. Avoid him as best as possible while bombarding him with arrows; eventually, he’ll die.
Unfortunately, The Twins are a different story. Normal mode players will have no problem beating them, but The Twins in Expert mode can be a nightmare. The best way to defeat them is to use a Unicorn mount or a minecart on a sky bridge. Laying out minecart tracks may take a while so the mount may be the better option.
Ensure you start the fight as soon as nighttime starts, or they might despawn before it ends. As soon as you beat all 3 bosses, you’ll get a message saying, “The Jungle Grows Restless.” You must head to the jungle for the next part of your journey, so prepare for intense fights.
9. Defeat the Guardian of the Jungle
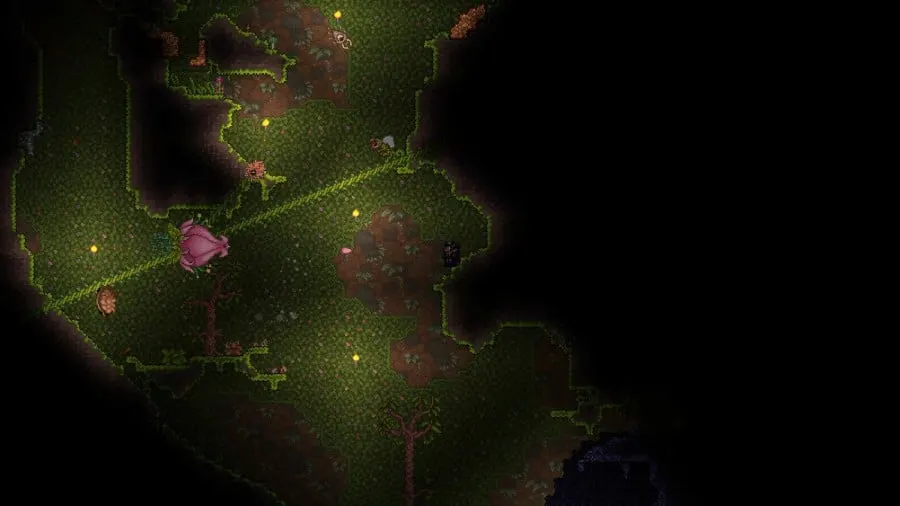
The hardmode jungle is a deadly place, especially for Expert mode players. You’ll probably die a lot, so you should set up a small base with a bed to spawn in.
With your bed set up, it’s time to search for some new ore. This ore, called Chlorophyte, starts to spawn as soon as you beat all 3 mechanical bosses. Chlorophyte will grow in jungle block over time, so if you wait longer to mine it, you’ll find more of it.
What you also might find in the jungle are large bulbs growing in the mud. DO NOT BREAK THEM YET, as breaking a jungle bulb will spawn Plantera. This is the next boss you need to beat, but you should prepare beforehand.
Keep farming the Chlorophyte until you have enough to make Chlorophyte armor. Hallowed armor is good, but not good enough for this boss. You’ll need a good-sized arena and a ton of potions to buff your character into victory.
Weapons such as the Magic Harp are good, as they allow multiple hits on an enemy. Chlorophyte bullets will follow enemies you shoot at, which are also good options. There are several ways to beat Pantera, so use whatever works best for you.
10. Explore the New Dungeon
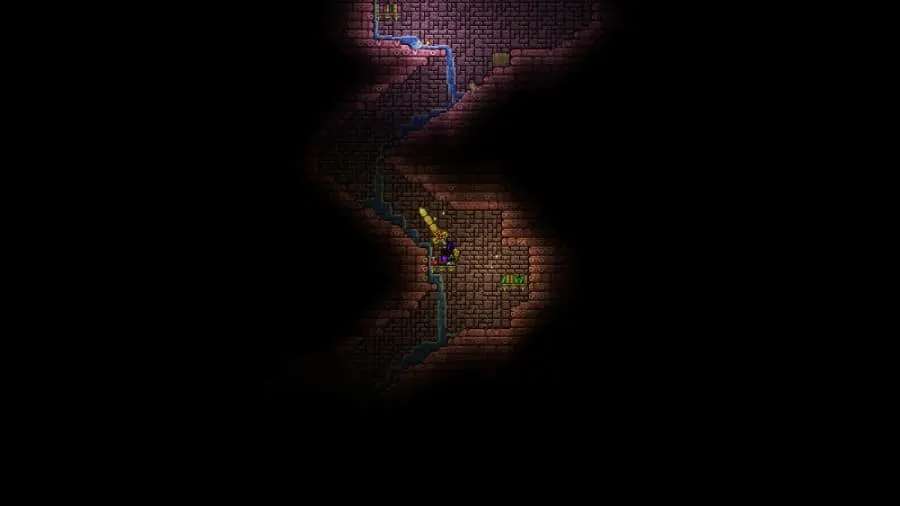
Beating Plantera unlocks several items, such as the Jungle Temple Key and the upgraded dungeon. The Dungeon holds a ton of new enemies that drop gear and items needed to get some of the best items in the game.
Exploring and farming here isn’t a necessary step, but spending time here will give you some decent gear to use in the coming fights.
11. Destroy the Golem
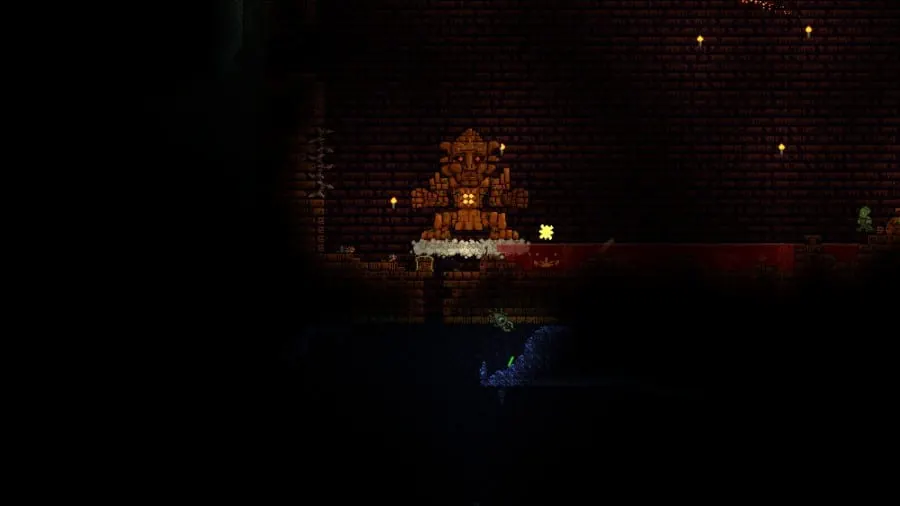
The Jungle Temple Key that Plantera gave you will unlock the large, orange structure that spawns in the Jungle. To use the key, simply walk up to the door and unlock it. Trap traps and some pretty hard enemies are inside the temple, so be extremely careful.
Place torches around you so you can see, and break as many traps as possible. Chests spawn here, which you must loot to gain the boss spawn items called Lihzahrd Power Cells. Once you have finally reached the final room of the temple, it’s time to clear the area of danger.
Place torches everywhere in the spawn room, and clear all the traps. I like to block the entrance with stone so enemies can’t come in during the fight.
I should note that some temples are completely closed off by Lihzahrd Brick, which forces you to beat him in another world. Once you get his Picksaw, you can mine your way into the room in your main world.
Use the Power Cell on the altar to begin the fight! Golem isn’t an extremely hard boss, but he may still defeat you a few times. If you run out of Power Cells, simply farm them on another world to easily get them.
Killing Golem will allow one of the game’s most difficult bosses to spawn, so get ready for lots of fun!
12. Have Fun with the Moon Lord
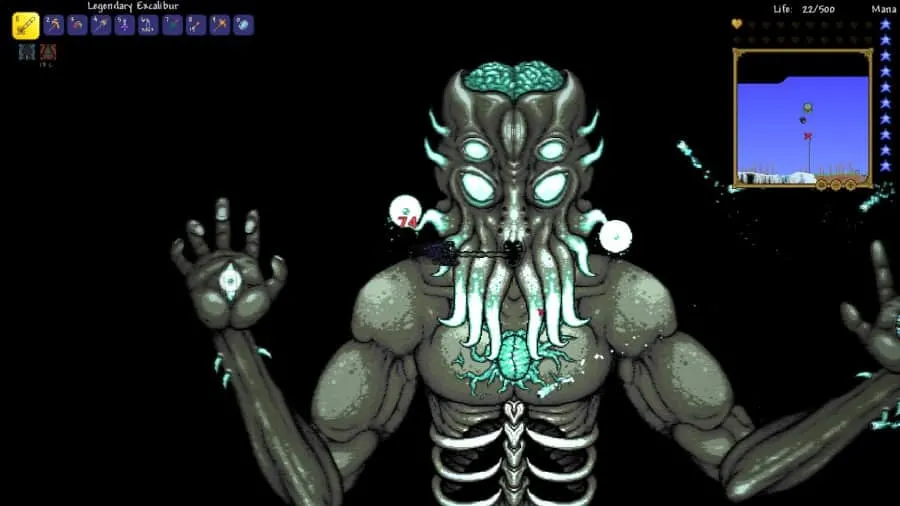
The Moon Lord is not only crazy hard but also annoying to spawn. The first thing to change you will notice after Golem is that a bunch of random Cultists is sitting in front of the dungeon. Attacking them will spawn the Lunatic Cultist, a small but somewhat difficult boss.
After beating him, 4 Celestial Towers will spawn in the world, and you must defeat them all. Normal players must kill 100 enemies before the tower becomes unshielded, but Expert mode players must kill 150. Only 2 of them really trouble me, but they are more of a hassle than hard.
After defeating the 4th tower, you’ll get a message saying, “Impending Doom Approaches.” Only 60 seconds after receiving that message, the Moon Lord will spawn.
He is such a difficult boss that you should refer to the wiki for tips on beating this monstrosity. My brother and I managed to kill him several times using Cosmic Car Keys and some powerful weapons, but we died many times.
The worst part about this boss is that if you die, you must kill both the Cultists and the Celestial Towers again, which can get annoying if you repeat this several times.
Eventually, beating the Moon Lord will reward you with some of the best items in the game. It’s an annoying fight, but your rewards are well worth it.
Terraria is a huge game with a lot to do after defeating the Wall of Flesh, and I only really scratched the surface. I didn’t even cover the optional bosses like Duke Fishron or any player-summoned invasions. For now, these tips are exactly what you need to do once you’ve beaten the Wall of Flesh.

