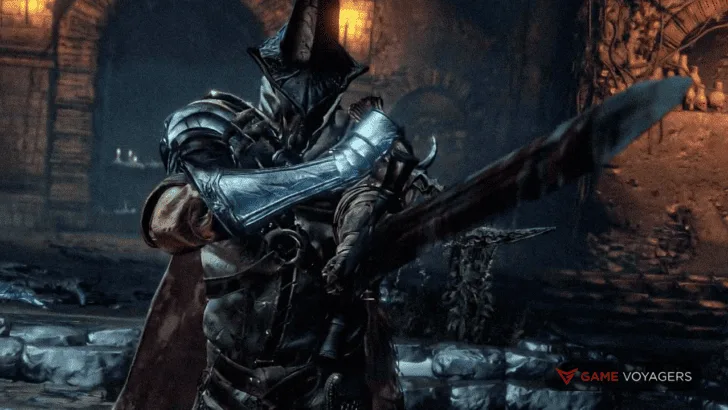
Dark Souls 3 is the culmination of FromSoftware’s greatest work. It stays true to the formula they curated in the first place and pushes everything to the next level. This is very much true when remembering the bosses of Dark Souls 3. And, oh boy, the bosses. FromSoftware never disappoints in this department.
Dark Souls 3 has a wide spectrum of bosses ranging from downright gimmicks, which are deceptively easy to take down. Some bosses will test the patience of how long you can keep the controller in your hand without chucking it into the screen. Let us see where bosses are ranked difficulty-wise in Dark Souls 3.
Because of this, the difficulty will be highly subjective. The hardest boss for me may be the easiest for someone else. The difficulty in this list was considered by myself and several others, and it is also based on online polls and other rankings I’ve seen.
25. Ancient Wyvern
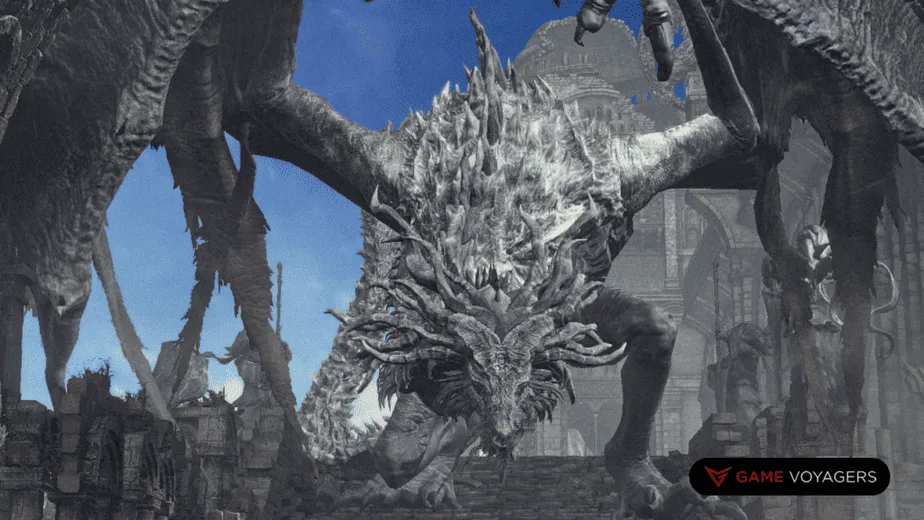
Should this even be considered a boss? Probably not. I’ve never dared to fight this gimmicky dragon as I would a normal boss, but some people have.
The Ancient Wyvern is given the lowest difficulty because you can end him with a single plunging attack. The only real danger you are in is from the annoying enemies you’ll encounter while going to the platform above the dragon.
Another difficult aspect is figuring out that you can 1-shot the Wyvern. Without a guide, it’ll take the player a while to figure out this is possible, so they may attempt to fight the dragon head-on.
Fortunately, the boss arena is very different from the other arenas, so most people find the right way to go after some exploring. Once you reach the top, ensure you time your jump correctly, or you may fall to your death as I have.
Difficulty: .5 out of 10
24. High Lord Wolnir
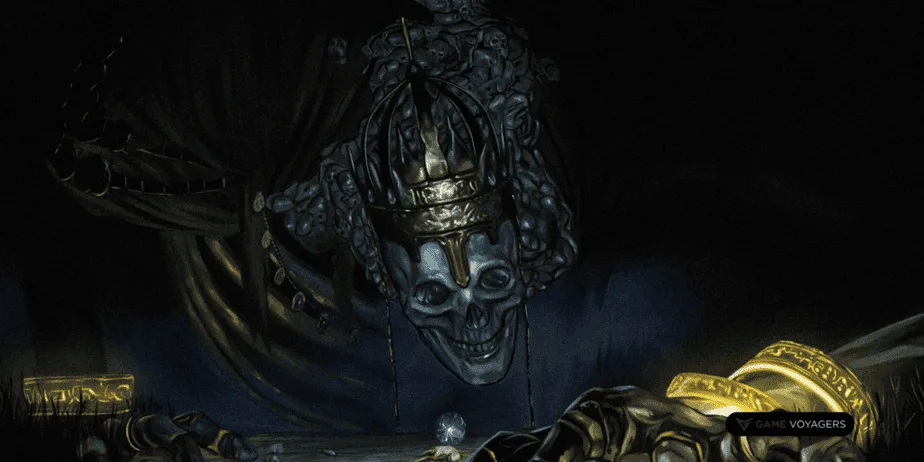
Wolnir is a major gimmick boss in Dark Souls 3, but he’s still an interesting boss to fight. Some people have more trouble with this boss than they should have, but he is still really simple to beat.
All you have to do is destroy his three gold bracelets. The bracelets are the only thing holding him back from the Abyss, so destroying them will immediately cause him to be dragged down the chasm into the Abyss.
His most damaging attack is a Dark Cloud that immediately starts draining your health. He also has other attacks that could punish you easily, along with spawning skeletons. However, if you know how to beeline toward and destroy the bracelets, the fight will be over before you can say “Hello, Your Highness.”
Difficulty: .5 out of 10
23. Yhorm the Giant
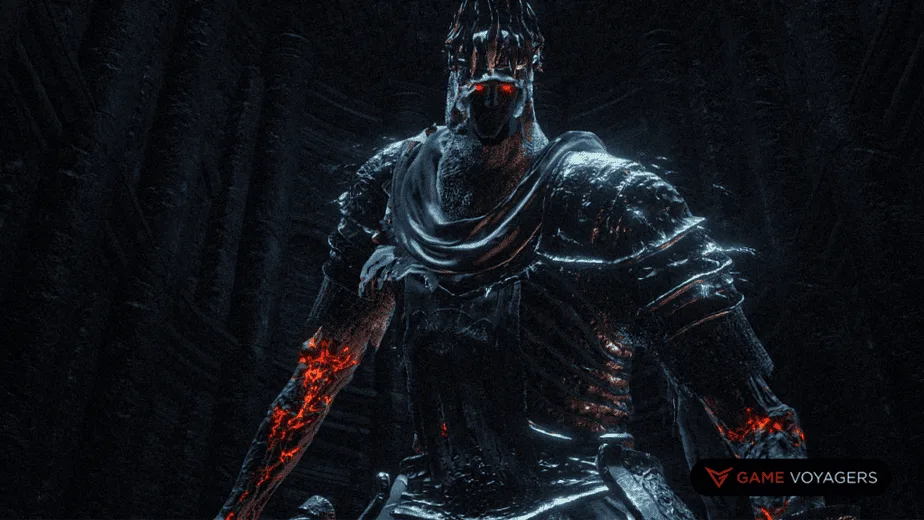
The visual of Yhorm rising from his throne and looming toward you is terrifying. He looks so intimidating that you think he will be a formidable adversary.
Unfortunately, this isn’t the case. Hidden behind the throne is a large sword called the Storm Ruler, which allows you to shoot damaging wind gusts. This weapon only takes five shots to defeat Yhorm, the Giant. You can even charge the weapon art, continue dodging and then fire it when the situation is more conducive.
It’s disappointing when you realize how easy this boss is, as he looks so menacing as he advances toward you with his massive blade. Of course, you can always fight him without the Storm Ruler, but it would take a very long time.
To make it even easier, you can summon Siegward of Catarina to aid you in the battle. Siegward comes equipped with his Storm Ruler, making an already easy boss even simpler to beat.
Difficulty: 1 out of 10
22. Deacons of the Deep
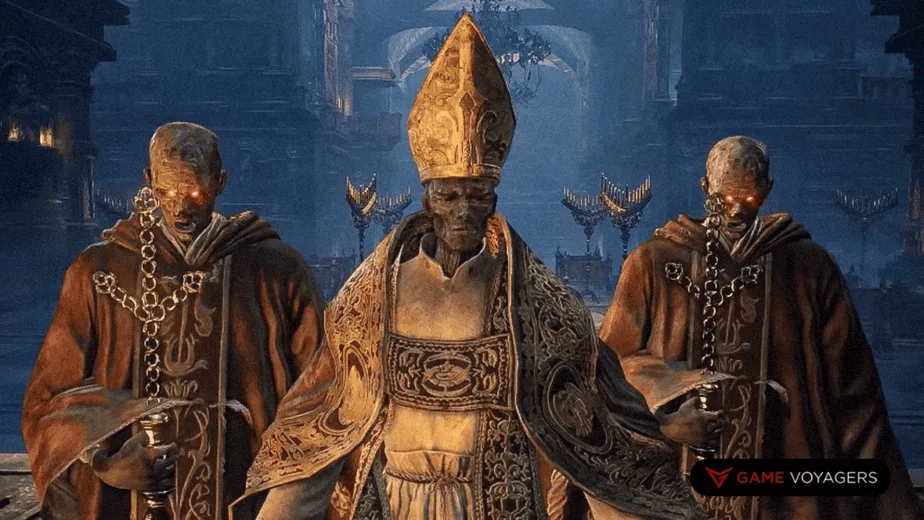
The Deacons are a horde boss in Dark Souls 3 that can be formidable in large numbers, but even then they are still pretty uncomplicated. Admittedly, I’ve died to these guys way more than I should have because it’s easy to get overwhelmed if you aren’t sure what you’re doing.
As the fight progresses, the Archdeacon arrives, surrounded by his bodyguards. You must fight toward the Archdeacon as the horde does its best to block your path. The fight is designed to trigger your greed to steamroll the boss and his lackeys but tries not to succumb to the temptation.
The only thing that makes this fight hard is the ability to get cursed in the second phase. The Archdeacon shoots a curse at you if you take too long to damage him, which will immediately kill you when the curse meter fills up.
If you keep damaging the main deacon, he can’t curse you anymore. The curse has been my downfall every time I’ve died here until I finally realized it was preventable.
Difficulty: 1.5 out of 10
21. Vordt of the Boreal Valley
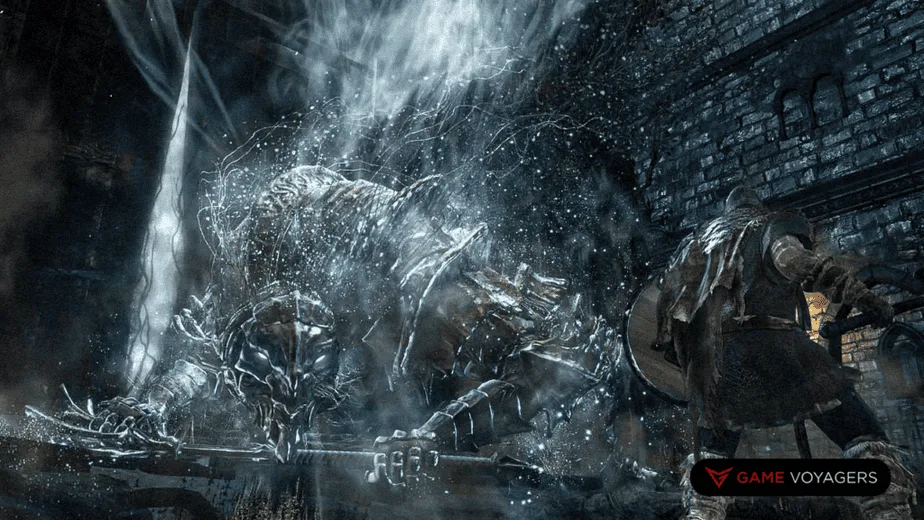
For a first-time Dark Souls player, Vordt was a hard boss. I thought he was difficult until I realized I could stand under him for most of the fight. You can run to Vordt’s arena as soon as you get to the High Wall of Lothric and be able to hold your own against him. His attacks don’t have a lot of variation, and he doesn’t have any major tricks up his sleeve.
The first phase consists of hitting him from below while dodging every once in a while. He’ll do the occasional ground slam that may catch you off guard, but it won’t be able to touch a player behind him.
The second phase is a little trickier, but you can’t avoid dodging his charges. When he stops breathing ice at you, advance behind him as quickly as possible. His back-and-forth charge attack will put a damper on your initial staying behind the strategy, but a quick dodge, and you can continue doing what you were doing.
While he’s a fun boss to fight, he will only pose a threat to new or inexperienced players.
Difficulty: 2 out of 10
20. Iudex Gundyr
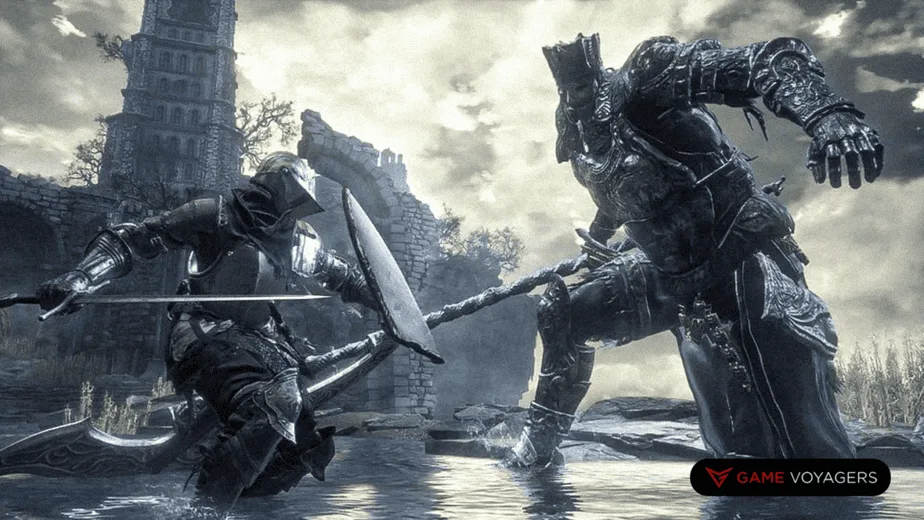
You’d think the first boss in the game would be the easiest, but that isn’t the case with Iudex Gundyr. This tutorial boss is a good indicator of what you’ll be facing in the game, and you’ll even fight a much more formidable version of him later on.
The fight starts fairly simple, but the real challenge comes when you get him to half-health. Gundyr will suddenly burst into a massive black goo monstrosity and catch the player off guard.
I’m certain that part of the fight is the most difficult because you weren’t expecting it to happen. Pair that with the premature confidence you had for getting him to half health, and it’s a perfect recipe for one of your first “YOU DIED” screens of the game.
Once he turns into the black booger, he gains the weakness to fire. Try to throw every fiery item in your inventory and watch him writhe in pain. Maintaining some distance from him will force him to use attacks that can be easily dodged. Use the windows from these attacks to penalize the boss.
He’s a fun intro to the game and can pose a challenge for new players, but he is easy enough to be considered a tutorial boss.
Difficulty: 2.5 out of 10
19. Curse-Rotted Greatwood
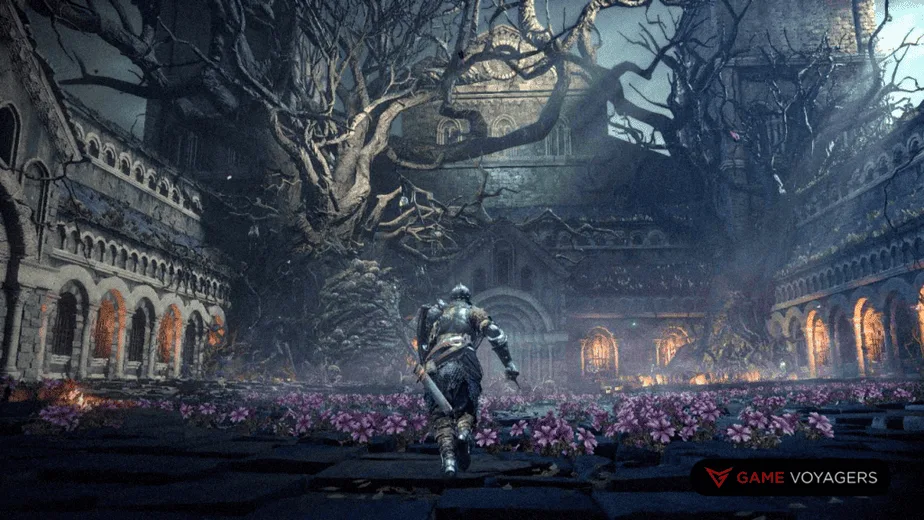
This living tree is yet another gimmick boss in Dark Souls 3, but he posed a challenge for me. The hardest parts are the constantly spawning hollows in the first phase and his grabbing hand in the second phase.
It also might take the player a few tries to realize that the only viable way of damaging him is by hitting the egg sacks on his body. There is one on the left arm, one on the left leg, some on the lower back, and some on the right elbow.
Sometimes he makes it hard to hit them, as he constantly spins in circles and launches rotten fruit at you. Keep him at a distance, and he will perform a drop attack; while recovering from this attack, you can start targeting the sacks with your melee weapons.
If you have a ranged build, then manual aiming the bow can help you get to the egg sacks very easily.
He is optional, so you could skip it and finish the game. I wouldn’t recommend that because you’ll miss out on a unique fight that can even give experienced players a decent challenge.
Difficulty: 3 out of 10
18. Crystal Sage
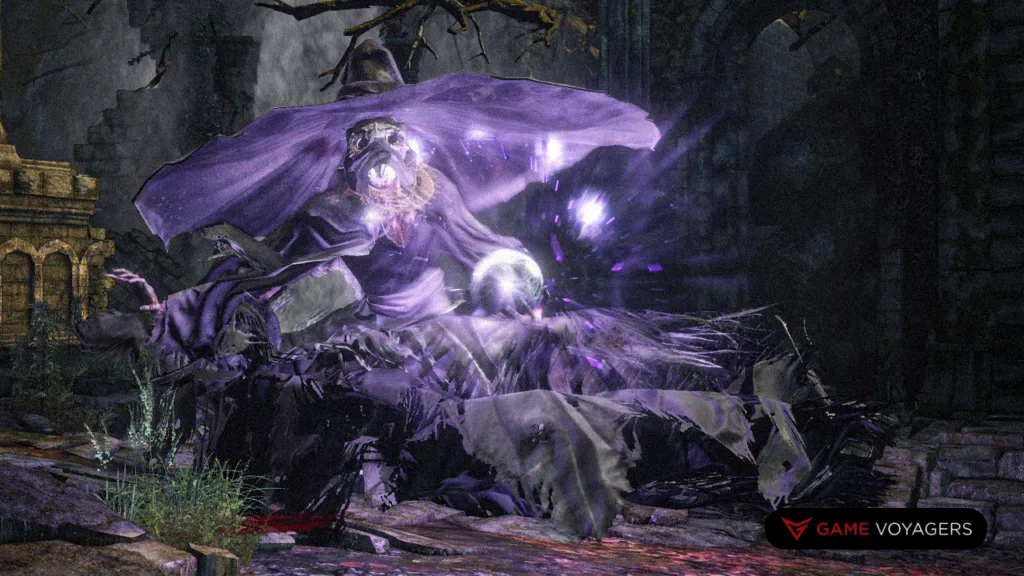
The Crystal Sage has killed me more times than I care to admit. His cloning mechanic always seems to trip me up, and the large crystal projectiles he shoots severely damage me. By this point, you’ve gotten used to running to the boss arena several times before victory, but this whole fight was on another level for me.
I think that the Crystal Sage is the game’s introduction to a bump in the difficulty, but most definitely not the hardest part. Up to this point, the enemies and bosses have been pretty simple, but the defeat of this boss brings you to the next stage.
He’s not an extremely hard boss once you get to know his patterns, but it’ll take quite a few deaths to get familiar with them. He’s a fun boss and will most likely be the hardest you faced up to that point, but he’s nothing compared to what’s to come.
He can be staggered, so staying close to him and wailing on him until he teleports will allow you to get a critical strike. Also, buffing your weapons with Lightning will deal the most damage in these openings as he is weak to this damage type.
Difficulty: 3.5 out of 10
17. Oceiros, the Consumed King
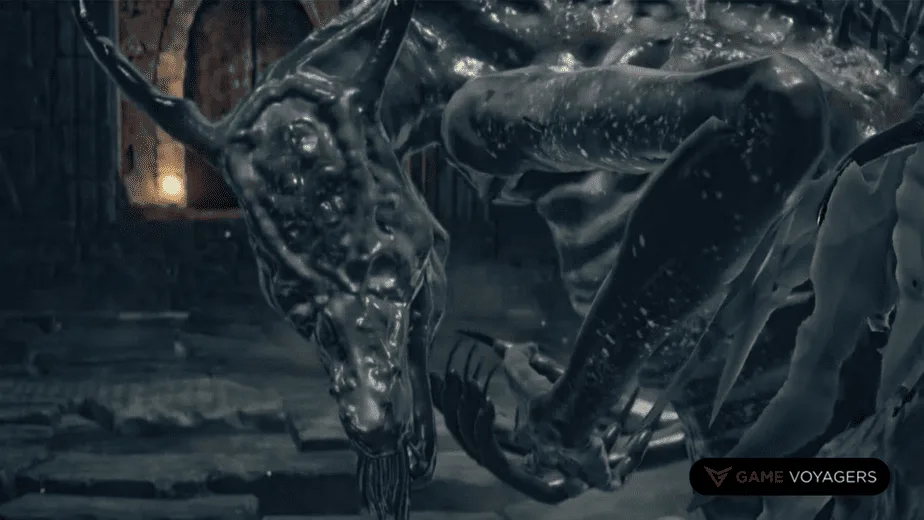
I’ve seen people online writing about their difficulty with him, which is understandable. The first phase of the boss is very simple, as Oceiros is cradling an imaginary baby in one of his arms. Halfway through the fight, he throws the “baby” away and goes all beast mode on the player.
He’ll sprint toward the player at full speed, spin his tail around, and fly at the player shooting his freezing breath. Come to think of it; he seemed so easy to me because he is very reminiscent of Vordt.
The main differences between him and Vordt are that he is much quicker and has more ways to attack you. If you ever have trouble beating him, stay under him towards his rear as much as possible, and watch out for his deadly tailspin attack.
His tail is generally within reach of your attacks (if you have a long-swing weapon). Target the tail if you can’t keep up with his speed.
Difficulty: 4 out of 10
16. Aldrich, Devourer of Gods
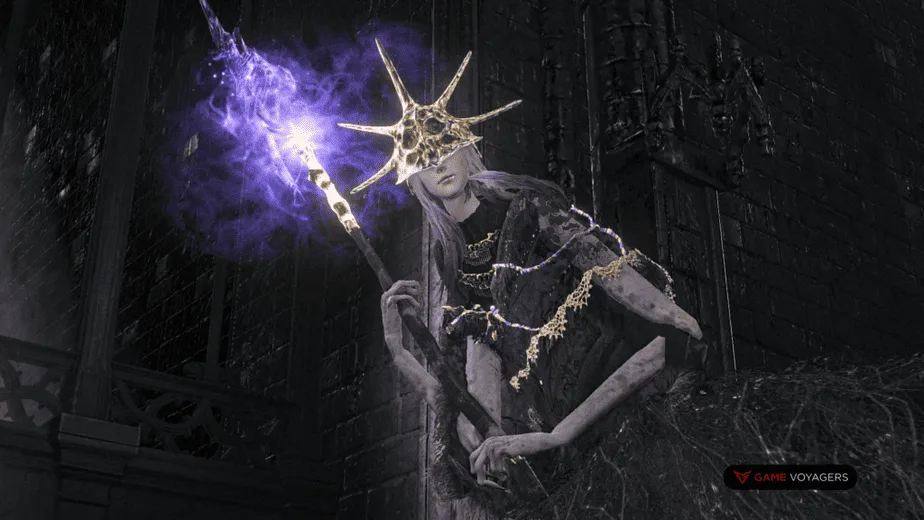
Aldrich spends much time vulnerable during the fight, but his attacks hurt. He will teleport away from you, shoot dozens of arrows, and attack you with his scythe and staff.
He’ll be quite vulnerable to taking many hits when he stops attacking. You’ll easily drain his health if you’re using a dex build like I was. Just keep walking at his tail, as that location is safer than anywhere else to attack. Rush toward his tail and keep attacking it; he is quite vulnerable at this spot and should allow you to stagger him.
Probably one of his deadliest attacks is the arrow barrage he fires at you. When he aims his bow up and begins firing, sprint in any random direction and do your best to dodge all the arrows. Also, watch out for when he’s about to teleport away, as he leaves behind a deadly AoE attack that could be your downfall.
He is fast and has lower health than most bosses in the game. His attacks are easy to decipher but do not get greedy by these facts. He can make quick work of the player in just 1 to 2 hits if you get carried away swinging your weapon.
Difficulty: 4.5 out of 10
15. Old Demon King
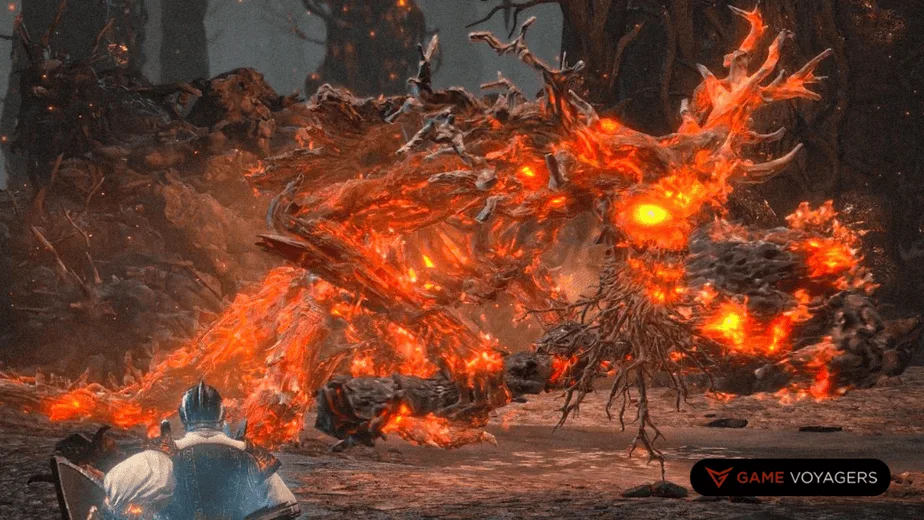
The first difficult part of the fight was the meteor shower he caused. When you see him start to wave his massive weapon in the air, you know it’s time to start moving. The worst part about the meteors is that the camera angle makes it hard to track them. You’ll be caught off guard and squished by a few falling rocks before you beat him.
Next, you must remember that when his health is below 20%, he will release a devastating AoE attack that’ll annihilate your health if you get hit with this thing at 50% HP. Staying too long near him and especially in front of him, triggers the fast AoE mouth blast. Attacking only a couple of times and then retreating to medium range to wait for openings is easier.
During my last playthrough, I was killed by this annoying attack three times in a row. There’s nothing more discouraging than almost beating a boss but then dying because you didn’t move away quickly enough.
One of the easiest bosses for Sorcerers. Stay out of range and spam Great Heavy Soul Arrow until the boss dies. Circle around the pile in the middle of the arena to take cover from his AoE attacks and keep moving.
Because of the good amount of challenge the Old Demon King provides, it’ll probably take you a good amount of tries to beat him. His move-sets are so unpredictable that learning them will take a bit.
Difficulty: 5 out of 10
14. Abyss Watchers
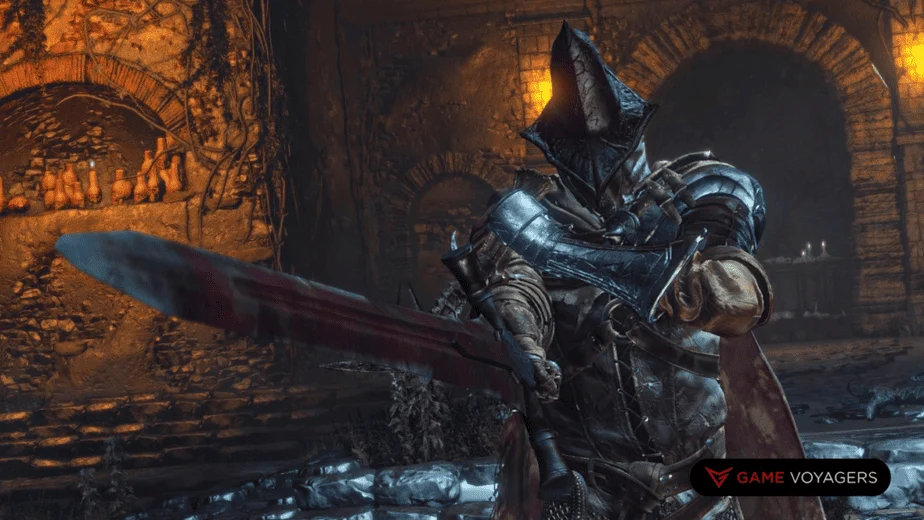
The Abyss Watchers have become one of my favorite bosses in the game, mostly because of the lore behind them. These soldiers are stuck in an endless battle of executing each other, which immediately becomes evident during the fight.
At the beginning of the fight, the boss seems pretty straightforward. That is until more Abyss Watchers start spawning. You’ll quickly realize that you can use these other enemies to your advantage as long as you don’t get caught in the battle between the dueling Watchers.
Once you kill the main watcher, you are brought into the second phase of the fight. This time, there is only a single watcher with a flaming sword.
This boss can be backstabbed and Parried/Riposted and also staggers easily. Fire Resistant Armor and Shield are recommended.
During phase one, an additional Watcher will spawn every 20 seconds, to a maximum of two. The first additional Watcher will be hostile to the player.
If a second additional Watcher is allowed to spawn, it will have glowing red eyes and will target the boss as a priority; however, it also appears to target the player if they are closer. Play defensively when the second watcher spawns, as watchers will target whoever hit them most recently.
Difficulty: 5.5 out of 10
13. Halflight, Spear of the Church
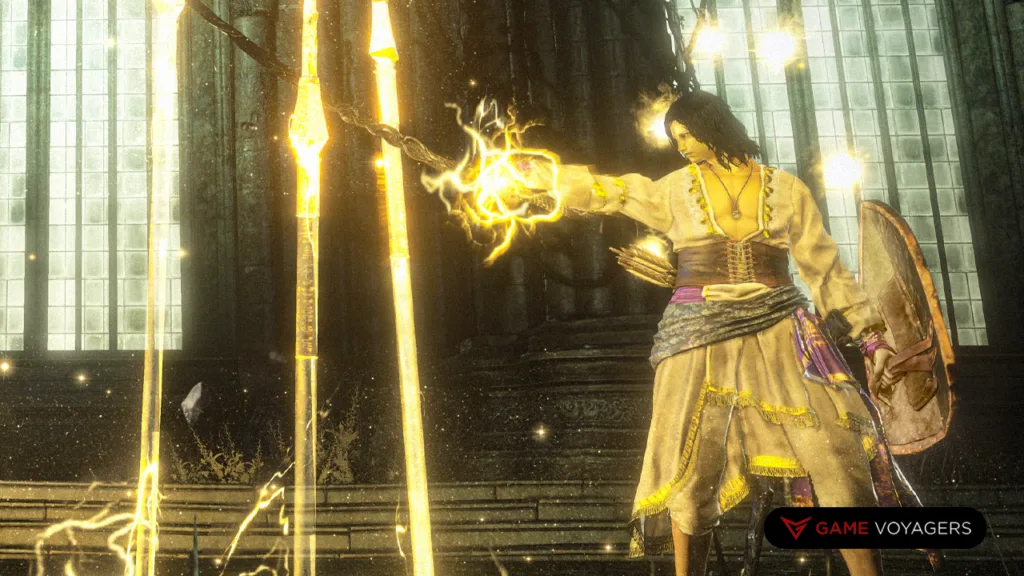
Halflight is one of the unique bosses in the game, as it gives you a chance to fight a random player. Because of this, you may not end up fighting Halflight at all.
This brings a lot of randomness to how the fight will play out. You could get a player who’s a PvP master and get wrecked by them. You could also get someone who has no clue what they’re doing, and you’ll finish them without difficulty.
Because of this randomness, he has the potential to be extremely hard or extremely easy. Assuming you’ll fight an experienced player, I’ve given him a difficulty rating of 6 to compensate for the high chance involved.
Difficulty: 6 out of 10
12. Dragonslayer Armor
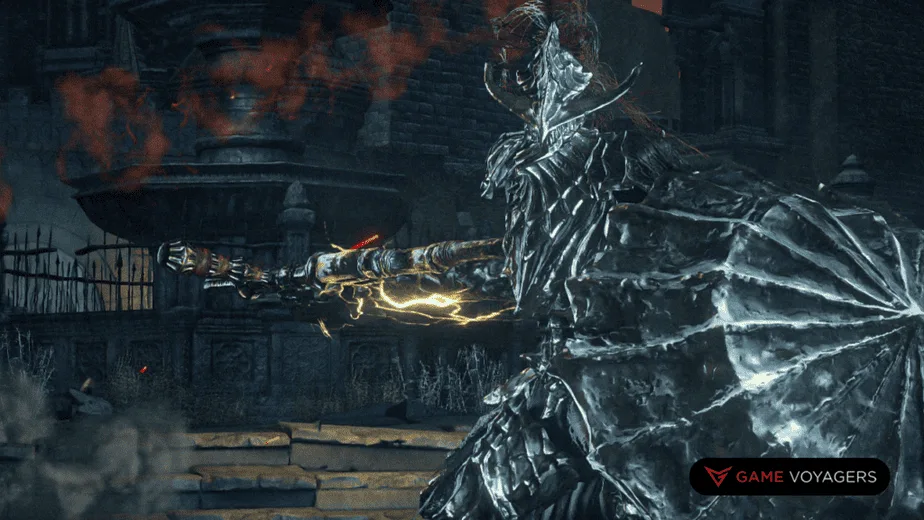
Dragonslayer Armor is a fun boss to fight. He keeps you on your toes while not posing a major challenge, although I know people who have been stuck on him for a while. His shield bash is way deadlier than his lightning axe, so stay clear. It’s a death sentence getting hit by it, so try to strafe around him while dodging.
Another attack he does is a projectile rain in his second phase. When he does this, keep dodging away from the projectiles. Thankfully, they are pretty easy to avoid. You should shoot for 2 to 3-hit combos, as any more than that will result in you getting the shield bash. Keep this up for most of the fight, and you’ll have a pretty easy time with this boss.
Difficulty: 6.5 out of 10
11. Champions Gravetender & Gravetender Greatwolf

This pair of bosses give me Ornstein and Smough vibes. Similarly, you can make the fight easier by beating the easier of the two first. The Champion Gravetender is the first boss to come out, and the Great Wolf emerges after a while. Because of this, you have enough time to damage the Gravetender heavily.
If you defeat the Gravetender and his pack of wolves early on, you’ll avoid the headache of fighting two enemies at once. The Greatwolf is much harder to defeat, so facing him alone is best.
If the Great wolf howls while the Gravetender is still alive, the Gravetender will get buffed, indicated by the Warcry’s red aura. His shield can be guard is broken, which allows him to perform a critical strike. Also can be backstabbed. Champion can be easily staggered. He is weak to Lightning and Bleed.
Difficulty: 7 out of 10
10. Lothric, Younger Prince
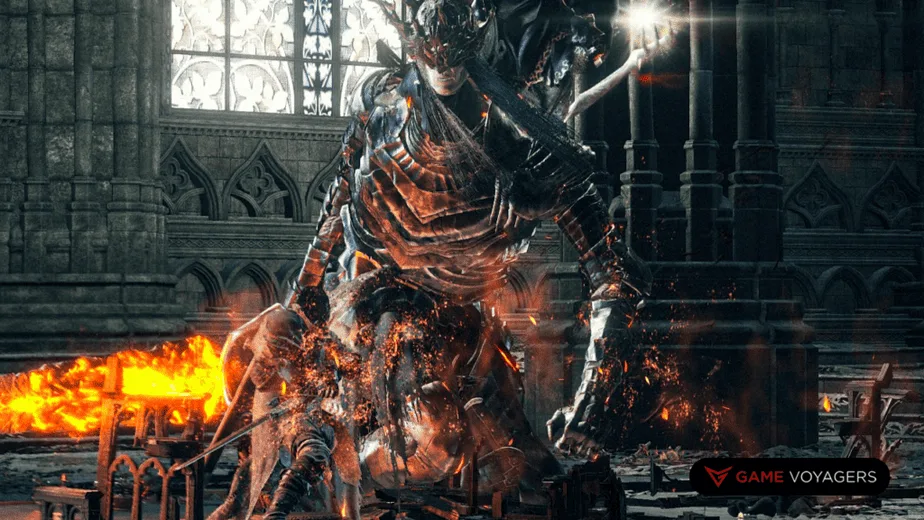
This fight isn’t like the others where you can stay far away from him; rather, he gets right up in your face. He then brings on attack after attack, with seemingly no respite. When you least expect it, he teleports behind you and slams his sword onto you.
No other boss fight in Dark Souls 3 gets your adrenaline pumping as this one does. When you think you’ve beaten Lorian, Prince Lothric resurrects him while providing extra magic attacks. You must dodge all of Lorian’s initial attacks and a barrage of magic from Lothric.
Lorian is parryable, but it will not provide a chance to riposte. It only stuns him for a while. He takes extra damage during the stun animation. Also, parrying is very difficult, as the player has to parry the arm using a sword, not the sword itself. It can be poise-broken, which lets you perform a riposte.
Lothric, on the other hand, cant be riposted. He can be spell parried, but it has to be perfectly timed; otherwise, it won’t work.
Difficulty: 7.5 out of 10
9. Champion Gundyr
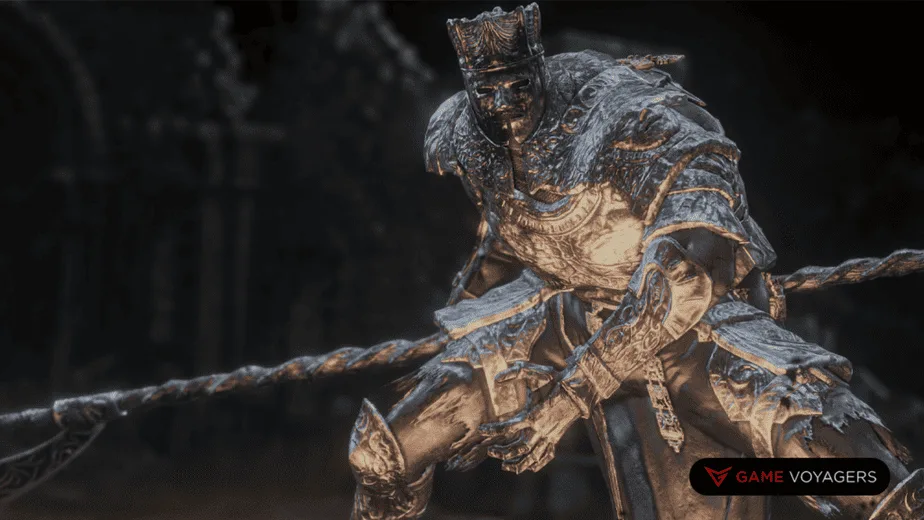
When I stumbled upon this optional boss, I thought, “Huh, I already best this guy once before, so this is gonna be easy.” I was dead wrong about that. Champion Gundyr is a boss who will constantly force you to move and dodge. He makes you feel like there’s no rest, especially when he charges at you while you’re drinking Estus.
He also does some pretty crazy combos that deal some heavy damage. One combo that always seems to get me is that he’ll throw you in the air, and they quickly spin around and kick you.
He was a pretty easy boss regarding how many times I died, but he made it extremely difficult to avoid taking damage. I feel bad for characters with heavy weapons because he barely gives you time to hit him. Your dodging and blocking stills must be on point, or you’ll get stuck in one of his vicious attacks.
He can be poise broken, but that does not allow him to perform a riposte. However, he is weak to Strike Damage, Lightning Damage, Frostbite, and Bleed. He can be riposted if you can parry him.
Difficulty: 8 out of 10
8. Dancer of the Boreal Valley
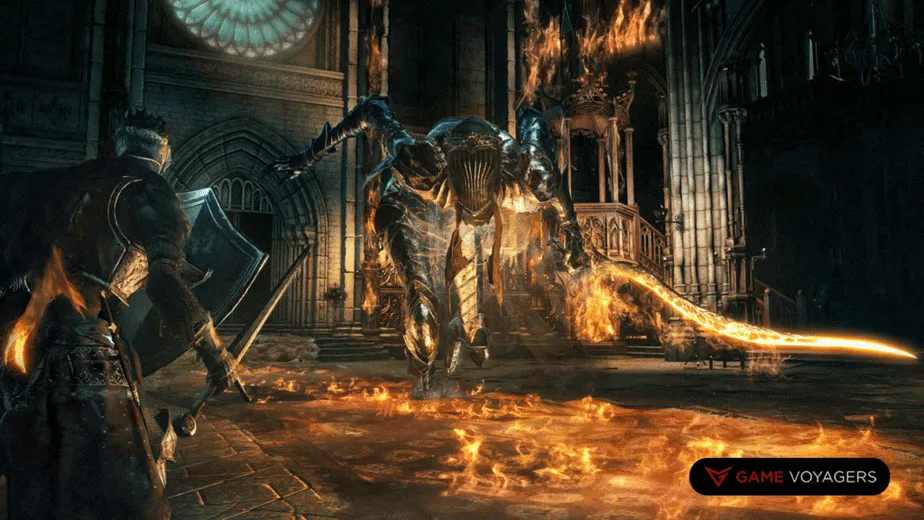
The Dancer is probably one of the most beautiful bosses of the entire series. Starting from how she eerily but elegantly drops down from the ceiling, she proceeds to slice you into little pieces gracefully.
Something is mesmerizing about how her swords flow through the air or how she slowly tries to grab you. The music is probably one of my favorite tracks in the Souls franchise, as it pairs so well with this boss.
She is weak to Dark Damage, Strike Damage, and Lightning Damage. The Dancer can be poise-broken, which breaks all of her attacks. However, if the player manages to stagger her by hitting her head, they can perform a critical strike.
In her first phase, she holds a sword in her left hand. She enters her second phase at half health. Afterward, she dual-wields blades and loses her grab attack.
She is not an easy boss; there is no right strategy for beating her. You need to be at the top of your game to face her. She provides the true essence of the satisfaction you get after beating a boss in these games, as you are needed to up your game and not rely on cheap tricks.
Difficulty: 8.5 out of 10
7. Pontiff Sulyvahn
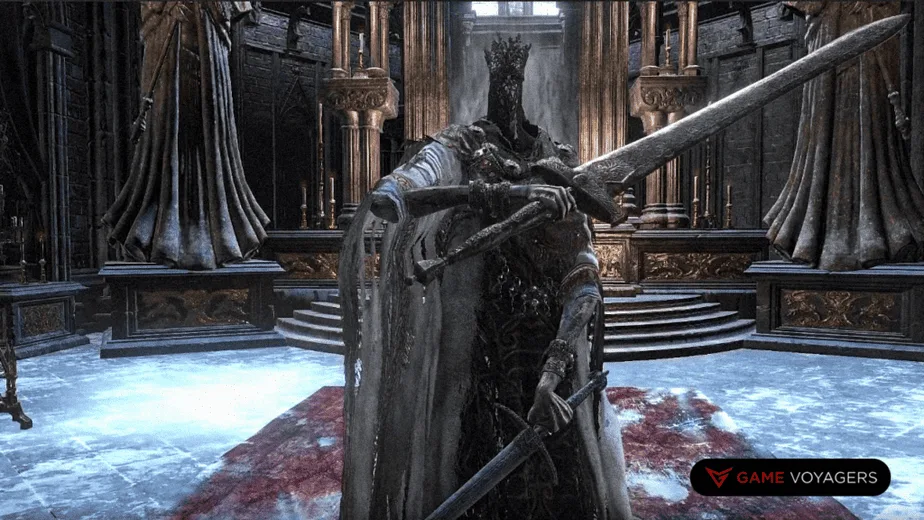
Pontiff is yet another boss in Dark Souls 3 with a grand entrance. From the moment you enter the cathedral, Pontiff is waiting for you ominously. As you draw closer to him, he’ll suddenly leap across the room toward you, dealing quite a bit of damage.
During the fight, he will summon a copy of himself that will mirror his attacks with a small delay. Try your best to defeat the clone, as the fight doubles in difficulty when the second foe shows up.
Many of his attacks are delayed, so you must memorize his movements and anticipate his attacks. Once you figure out his flow of movements, you’ll be able to beat him pretty easily. Don’t get greedy with your hits; one mistake can cost you the fight.
He is weak to Thrust, Lightning, and Fire damage. He can be poise-broken, but you can not riposte him. Other than his grab attacks, projectiles, and jump attacks, his other attacks can be parried, followed by a riposte.
Difficulty: 9 out of 10
6. Demon Prince
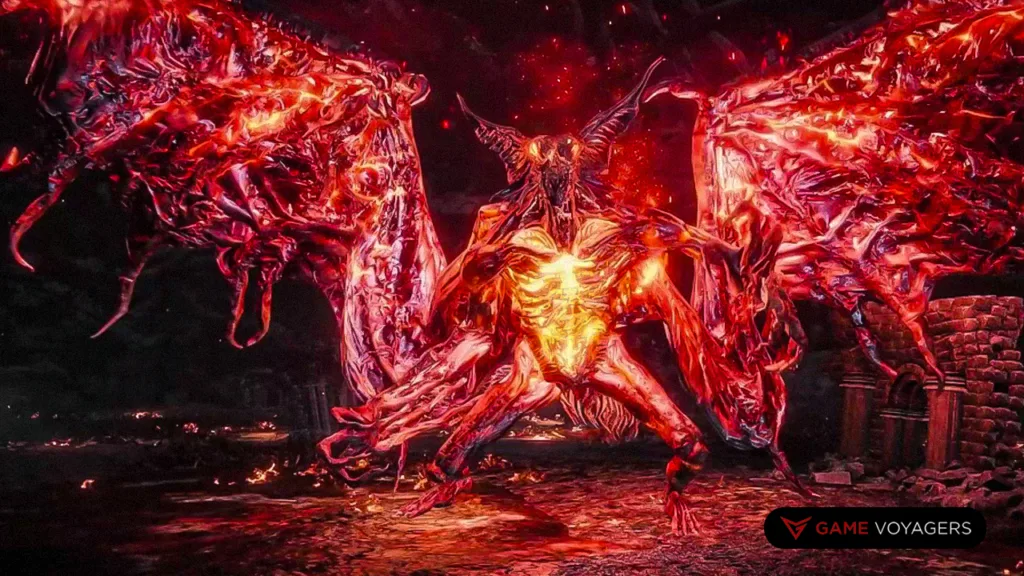
The Demon Prince boss fight in Dark Souls 3 should be considered three bosses because you need to defeat three demons to be victorious. In the first phase, you must face two simultaneously, forcing you to focus on one demon at a time.
The free camera becomes super useful in the first phase, as it can easily lose track of one of the demons. It’s possible to stay locked onto your main target, but the unseen demon may crush you without warning.
Once you finally beat the duo, the Demon Prince shows his ugly face. He’s much larger than the other two and is a much deadlier foe. The bad news is that you must defeat the other two demons again if you die during this phase.
They are weak to Slash damage and Black Knight’s Weapons. He can be staggered with enough hits, allowing him to perform critical strikes dealing significant damage. Most of the demons’ attacks are slower than they look. Do not be afraid to wait for signs of an attack. Rolling after you get hit will most likely cause you to get hit again.
Difficulty: 9.5 out of 10
5. Soul of Cinder
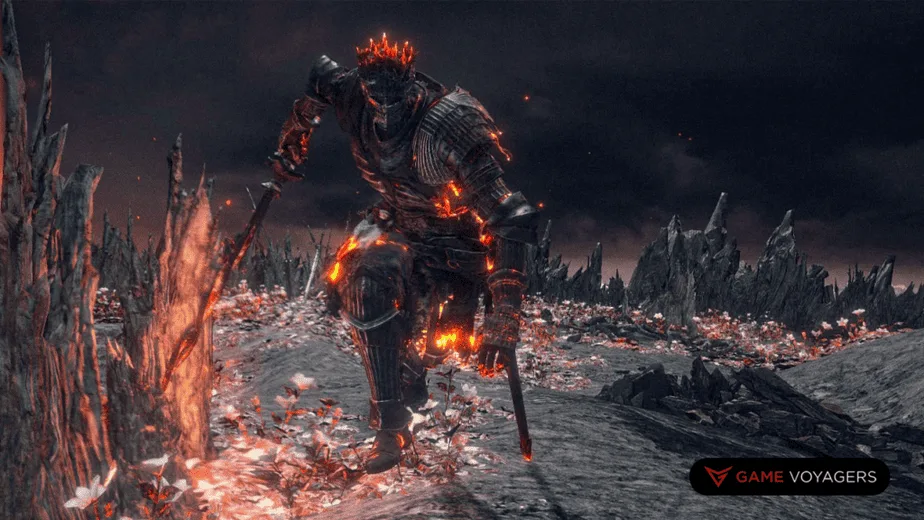
As the final boss in Dark Souls 3, the Soul of Cinder is more than a match for you.
During Phase 1, Soul of Cinder will alternate through 4 various movesets during the fight. Its first moveset consists of standard melee sword swings and thrusts; its second involves using soul sorceries such as Crystal Soul Mass and Soul Spear.
His third moveset involves using Pyromancy, such as Power Within and Great Fireball, a curved sword style (capable of parrying the player), and acrobatic dodges. Its fourth moveset involves a Spear weapon using Miracles such as Wrath of the Gods and Heal.
Defeating the Soul of Cinder will cause it to regenerate its HP with an AoE attack followed by an aerial slash, moving on to phase 2. Here he switches to Greatsword and becomes far more aggressive. In addition, he adopts a few of Gwyn’s moves and uses miracles to deal lightning damage.
Difficulty: 9.5 out of 10
4. Sister Friede

Sister Friede is a boss in Dark Souls 3 that starts pretty easy but then gets harder in her consecutive phases. As soon as phase 2 rolls around, Ariandel shows up to fight you.
When you think you’ve beaten them, Sister Friede returns to life in an even more powerful form. This 3 phase boss fight means you have to do your best to conserve Estus flasks because there are a lot of opportunities to be slain.
The good news is that you can summon Slave Knight Gael to aid you in the fight. He comes at the start of the second phase and focuses his efforts on Freide. This allows you to deal with Ariandel without worrying about Sister Friede as much.
Ariandel is a relatively huge target and can be pummeled with spells with area effects, such as Poison Mist, Toxic Mist, and Pestilent Mist. With summons on your side distracting him, his back is likely to be exposed to some punishment.
Difficulty: 9.5 out of 10
3. Nameless King
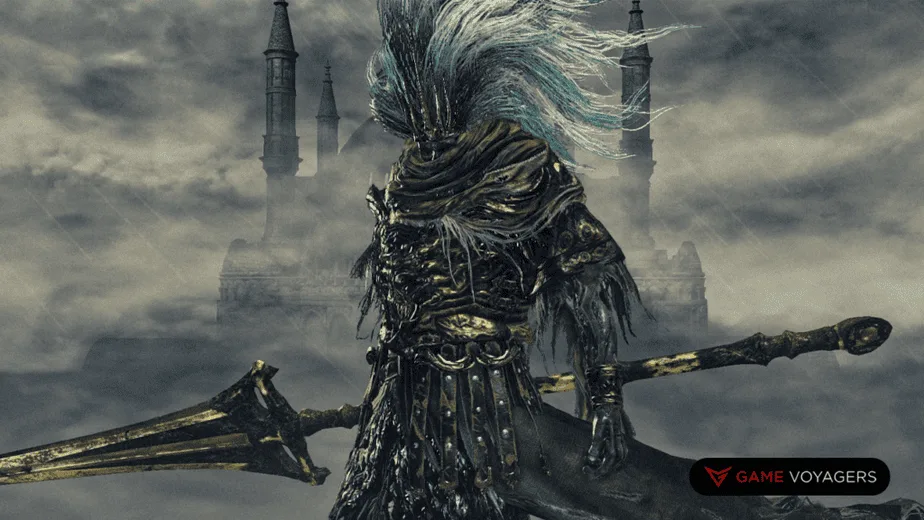
The Nameless King is my arch-enemy. Even though I don’t consider him the hardest, he took me longer to defeat than any other boss in Dark Souls 3.
There are a couple of reasons why it took me so long, and the first is the awful camera angles in the first phase of the fight. 90% of my deaths in this fight were in the first phase because of this. The other reason is that when I finally did get to the second phase, the King’s delayed attacks always seemed to get me.
Every time you die in this fight, it’ll be due to one mistake. My advice for defeating this guy is to take your time and learn his moves. The camera angles will probably get you more than once, so don’t give up.
Difficulty: 10 out of 10
2. Slave Knight Gael
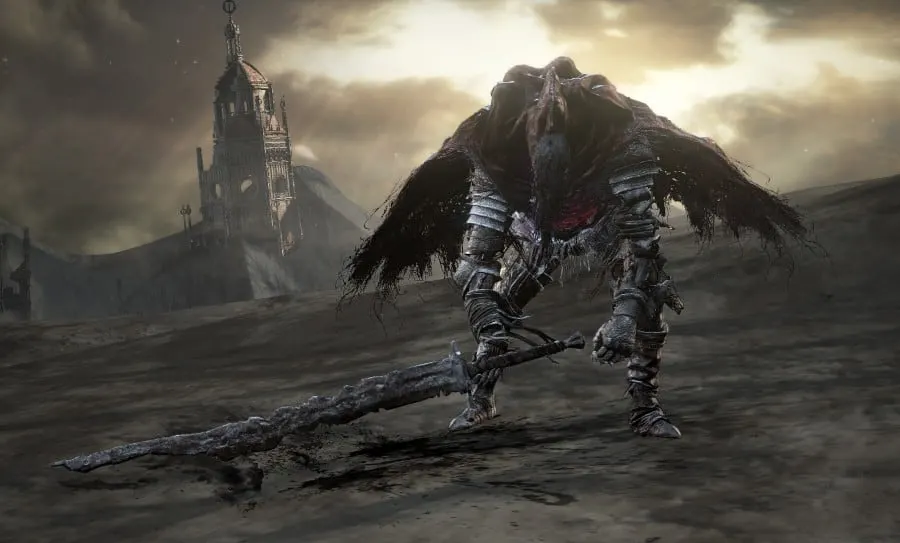
Slave Knight Gael is considered the last boss of the Dark Souls series. While the Soul of Cinder was the final boss of Dark Souls 3, Gael was the final boss of the DLC.
Gael is yet another 3 phase boss, making him more difficult. He’s widely considered a fun boss while being very difficult to beat. You can easily stagger him with a heavy weapon, making it easier to land hits on him.
Gael can be staggered, which breaks most of his attacks. Staggering the 1st phase is much easier than his 2nd/3rd phase. He is weak to Strike Damage, Frostbite, and Poison/Toxic.
There are random lightning strikes all over the arena, so you must be careful when moving about. On the flip side, these bolts of lightning can hit him, too, and should be taken advantage of.
When he turns Hollow at the beginning of the second phase, he gets a massive boost in Dark defense. Try not to bring any weapon of this type to the fight.
Difficulty: 10 out of 10
1. Darkeater Midir
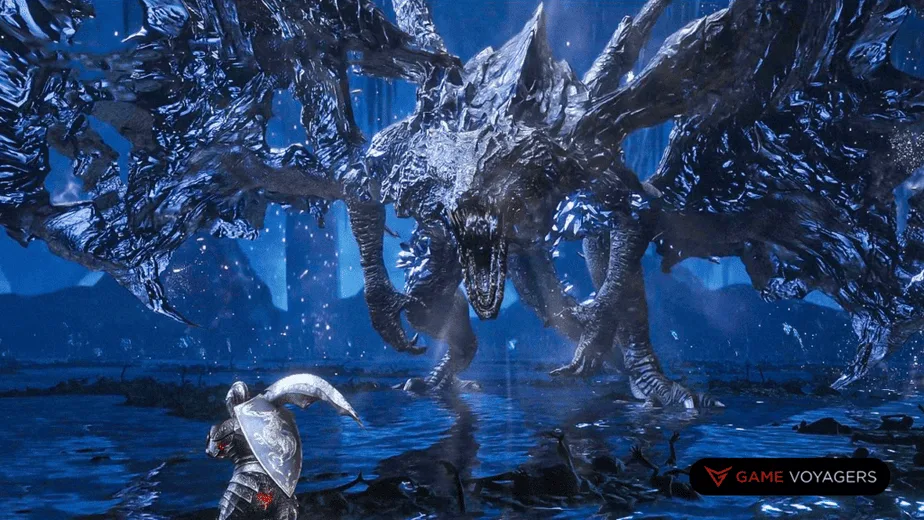
Midir is considered by many to be the best dragon battle in all of the Souls franchise. Everything about the fight is awesome, but it’s still insanely hard for most people. The arena you fight Midir in is beautiful, and the dragon’s moveset makes him interesting to fight against.
The way the boss fight is initiated is interesting and unique as well. During the Ringed City DLC, you can locate Midir sitting on a bridge, breathing fire onto it. To progress to the boss fight, you must fight him until he falls off the bridge into the depths below. The area he falls into is his arena, so all you need to do is go down to him.
Fight him head-on. There’s no way around it; you must keep in front of him to control how he attacks. Having his attention locked onto you makes him more manageable, and thus is suggested to solo this boss.
Being near his tail and the rear area often makes him jerk his tail to one side and sweep in a large arc. It has to be rolled from the side it’s coming from or suffer massive damage.
Difficulty: 11 out of 10

