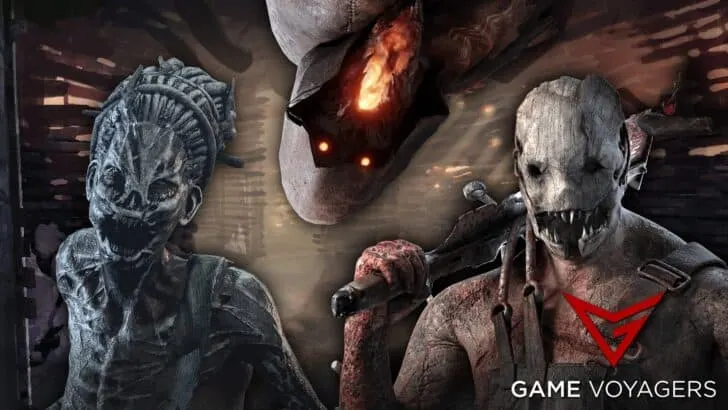
Looking forward to channeling your inner killer in Dead by Daylight? This game features all your favorite antagonists from famous horror movies and games to even some generic ones. It does get hard to select your preferred killer especially if you have a particular liking to a franchise. Therefore, we will make it easy for you and rank all the killers in Dead by Daylight.
Dead by Daylight is constantly adding new killers to their roster. As of right now, there are 32 killers in the game, and the Xenomorph from the Alien franchise is set to make an entry in the near future. Every killer plays very differently. Some are easy, some are difficult, and there is a learning curve attached to all of them.
This extremely detailed guide will walk you through all of the killers currently available in Dead by Daylight. We will talk about their playstyles, weaknesses, and what makes them great.
32. The Trapper (Evan MacMillan)
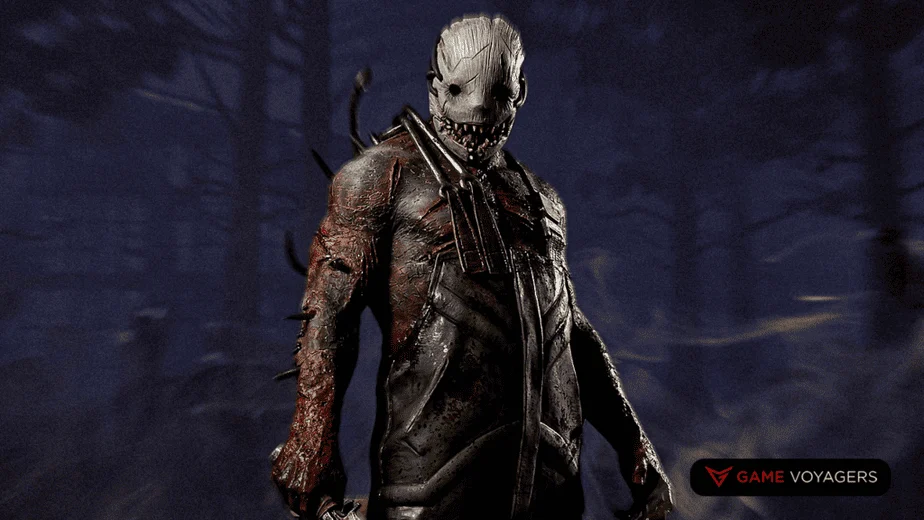
The Trapper is a classic Jason-ish archetype and one of the first killers in Dead by Daylight. This was before the developers got their hands on any franchise rights. Although this killer is the stepping stone for this game’s success, he is an incredibly inferior killer from the bunch.
His ability to lay Bear Traps is very inconsistent in the grand scheme of the game. First off, you start off with only two traps which you have to manually place in strategic areas where you might think an unsuspecting survivor would potentially walk by. Placing these traps in a less traffic area will render them useless.
You can pick up additional four bear traps strewn about the map but locating their randomly placed location is a tedious task. These traps take their sweet time to be deployed as well.
The good thing is the traps do notify the killer if they catch a survivor and the Trapper gets a speed boost while he is carrying a survivor but that’s hardly an advantage. On top of that, the trapping duration of these bear traps is all over the place. Sometimes the survivor will stay trapped for longer while other times the survivor can get out quickly.
Do not get trapped by the Trapper. Stay away from him!
31. The Shape (Michael Myers)
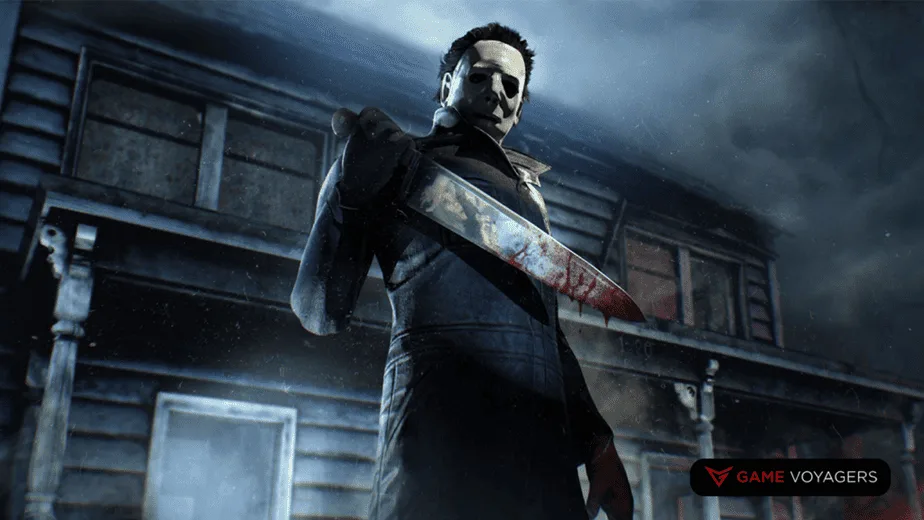
The Shape is Micahel Myers from the Halloween movie series. This killer has a tiresome learning curve and the end reward, though powerful, is quite lackluster and time-consuming. His Evil Within power has to be upgraded to level three before you start seeing any noticeable and worthy results. You will have to stalk survivors and use your other abilities/perks to upgrade.
At levels one and two, his movement speed remains jokingly abysmal and his lunge attacks are nothing to write home about. Even his terror radius isn’t active when at level one.
As you reach level three, that’s when the fun truly begins. Although his speed stays relatively normal, he gets a much bigger terror radius on par with the rest of the killers in that game. Every survivor in the match gets Exposed, meaning they will go down in a single hit but even that stays active for only 60 seconds. His lunge attack does get a nice boost.
This leveling system makes this killer exceedingly difficult in the early game. To level up, you have to Stalk survivors and since your speed is so slow, the survivors usually move away before it makes any difference.
And the way the leveling system is designed, you won’t even get to stay at the highest level and will have to constantly keep stalking and leveling up.
Stalk some other killer, please!
30. The Clown (Jeffery Hawk)

Stay clear from this killer even if you don’t have a deep-seated fear of clowns. This funny boy is quite lackluster and his kit is good for single-target chases at best if you know what you are doing.
His main power are the Afterpiece Tonics. He has four of these two types of tonics which applies buffs to himself or debuff survivors. The effectiveness of these bottles lies in your ability to strategically throw them. If you can’t lob them right then don’t pick this killer.
Pink tonic, when thrown at a survivor, will slow them down and blind them for 2 seconds. They will also end up screaming which will aid in locating the affected survivor. The yellow bottle will release a cloud which when walked through will grant both the Clown and the survivors increased movement speed.
The best way to use his ability is to get your target in sight, perfectly launch the pink bottle to disorient them, and then use the yellow bottle to give yourself a boost to cover the distance. Again, it is only good if you understand this loop right and you know how to throw these bottles. Even then, the yellow bottle’s ability to invigorate survivors can backfire.
This killer suffers greatly from constantly managing resources (bottles), the map’s random layout, and the survivor’s skills. The Clown is a strategically shallow killer and there is much to him other than that. Single target chase is a plus but that too relies on your skills.
Laugh at the sad clown and walk away!
29. The Doctor (Herman Carter)
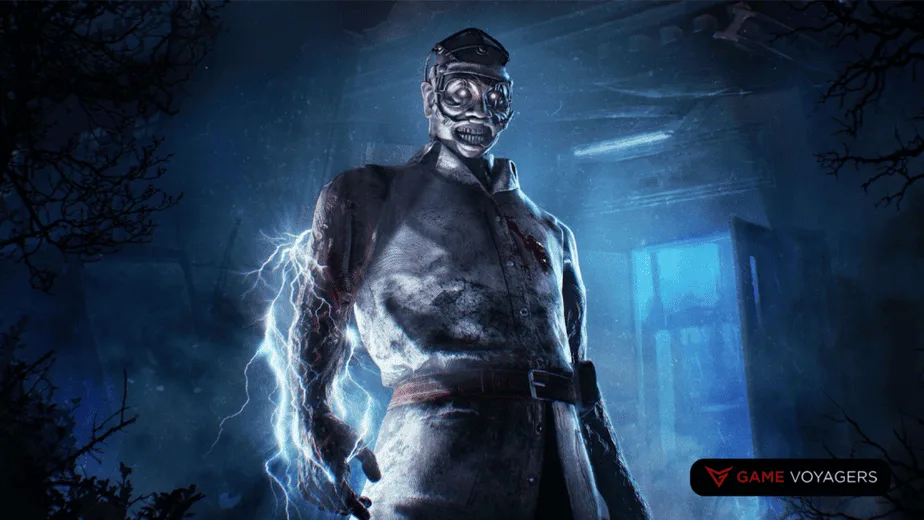
The Doctor is a menacing killer in the right hands. His Shock Therapy mixed with the Madness status effect will screw up any survivor’s run. Madness has to be leveled up before things start to get even more interesting. As with other killers who suffer from leveling-up mechanics, the Doctor falls into a similar category.
The Shock Therapy ability sends out a ranged electric current that stuns survivors and induces Madness. The best times to hit the survivors are when they are trying to vault or interact with a pallet since the wave takes some time to travel.
Madness at level one will cause the affected survivor to scream randomly and skill checks will get harder. At level two, the survivor will start seeing hallucinations of the Doctor pop up causing them to panic and skill check gets even harder. Level three will stop the survivor in place and get stuck in a Snap out of it animation. This animation is the right time to nab them.
The Madness ability can be quite dilapidating but you have to upgrade it for its full effect. This killer is great for longer matches but fails at shorter runs.
You might want this Doctor but you don’t need him!
28. The Nightmare (Freddy Krueger)
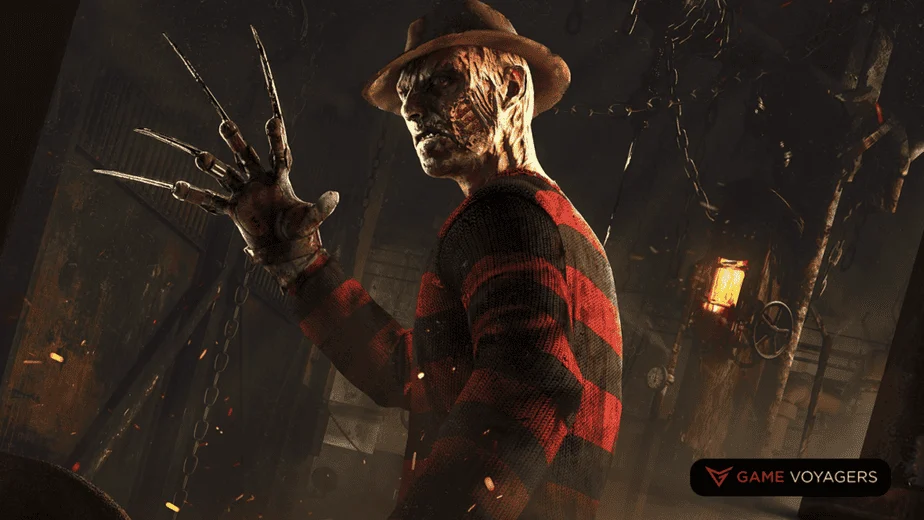
The famous killer from Nightmare on Elm Street, Freddy Krueger, is a peculiar character in Dead by Daylight. This killer got screwed by the developers with all the nerfs he has received. He gets slower when he is placing his snares and the number of snares at his disposal are reduced as well.
His traps only work in the Dreamworld for which you have to first hit the survivor with your Clawed Glove. These snares will slow down survivors when they walk over them. The Dreamworld is a menacing place as well. In this state, the survivors will start hearing terrifying lullabies when he is near them making it harder for them to audibly locate you. Survivors will have to either go through skill checks or bring with them alarm clocks to get out of this state.
The Nightmare’s Dream Projection ability allows him to instantaneously jump to any generator, stopping the survivors dead in their tracks and maintaining pressure on multiple targets.
He is a nightmare for the developers to get just right but in the right hands, he can be a nightmare for everyone else on the field.
27. The Ghost Face (Danny Johnson)
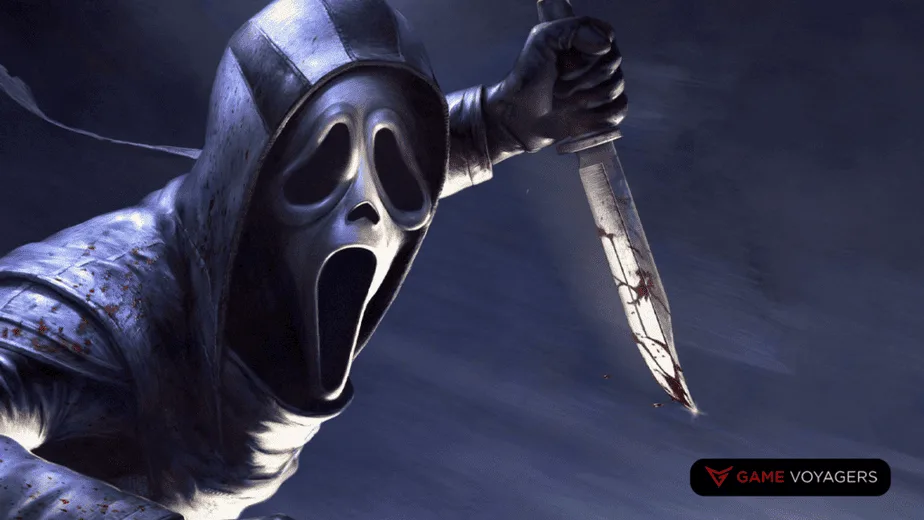
The Ghost Face is the iconic masked murderer from the Scream franchise. His tool kit is similar to The Shape where he has to first stalk its prey before he can effectively jump them. This killer’s true potential can only be realized if you have good map awareness and layout.
The map awareness aspect comes into play when you have to stalk the survivor. He can hide behind corners and Lean to build up his stalking meter on a particular target. Once the meter is full, his Night Shroud powers kick in which allows him to become Undetectable for more stealthy hunting. It also Exposes the marked target meaning you can down the survivor with a single hit.
He has a special movement perk too where he can Crouch to really mess with survivors mid-chase or help in stalking them. You can even use his marked ability to panic any survivor busy interacting with some objective.
However, if any survivor spots you while you are stalking them, it will reset the Night Shroud build-up, and the long cooldown will slow things down hunt-wise. Also, it is easy to get trigger-happy and totally whiff your Night Shroud ability in an attempt to capitalize on the kill.
Moreover, these stalking and spotting mechanics are very inconsistent. They sometimes work smoothly while other times they will completely mess with your gameplan.
This killer’s learning curve is harder than most and the payoff is very unreliable. Best to not Lean on him!
26. The Onryo (Sadako Yamamura)

The Onryo is quite a unique killer in Dead by Daylight. It is hard to perfect her playstyle but once you do, she is a menacing killer. One of her inherent advantages is that she is pretty small which makes her harder to spot.
If you hit a survivor, they will start accumulating Condemned stacks. When fully condemned, they can be put down in a single hit.
While playing with her, there will be TVs all over the map. These TVs can be used to teleport around the map allowing her to keep pressure on various survivors at once. However, these TVs will become worthless if the survivors remove the VHS Tape from them or turn them off. You will have to either wait for the TV to turn on after a long cooldown or have to manually place the Tape in them.
She starts off the match in a demanifested state. This allows her to stay undetectable while she locates her target. The downside is, she has to first manifest before she can hit the survivor. You can cycle between these two states on the fly although there is a cooldown that stops you from spamming this ability. Managing these two states can get a bit hectic.
On top of that, her TV projection main power quickly loses its charm if the survivor team is good at disabling the TVs.
25. The Pig (Amanda Young)
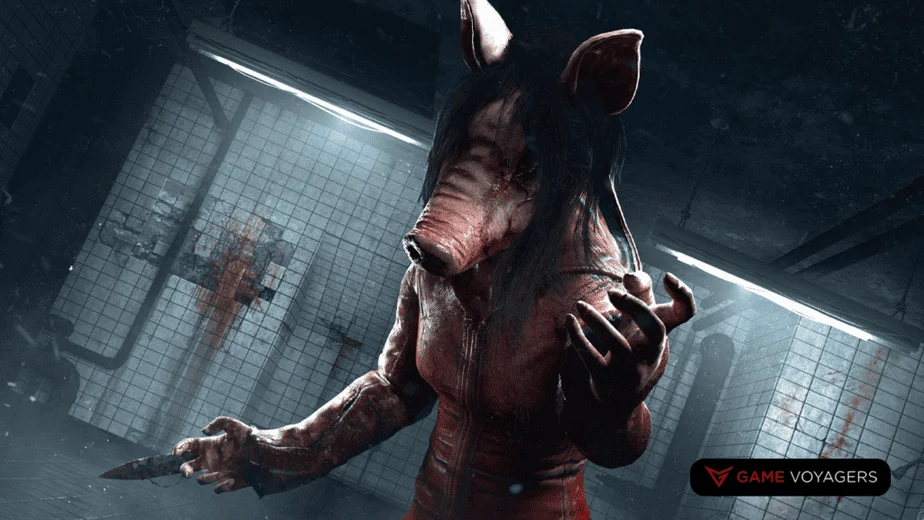
The Pig is a simple killer yet her abilities are hard to master. Her most potent ability is her special power called Reverse Bear Traps. These traps can only be placed on downed survivors and will activate once a generator is completed. If the trap does go off, it will count as an instant Sacrifice.
The problem lies in the fact that you have to first down the survivor to attach the trap and then you have to wait for them to complete the generator to get the most out of them. The traps will trigger after a 150 seconds countdown which in itself is a lengthy process.
Nevertheless, these traps will throw the survivors off-kilter. They will panic and have to seek out the randomly placed Jigsaw boxes to find the solution especially since they can not escape with an active trap on them. The Pig can camp these boxes to put additional pressure on the targets.
She can also crouch just like Ghost Face for better stalking. She can even perform a special Ambush Dash attack that results in a lunge attack toward a target at high speed. Unfortunately, survivors will hear you coming as she will make a loud noise when lunging. It is hard to successfully execute this ability.
Her traps can disrupt the survivors’ escape efforts but the process of putting them on and waiting for them to do their thing can’t be relied upon for the most part. She is not a compelling choice in short matches.
24. The Wraith (Philip Ojomo)
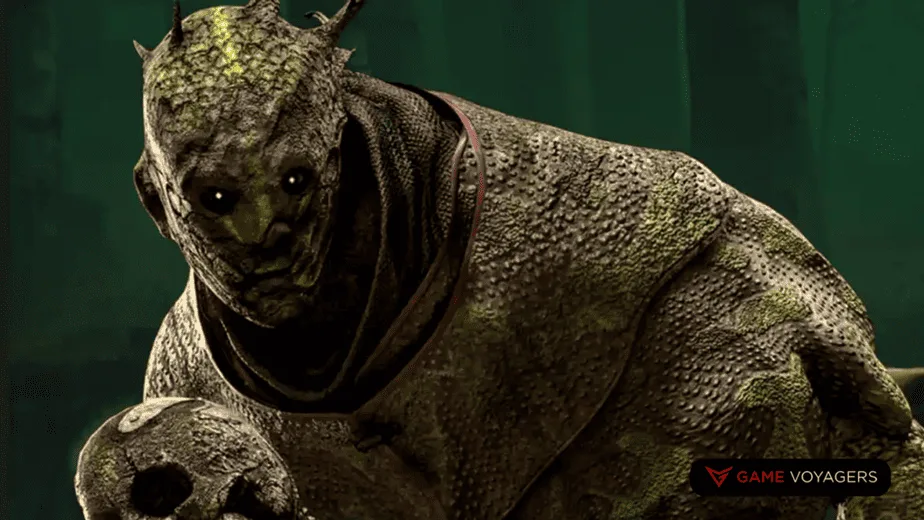
The Wraith is an excellent choice for one-on-one chases and fails miserably at putting pressure on multiple survivors. He is very easy to pick up and play but there are some major letdowns.
He can phase in and out of invisibility by ringing his bell. While invisible, he gets a heightened movement speed and when he materializes he gets a further speed boost to swiftly cover any distance between him and his prey.
This power can be used to interrupt a survivor busy completing an objective or something. It can even help you move to another survivor with a boost in speed. Yet, it is only good for single-target chases. While you are engaged in hunting a survivor, the others can continue on with their goals.
His effectiveness is amplified by a nice set of complimentary add-ons and perks. These can further boost his speed, buff his bell, and add to his overall sneaky playstyle. But, as mentioned before, The Wraith is a single target chaser and nothing more to it.
23. The Trickster (Ji-Woon Hak)

The Trickster is a peculiar killer. He is easily the most swift predator but in order to reach this intense momentum you have to play him just right. If the momentum breaks, he becomes a slouch and loses out on his edge.
He has 44 throwing knives which he can hurl from a good distance. He can stock them up again by accessing the lockers found in the arena. Once you have landed 6 knives on a survivor, their Laceration meter will reach its peak putting them in an injured or downed state. But if they run away or you fail to continually land hits, they will start to reset their meter.
With successful hits, his Main Event power gets filled. Upon triggering this ability, The Trickster will unleash unlimited knives without losing acceleration. If you trigger it at the right time, this power can take out multiple targets in close vicinity.
Managing the knives’ stock, keeping up with each survivor’s Laceration meter, and maintaining this flow can be a daunting task for many beginners. Nevertheless, if you are able to uphold this loop then by all means The Trickster is the perfect killer. As for others who can’t, you will be constantly struggling.
22. The Skull Merchant (Adriana Imai)
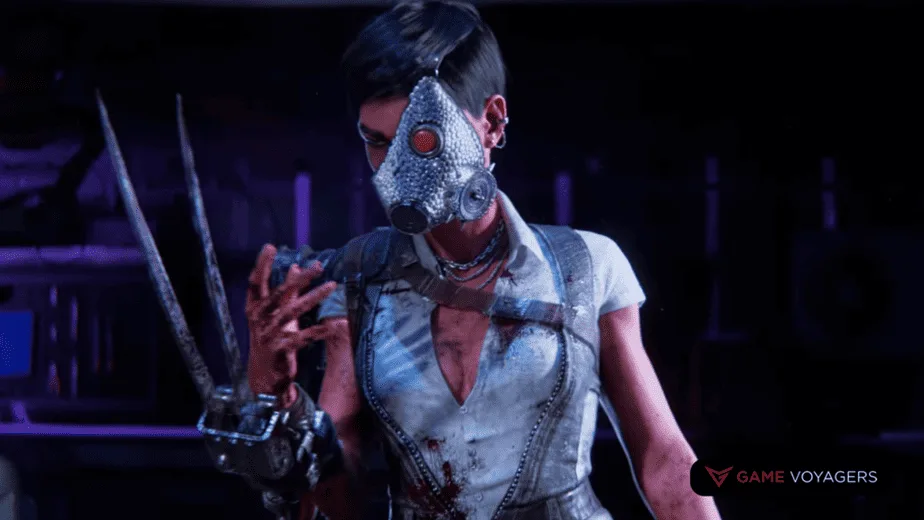
The Skull Merchant is currently facing a lot of backlash from the community. She is hard to pick up and master. Her kit is similar to the Knight where she gets four AI-controlled Drones to help her in the hunt. Her overall design is somewhat broken and the developers have stated they will be reworking her in the future.
She has drones that can either patrol a set location or even chase survivors giving the Skull Merchant the necessary information about their whereabouts. These drones can also cause debuffs like Killer Instinct and Exposed to the survivors and even buff the killer with Haste.
The sad part is, this killer’s design gives too much information to the survivor to track the killer herself and her drones. The drones can be taken out quite easily and the survivors will see the Skull Merchant coming from a mile away.
With the right set of add-ons, she can be further up the list but in her base state, she is extremely broken. She lacks the most necessary requirement of any killer and that is the ability to remain stealthy.
She is only good at 3 GENNING right now and other than she fails miserably. So if you are lucky and get a map with 3 generators close by then this killer will work wonders otherwise she will flop.
21. The Deathslinger (Caleb Quinn)
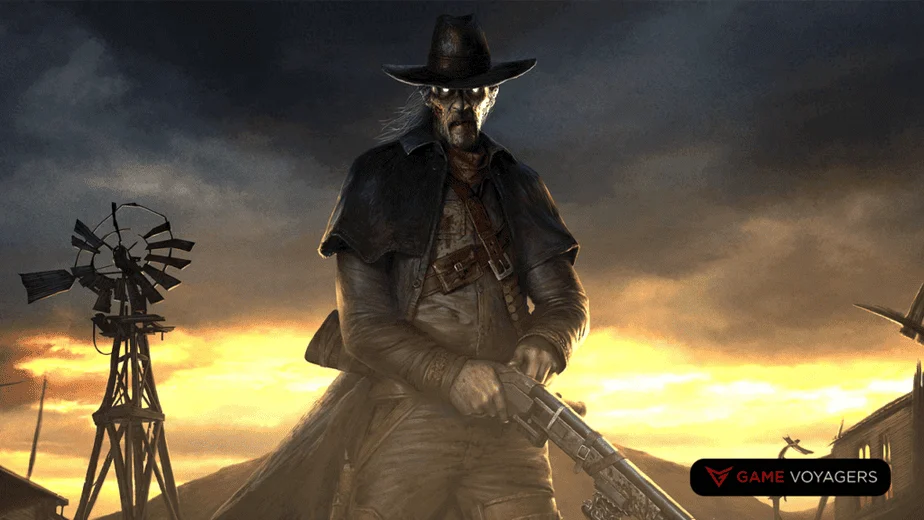
The Deathslinger is known for his trademark weapon – a spear gun. This unique device lets him shoot a spear accurately at Survivors. The spear hooks onto the Survivor and pulls them in, like a fish caught on a line. But he needs to reload after every shot, making it a thoughtful weapon to use.
When the spear hits, it causes a Deep Wound status effect on to the Survivor. If they get hit again while wounded, they go down. However, they can break free while being pulled in.
This weapon gives the Deathslinger a big advantage. He can pressure Survivors from a distance, catching them off-guard. If Survivors are busy, they become easy targets for the spear.
Lately, the Deathslinger’s tactics have changed a bit. The survivors are alerted from farther away due to a larger terror radius. There’s also a cooldown when aiming the spear gun. This means he needs to be careful with his shots and stay a bit away from Survivors to not scare them too much.
20. The Dredge (Dredge)
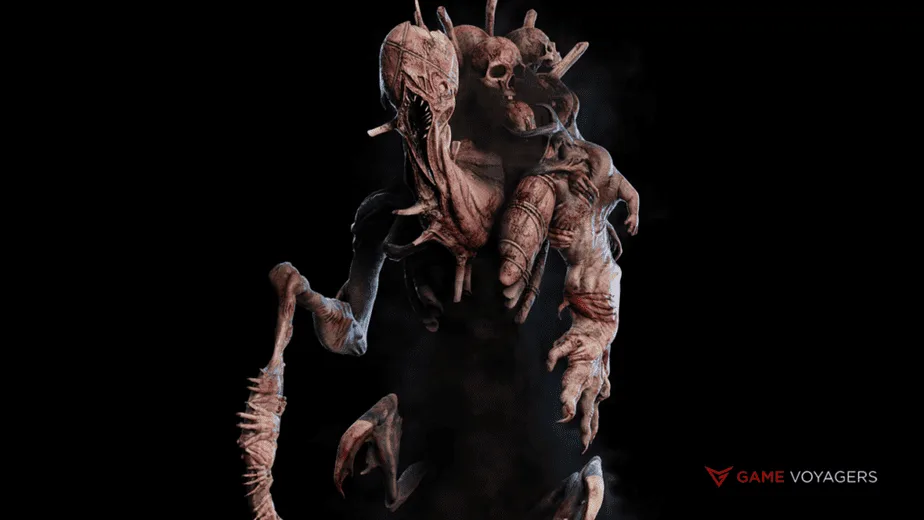
The Dredge is a skilled and potent killer.
At the core of his abilities is the “Reign of Darkness.” This power resembles a thick cloak of pitch-black darkness. As the trial begins, the Reign meter starts filling up for each Survivor. Once it is full, darkness engulfs the surroundings. This lack of visibility haunts the survivors for 60 seconds making it harder for survivors to carry on their chores.
During this darkness phase, The Dredge has more movement speed and better visibility, giving you the upper hand. And since it stays active for an entire minute, you can really take this time to wreak havoc.
Additionally, the Dredge’s power allows you to teleport across the map to lockers or remnants. These can be left as strategic points for later use, adding an element of surprise to your approach. The survivors can block these lockers for teleporting by using the latch on them. Also, if they interact with your remnant, it also becomes un-teleportable.
His Reign of Darkness power disrupts Survivor visibility, while his teleportation ability keeps them on edge. Not a bad killer but requires a bit of work to play right.
19. The Hillbilly (Max Thompson Jr.)
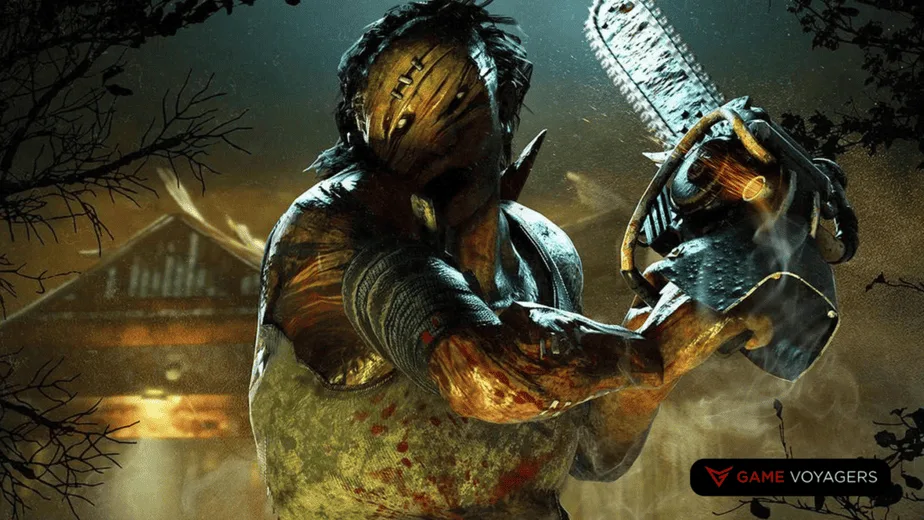
Playing as this character comes with a bit of a learning curve. The Hillbilly centers around his Chainsaw sprint that demands careful handling. You need to first rev up the Chainsaw, propelling you toward your target at high speed for an instant takedown. Steering in this phase is something you will have to get used to.
On the surface, he is extremely simple and his main rushing ability will allow for many types of plays. You can use it to take out survives in an instant, cover distance with ease adding to the chasing benefits, and make it harder for survives to attempt to interact with things like pallets.
Although, you can not go Chainsaw crazy. This revving comes with a caveat as it gets overheated with regular use. If that occurs, it will jam the chainsaw for a time and you might end up inadvertently incapacitating yourself. You have to keep an eye out for this meter at all times, using it only at the right time and not overdoing it.
Balancing the risk and reward of using the Chainsaw effectively defines success with the Hillbilly.
18. The Cannibal (Bubba Sawyer)
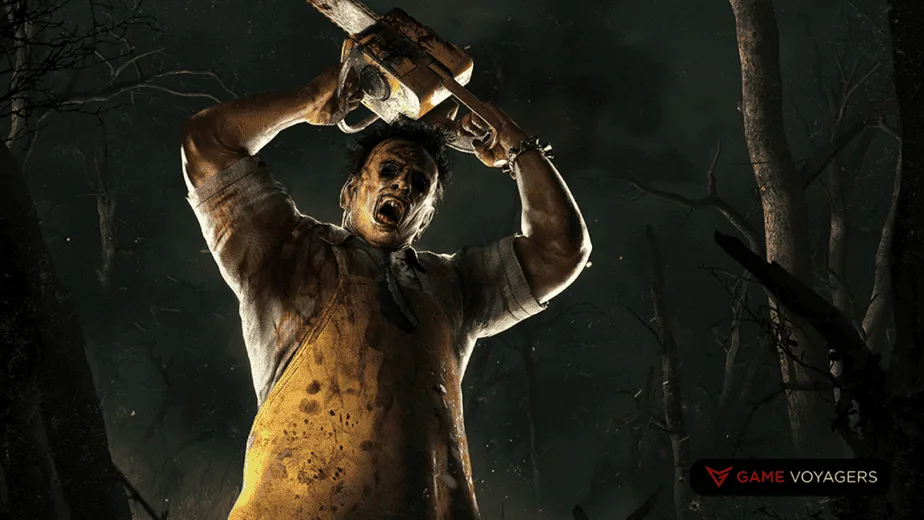
Chainsaw wielder number two i.e.The Cannibal from the Texas Chainsaw Massacre series. His chainsaw is better than Hillbilly’s. His ability is called Chainsaw sweep and has three charges without any heat-up downside. You can chain together these sweeps for better reach.
A single hot sith this sweep can down any survivor caught in its path. However, he is a slow mover which makes him best for camping in a particular area. You can essentially make a few nearby objectives a no-go area. And if this area is a confined place, he will truly shine.
However, revving his weapon and/or colliding with an object while sweeping will put him in a state of Tantrum. Here you will lose control for a short while causing The Cannibal to lash out with unguided chainsaw swings. You can use this ability to your advantage if timed right.
He is a slow freak but if played strategically, he can really transform into a formidable force.
17. The Singularity (HUX-A7-13)
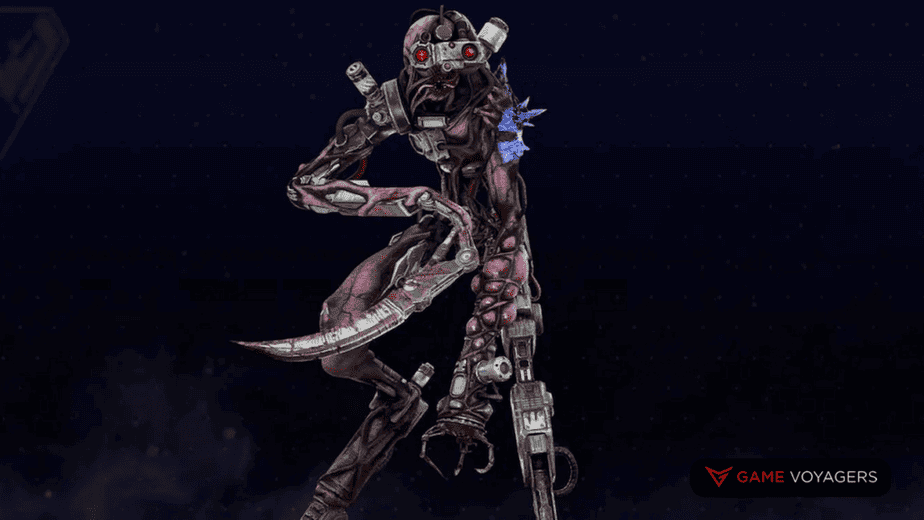
The Singularity is the most recent killer added to the roster and is not that easy to fully commit. He has a great tracking power and a strong chasing potential but it very much depends on the map you play on. This killer fails in outdoor open maps and is amazing at indoor ones. You need to know how to play the map before you can get any successful kills with him.
This is for his ability to place Biopods on surfaces. Consider them as portable cameras that he fires at surfaces to stick to and then has to manually control them to get a survivor in sight. Doing so will debuff the survivor with Temporal Slipstream.
This is a unique contagious debuff. Once the survivor is completely Slipstreamed, the killer can instantly teleport to their location giving him the added speed with Overclock buff. Chases become so much easier with this mechanic.
However, the fact that you have to manually control the cameras to apply the debuff is way too complex. Instead of using these cameras to monitor generators, you can use them mid-chase to apply the buff/debuff but that requires a quick hand. And you need some proper vertical surfaces to stick these to make it harder for outdoor maps.
16. The Knight (Tarhos Kovács)
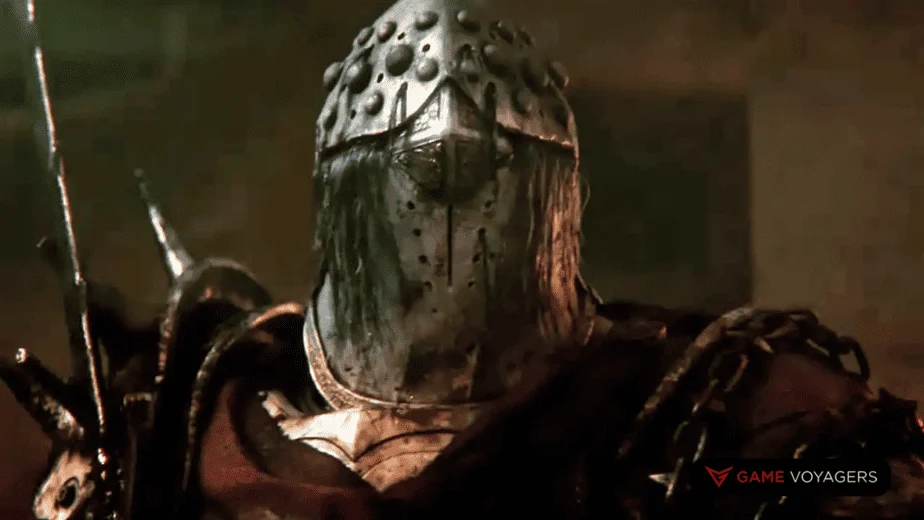
If you’re feeling like you could use some extra support on your hunting, look no further than The Knight. This particular killer has the power to summon companions, each boasting their own unique set of skills.
The Carnifex is able to effortlessly break through obstacles and stays in hunt mode for longer. The Assassin moves faster while hunting and inflicts the Deep Wound status effect. The Jailer patrols for longer and has an increased detection range. You will have to determine their patrolling path before you bring them forth and they stay on this path only breaking out once they spot a survivor in their radius.
There is strength in numbers especially when they add unique skills to your repertoire but these are temporary companions. You will have to rely on your own wits at the end of the day. This tag team act has to be balanced perfectly and choosing the right companion at the right time is the key.
This balance between cooperative and individual strategies shapes The Knight’s unique dynamic in the realm of killers.
15. The Legion (Frank, Julie, Susie, Joey)
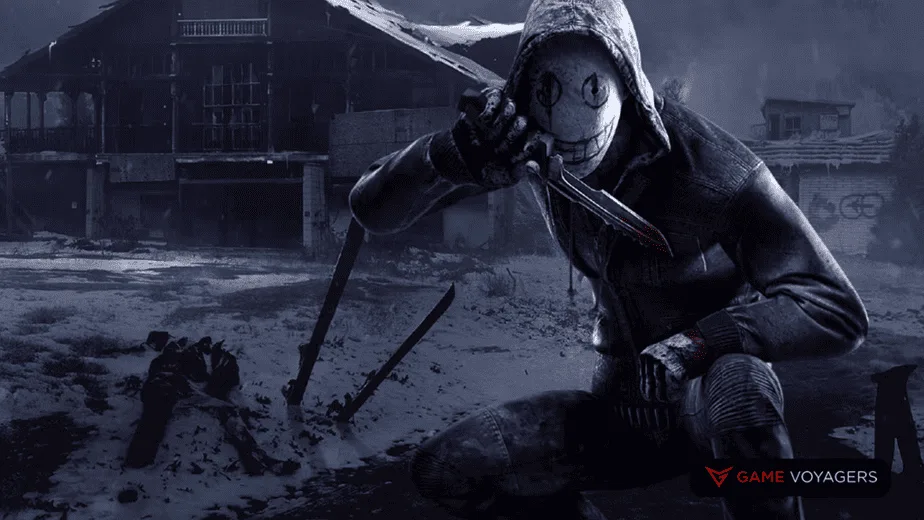
When you use the Legion the right way, they can do really well. Their special power called Feral Frenzy helps them move faster and vault through windows quicker. Chaining attacks in this frenzy will further boost your speed.
Every hit from the Legion will inflict the Deep Wound status which will force them to stop in their tracks and tend to their injuries. Hitting the target will also show all the other survivors in your terror radius, letting him locate his next target with ease.
His swiftness can be used to put pressure on the whole survivor team. After his ability runs out, he goes into a state of stun which will hinder your aggressive playstyle. If you use the right perks, he can really put pressure on more players. Primarily, he is more inclined towards single or even double-target chasing.
Despite his drawbacks, he is an easy killer to fully understand and the payoff is great as well.
14. The Nemesis (Nemesis T-Type)
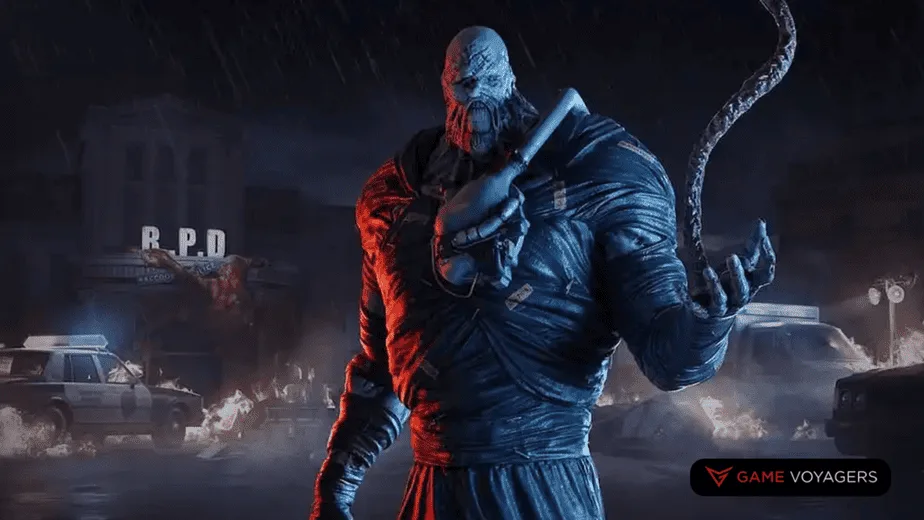
The Nemesis wields a special attack called the Tentacle Strike. This strike has a unique effect where it Infects any survivor it successfully lands on. Infected survivors will take damage from subsequent tentacle strikes. Survivors will have to scurry to find a cure found in special supply boxes scattered across the map.
Infecting survivors will reward Contamination Points which will mutate/upgrade his tentacle further. The mutated tentacle will have better reach and will fire off quicker than its base version.
The Nemesis is accompanied by two zombies that roam around the map. They attack survivors on their own and can infect them as well. The Nemesis can destroy these zombies to gain free contamination points too. The zombies are visible to the killer at all times which helps in locating any survivor they come in contact with. These zombies can be a great addition or clumsy abominations.
Since this killer has such unique mechanics, it has a considerable learning curve. Take your time understanding him before you can call it your main killer.
13. The Demogorgon (Demogorgon)
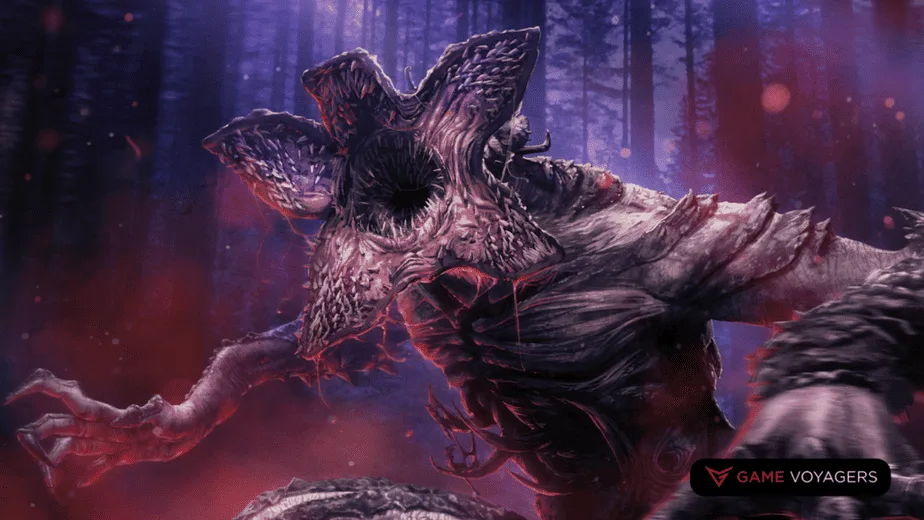
The Demogorgon is a well-balanced killer in Dead by Daylight. Their main strength comes from the Portals they can use. These portals can be set up all around the map. With a total of 5 portals available, the Demogorgon can swiftly move from one place to another, disrupting any Survivor’s plans.
Whenever it comes out of a portal, it becomes invisible for a short duration which can help close on unsuspecting survivors. These portals can be destroyed by Survivors, but it takes them some time to do so.
The Demogorgon’s special attack Shred stretches its claws and leaps forward, making a powerful lunge attack. This can be very useful in chasing down Survivors and breaking loops.
The combination of the Demogorgon’s speed when moving around and its straightforward attacking style, along with strong add-ons, can turn it into a beast on the field.
12. The Twins (Charlotte & Victor Deshayes)
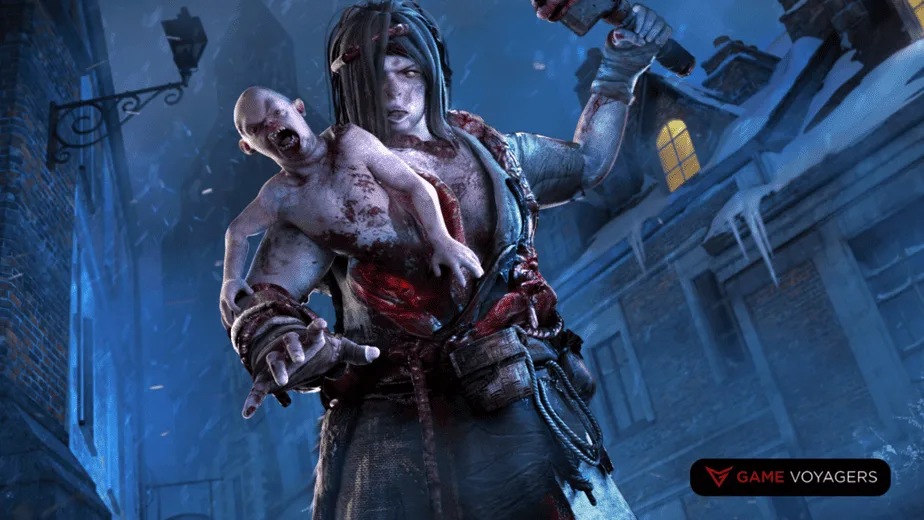
The Twin is a very underrated killer and for that reason, they can be rarely seen in a match. This rarity gives this killer an edge since fewer players know how to react to it. This killer’s learning curve is huge, benefitting those who are willing to commit.
Charlotte is your standard killer moving at a regular speed and possessing the ability to pick up Survivors once they’re knocked down. What’s unique here is that you can switch between Charlotte and the little dude named Victor.
Victor is quick and small and has more potential within the pair. Victor can jump quite a distance. However, he’s unable to carry downed Survivors, and if he misses an attack and a Survivor manages to crus him, he can be taken out. In this case, he will regrow back from Charlotte after some delay.
Victor’s attacks inflict a set of debuffs on the Survivor, including Oblivious, Broken, and Incapacitated effects. He latches onto survivors, whereby they have to shrug him off. A dormant Victor will reveal the location of all survivors in his terror radius to Charlotte. Hiding him in areas with greater footfall will prove mighty helpful.
Given that you have two characters to manage, things can get a bit tricky. However, if you wield their abilities strategically and create an effective plan that capitalizes on their dual presence, you can certainly establish dominance. The drawback lies in the numerous cooldowns and stuns they face, but with proper management, these challenges can be readily overcome.
11. The Huntress (Anna)
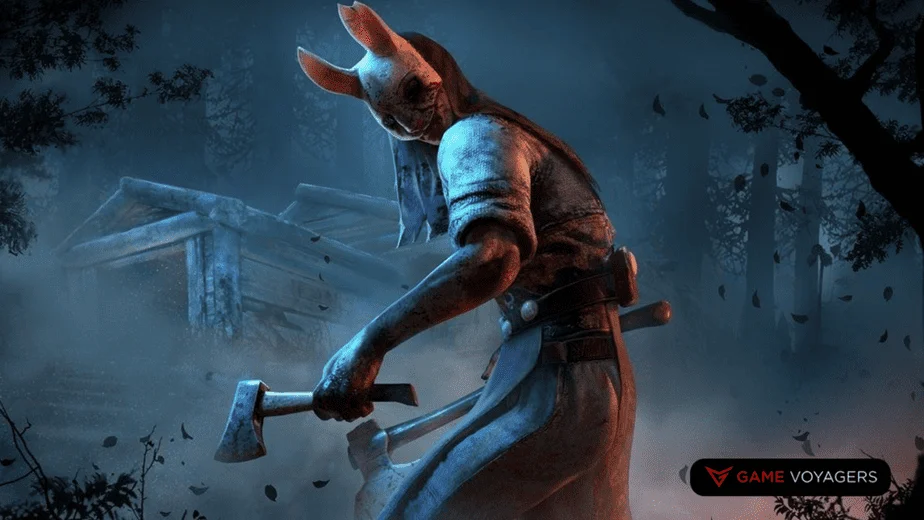
The Huntress is a straightforward yet effective killer. Her strength revolves around her 5 hatchets, which serve as her main power. These hatchets can be hurled over long distances, but you need to time them right before throwing them. If you run out of hatchets, you can restock them by using lockers in the game.
One of her notable features is her wide terror radius which causes the survivor to hear haunting lullabies as she gets closer. This radius is much larger compared to other killers, disorienting Survivors even from a distance twice as far. Survivors won’t be able to locate her as she begins her prowl.
To make the most of her, you need to practice your timing and placement when throwing hatchets. Most of her other weaknesses can be countered by using special add-ons and perks.
10. The Mastermind (Albert Wesker)
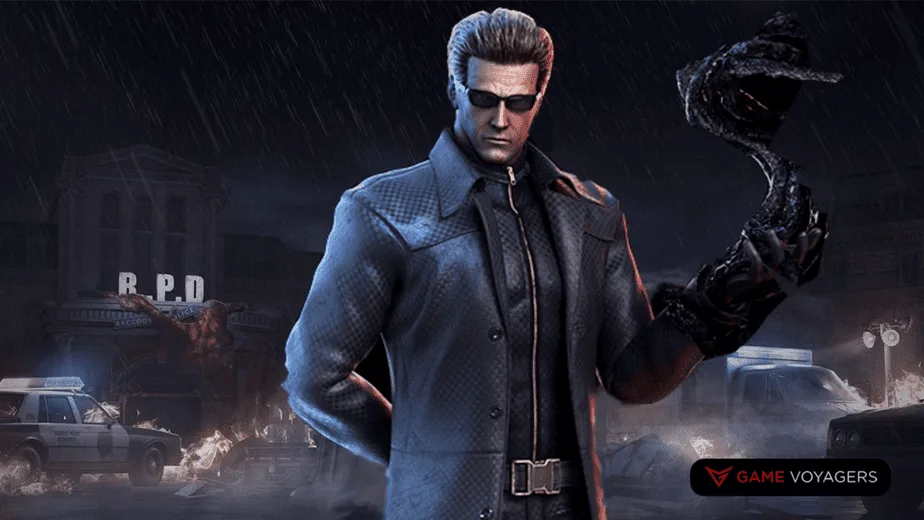
The Mastermind is so high on this list just for his largest terror radius in the game of 40 meters. He is similar to The Nemesis since he also infects its targets and they will have to look for the cure in supply crates. This infliction causes the Hindered status effect.
One of his standout abilities, the Virulent Bound, lets him dash quickly toward a survivor. If he grabs them, he hoists them up and hurls them into a wall, dealing some serious damage. Moreover, if survivors are already critically infected, he will carry them automatically without having to down them when using this ability.
The Mastermind is very versatile. This means the specific perks you choose for him as a killer don’t matter as much because almost any choice works well with his set of skills.
9. The Cenobite (Elliot Spencer)
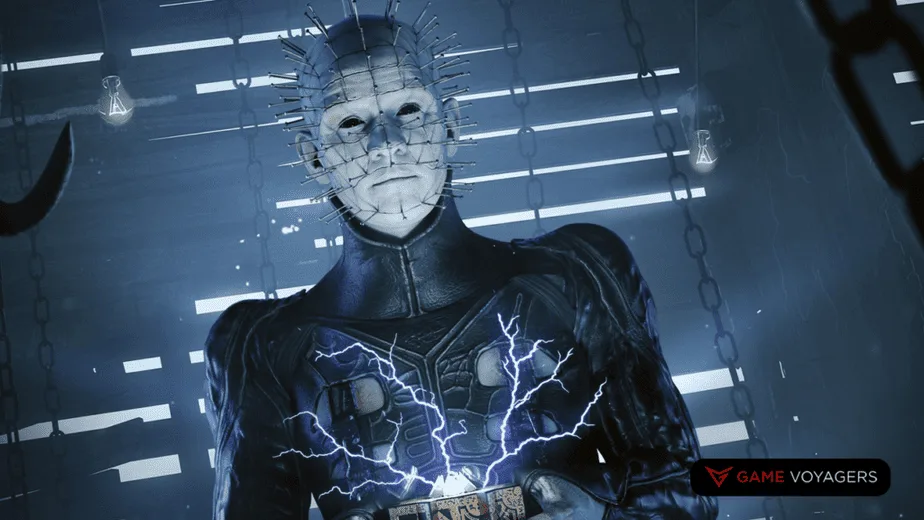
The Cenobite is a complex character and one of the most challenging killers to become skilled with. Stay clear from him if you are not willing to invest the time in learning his unconventional playstyle.
His central strength lies in his unique ability to open gateways. This power allows him to shift his perspective to a different location and unleash a chain that latches onto a survivor making their movement slower.
This stunted mobility grants you the opportunity to approach them with ease. With enough practice, this ability can trivialize chases. These chains can break if their path is disrupted by another survivor walking over it or an obstacle stopping it.
Cenobite’s toolkit is further enhanced by his passive ability called Chain Hunt. When activated, this power sends forth multiple chains that grab and hold the survivor in place while you come to finish the job.
The trademark “Lament Configuration” box, appears throughout the match. Survivors who interact with it will reset the Chain Hunt, providing you with a strategic opening. You can spot a survivor interacting with this box, you can initiate a Chain Hunt.
This box should be actively sought after and utilized by the player to their advantage. This pinhead is not for pinheads but for players with a keen knowledge of this killer’s toolkit.
8. The Plague (Adiris)
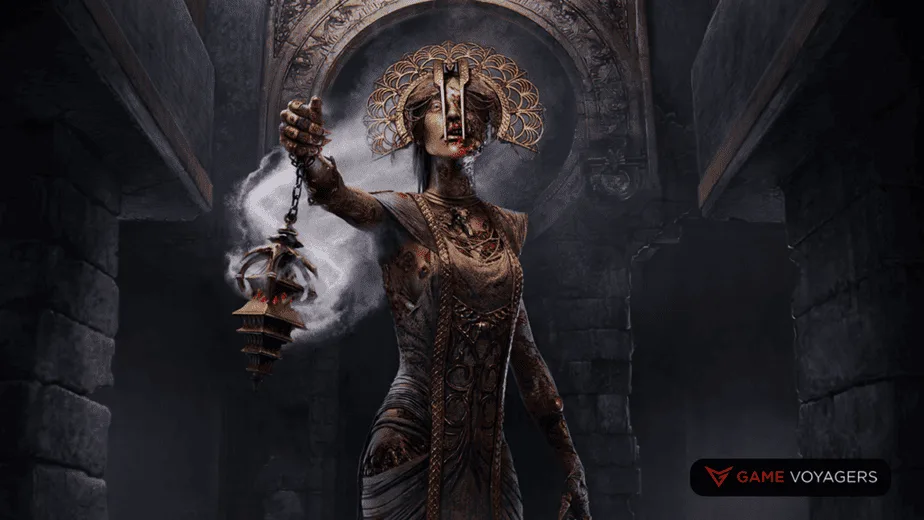
The Plague is another difficult yet rewarding killer if you know the ropes. At the heart of her skillset lies her primary power, the Vile Purge. This involves a vomit attack that she can charge up and then release at Survivors.
When this vile substance coats them, they become Infected, suffering from the Broken debuff. This debuff not only makes them noisier but also prevents them from healing themselves. Even a single hit will cause the infection to grow over time. This vomit can be applied to interactable objects like pallets making them a trap.
On top of that, the infection can spread to other survivors if they come in contact. Survivors have to actively remove this vomit to alleviate themselves from the infection. Then comes her other ability where she can pick up this discarded vomit which gives her the ability to launch a red vomit for a minute which directly harms the survivor’s HP.
By strategically maneuvering between the normal and Red vomit, a deadly cycle can be established. This loop has the potential to quickly dismantle opponents and turn the tide of the game in her favor.
7. The Executioner (Pyramid Head)
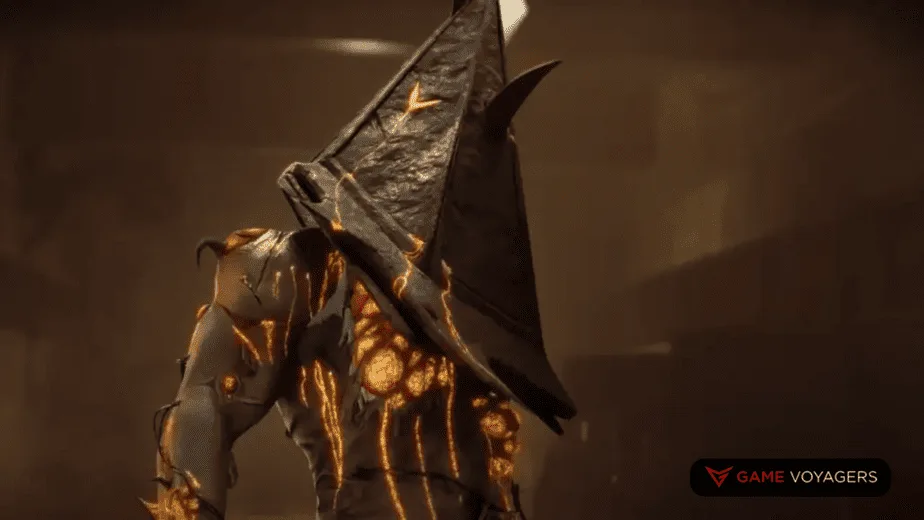
The Executioner boasts a wide array of abilities that grant him a diverse set of tactics. Not an easy killer to pick up and play but a killer that is worth practicing and perfecting.
His primary power, Rites of Judgement allows him to carve a line on the ground behind him. When a survivor steps over this line, they are Tormented and their location will be revealed to you. If you happen to down the survivor in this state, he will be sent to a cage that functions as a makeshift Hook. You won’t have to carry the survivor in this case.
Unfortunately, these cages are randomly placed so you won’t exactly know where they are hence you can’t defend them. The location will be revealed if another survivor tries to rescue them. You will have to judge for yourself whether it is a good idea to send them to the cage or manually hook them.
Additionally, The Executioner can send out a short-range attack, Punishment of the Damned, that can travel through objects. This attack directly takes away the survivor’s health. If you use it right, it will prove to be the best offense in your arsenal.
With the right set of aura abilities and debuff perks, this killer can quickly dispatch any survivor foolish enough to confront him.
6. The Hag (Lisa Sherwood)
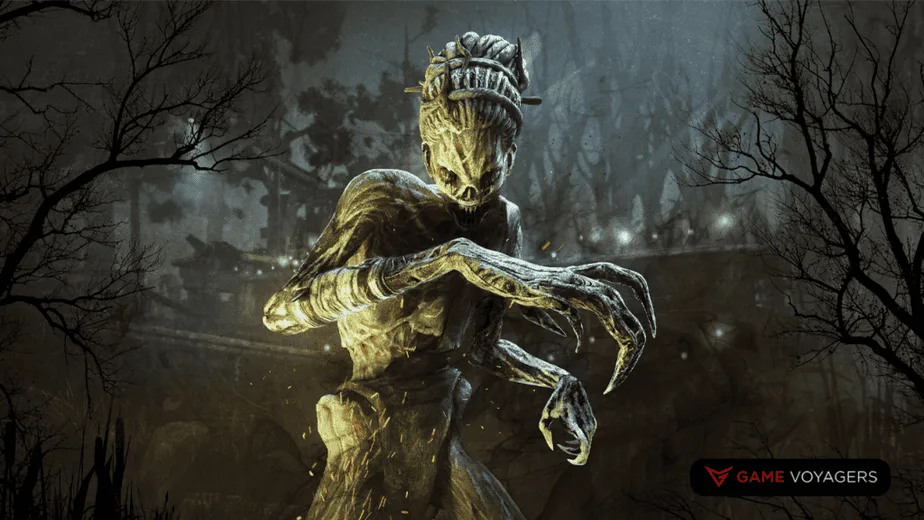
The Hag is one of the original roster of killers and thus is underused by this point in the game’s life. To boot it, she is a harder killer to grasp fully. She is great at holding a zone and proves deadly within it.
She can conjure up a total of 10 Phantasm Traps at a time, which can be strategically placed throughout the map. These traps are nigh impossible to detect by gullible survivors. As soon as the trap activates, it will screw the camera of the affected panicking them in the process.
These traps emit a false terror radius which further increases the overall survivor’s panicky state. The Hag can teleport to triggered traps as well thereby initiating a chase in an instant. These traps serve as a potent tool for map control, allowing her to dictate the game’s flow. She can’t teleport long distances, preventing her from scattering traps across the entire map and overusing her teleportation.
This style of play is a battle of attrition where survivors will continuously drop their objective owing to all the terror radius strewn about. It is all about the waiting game with her. You don’t even have to actively chase survivors as the mere panic induced by her traps is sufficient to disrupt the Survivors’ strategies.
Even some of her add-ons and perks are downright broken if used effectively.
5. The Artist (Carmina Mora)

The Artist is easy to get acquainted with and is a great choice for beginners looking to make a name in the killing business. She is extremely powerful at what she is good at.
Her Birds of Torment ability places up to three of these birds on the ground simultaneously. The unique aspect is that she can then launch these crows in a straight line across the entire map, regardless of any walls or barriers.
If these crows make contact with a Survivor at close quarters, they deal direct damage to the Survivor’s health. However, when they strike from a distance, they will Swarm the survivor. This action will notify the Artist about the Survivor’s precise location. If the encircled survivor is struck by the crows again, it inflicts health damage.
With this infinite ranged capability and the fact nothing can stop these birds, you can simply go around and start shooting these crows in the direction of generators and many times these blind shots will hit a target.
With dedicated practice, the Artist can incapacitate her victims without even needing to be in close proximity to them.
4. The Oni (Kazan Yamaoka)
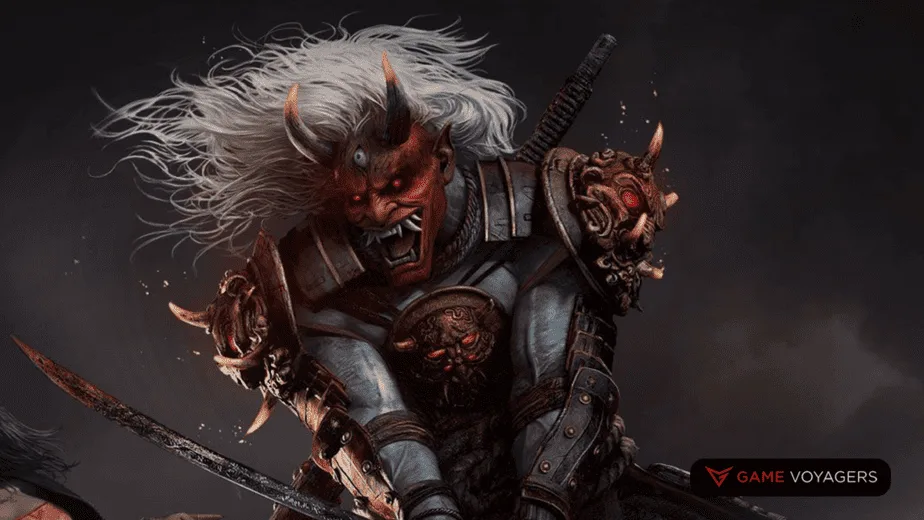
The Oni is going to be a hard killer to understand at first but once you find the right rhythm there will be no stopping you.
His power centers around a two-step process. First, he must injure a survivor. Once that’s done, any subsequent actions by the survivor result in the creation of Blood Orbs that the Oni needs to collect. Accumulating enough of these orbs enables the killer to activate Blood Fury. This heightened state of power persists for an impressive 45 seconds.
During Blood Fury, the Oni transforms into a force to be reckoned with. He gains the ability to execute a Demon Dash, which grants bursts of speed with impressive controllability. You can even perform a Demon Strike in this state which will allow him to lunge at a target and down them immediately.
If you can successfully string together the abilities at the Oni’s disposal then no survivor will stand a chance. You can essentially create an infinite loop of brutality. You just have to master the art of traversing while in Blood Fury to use this ability efficiently.
The perfect loop goes like this; hit a survivor, collect Blood Orbs, activate Blood Fury, and start injuring and taking out survivors with his other abilities. If you do it right, you will have enough orbs on the ground to trigger Blood Fury again. Rinse and Repeat!
3. The Blight (Talbot Grimes)
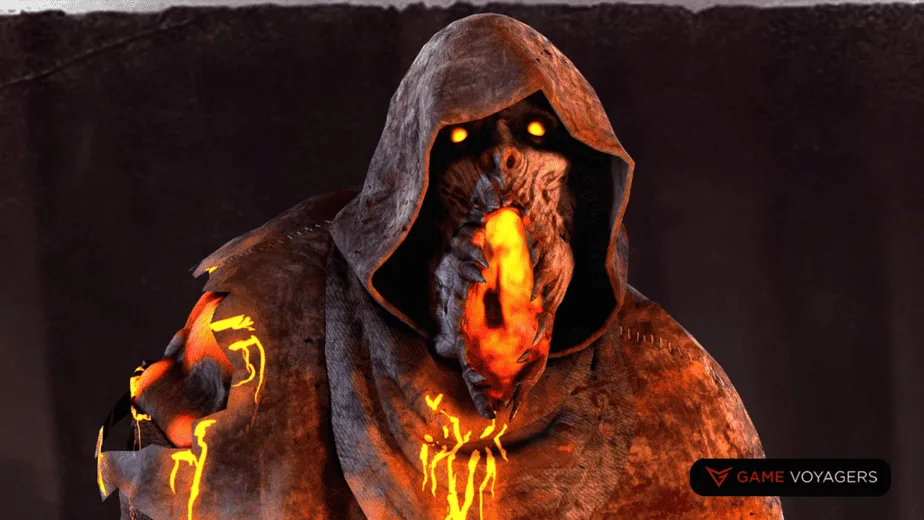
The Blight’s kit is similar to The Oni as he too is a zippy killer. The same warning for this killer too, there is a learning curve when acclimatizing to this killer and then there is no stop to the havoc he can unleash.
When you activate his Rush ability, he becomes an unstoppable force that you can further extend by using extra tokens.
What truly sets the Blight apart is his ability to transition into a Lethal Rush. This powerful move not only grants you an intensified burst of speed but also inflicts damage upon anyone unfortunate enough to be in your path.
Adding to the potency, you possess the ability to instantly shatter breakable walls and pallets during this rush. When executed skillfully you become an untamed force ready to annihilate anyone who dares to stand in your track.
The drawback to this lethality is the fact the cooldown after these bursts are rather long which puts a damper on the whole trigger-happy mindset of the killer. Thus, it is recommended to use this ability at the most opportune times when you are certain there is a guaranteed kill at the end.
The Blight’s potential to swiftly traverse the map and eliminate survivors like it’s nothing is chef-kiss worthy. It all boils down to how you use him.
2. The Spirit (Rin Yamaoka)
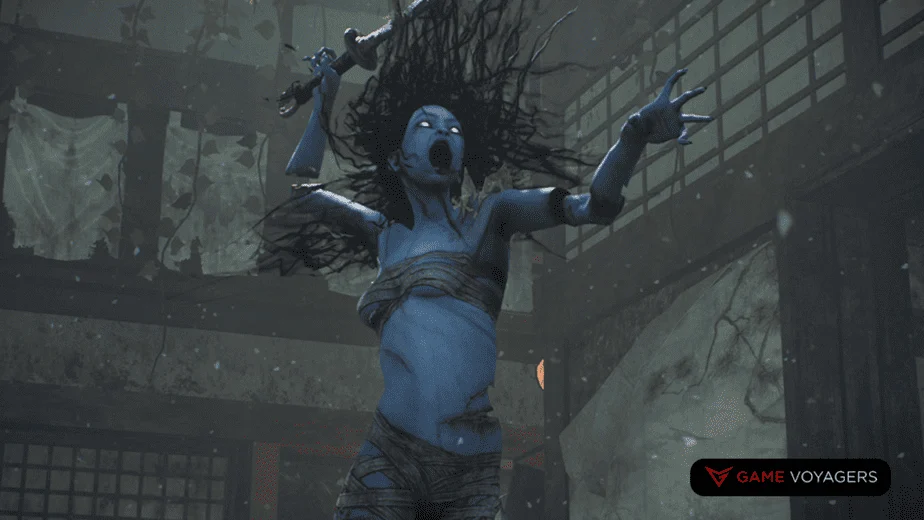
The Spirit is harder to begin with for a beginner but over time this killer can easily become anyone’s main. Her abilities give her unparalleled stealth and speed which she can use to control the entire playing field.
The Spirit’s unique ability, known as Yamaoka’s Haunting makes her completely invisible, granting her a significant burst of speed. This sudden transformation into the unseen realm makes it challenging for Survivors to predict her location accurately. This transformation can be activated and deactivated spontaneously as the cooldown is relatively low.
While she can’t directly see the survivors in this state, she can still see survivors’ Scratch Marks and can listen to any sound they make regardless of the distance. This gives you the edge in tracking prey all over the map.
Moreover, her passive Phasing ability makes her transition in and out of invisibility even in her physical state. This makes it even harder for survivors to keep track of your movement even if they spot you.
By taking advantage of this invisible state and using it effectively, none of the survivors will know what hit them. She is an apex predator and can put pressure and carry out chases with ease especially since she retains her speed burst for a few seconds even when she transitions into her physical self.
1. The Nurse (Sally Smithson)
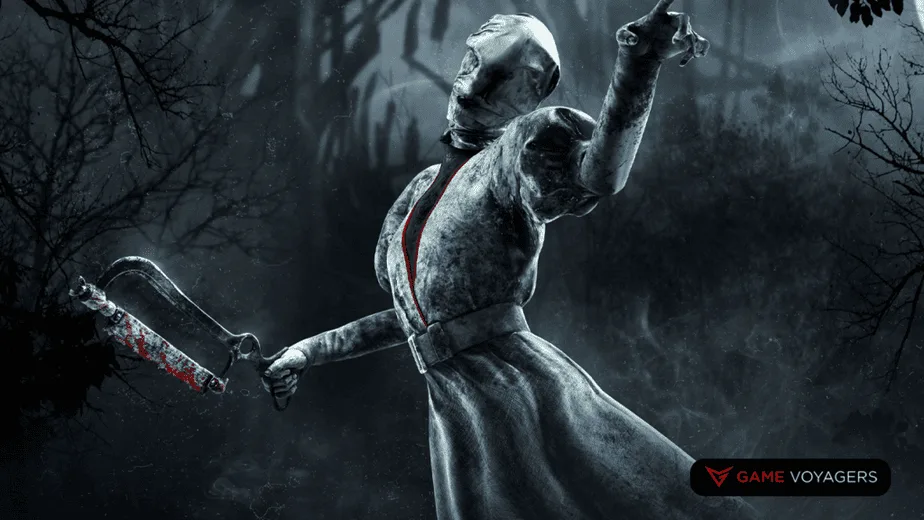
The Nurse’s repertoire is uncomplicated yet hard to master. Her prowess lies in chases and her ability to simultaneously put pressure on multiple locations at once. Nothing can stand in her once she is ready to prowl.
Her central power, known as Blinking, needs to be charged up by holding the activation button. Once you do, she can propel through any obstacle in any direction she aims at. Windows, walls, pallets, anything, and nothing will be able to stop her.
As soon as she exits the Blink she can immediately come out swinging. This ability can be chained once as well, giving her unprecedented hunting and chasing potential. With her, chases are mere child’s play.
If you are able to harness this speed, you can even make the life of other survivors miserable all over the map. She can very easily traverse the entirety of the map and pressurize the whole survivor team.
This killer’s capacity to dominate the field, breeze through barriers, and execute attacks with precision enables a gameplay experience that’s unrivaled.
The Xenomorph (Xenomorph)
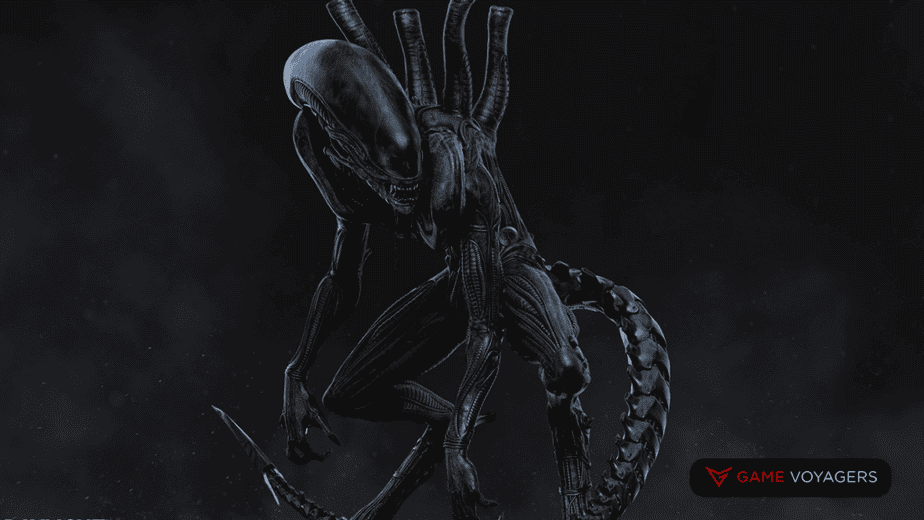
The Xenomorph is set to launch on the 26th of August. This killer isn’t available right now hence we can’t rank it. However, his kit is out in the open so we will analyze that only and try to understand its playstyle.
This killer comes with its own unique traversal mechanic with the addition of Tunnels that it can burrow and come out of the other. There are 7 tunnels in total, and many of them are present near generators which you can use to initiate chases on unsuspecting survivors. There are no cooldowns for getting in and out of the tunnel which is a huge plus.
The Xenomorph can also see the survivor’s footsteps while tunneling giving it an insane ability to track its prey.
Xeno’s Runner Mode allows him to run fast and initiate a strong tail whip attack that can annihilate a target’s health. This mode can be countered only by placing Flamethrowers by the survivors.
In short and on paper, The Xenomorph seems to be a high-level killer. His learning curve is easy to master and his ferocity and traversal abilities can lead to some aggressive playstyle. You can break loops easily with this killer and make it harder for survivors to complete their tasks.
There you go, these are all the killers in Dead by Daylight ranked from the worst to the best. Some of these killers do require a bit of time to master, but once you do, nothing will stand in your way. Take your time understanding the killer you opt for and become the hunter you are destined to be.

